wikiHow is a “wiki,” similar to Wikipedia, which means that many of our articles are co-written by multiple authors. To create this article, 94 people, some anonymous, worked to edit and improve it over time.
This article has been viewed 1,433,650 times.
Learn more...
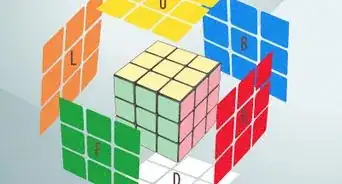
Rubik’s cubes are 3-D combination puzzles. The 3x3x3 Rubik’s cubes have nine faces on each side of the square cube and each face has one of six solid colors. A traditional way to solve the Rubik’s cube is by returning the blocks so that each face of the cube has only one color.[1] However, since the cube’s creation in 1974, there have been many other ways found to “solve” the Rubik’s cube. Each of them create some sort of repetitive design over the faces of the cube.
Steps
Creating a Zig-Zag
-
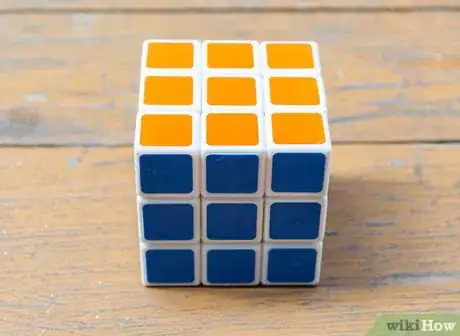
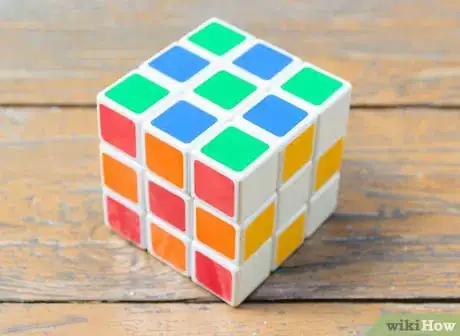
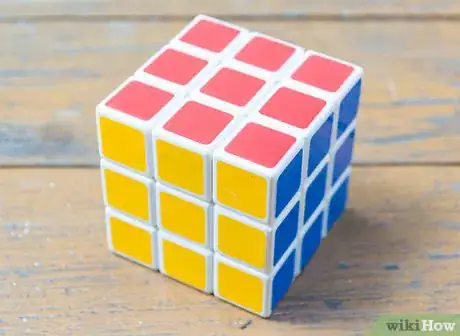
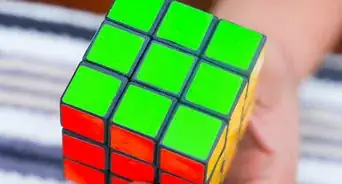
1Start with a solved Rubik’s cube. Your Rubik’s cube will need to be in the solved position to create a zig-zag pattern. In the solved position, each face of your cube should be one continuous color.
-
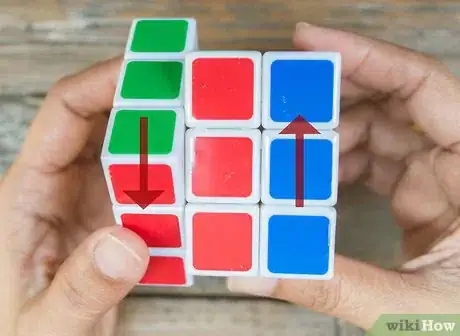
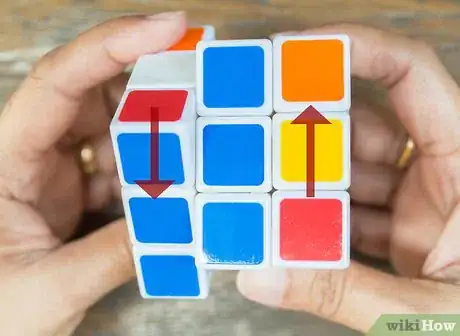
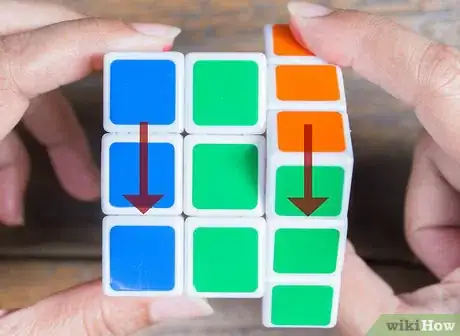
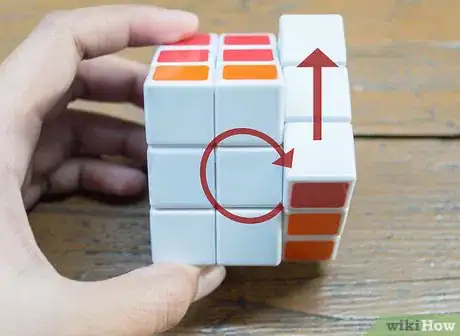
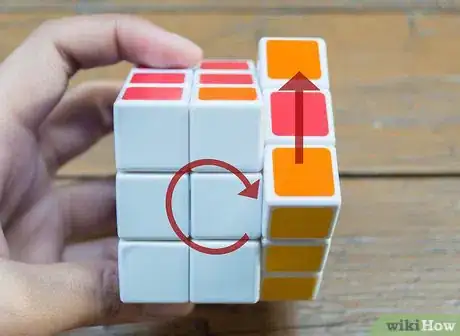
2Turn opposite sides in opposite directions. Holding your Rubik’s cube in your hand, you will need to turn each side one click in opposite directions. One side will go forward while the other goes backwards.
- Start by looking at the red side of your cube. Make sure that the blue side is to the right of the red.
- While looking at the red side of your cube, turn the right side of the cube one click forward. After you do so, there should be three red squares on the top right of your cube.
- Next, turn the left side of the cube one click backwards. Now there should also be three reds on the bottom left side of your cube. You should now see only three red cubes on the front center of your cube.
- Place a small piece of tape on the center cube. You will need to return to the red side of the cube for another set of turns. To make it easy to return to this side, try placing a small piece of tape on the center cube.
Advertisement -
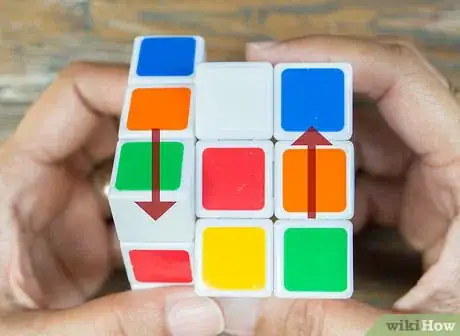
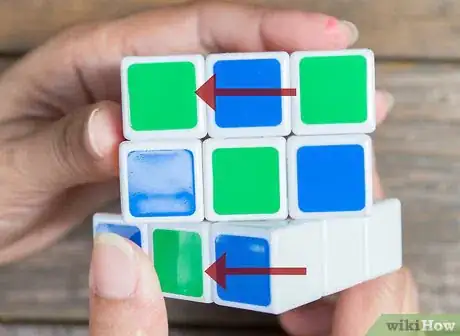
3Go to the blue side. Turn your cube to the left so that the solid dark blue face is in front of you. While looking at the blue side, you will need to turn the opposite sides in opposite directions, just like you did with the red side.
- First, turn the right side of the cube one click forward, then turn the left side of the cube one click backwards.
- You will have a blue strip down the center front your of cube when you are done.
- You may also want to mark this side with a different piece of tape because you will need to return to the blue side again and repeat this process. Try marking the piece of tape with a “B” for blue.
-
4Return to the red side. Go back to the red side (the side that you marked with tape) and turn the opposite sides in opposite directions again. Once again, turn the right side of your Rubik’s cube one click forward and the left side one click backwards. The only red remaining on this face will be in the center.
-
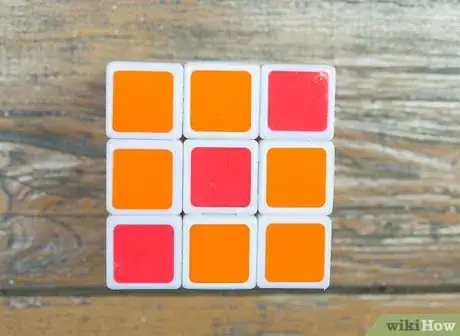
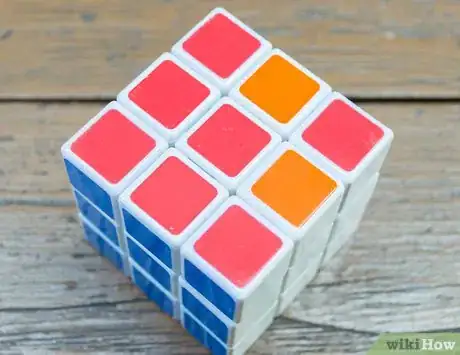
5Repeat the process. Turn back to your blue side and repeat the turns on opposite sides. Then, return once more to the red side and turn the opposite sides in opposite directions. And last, return once more to the blue side and turn the opposite sides in opposite directions. When you finish, you should have a staircase-like zig-zag across four sides of your Rubik’s cube.
Creating a Checkerboard
-
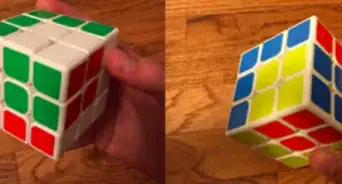
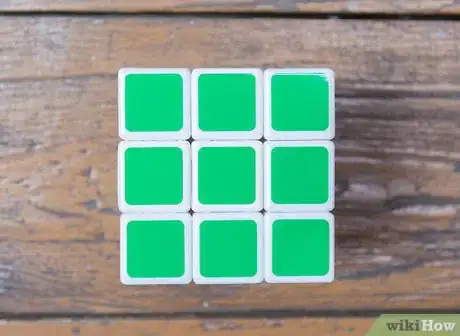
1Start with a solved Rubik’s cube. You need to start with your cube in the solved position to make a checkerboard pattern. Also known as a chessboard, your Rubik’s cube will have a checkered pattern on each side when you are done.
-
2Turn the sides. Begin by looking at the green side of your cube. Turn the right side of the cube two clicks forward. The three green squares should end up on the opposite side of the cube. Then, still facing the green side take the left side of the cube and turn it two clicks forward as well.
-
3Turn the top and bottom. Keep the green center cube facing you. Then, turn the top row clockwise by 180 degrees (two clicks). Turn the bottom row 180 degrees as well.[2]
-
4Make your final spins. With the green center block still facing you, turn the front face of your cube by 180 degrees (two clicks), as if you are turning a dial. Turn the back side of your cube by 180 degrees as well. You’ve now created a checkerboard on all sides of your cube.[3]
Making a Fish
-
1Begin with your cube solved. Once again, you want to start off with your Rubik’s cube in its solved position. Making a fish pattern on your Rubik’s cube is simple. The end result will have swapped two edge pieces so that the remaining ones look like a fish with fins. If you hold the cube diagonally it will look like a fish swimming away from you.[4]
-
2Make two 180 degree twists. Start with the white surface facing you. Then, turn the front face of the cube by 180 degrees (two clicks). Now, take the right side and twist it 180 degrees as well.
-
3Repeat this three times. Keep the white cube in front of you and again twist the front of it 180 degrees. Turn the right side, then the front face, and the right side one more time. Always keep the white face in front of you by making sure the center cube of the face is white.
-
4Look at the top of your Rubik’s cube. When you are finished, you should see a fish shape that looks as though it is swimming away. The four center pieces are its body and the three remaining are the fins.
Community Q&A
-
QuestionWhat kind of lubricant should I get to lube my Thunderclap V2?
 Community AnswerAny lube that is designed to lube the cube is fine. Stay away from WD-40 and vaseline. They will eat away your cube's plastic.
 -
QuestionHow can I restore the cube back to normal?
 Community AnswerFollow the steps that you just did, only backwards. Or, just mix it up and solve it again, but doing the steps backwards is a lot easier.
 -
QuestionHow do I become a speed cuber?
 CaeiiaTop AnswererPractice every day and train yourself against your previous time records. Get a smooth Rubik's Cube that can "cut corners" and not seize up (may require some oiling).
References
About This Article
To make an awesome Rubik’s cube pattern, try making a checkerboard pattern. Start with a solved Rubik’s cube. Then, look at the green side of the cube and turn the right column 2 clicks forward so the 3 green squares end up on the opposite side of the cube. While you’re still looking at the green side, take the left column of the cube and rotate it 2 clicks forward. After that, turn the top and bottom rows 2 clicks to the left. With the green center block still facing you, turn the front face and the back side of the cube 2 clicks to the left. You’ll then have a checkerboard pattern on all sides of the cube. To learn how to make a zigzag pattern with your Rubik’s cube, keep reading!

-Step-9.webp)
