This article was co-authored by Jacob Pischer. Jacob Pischer is a Home Improvement Specialist and the Owner of Helpful Badger, a home repair service in Portland, OR. With over four years of experience, Jacob specializes in a variety of handyman services including pressure washing, cleaning gutters, repairing drywall, fixing leaky plumbing fixtures, and repairing broken doors. Jacob studied at Madison Area Technical College and has a background in real estate investment.
There are 11 references cited in this article, which can be found at the bottom of the page.
This article has been viewed 43,983 times.
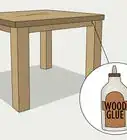
One of the most frustrating things in almost any setting is having a wobbly table due to uneven table legs. It can be off-putting for your meal, make working difficult, or even just be noisy! Luckily there are a few easy tricks to get your table nice and even so you aren't constantly dealing with a shaky table.
Steps
Raising Shorter Legs with a Cork
-
1Hold your table on a work surface so there are three legs on the ground. This will give you an indication of which leg is shorter than the others.[1]
- Ideally, you will do this on a flat surface such as a work-bench.
-
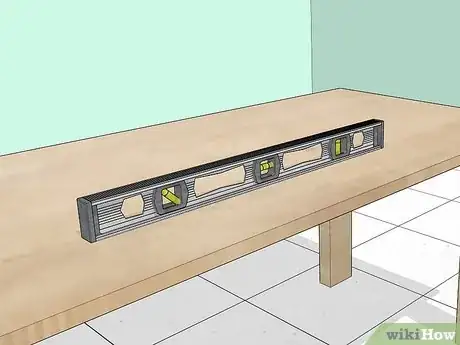
2Check whether your surface is flat by using a leveling tool. Leveling tools are long rectangular pieces of aluminum. They have a small tube of water in the middle of them with an air bubble. If your tool is on the surface and the bubble is within the lines that denote the middle, your surface is flat.[2]Advertisement
-
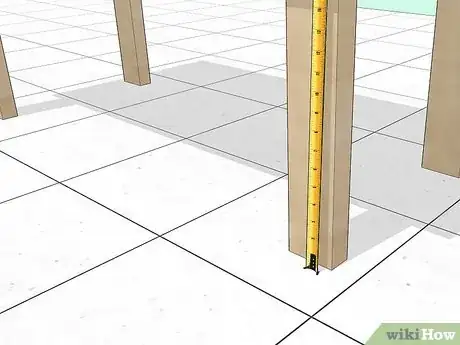
3Measure the length between the ground and any legs that are off the ground. Use a measuring tape or a ruler to make sure you are as accurate as possible.[3] The last thing you want is to measure incorrectly and be left with a still wobbly table.
- If you’re struggling to hold the table steady and also measure at the same time then get someone else to hold the table for you.
-
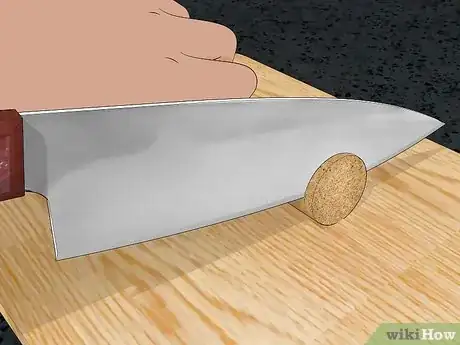
4Cut off a piece of cork that matches the length of the difference. Use either a large knife or a fine-wood saw. Be careful to account for the fact that the glue you use to stick it will form a thin layer which may add to the correction length just fractionally.
- Your cork will probably be in a circular disc shape and if it is wider than the leg you will be attaching it to, trim it down to size using your knife.
- If you’re concerned about the color of your cork being different to your table, now is a good time to adjust it with some paint.[4]
-
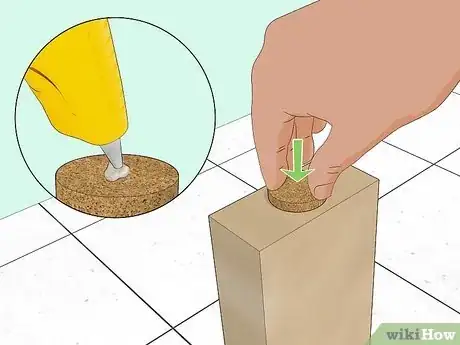
5Stick the piece of cork to the bottom of the leg that is shorter using hot glue. Using a strong adhesive here is important as you don’t want the cork to come loose. Make sure you give the glue at least 2-3 hours to dry.[5]
- To help the cork get secure, putting some weight on it while the glue dries, like some heavy books, is a good option.
-
6Turn the table back over to check that the table is level. It’s important to note here that if the adjustment is too large then you can always slice off a little bit of the cork to make it even.[6]
- As the table will be putting weight down on the cork, it’s ok to turn it over while the glue is still drying. If you do this, however, don’t move the table around once you’ve flipped it.
Using a Table Saw to Trim Your Table's Legs
-
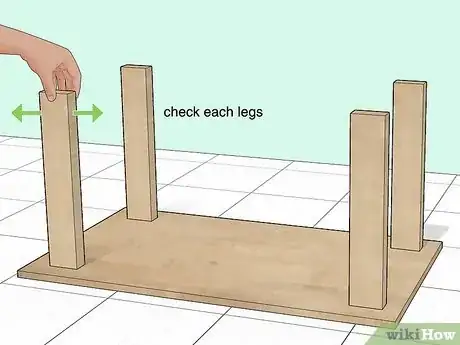
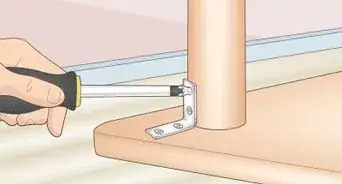
1Check that all the legs are tightly attached. This may involve looking to see if any screws are loose or if the legs are properly glued on. If they are not, then this may be the source of the problem.[7] Simply screw back in or glue back on to make your table level again.
- If you level out a table that has poorly attached legs then it will soon be wobbly again regardless of how accurate your corrections are.
-
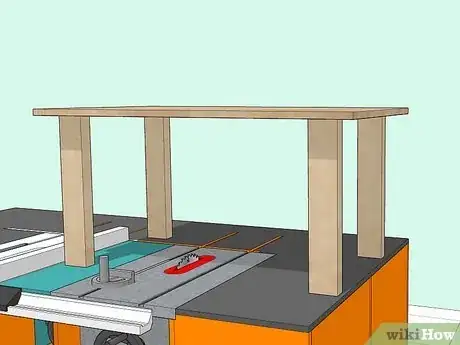
2Stand your table on your table saw’s flat workbench. If the surface is not flat then the measurements may end up being off. This will result in your table being wobbly even after leveling.[8]
- Check whether your surface is completely flat by using a leveling tool and seeing if the air bubble is within the middle markings on the tool.
- You can find leveling tools very cheaply at any hardware store.
-
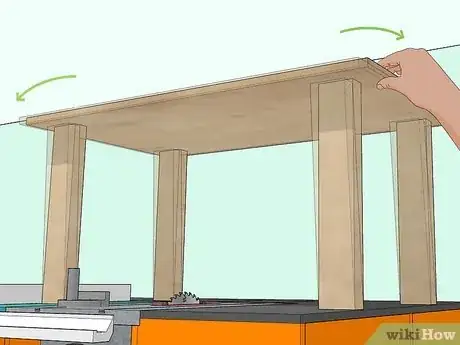
3Hold the table and wobble it so you can determine which are the longer legs. Do this by gently wiggling the table back and forth to see which legs do not ever leave the ground. Either (but not both) of these legs is the one that you will be adjusting as they are longer than the ones that do move.
- This is because the legs are on a plane, and the plane is not flat. Sawing down these longer legs will make the plane flat.
-
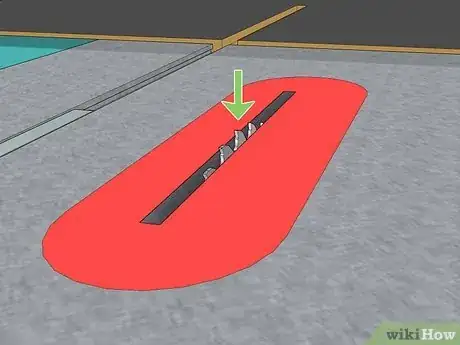
4Set your table saw to 0.0156 inches (0.040 cm) or 0.031 inches (0.079 cm). At this length, the blade should barely above the surface. You can always feel free to increase the depth later on if need be but you should only be just grazing the surface of the legs.[9]
- If your table saw doesn’t have a length setting this minimal, choose the smallest setting you have.
- The measurements above are 1/64 of an inch and 1/32 of an inch, respectively.
-
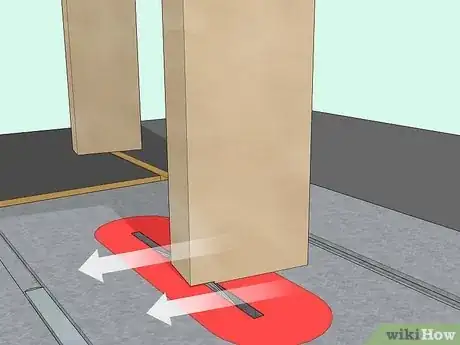
5Run one of the longer legs through the table saw until the table has leveled off. At this blade depth, the leg will receive a very small shave down. As you do it several times, the leg will get closer and closer to being flush with the rest of the legs. To get a clean cut, move the leg straight through the saw and at a gentle pace.[10]
- Be careful not to overdo it as if you cut down too much of the leg, you’ll be left with a still wobbly table.
-
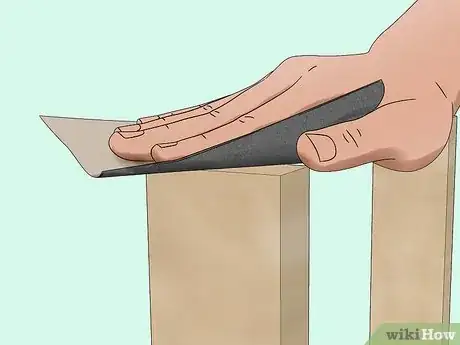
6Use sandpaper to sand down the end of the leg that you just cut. This is simply to make the table look more presentable and to ensure that whatever surface you put it on will not be scratched.[11]
- To use sandpaper, simply cup the paper in your palm and rub it firmly on whatever surface you are smoothing down.
Expert Q&A
Did you know you can get expert answers for this article?
Unlock expert answers by supporting wikiHow
-
QuestionHow do I fix uneven table legs?
 Jacob PischerJacob Pischer is a Home Improvement Specialist and the Owner of Helpful Badger, a home repair service in Portland, OR. With over four years of experience, Jacob specializes in a variety of handyman services including pressure washing, cleaning gutters, repairing drywall, fixing leaky plumbing fixtures, and repairing broken doors. Jacob studied at Madison Area Technical College and has a background in real estate investment.
Home Improvement Specialist
Warnings
- When using the table saw, make sure you have safety goggles and, ideally, gloves as well. Table saws are extremely sharp and getting a finger caught in one would not be good!⧼thumbs_response⧽
References
- ↑ https://www.familyhandyman.com/kitchen/wine-cork-wobbly-table-fix/
- ↑ https://www.thisoldhouse.com/ideas/choosing-and-using-levels
- ↑ https://www.popularmechanics.com/home/interior-projects/how-to/g2538/furniture-problems-you-can-fix/
- ↑ https://www.mnn.com/your-home/at-home/blogs/how-to-fix-uneven-patio-furniture-legs-with-a-wine-cork
- ↑ https://www.networx.com/article/easy-fixes-for-uneven-table-legs?
- ↑ https://www.mnn.com/your-home/at-home/blogs/how-to-fix-uneven-patio-furniture-legs-with-a-wine-cork
- ↑ https://www.networx.com/article/easy-fixes-for-uneven-table-legs
- ↑ https://youtu.be/WZFDo1f2tQs?t=43
- ↑ https://www.lifehacker.com.au/2015/10/level-wobbly-chair-legs-in-an-instant-with-a-table-saw/
- ↑ https://www.popularmechanics.com/home/interior-projects/how-to/a20772/fix-wobbly-chairs-easy/
- ↑ https://youtu.be/WZFDo1f2tQs?t=189
- ↑ Jacob Pischer. Home Improvement Specialist. Expert Interview. 4 September 2020.
- ↑ Jacob Pischer. Home Improvement Specialist. Expert Interview. 4 September 2020.

