This article was co-authored by Howard Fleischmann. Howard Fleischmann is an Automotive Tire and Repair Specialist and the CEO of Community Tire Pros & Auto Repair, with ten locations throughout Phoenix, Glendale, Yuma, and Casa Grande, Arizona. Howard specializes in full-service auto repair and tire replacement and care for domestic/imported vehicles and large trucks. Howard’s dedication to Community Tire Pros & Auto Repair has earned their team multiple awards and features including the 2021 Phoenix Magazine AZ State 48 “Best of the Best!”, the 2020 “Best of Phoenix” in Auto Repair, the 2013 Master SBD award, the 2013 National “Top Shop” award by Tire Review, the 2012 Diversity Champions Phx Business Journal, the 2009 BBB Ethics award, the 2008 Phx Chamber of Commerce Impact Award -” Small Business of the Year”, and the 2008 ASU Spirit of Enterprise award. Howard is often referred to as “The Car Guy” for local TV stations and is a regular on TV’s Channel 3 Sunday, Good Morning Arizona monthly.
This article has been viewed 265,453 times.
A faulty valve stem can cause your tires to release air and leave you with a flat tire.[1] Having it repaired by professionals can cost upwards of thirty dollars, but in some instances, you may be able to replace a faulty stem yourself. If the wheel does not currently have a tire on it, the process if fairly straight forward and requires one inexpensive tool. However, swapping valve stems with a mounted tire in place requires some specialty tools that may cost more than having the repair done.
Steps
Installing a Valve Stem on a Tireless Rim
-
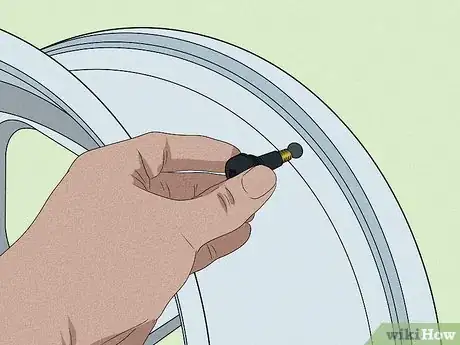
1Insert the valve stem through its hole in the wheel. Look at the wheel before getting started and identify the hole through it that the valve stem is supposed to go through. Press the valve stem into the hole from inside where the tire will mount, so the nozzle is sticking out of the inside of the wheel.
- Hold the valve stem in place with your finger until you can secure it to the valve stem tool.
- There is only one hole through the rim so it should be easy to find.
-
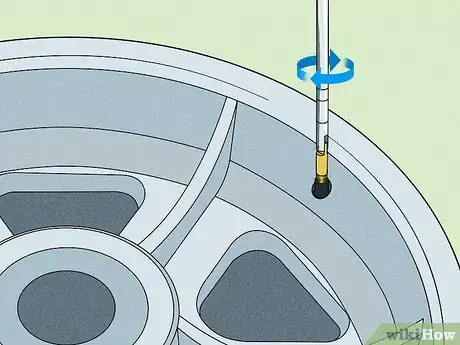
2Screw the valve stem tool onto the valve stem. Place the valve stem tool over the threaded portion of the valve stem and rotate it clockwise to tighten the two together. The threads on the stem should be the same as the threads on the tool, but be careful not to cross thread the tool onto the stem.
- If the tool is not threading on properly, unscrew it and attempt to screw it on again.
- Hold the valve stem from the other side with your finger so it doesn’t rotate with the tool.
Advertisement -
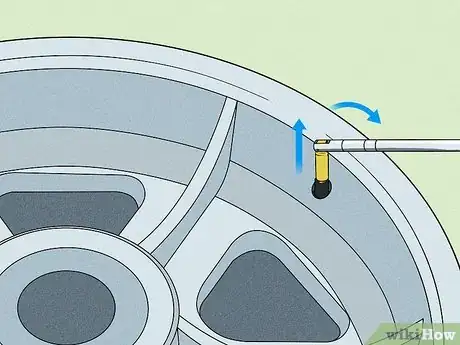
3Use the handle to pull on the valve stem. Once the valve stem is secured to the valve stem tool, place the handle up against the lip of the rim. Press down on the end of the handle like a lever, so it pulls up on the valve stem and pulls it through the rim.
- You may want to place a rag beneath the handle of the tool on the lip of the wheel to protect its finish.
- You may need to apply a good deal of pressure in order to wedge the valve stem in the hole properly.
-
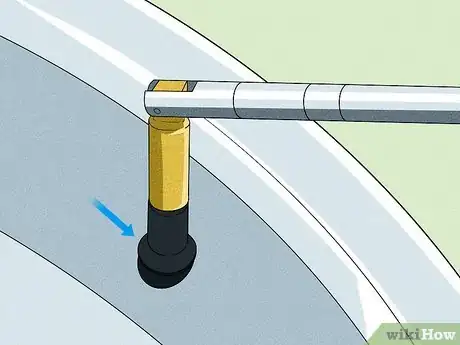
4Pull until the top ring comes through the wheel. The diameter of the valve stem increases the closer you get to its base and there are two rings in the valve stem at its widest portion. Continue to apply pressure to the valve stem tool until you’ve pulled the first ring through the hole in the wheel.
- The bottom ring should be seated firmly against the inside of the wheel.
- The top ring should be on the outside of the wheel, holding it securely in place.
-
5Unscrew the valve stem tool. Once the valve stem is properly seated in the wheel, press on the bottom of it as you rotate the valve stem tool counter clockwise to unscrew it from the stem. Once done, press on the valve stem and move it around with your fingers. It should not come loose from the wheel.
- Don’t apply too much pressure when testing the valve stem or you may push it back through the hole.
Removing a Valve Stem with the Tire Still Mounted
-
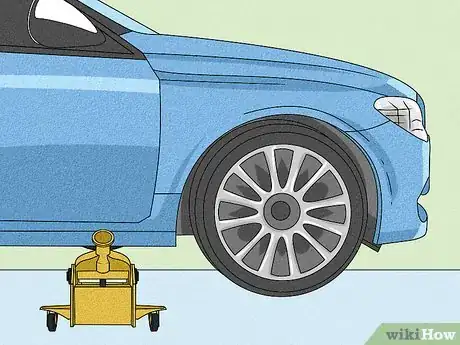
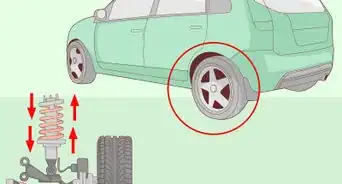
1Jack up the vehicle. You will need to remove the wheel from the vehicle it’s on if it isn’t already. Slide a jack beneath the closest designated jack point to the wheel in question and raise and lower or rotate the handle in order to lift it up off the ground.[2]
- Use a tire iron or socket wrench to break the lug nuts loose on the wheel prior to jacking up the vehicle.
- Place a jack stand beneath the vehicle to support it while you work on the wheel.
-
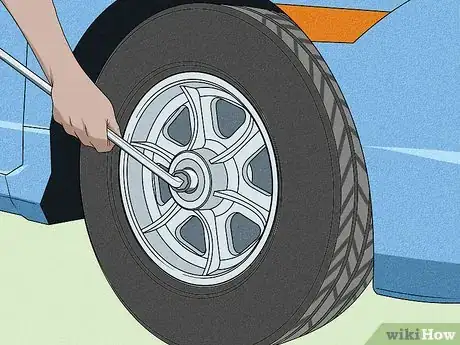
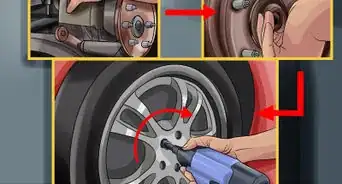
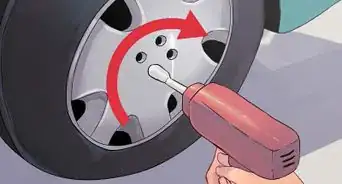
2Remove the lug nuts on the wheel. Use the same tire iron or wrench to unscrew the lug nuts on the wheel the rest of the way by turning them counter-clockwise. Once you have removed all of the lug nuts, set them aside someplace safe for when you reinstall the wheel.[3]
- If you misplace a lug nut, you can purchase replacements at your local auto parts store.
-
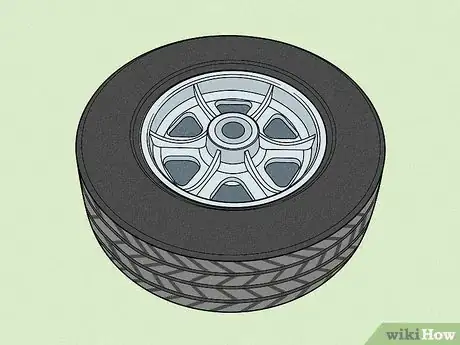
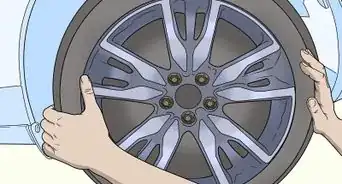
3Pull the wheel off and lay it down face up. With the lug nuts removed, the wheel may come off of the lug studs easily, but in some instances it may be stuck on due to oxidization or rust. If the wheel won’t come off, hit the rubber sidewall of the tire with a rubber mallet all the way around the wheel to break it loose.[4]
- Lay the wheel down on the ground face up so the valve stem is toward the sky.
- Do not strike the wheel itself as you may damage it.
-
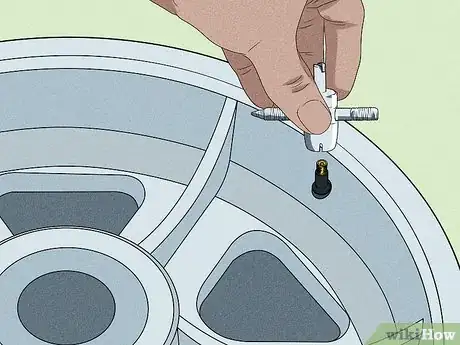
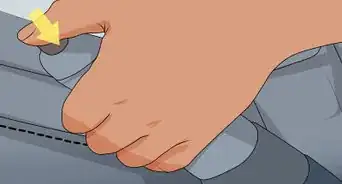
4Release the air in the tire with a valve change tool. Press the rounded portion of the valve change tool into the valve in the center of the valve stem. When you apply pressure to the center valve, the air inside the tire will begin to leak out. There is quite a bit of pressure in the tire, so prepare yourself for a large burst of air.[5]
- You may want to wear gloves to prevent the air escaping from being too cold on your hands.
- You can also use a screw driver or similar tool to release the air.
-
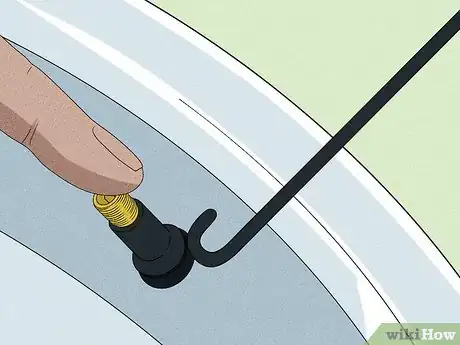
5Press the valve down to the side and insert the tool. With all the air released from the tire, use your thumb to press the valve to the side so it is flat against the wheel. Take the valve change tool and press the hook down into the base of the valve stem so it goes into the wheel.[6]
- You may need to apply a good amount of pressure to get the tool past the valve stem.
- Be careful not to scratch the finish of the wheel with the valve change tool.
-
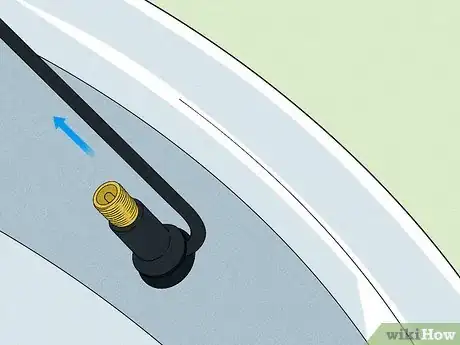
6Turn the valve change tool and pull the valve out. With the valve change tool inserted, rotate it in either direction a quarter turn, then pull it straight back up out of the wheel. The hook on the tool will catch the bottom of the valve stem and pull it out with the tool.[7]
- Try to pull straight outward from the wheel to avoid chipping the finish.
Installing a New Valve Stem
-
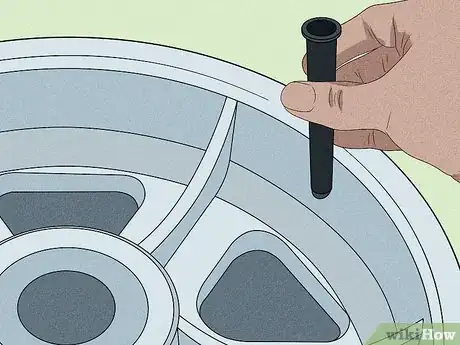
1Place the insertion tube over the valve stem hole. Valve stem replacement tool kits come with an insertion tube that should be placed over the valve stem hole with the larger opening facing up. Make sure the tube is correctly aligned with the hole; if it is even slightly misaligned it will stop you from inserting the new valve stem.[8]
- You can purchase valve stem replacement tool kits at your local auto parts store.
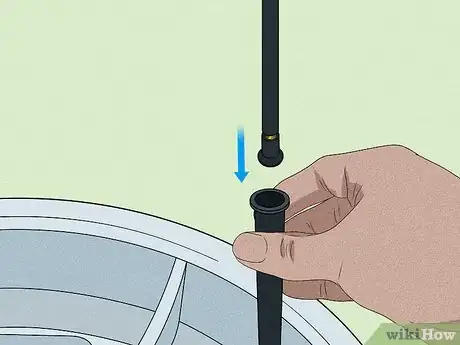
- The insertion tube will guide the new valve stem as you press it into place.
-
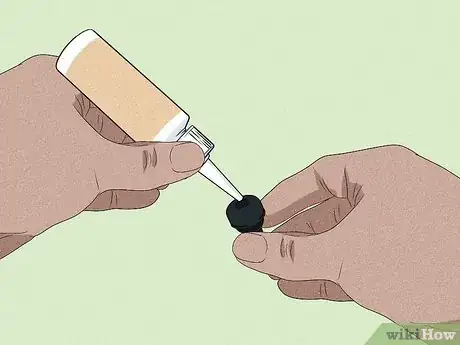
2Lubricate the new valve stem. Take the new valve stem and cover it in an automotive lubricant designed to create a seal once the valve stem is in place. The lubricant will make it easier to insert the valve stem through the valve stem hole.[9]
- You can purchase tire sealant lubricant at your local auto parts store.
- You may be able to insert the valve stem without lubricant, but the seal will be stronger if you use it.
-
3Press the valve stem into the tire with one quick motion. Insert the valve stem top first into the insertion tool that resembles a screw driver, then slide the stem and tool into the insertion tube. With one swift motion, press the valve stem down through the tube and hole in the rim, then pull back up to pull the top of the stem through the wheel.[10]
- You will need to thread the valve stem onto the insertion tool so you can pull it back up once inserted.
- You may need to apply a good deal of pressure to get the stem through the hole.
-
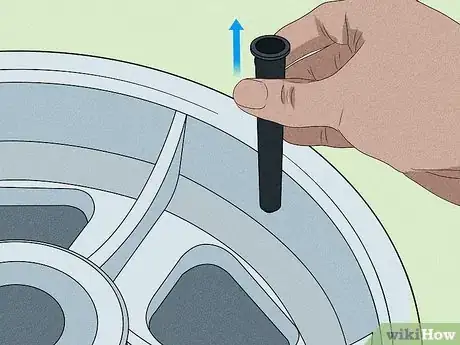
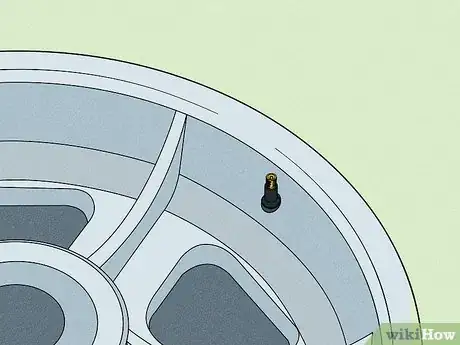
4Pull up on the insertion tool with a strong jerk. Just as you swiftly pressed the stem through the hole, now pull backward on the handle in one swift motion to pull the majority of the valve stem back through it. The bottom ring of the valve stem will prevent it from passing all the way back through, properly seating the valve stem.[11]
- If you accidentally pull the stem all the way back through, repeat the process to reinsert it.
- You can now refill the tire and place it back on the vehicle.
-
5Finished.
Community Q&A
-
QuestionDoes the valve stem go into the tire? If not, how does it measure the pressure?
 Community AnswerThe tire and wheel together hold the pressurized air. The valve stem goes into the wheel.
References
- ↑ Howard Fleischmann. Automotive Tire & Repair Specialist. Expert Interview. 4 June 2021.
- ↑ http://www.dummies.com/home-garden/car-repair/how-to-safely-jack-up-your-vehicle/
- ↑ http://www.dmv.org/how-to-guides/changing-tire.php
- ↑ http://www.dmv.org/how-to-guides/changing-tire.php
- ↑ https://www.youtube.com/watch?v=TgDzZIop_uw
- ↑ https://www.youtube.com/watch?v=TgDzZIop_uw
- ↑ https://www.youtube.com/watch?v=TgDzZIop_uw
- ↑ https://www.youtube.com/watch?v=DgH4rzWbutg
- ↑ https://www.youtube.com/watch?v=DgH4rzWbutg
About This Article
To install a valve stem on a tire, start by removing the tire from the vehicle and letting the air out by applying pressure to the center of the valve. Then, remove the old valve with a valve change tool and place an insertion tube into the hole that’s left behind. Next, lubricate the new valve stem with automotive lubricant and put it into the top of the insertion tube. Afterwards, use the insertion tool to push the valve stem into the tire using a swift, firm motion. Finally, pull up on the insertion tool with a strong jerk so the bottom ring of the valve catches and stays in place. For tips on how to install a valve stem on a tireless rim, read on!

