This article was co-authored by wikiHow Staff. Our trained team of editors and researchers validate articles for accuracy and comprehensiveness. wikiHow's Content Management Team carefully monitors the work from our editorial staff to ensure that each article is backed by trusted research and meets our high quality standards.
This article has been viewed 34,263 times.
Learn more...
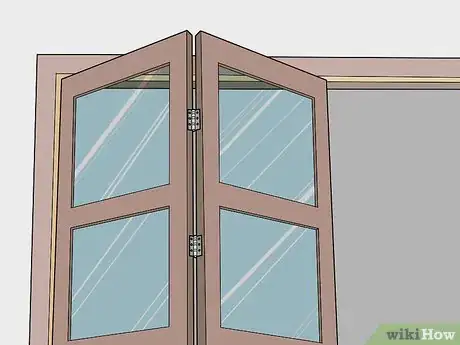
Bifold doors have a reputation for being frustrating to install, but rest assured that they’re not as difficult as they may seem. So long as you install the tracks evenly, the rest of the installation process is usually a breeze. In this article, we’ll walk you through the entire process. If all goes according to plan, you should be able to have you bifold doors installed in a few hours or less.
Steps
Installing the Tracks, Pivot Plates, and Locking Arms
-
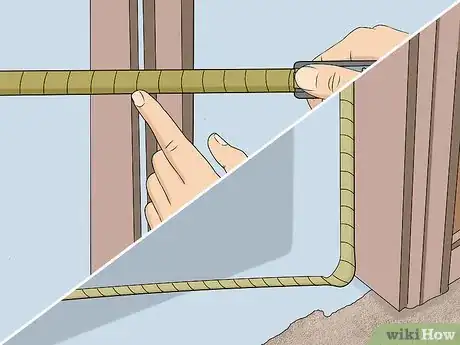
1Purchase a bifold door kit that will fit in the designated space. Start by measuring the area you want to hang your bifold doors. Then, head to a home hardware store and purchase a bifold door kit. Be sure that the combined width measurements of both doors are 0.5 inches (1.3 cm) less than the width of the opening and the combined height measurements are 1 to 2 inches (2.5 to 5.1 cm) less than the height of the opening. This is necessary to account for mechanical parts.[1]
- For best results, opt for solid wood or solid-core, rather than hollow-core, bifold doors.
- If you have a small opening, you may only need a single bi-fold door. For larger openings, opt for a pair of bi-fold doors.
- If you want to stain, paint, or finish your door panels, make sure to do so prior to installation.
-
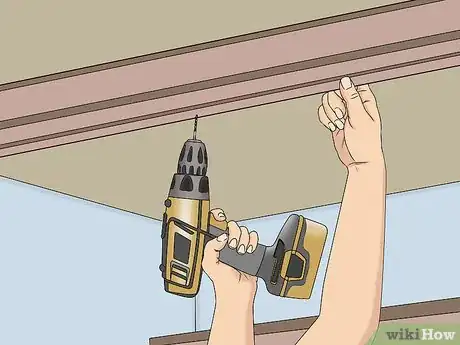
2Install the top and bottom tracks in the opening. Before you attach any tracks, align them so that they are flush against the side of the door frame that the doors will fold toward—also known as the jamb side. Now, hold each track in place and fasten them to the top and bottom of the frame using the provided screws and an electric drill.[2]
- If you're hanging 2 sets of bifold doors in an opening, you'd have tracks flush against both the left and right sides of the frame on both the top and bottom so you can install a bi-fold door on either side.
- Keep the screws loose to make it easier to hang the bifold doors later.
Advertisement -
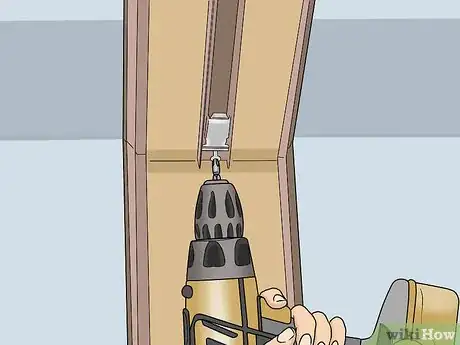
3Attach the pivot plates and locking arms to the tops and bottom of the doors. Start by checking the manufacturer's instructions to determine how far to position the pivot plates from the edges of the doors and where to place each plate's pin. Use the provided screws and an electric drill to attach the pivot plates to the jamb-side doors and the locking arm to the leading doors (the door farthest from the jamb) using the pre-drilled holes in each door.[3]
- The pivot plates are the thin, rectangular metal parts that connect to the track and floor bracket, while the locking arms are the hooks that connect to the doors and slide along the track.
- Each pair of doors should have pivot plates and locking arms on both the top and bottom of the jamb-side and leading doors, respectively.
- Some bifold doors have bottom pivots that attach to the door jamb—the vertical part of the frame that the door is secured to—rather than the floor. Regardless, always attach according to the manufacturer’s instructions.
Attaching the Hinges
-
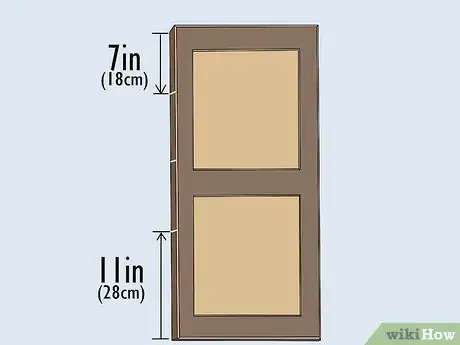
1Mark the hinge locations on the jamb-side door. Start by finding the jamb side door—the one closest to frame or opening—and mark the inner edge 11 inches (28 cm) from the bottom and 7 inches (18 cm) from the top. Then mark the center point between the previous 2 marks.[4]
-
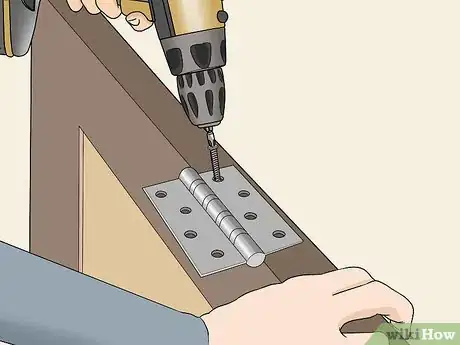
2Install the top, middle, and bottom hinges to the jamb-side door. Align the bottom of the lower half of a hinge with the bottom mark on the jamb-side door. Be sure that the knuckles are flush to the edge and facing back. Now, drill pilot holes through the hinge holes with a self-centering bit, insert the screws, and fasten the hinge plate.[5]
- Repeat this process with the top and middle hinges.
-
3Connect the jamb-side door to the leading door. The leading door is the outer door that is attached to the jamb-side door. Place it flat down so that it touches the first door back-to-back. Now, align the remaining hinge plates from the jamb-side door to the leading door at the same locations as before: 11 inches (28 cm) from the bottom of the inner edge, 7 inches (18 cm) from the top, and the center point between those 2 locations.[6]
- After aligning the hinge plates on the leading door, screw in the plates with the provided screws.
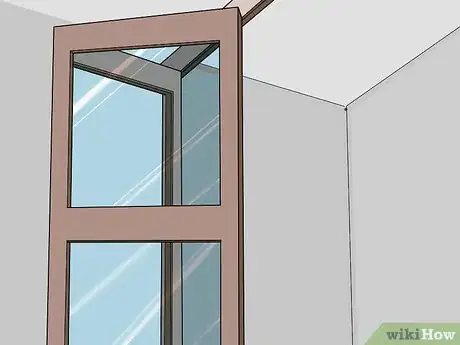
- Press the top and sides of both doors into a corner of your home to align them evenly before attaching the hinges.
-
4Repeat the process on the other bi-fold door. If you're using 2 sets of bi-fold doors, simply follow the same steps to attach the hinges to the other door. Mark the hinge locations, install the hinges in the jamb-side door, then connect the doors to each other.
Adding the Door Pulls
-
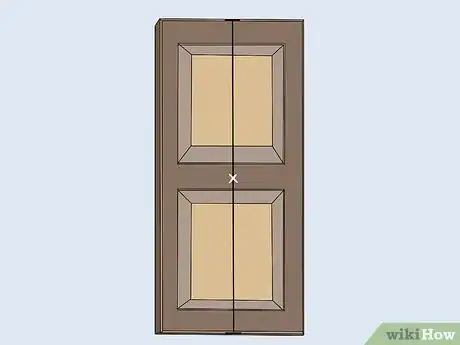
1Mark the door pull locations on the leading doors if they're flat. If your doors are flat, find the center point, width-wise, of the leading door. Measure 36 inches (91 cm) from the bottom of the door and make an "x" mark at that height at the center point of the door.[7]
-
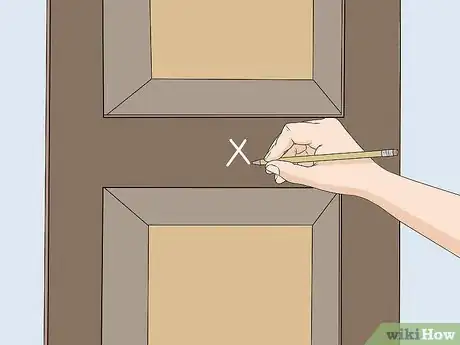
2Draw the door pull locations on the rails if your doors are paneled. For paneled doors, mark the center location of each leading door's middle rail—the horizontal elevated region that runs across the middle of the door. Start by using a straightedge to draw a line from corner to corner across the rail.[8]
- Now, draw a corner-to-corner line in the other diagonal direction on the rail to create an "x," which marks the center of the rail.
- Repeat the process for each leading door.
-
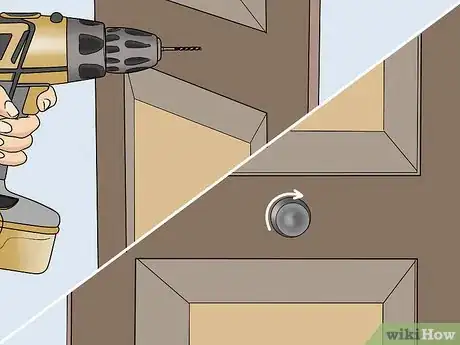
3Attach the door pulls. Start by drilling 3⁄16 inch (0.48 cm) holes at each of the door's "x" marks. Now, screw on the door pulls by turning them clockwise into the holes.[9]
- Be sure to screw on the door pulls as tightly as possible and give them a firm pull to make sure they're connected properly.
Connecting the Door Panels
-
1Connect the dowels to the tops of the door. Always start by checking the installation instructions to determine the type of dowel your bifold doors have and how far from the sides of the door to install them.[10]
- If your dowel has an adjustment screw, put it near the side-wall on the bottom of the panel.
- For stationary dowels without adjustment screws, place them on the bottom and top of the door panel on the side that is farthest away from the hinge.
- Attach dowels with spring assemblies into the top of the door panel at the point closest to the side of the installation location's perimeter—the exact distance from the side of the perimeter is noted in the manual.
-
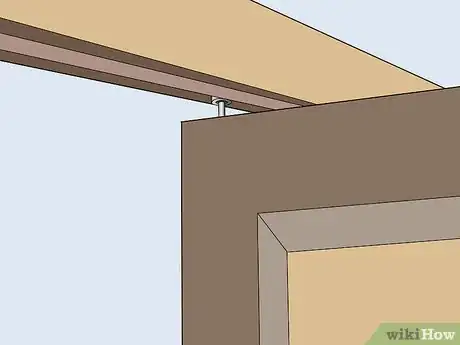
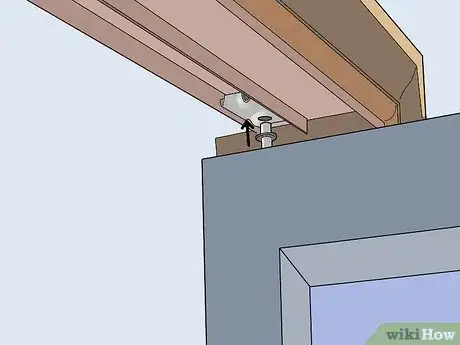
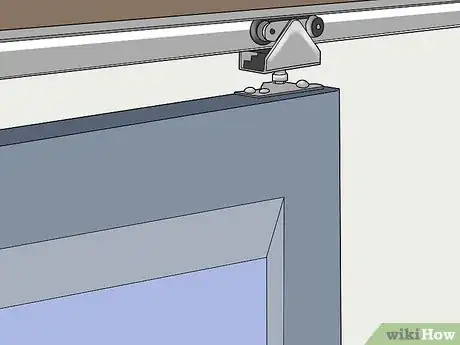
2Attach the door panels onto the top track. Lift the jamb-side door so that the pin of the top pivot plate hooks into the pivot socket—the thin, rectangular metal piece a bit larger than the pivot plate—on the top track. Afterward, push down on the lever located on the side of the socket to lock the door in place.[11]
- Be sure the pin is completely in the socket before locking the pin in place.
- Consult the manufacturer’s instructions throughout the process to determine the procedure specific to your kit.
-
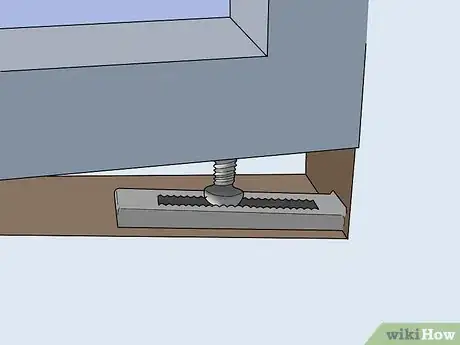
3Connect the door panels to the bottom track. Lift the bottom of the jamb-side door nearest the frame and insert the pin on the top pivot plate into the bottom track's pivot socket. Afterward, check that the pin is fully in and then push down on the lever on the socket’s side to lock it.[12]
- If the door isn't sliding smoothly, pull up the lever on the socket side and make sure the pin is in place. Afterward, press down again on the lever to lock it.
-
4Insert the track hanger pin into the leading door. Find the pin on the track hanger located on the top of the leading door and insert it into the locking arm. Now, twist the arm clockwise to lock the pin into place.[13]
- Check that the track hanger opens and closes properly. If it doesn't, twist the arm counterclockwise and make sure the pin is in place.
-
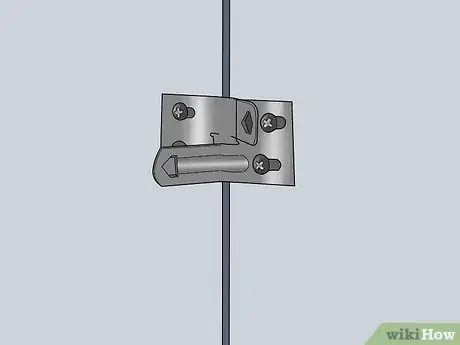
5Attach the 2 door aligners on the inside of the doors. Enter the opening and close the doors so you're looking at the back side of them. Measure 6 inches (15 cm) from the floor on the leading door(s) and draw a horizontal line at this location. Place 1 aligner horizontally at this location so that the bottom runs parallel to the line. Position the second aligner directly above it parallel to the line.[14]
- Connect the aligners to the doors with the provided screws, then check the alignment from the outside.
- If the alignment is off, adjust the track hardware so the doors open and close smoothly.
References
- ↑ https://www.thisoldhouse.com/how-to/how-to-install-bifold-doors
- ↑ https://www.bobvila.com/articles/bifold-closet-doors/
- ↑ https://www.todayshomeowner.com/video/installing-bifold-doors/
- ↑ https://www.thisoldhouse.com/how-to/how-to-install-bifold-doors
- ↑ https://www.thisoldhouse.com/how-to/how-to-install-bifold-doors
- ↑ https://www.thisoldhouse.com/how-to/how-to-install-bifold-doors
- ↑ https://www.thisoldhouse.com/how-to/how-to-install-bifold-doors
- ↑ https://www.thisoldhouse.com/how-to/how-to-install-bifold-doors
- ↑ https://www.thisoldhouse.com/how-to/how-to-install-bifold-doors
- ↑ https://www.bobvila.com/articles/bifold-closet-doors/
- ↑ https://www.bobvila.com/articles/bifold-closet-doors/
- ↑ https://www.thisoldhouse.com/how-to/how-to-install-bifold-doors
- ↑ https://www.thisoldhouse.com/how-to/how-to-install-bifold-doors
- ↑ https://www.thisoldhouse.com/how-to/how-to-install-bifold-doors
