wikiHow is a “wiki,” similar to Wikipedia, which means that many of our articles are co-written by multiple authors. To create this article, 50 people, some anonymous, worked to edit and improve it over time.
This article has been viewed 45,669 times.
Learn more...
This article will teach you how to change Administrator password and make your usual account an administrator. Beneficial for use on a computer with the classic login screen, especially in school or somewhere else which uses a server. You will need to make your own limited account an administrator account just in case you ever get caught using an admin account. You'll get to do some optional niceties too. Please not that this will not work if you are signed in from a limited account.
Steps
-
1Please ignore all quotation marks below while executing the hack process.
-
2Logon with any valid account.Advertisement
-
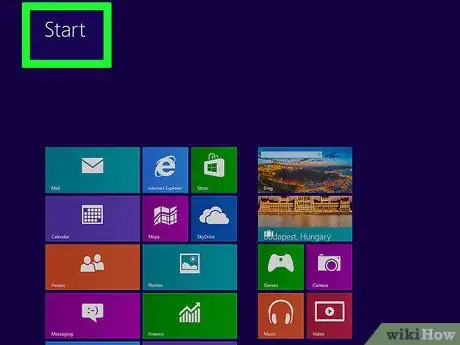
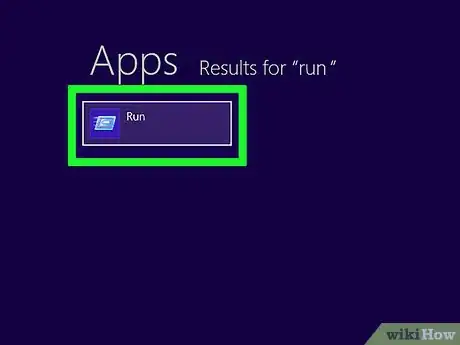
3Go to Start > Run....
-
4Type in "cmd" and then press Enter.
-
5You can also right-click the desktop, create new shortcut, then type: cmd
-
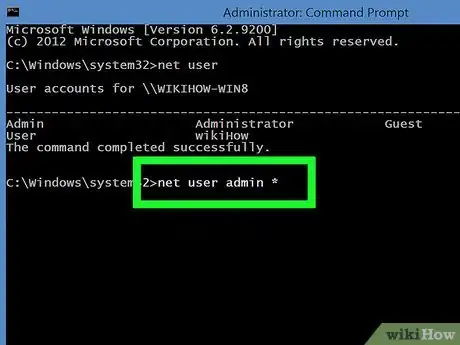
6When the Command Prompt window pops up, type in "net user" to identify the account name of the local administrator.
-
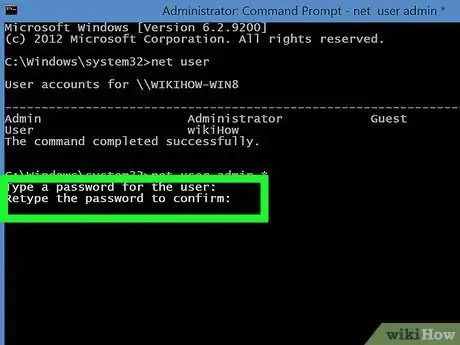
7Once you have identified the admin account, type in net user "admin account name" * and press Enter. Type this exactly in this format, including spaces and replace "admin account name" with the name of the admin account.
-
8When prompted, enter a new password for the admin account and hit Enter. You will not see the characters being typed.
-
9Confirm your password by entering it again and hit Enter.
-
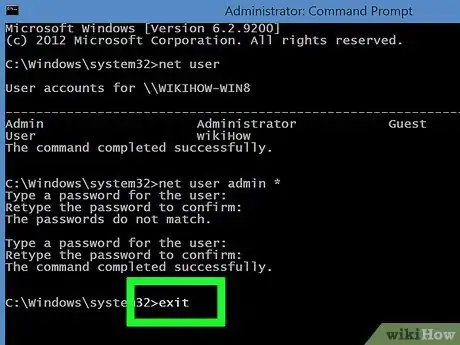
10Type in "exit" and press Enter.
-
11Log out, and then login into the admin account with your password.
-
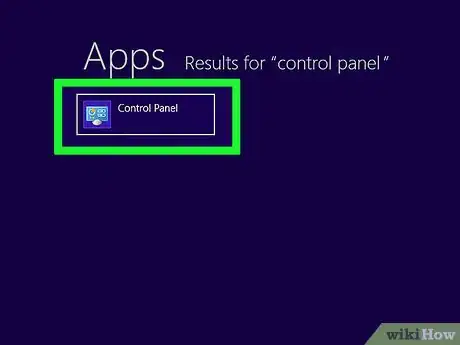
12Go to the Start menu and the Control Panel will appear now.
-
13Go to the Control Panel.
-
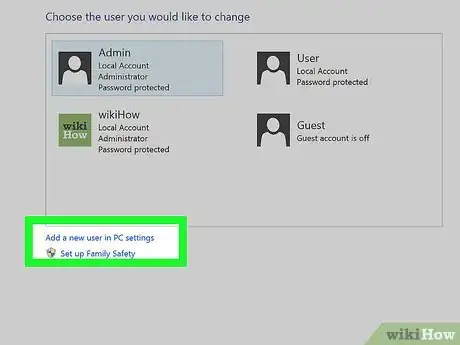
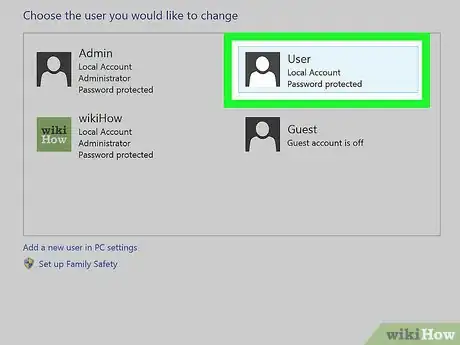
14Open User Accounts.
-
15See if your limited account is in the list (which contains the admin account name, etc) and if it isn't, add it by clicking on "Add". If it is, skip the next step.
-
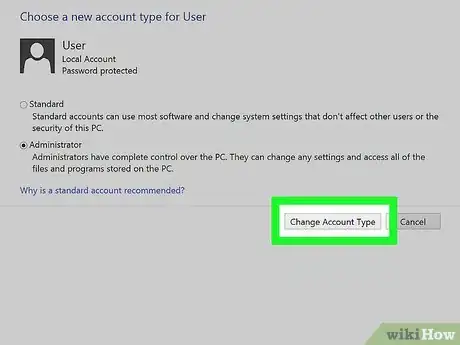
16Enter your limited account name in the resulting pop up window and click next. Then, in the next menu, select the third menu. Click on the arrow to expand the menu and select Administrators (or anything similar).
-
17If your limited account name IS in the list, click on it and select Properties. Then, in the next menu, select the third menu. Click on the arrow to expand the menu and select Administrators (or anything similar).
-
18Click OK.
-
19Then, click Apply and then OK.
-
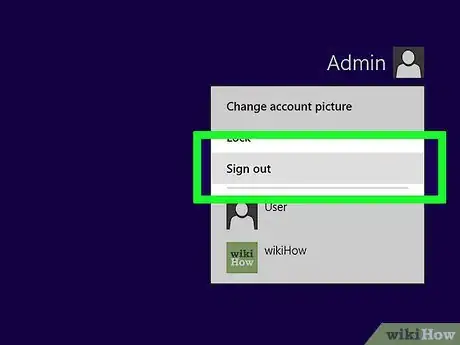
20Log off and then logon with your previously limited account.
-
21Right click on an empty space on the Start taskbar (the whole bar in between the start button and the clock) and click on Properties.
-
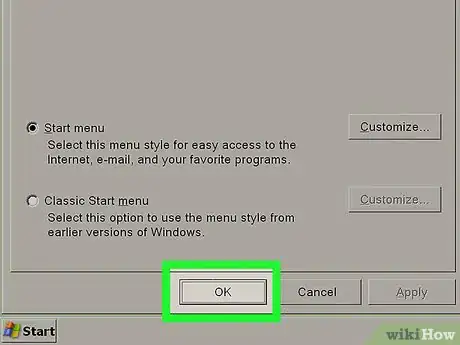
22Click on the Start Menu tab and select Customize....
-
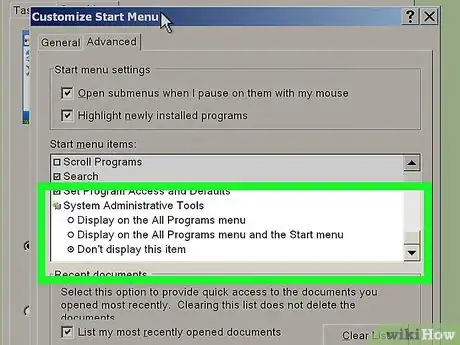
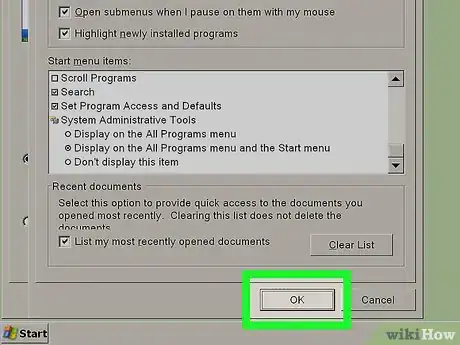
23Click on the Advanced tab and locate for System Administrative Tools (found on the bottom of the list).
-
24Check the "Display on the All Programs menu and the Start Menu" checkbox.
-
25Click OK.
-
26Click Apply then OK.
-
27From the System Administrative Tools in the Start Menu, you can change numerous file settings. Sweet? If the above instructions don't work, you can try to use password reset disk follow the link below:
Use-a-Password-Reset-Disk-(Windows)
Community Q&A
-
QuestionHow do I disable the system error 5 with a guest account?
 Community AnswerYou can't do this with a guest account. You need a normal user account. If the admin is attentive, you may already have been caught.
Method Two
This method only works on Windows XP.
- When starting the computer, press F8.
- Select "Safe Mode".
- Click on the admin account.
- Go to Control Panel.
- Click on Users.
- Click the admin account.
- Click Change Password.
- Change the password to whatever you would like.
References
- Methods slightly altered from this page: https://www.wikihow.com/Recover-a-Forgotten-XP-Password
- Registry editing tips: http://www.pctools.com/guides/registry/detail/543/
