X
wikiHow is a “wiki,” similar to Wikipedia, which means that many of our articles are co-written by multiple authors. To create this article, 40 people, some anonymous, worked to edit and improve it over time.
This article has been viewed 380,579 times.
Learn more...
If you're administering a computer and need to access another user's account, you can use the "net user" command to change their password. If you are locked out of your computer, or don't have administrator access, you can use a Windows installation disc to access the net user command and change any user's password.
Steps
Method 1
Method 1 of 2:
With Administrator Access
-
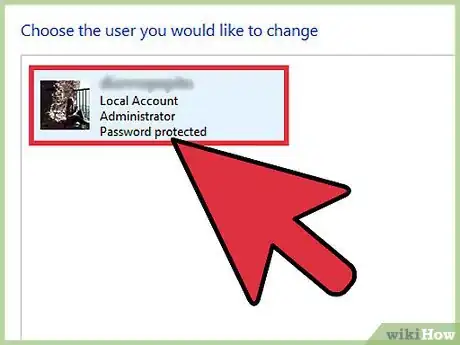
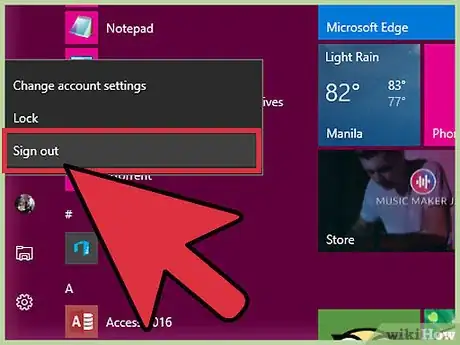
1Log into Windows using an account with administrator access. If you can log into Windows with an administrator account, you can easily change the passwords of any other account.
- If you are locked out of Windows or don't have access to an administrator account, see the next section.
-
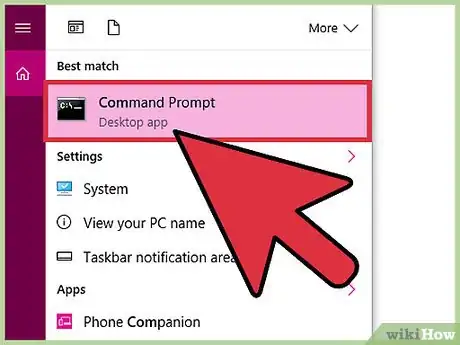
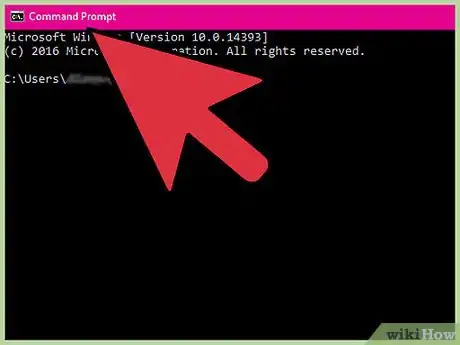
2Open the Command Prompt as an administrator. You'll need to do this even if you're already logged in with an account that has administrator access.
- Windows 7 and earlier - Open the Start menu, right-click on "Command Prompt," and select "Run as administrator." Confirm that you want to open the Command Prompt.
- Windows 8 and later - Right-click on the Windows button and select "Command Prompt (Admin)." Confirm when prompted by User Account Control.
Advertisement -
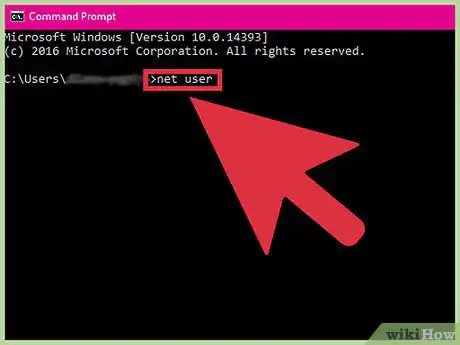
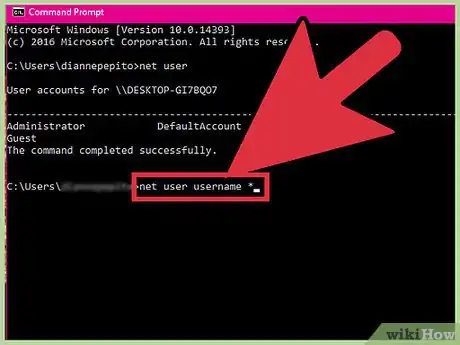
3Type .net user and press ↵ Enter. This will display a list of user accounts on the computer. The accounts will be listed in columns based on their permissions level.
-
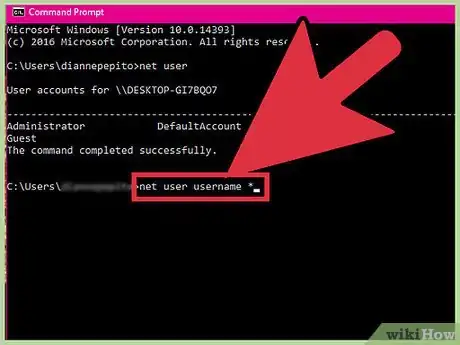
4Type .net user username * and press ↵ Enter. You will be prompted to create a new password for username.
-
5Enter the new password. You will have to enter the password twice to confirm it. The new password will take effect immediately.
-
6Log in with the new password. You can use the password you just created to log into that user's account. Log out of your current session and log in with the new password.
Advertisement
Method 2
Method 2 of 2:
Without Administrator Access
-
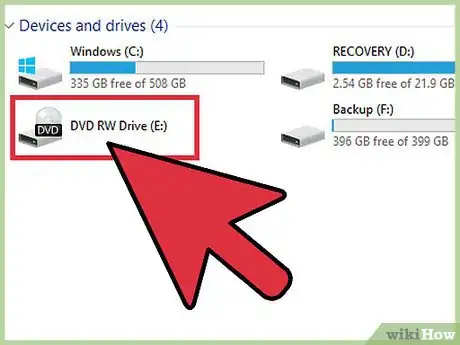
1Find or create a Windows installation disc. If you don't have access to any administrator accounts on the computer, you can use a Windows installation disc as a workaround. This requires the same version disc for the version of Windows you are trying to access. The disc doesn't have to be the one that came with the computer.[1]
- If you have an ISO copy of the Windows installation disc, you can burn it to a blank DVD or put it on a bootable USB drive. See Install Windows 7 Using Pen Drive for more detailed instructions on creating a bootable USB drive with Windows installation files.
-
2Insert the disc or drive in the computer you want to access. You'll be using the installation disc to access the administrator controls to change users' passwords.
-
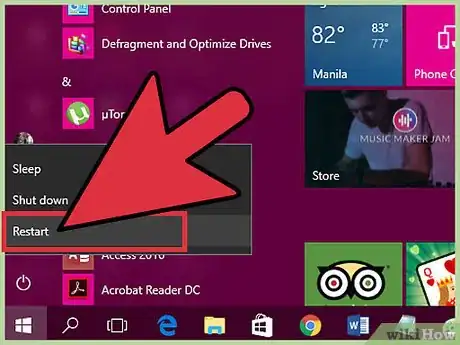
3Reboot the computer and open the BIOS or BOOT menu. This needs to be done before the Windows logo appears, and the process varies slightly depending on what version of Windows the computer is running:
- Windows 7 and earlier - Press the BIOS, SETUP, or BOOT key as the computer is starting up. The key varies by manufacturer, and will be displayed on the boot-up logo screen. Common keys include: F2, F10, F11, and Del. Once you've opened the BIOS or SETUP menu, select the BOOT or BOOT ORDER option.
- Windows 8 and later - Open the Start menu or Screen and right-click the Power button. Hold ⇧ Shift and click "Restart." Choose the "Troubleshoot" option, then "Advanced options." Select the "UEFI Firmware Settings" option from the menu. Open the BOOT menu.
-
4Select your installation disc or USB drive as the primary boot device. The exact process will vary, but generally you'll just reassign the numbers so that the computer boots from the disc or USB drive before the hard drive. Some BIOS software refers to this as the "Boot Order" and you will often see a menu option to "Change Boot Order". Don't be surprised if you find that that the CD drive is already set as the first drive in the order. If this is the case, you don't need to change anything in the BIOS, SETUP or BOOT sequence.
-
5Reboot and start Windows Setup. Press a key to launch the Windows Setup program and let the files load. This may take a minute or so.
-
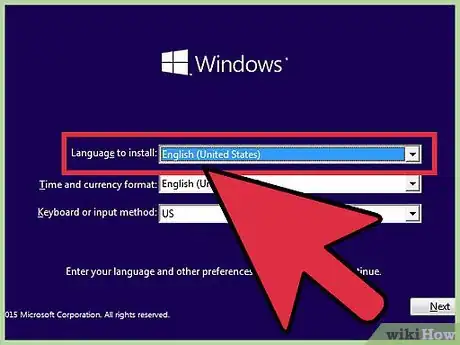
6Select your language and input options. You can usually just leave these at their default settings.
-
7Click the "Repair your computer" button in the lower-left corner. This can be found on the same screen as the "Install now" button.
-
8Select the Windows installation you want access to. There will usually only be one option on this list.
-
9Select "Command Prompt" from the System Recovery Options menu. This will open the Command Prompt in a new window.
-
10Enter the commands to gain access to the Command Prompt from the Login menu. The following commands will allow you to access the Command Prompt from the Windows Login screen. This will allow you to change the password of any account. Enter the following commands, in order:
- cd\ ↵ Enter
- cd windows\system32 ↵ Enter
- ren utilman.exe utilman.exe.bak ↵ Enter
- copy cmd.exe utilman.exe ↵ Enter
-
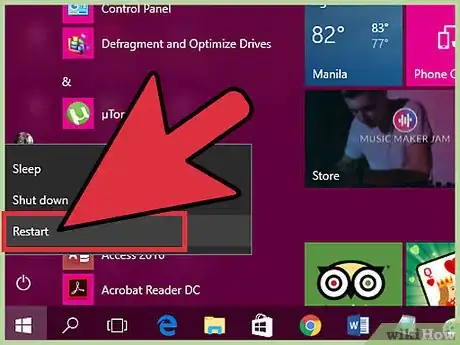
11Remove the installation disc and reboot. Now that you've made your necessary changes, you can reboot the computer and start changing passwords. Take out the disc or drive before rebooting so that the computer boots normally.
-
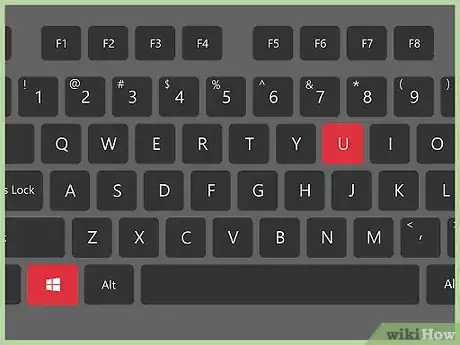
12Press .⊞ Win+U at the Windows Login screen. This would normally launch the Accessibility Manager, but since you made the changes to the system files, Command Prompt will launch instead.
- Press Alt+Tab ↹ if nothing appears right away. It may be hidden behind the login screen.
-
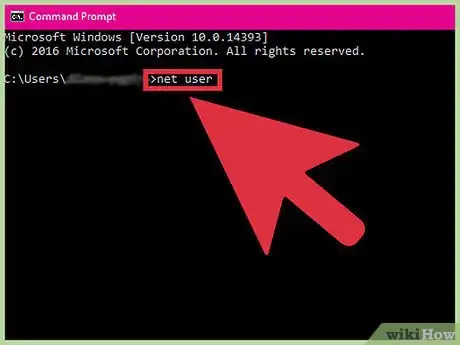
13Type .net user and press ↵ Enter. A list of accounts on the computer will be displayed. Administrators are listed in the left column, regular accounts in the middle, and guest accounts on the right.
-
14Type .net user username * and press ↵ Enter. Replace username with the account you want to gain access to.
-
15Create a new password. Type a new password when prompted and again to confirm. You may want to consider completely erasing the password by simply pressing ↵ Enter on each line, as this may be less suspicious than creating a password the user doesn't recognize later.
-
16Log into the user's account with the new password. The new password will take effect immediately, so you can switch back to the Windows Login screen and use the password to access the account.
Advertisement
Community Q&A
-
QuestionWhat is System Error 5?
 Community AnswerThis error means that you don't have administrator access. Try right-clicking the command prompt and selecting "Run as administrator."
 -
QuestionWhenever I click 'run as admin' after doing the shortcut, it asks to put in the admin password to be able to make a change to my account. How do I change this so I can actually run as an admin?
 Community AnswerYou should try the other method with the disk, because you need to have administrator access to run it as administrator.
 -
QuestionWhen I try to change the password, I get a message that says, "The username could not be found." What does that mean?
 Community AnswerThe username is invalid; check for typos.
Advertisement
About This Article
Advertisement
