This article was co-authored by Jenny Tran. Jenny Tran is a Hair Stylist and the Founder of JT Hair Lab by Jenny Tran based in the Dallas, Texas metro area. With over seven years of professional hair styling experience, Jenny specializes in hair coloring, haircutting, and hair extensions. JT Hair Lab is an authorized carrier of R+Co and of Milbon and is committed to using products with quality ingredients.
There are 7 references cited in this article, which can be found at the bottom of the page.
wikiHow marks an article as reader-approved once it receives enough positive feedback. In this case, 95% of readers who voted found the article helpful, earning it our reader-approved status.
This article has been viewed 935,338 times.
A pixie cut is a great look for lots of different hairstyles, but you may want to grow out your hair to try something new. Typically, a pixie cut will take about a year to grow out.[1] If you want to grow your hair out after rocking a pixie cut, condition your hair regularly, trim your ends, and try taking vitamins that promote hair growth. In addition, you can play with different hairstyles and use styling products and accessories. Get your ends trimmed regularly to keep your hair healthy as it grows out. Growing out your hair may take a while, but in the meantime, take care of it and try out different styles. With some creativity and patience, you can easily grow out your pixie cut!
Steps
Promoting Hair Growth
-
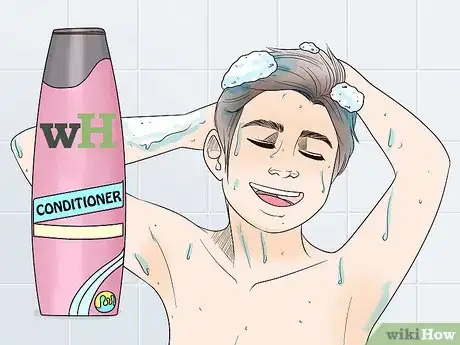
1Use conditioner each time you wash your hair. Conditioner replaces the lipids and proteins inside the hair shaft, which makes your hair healthier. The healthier your hair is, the faster it will grow. When you shower, apply a generous amount of conditioner to your hair from root to tip. Leave the conditioner on your hair for about 1-5 minutes, then rinse it out completely with cool water.[2]
- When your hair is healthy, it will grow quickly and beautifully.
- Conditioner also seals the cuticle, preventing damage in the future. If you prevent hair damage, your hair will grow longer by default.
- Avoid skipping the conditioner when you wash your hair.
-
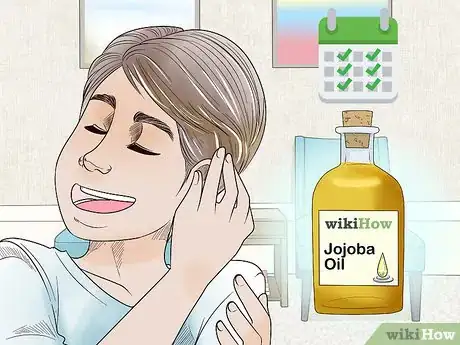
2Do an oil treatment 1-2 times a week. Natural oil treatments replenish the hair follicle and root, which encourages your hair to grow faster. Dampen your hair with your faucet or a spray bottle, and apply a generous amount of oil over all of your hair. Let the oil soak on your head for 10 minutes, and then shampoo and condition your hair as normal.[3]
- Your hair will start to grow quicker after a few weeks of use.
- You can purchase oil-based hair treatments, or you can make your own.
- To make your own, mix together 1 c (240 mL) of unrefined coconut oil, and 1 US tbsp (15 mL) each of almond, macadamia, and jojoba oil. Stir the oils together, and apply a generous amount over all of your hair.
Advertisement -
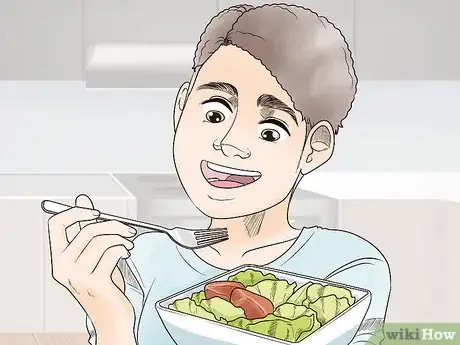
3Eat a healthy diet. Include lots of protein, zinc, and vitamin A, C, and D. In addition to a daily healthy diet, eat foods rich in vitamins that promote hair growth. Salmon is rich in vitamin D and protein, eggs contain biotin and omega-3, and avocados have a high concentration of essential fatty acids. All of these help promote hair and skin health. Include these foods in your meals as often as you can, and you may notice your hair grow faster. Healthy hair starts with a healthy diet and staying well-hydrated.[4]
- In addition, eat lots of sunflowers, almonds, yellow peppers, and sweet potatoes. Sunflower seeds are rich in vitamin E, and almonds have a high biotin and protein content. Yellow peppers are rich in vitamin C, and sweet potatoes help retain vitamin A.
- Dark leafy greens like spinach and broccoli are also great choices. They both contain vitamins A and C.
- Drink plenty of water throughout the day as well. Aim for at least 8 glasses per day.
-
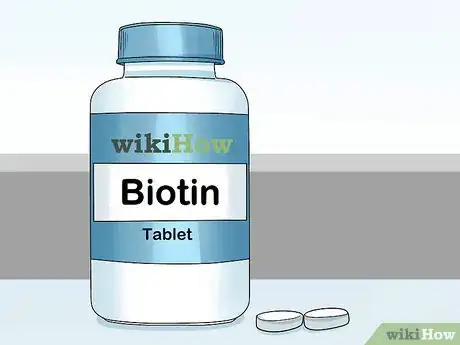
4Take biotin vitamins every day to promote hair growth. In addition to eating well, you can also take vitamins that help your hair grow healthy and quickly. Biotin is one of these vitamins, known to promote hair growth and encourage hair, skin, and nail health. It is a member of the B-vitamin family, and is naturally found in foods like eggs, avocados, and salmon. For best results, take 1 vitamin daily following the instructions on your packaging.[5]
- You can also purchase combination hair, skin, and nail vitamins.
- While supplements are a great way to get your hair to grow faster, it does take a few months for your body to adapt and produce more hair. You should see results within 2-3 months of daily use.
-
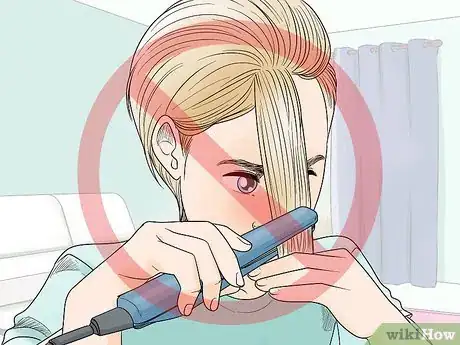
5Avoid using heating tools, chemical relaxers, or hair dye. If you want your hair to grow quickly, you want to keep it as healthy as possible. Hair dyes, chemical relaxers, and styling tools like flat irons and curling irons all cause damage to your hair. To prevent unnecessary damage, skip over the chemical treatments and heat tools.[6]
- If you can’t live without your tried-and-true hair routines, make sure you use a deep conditioning treatment 1-3 times a week to help your hair recover from treatments or styling tools. Apply the conditioner from root to tip, and leave it on for 5-15 minutes. Rinse it thoroughly afterwards.
- Always apply a heat protectant before using a heat tool, such as a blow dryer, flat iron, or curling iron.
Creating Hairstyles
-
1Part your hair a different way if you want to try a new style. For an effortless new style, try parting your hair a different way! This gives you a new look even without cutting your hair. Part your hair directly in the center to make a middle part. You can part your hair 1–2 in (2.5–5.1 cm) from the middle for a side part, or go for 2–4 in (5.1–10.2 cm) for a deep side part.[7]
- For example, try a deep side part if you usually comb your pixie cut forward. Sweep the top of your hair towards 1 side, then make your part.
- You can part your hair with either your fingers or a comb.
-
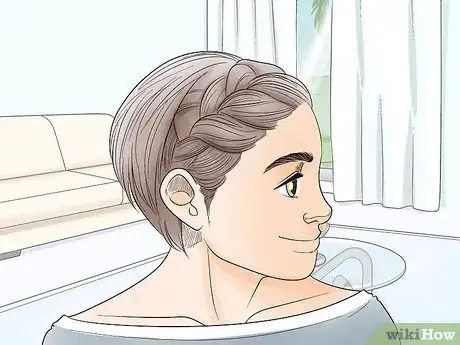
2Braid the front or side of your hair, to hide any cowlicks. Pick a small section of hair about 1⁄2–1 inch (1.3–2.5 cm) wide, and separate the hair into 3 even sections. Hold the left side with your left hand and the side on the right with your right hand. Cross the left section over the middle section, then cross the right section over the middle section to make your braid. Then, take the middle section and cross it over the left side. Repeat this until you reach the end of your hair.[8]
- If you have any pesky cowlicks popping up around your hairline, you can easily tie them into a braid to get them to lay flat.
- You can secure your braid with a small elastic hair tie, bobby pin, or barrette.
-
3Tie your hair back for an easy style. Once your hair grows long enough for a tiny ponytail, you can easily throw your hair back as it grows. Simply run your fingers through your hair to gather it together at the back of your head, then twist a small plastic or elastic hair tie around the ends. This is an easy solution as you wait for your hair to grow out.[9]
- Additionally, you can also make pigtails if that is easier to secure your hair. Divide your hair into 2 sections, and tie up each section with a hair tie. You can place your pigtails up high or down low on your head, depending on the length of your hair.
- You can also combine this with other accessories. Throw a headband or scarf over top of your ponytail to complete your look.
-
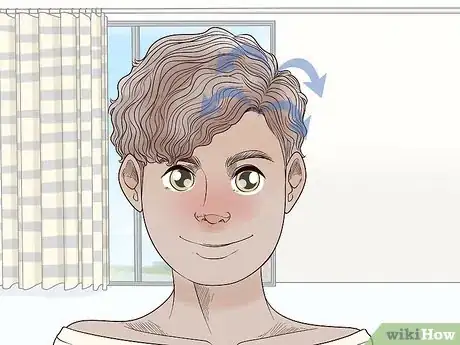
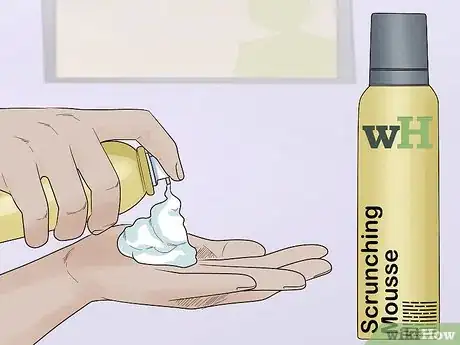
4Apply a scrunching mousse, creating a casual, messy look. Squirt a quarter-sized dollop of mousse into your palm, and rub it in both of your hands. Then, run your hands through your hair to distribute the product. As you do this, run your hands in different directions, and tousle your hair in between your fingers. This will create a messy, casual style, and the mousse will keep your hair in place all day long.[10]
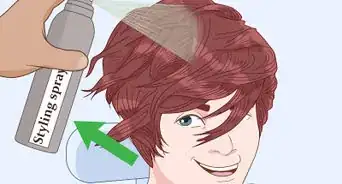
- In addition, you can use hair spray if you need a more secure hold.
- Alternatively, try using gel instead. Gel can provide a lasting hold for thick or curly hair.
-
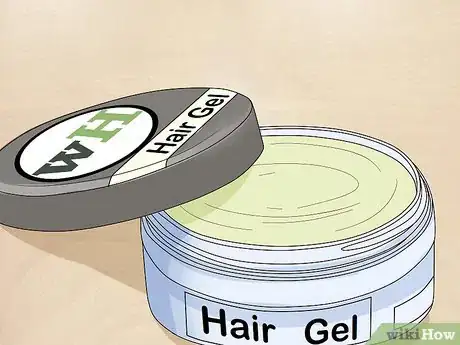
5Use gel and a comb to smooth any cowlicks and hold them in place. If you have small sections of hair shooting up in different directions, you likely have a cowlick. To style your cowlicks in place, comb them with a medium-tooth comb in the direction you want the hair to lay. Then, squeeze a dime-sized dollop of gel in your hands, and apply it to the cowlick.[11]
- You can also comb back over the hair to get a secure hold.
- This should keep your cowlicks contained all day. If you need additional hold, spray a bit of hair spray close to your roots.
- Cowlicks are sections of hair that grow in the opposite direction as other sections.
-
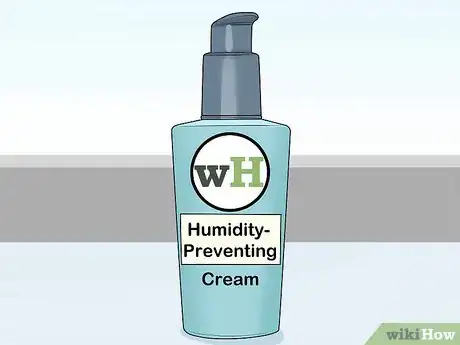
6Use humidity-preventing serums or creams if you are fighting frizz. If you struggle to style your hair in rainy or warm weather weather, try using humidity-preventing gels, creams, and mousses in place of your day-to-day products. To use, squeeze a dime-sized amount of product into your hands, and work it through damp hair. Use more or less as needed to style your hair.[12]
- In addition, you can use humidity-preventing conditioner in the shower. This helps smooth your hair even before humidity strikes.
- For example, squeeze a dime-sized amount of anti-humidity serum in your hands, and apply it to your hair when it is still damp. Then, spray a bit of anti-humidity hair spray over top.
- Purchase humidity-preventing products at most beauty supply stores.
-
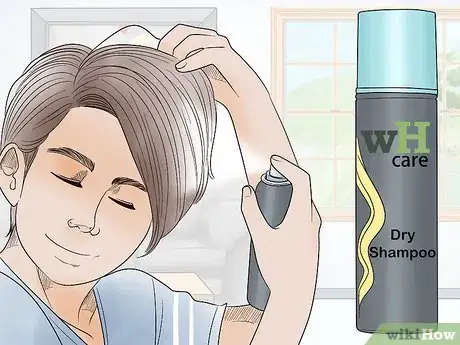
7Spray dry shampoo at your roots for extra volume. If you are worried your hair looks too flat, try skipping the shampoo in the shower and use dry shampoo instead. Spray the roots of your hair with dry shampoo, and tousle your hair with your fingers. Then, brush your hair in a direction of your choice if you’d like. Your hair will stay in place, and the dry shampoo will add a bit of lift to your look.[13]
- If you want to create messy, casual looks, this is a great starting place.
-
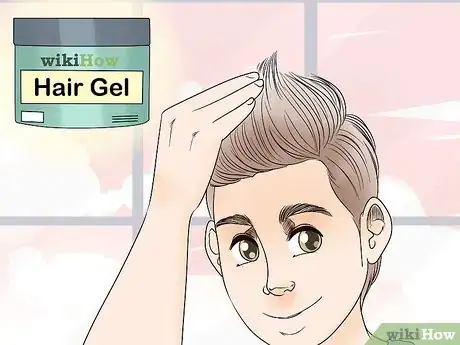
8Slick back your hair with gel for a bold, sleek look. Spray your hair lightly with water, squeeze a quarter-size dollop of gel in your hands, and rub your hands together. Then, run your hands through your hair to apply the gel from root to tip. Comb your hair from your hairline to the crown of your head using a medium-tooth comb. Your hair will stay in place all day.[14]
- This is a great choice for professional or nightlife looks. You will look classy and elegant with this slicked-back style.
-
9Spike up your hair with a gel or cream. This creates a wild, punk look. Short, spiky pixie styles can be super fun if you want a rocker-chick style. Simply squeeze a quarter-sized dollop of gel into your hands, and run it through the ends of your hair. Pinch the ends in between your thumb and index finger, and pull them gently so they stick straight up. With a little gel, you can transform your pixie cut into an edgy, dramatic style.[15]
- This is a great option for a night out on the town, an fun date night, or going to a concert!
Adding Accessories
-
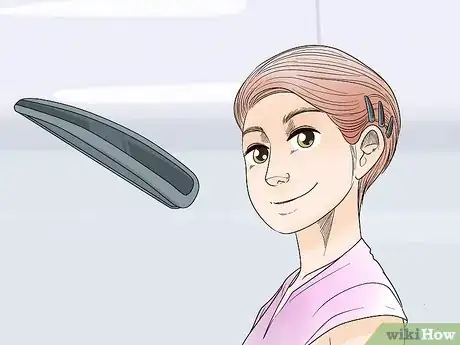
1Pin your hair back with clips or bobby pins, for an easy up-do. If you want an easy, day-to-day hairstyle , grab some bobby pins or small hair clips! Twist your hair in small sections about 1⁄2 inch (1.3 cm) wide, and secure the sections with bobby pins or clips. Repeat this until all of your hair is secured. This creates an easy up-do great for all sorts of looks![16]
- This is great for the office and casual looks.
- If you want a little volume, tease your hair as you pin it.
- In addition, you can pin back just your bangs instead of all of your hair.
-
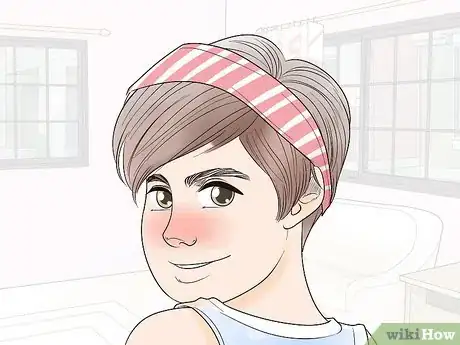
2Throw on a headband or hat. Use either to conceal your hair, if it is an awkward length. If you want a pulled-together look even on days when your hair won’t lay flat, simply rock a headband or a cool hat! You can choose from fabric, metal, or plastic headbands in countless styles and colors. You can also try all sorts of different hats, such as fedoras, baseball caps, and newsboy caps. You can adjust the placement of the band so it either sits on top of your hair or pushes your hair back.[17]
- For elastic headbands, pull the band over your head, and then pull it back over top of your hair.
- For plastic or metal headbands, slide the band directly on top of your hair.
- Headbands work great for casual and elegant styles. You can use a fabric headband in a bright color for casual looks, or purchase a metal headband with rhinestones for a formal style.
- In addition, you can also use bandanas or scarves in place of a headband. Simply fold up the fabric on the long edge so it is about 1⁄2 inch (1.3 cm) thick, and tie it around your head. Double-knot the ends so it stays in place.
-
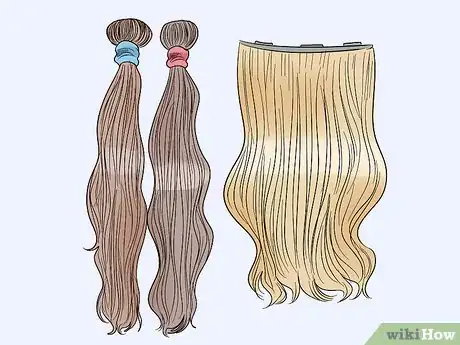
3Experiment with extensions or wigs. If you are growing frustrated with flat spots, bushy sides, or persistent cowlicks, consider trying a wig or investing in extensions! Either option can provide you with a temporary solution as your hair grows out. However, wigs allow you to try out all kinds of different hair colors and styles. If you try a wig, simply place it over top your existing hair. You can easily clip in extensions at your roots, as well.[18]
- You can purchase these at beauty supply stores or online.
- Go with a hair piece that matches your hair color, or try a bold color. You can have some fun and experiment with different looks with both wigs and extensions.
Cutting Your Hair
-
1Find a hairstylist to help you as your hair grows out. If you are having trouble growing out your pixie cut, search online for hairstylists in your area, and schedule an appointment to get some assistance. Professional stylists can give you a great haircut as your hair grows out, and they can also offer tips and tricks to style your hair in between growth stages.[19]
- Growing out a pixie cut can be a frustrating process, and professional stylists totally understand your pain. They can keep you looking your best and offer support throughout the process!
- Opt for an undercut, so your hair is short around the back and sides but long in the top. This will let your hair grow into a bob naturally.
-
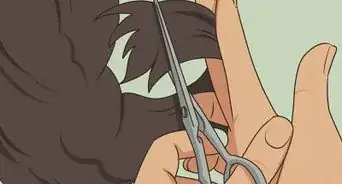
2Trim your split ends every 6-8 weeks to maintain great hair. Trimming your ends keeps your hair healthy and prevents split ends from extending up your strands. Waiting awhile in between hair trims can cause your split ends to get worse, resulting in shorter hair cuts. To prevent this, trim your ends regularly so your hair grows as healthy as possible.[20]
- You can get your ends trimmed at a salon. In addition, consider trimming your hair yourself.
-
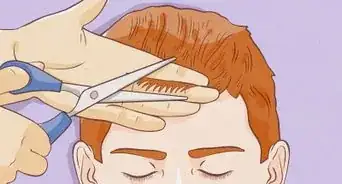
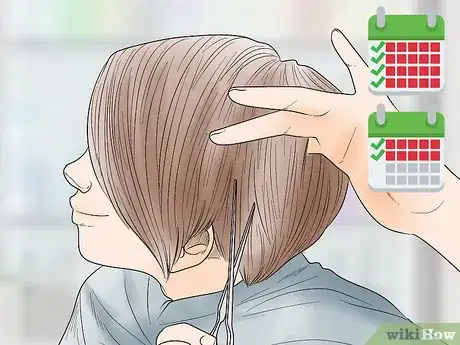
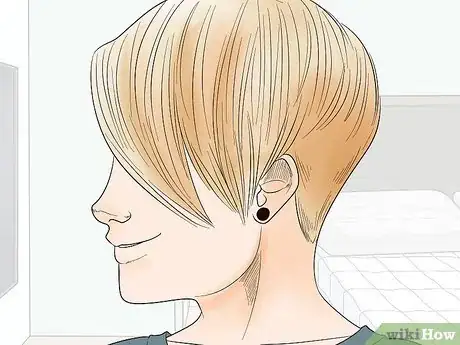
3Get an asymmetrical cut. This will give you a unique, quirky look. If you are growing out your pixie cut and want to try something different, schedule a haircut for an asymmetrical style. With this style, the front of your hair is the longest, and your bangs are angled towards 1 side. This hairstyle is different yet flattering, and since your hair is longer in the front, you can easily grow this look out into a longer bob.[21]
- This may require a bit of growth on top, but this makes a great, unique hair cut as you grow out your locks.
Expert Q&A
-
QuestionHow do you let your hair grow out?
 Laura MartinLaura Martin is a Licensed Cosmetologist in Georgia. She has been a hair stylist since 2007 and a cosmetology teacher since 2013.
Licensed Cosmetologist Get minimal trims every 2-3 months and treat it gently. It's also helpful to pick out a specific end goal so you can track your progress and build toward that shape.
 -
QuestionHow long does it take to grow hair from your shoulders to waist?
 Laura MartinLaura Martin is a Licensed Cosmetologist in Georgia. She has been a hair stylist since 2007 and a cosmetology teacher since 2013.
Licensed Cosmetologist This depends on your height and your hair texture. Your hair grows about 1/2 inch a month, so you get approximately 1 foot of hair every 2 years.
 -
QuestionHow long does it take for your hair to grow 12 inches?
 Laura MartinLaura Martin is a Licensed Cosmetologist in Georgia. She has been a hair stylist since 2007 and a cosmetology teacher since 2013.
Licensed Cosmetologist Your hair grows about 1/2 inch per month. At this rate, 12 inches will take about 2 years.
Things You'll Need
- Conditioner
- Oil treatment
- Hair products
- Headbands
- Hats
- Hair clips
- Bobby pins
- Hair ties
- Head scarves
- Dry shampoo
Warnings
- If you are serious about growing out your hair, avoid getting a major haircut until you reach your target length. You may be tempted to chop it all off when your hair looks uneven or won’t lay how you want it, but your patience will pay off!⧼thumbs_response⧽
References
- ↑ Jenny Tran. Professional Hair Stylist. Expert Interview. 19 May 2020.
- ↑ https://www.cosmopolitan.com/style-beauty/beauty/advice/a36065/tricks-for-growing-your-hair-really-really-long/
- ↑ https://www.cosmopolitan.com/style-beauty/beauty/advice/a36065/tricks-for-growing-your-hair-really-really-long/
- ↑ http://www.instyle.com/hair/grow-it-out-keep-your-haircut-flattering-every-stage#411667
- ↑ https://www.brit.co/growing-out-pixie-cuts/
- ↑ https://www.brit.co/growing-out-pixie-cuts/
- ↑ https://www.liveabout.com/growing-out-a-pixie-cut-a-step-by-step-guide-3517673
- ↑ https://www.teenvogue.com/story/how-to-grow-out-a-pixie-haircut
- ↑ https://www.teenvogue.com/story/how-to-grow-out-a-pixie-haircut
- ↑ https://www.teenvogue.com/story/how-to-grow-out-a-pixie-haircut
- ↑ https://www.teenvogue.com/story/how-to-grow-out-a-pixie-haircut
- ↑ https://www.teenvogue.com/story/how-to-grow-out-a-pixie-haircut
- ↑ https://www.teenvogue.com/story/how-to-grow-out-a-pixie-haircut
- ↑ https://www.teenvogue.com/story/how-to-grow-out-a-pixie-haircut
- ↑ https://www.liveabout.com/growing-out-a-pixie-cut-a-step-by-step-guide-3517673
- ↑ https://www.liveabout.com/growing-out-a-pixie-cut-a-step-by-step-guide-3517673
- ↑ Jenny Tran. Professional Hair Stylist. Expert Interview. 19 May 2020.
- ↑ http://stylecaster.com/beauty/5-tricks-to-growing-out-a-pixie-cut/
- ↑ https://www.liveabout.com/growing-out-a-pixie-cut-a-step-by-step-guide-3517673
About This Article
To grow out a pixie cut, try parting your hair a different way to draw attention away from uneven hair growth. For example, if you normally part your hair in the middle, try parting it 1 to 2 inches from the center to create a side part. If you’re struggling with cowlicks, hold them in place by applying a dime-sized amount of hair gel and combing in the direction you want your hair to lay. Once your hair grows long enough, tie it into a ponytail at the back of your head, or into pigtails on the sides of your head. For more advice from our Cosmetology reviewer, including how to avoid damaging your hair as you grow out a pixie cut, keep reading.




-Step-18-Version-2.webp)
