This article was co-authored by Christine George and by wikiHow staff writer, Hannah Madden. Christine George is a Master Hairstylist, Colorist, and Owner of Luxe Parlour, a premier boutique salon based in the Los Angeles, California area. Christine has over 23 years of hair styling and coloring experience. She specializes in customized haircuts, premium color services, balayage expertise, classic highlights, and color correction. She received her cosmetology degree from the Newberry School of Beauty.
This article has been viewed 527,168 times.
Is your naturally curly hair looking a little flat or undefined lately? Adding layers to your ‘do will not only make your curls more defined, but can give you the volume and bounce that you’re looking for. If you want to save money by not going to the salon, then you’ve come to the right place! We’ll walk you through every step of the way so you can give yourself a curly cut that looks professional. Grab your scissors and let’s get started!
Things You Should Know
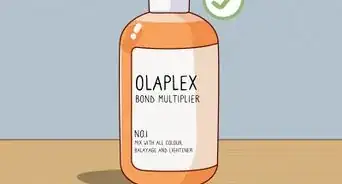
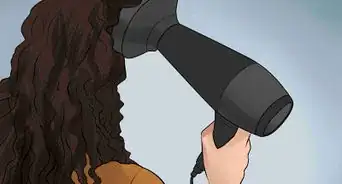
- Wash and detangle your hair, then let it dry. Don’t use any products to make sure your curls dry in their natural state.
- Section your hair into 3 sections, 1 up front and 2 in the back.
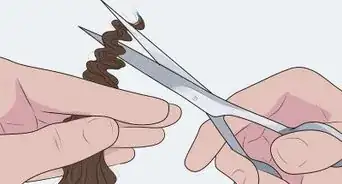
- Pull the front section forward over your forehead and use hair cutting scissors to snip off 1 to 3 in (2.5 to 7.6 cm) of hair.
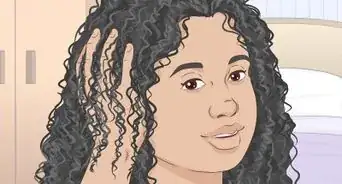
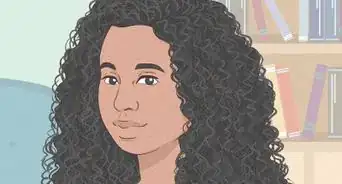
- Trim the other sections the same way, pulling them over your forehead, then let your hair down. Snip off any pieces that look uneven or out of place.
Steps


Things You'll Need
-Step-17.webp)


References
- ↑ https://www.youtube.com/watch?v=yBlWAI8BaMk&t=165s
- ↑ https://www.youtube.com/watch?v=yBlWAI8BaMk&t=165s
- ↑ https://www.youtube.com/watch?v=Cz_LFaTtGTU&t=12s
- ↑ https://www.youtube.com/watch?v=XY8X7fYARXI&t=446s
- ↑ https://www.youtube.com/watch?v=goal2VJ8F-c&t=376s
- ↑ https://behindthechair.com/articles/long-layers-new-approach/
- ↑ https://behindthechair.com/articles/long-layers-new-approach/
- ↑ https://behindthechair.com/articles/need-help-cutting-styling-curls/
About This Article

To cut curly hair into layers, first part the back of your hair and divide it into 2 sections. Put hair ties on each section at the length you want to trim it. Then, use scissors to cut each section just below the hair tie. After you’ve cut off this length, undo your hair ties and divide your hair into 4 sections for layering, with 2 sections at the top of your head and 2 at the bottom. Pull one of the top sections forward over the top of your head then grasp the ends of your hair with your index and middle fingers, about an inch from the ends. Make sure to angle your fingers so the layers will be shorter in front and longer in the back. Cut just above your fingers, examine the length, then cut more if necessary. Continue this process with each section of hair until you have the shape and length you want. For tips on choosing the right haircut equipment, read on!


-Step-17.webp)


