This article was co-authored by Chai Saechao. Chai Saechao is the Founder and Owner of Plant Therapy, an indoor-plant store founded in 2018 based in San Francisco, California. As a self-described plant doctor, he believes in the therapeutic power of plants, hoping to keep sharing his love of plants with anyone willing to listen and learn.
There are 7 references cited in this article, which can be found at the bottom of the page.
This article has been viewed 62,846 times.
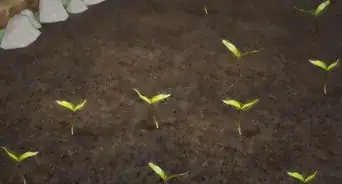
Growing plants from seeds is fun and rewarding because you get to watch them sprout and bloom into delicious produce or gorgeous flowers! To grow your seedlings as healthy as possible, make sure you plant them properly and care for them regularly. Show your seeds some love and attention, and they will sprout into beautiful, healthy plants.
Steps
Planting Seeds Properly
-
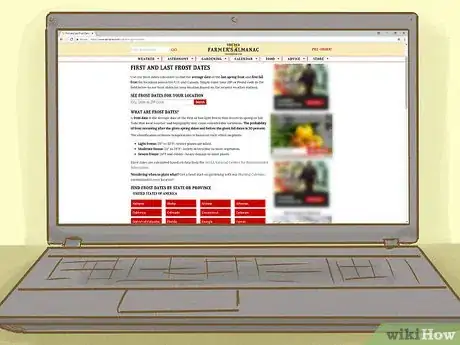
1Determine your frost date to decide when to plant your seeds. The date is based off of your climate zone. Start planting your seeds indoors a few weeks before your frost date. That way your seeds will be ready to move outside when the weather is warm enough.[1]
- You can use an online frost date calculator, like the Farmers' Almanac, to help you find out your frost date.
-
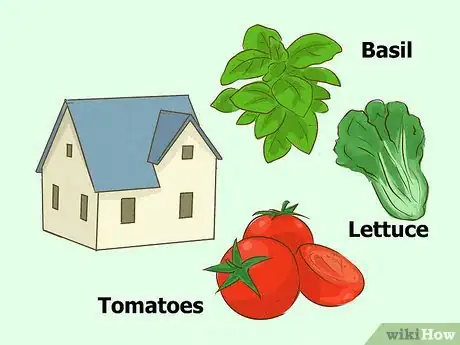
2Choose plants that will thrive inside your home. Some flowers and vegetables are hard to germinate at home, as they require particular growing conditions. Go with versatile, easy-to-grow seeds to ensure your plants will thrive in your environment.[2]
- If you are growing vegetables, try seeds like basil, broccoli, cabbage, carrots, cauliflower, lettuce, peppers, and tomatoes.
- If you are growing flowers, try annuals like alyssum, cosmos, marigolds, and zinnias.
Advertisement -
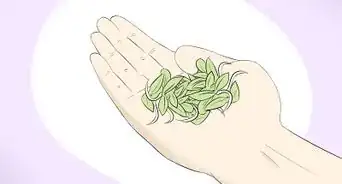
3Plan when to plant your seeds based on their specific germinating times. Some seeds will germinate quickly, in 2-4 weeks, while other seeds will need 8-14 weeks. Look up how many weeks your seeds will need to sprout, either online or on your seed package. Then, you can start your seeds in reference your frost date, so your seeds have adequate time to grow.[3]
- You can look online for seed-starting charts or use your seed container to figure out how long each plant type takes to grow.
-
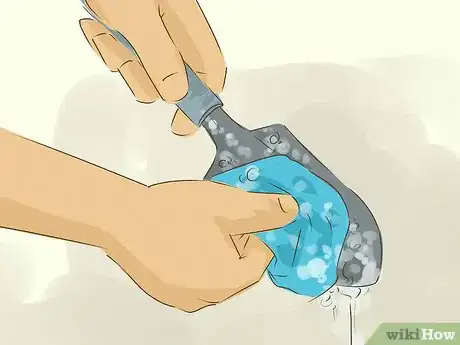
4Wash all materials thoroughly with soap and water before use. Seeds are sensitive, so be sure to wash any tool or material in soapy water to avoid contamination. This ensures your seeds will grow healthy.
- Make sure you wash your containers, any garden tools, and your hands before you handle your seeds.
-
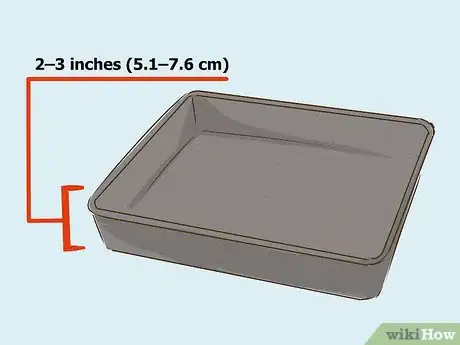
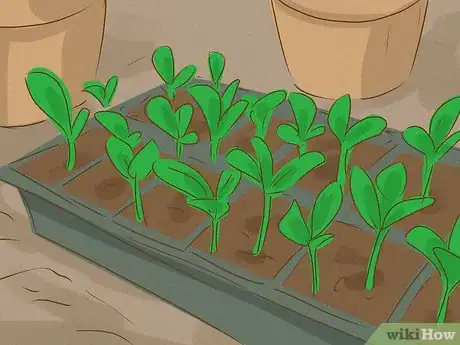
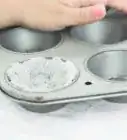
5Use wide, flat containers so your seeds have adequate room to grow. You can plant your seeds in either seed-growing flats or your own recycled containers. Aim for a container 2–3 inches (5.1–7.6 cm) deep so your seeds have room for their roots to grow. Plant 1 seed per section if using seed flats, or use 1 container per seed if using individual containers.[4]
- You can use nearly any recycled container, like egg cartons, margarine tubs, or yogurt cups. You can also use small Styrofoam or plastic cups.
- If using your own container, poke a few drainage holes at the bottom of each before you plant the seeds.
- If your seedling's roots don't have enough room, they will not grow to the best of their ability.
-
6Use nutrient-rich soil so your plants can grow strong and healthy. You can purchase specific potting soil for starting seeds at a local home or garden soil. If your soil is substandard, your seeds will have a difficult time sprouting.[5]
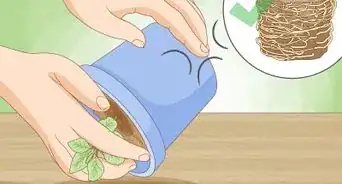
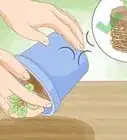
- If your seeds are struggling to grow, try replanting them into fresh soil so they can root into the soil and grow strong. Remove your plants carefully, throw out the old soil, and replace the soil with new, fresh soil. Place your seedlings back into their container, and now they should grow much quicker and healthier.
Helping Your Seedlings Thrive
-
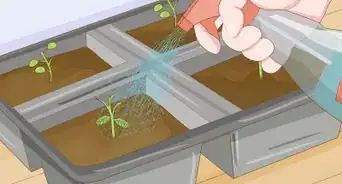
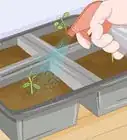
1Keep your soil moist at all times. Check your soil's moisture every day, and spray your seedlings with room temperature water as needed. You never want your soil to be dry. If it is dry, your seeds are not getting enough water. Also avoid over-watering your seeds. If the soil is soggy, your seeds may drown.[6]
- Touch the soil in each container to check the moisture. If it feels dry, add a bit more water. If the soil is still damp, then you can wait another day or 2 before watering again. You may water your seeds daily or every few days, depending on how wet the soil is.
- If your containers are light, then your soil is probably too dry. If your containers are heavy, they are likely too wet.
-
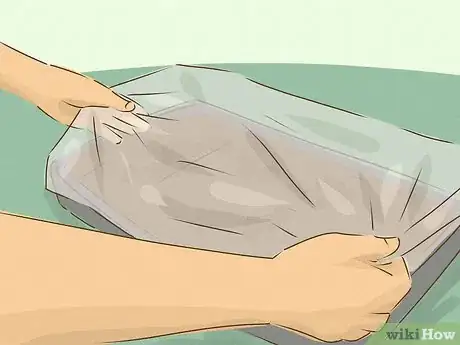
2Keep your plants warm so they grow tall and strong. You can cover your seeds with plastic wrap or glass to keep them humid, moist, and warm. Consider placing your seeds near a heat vent or mat, especially when the seeds are just starting.[7]
- Aim to have your plants at about 70 °F (21 °C).
-
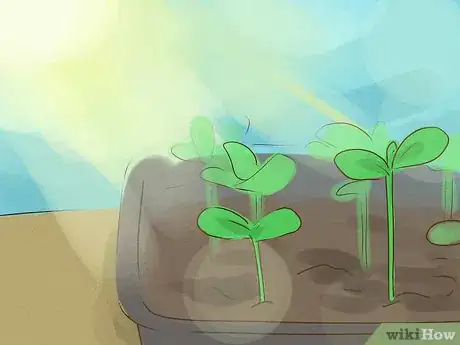
3Move your seeds to a bright light after they start to sprout. When you first see signs of sprouting, uncover your seed's containers, and move them to a bright light. Seedlings require much more direct sunlight than full-grown plants. Aim to provide your sprouted seedlings 12-16 hours of light per day, either using natural light or grow lights.[8]
- You can move your seeds next to a sunny window to take advantage of natural light.
- If using fluorescent grow lights, adjust the height of your lights as your seeds grow. You want your lights to be about 4 inches (10 cm) above your seedlings.
-
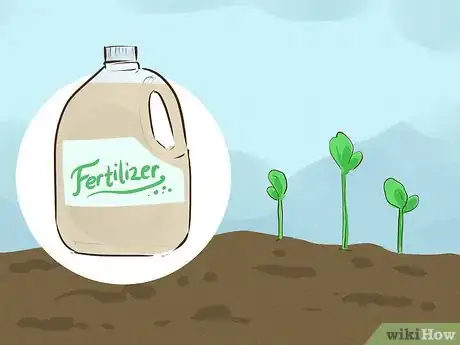
4Use fertilizer as soon as your seeds develop their first leaves. Purchase fertilizer from a home or garden supply store. Create a half-strength solution by mixing the fertilizer in water following your fertilizer's directions. Every week or 2, spray the fertilizer-water mix over your plants.[9]
- For best results, liquid fish/seaweed fertilizer is recommended. You can also use fertilizer for seedlings.
- Fertilizer provides your seedlings with added nutrients so they can grow healthy and strong.
-
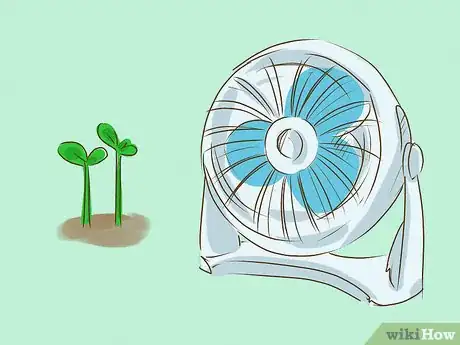
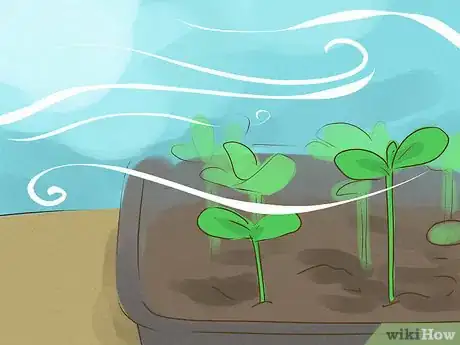
5Set up a small fan to provide your seeds with proper ventilation. Healthy seedlings require a consistent cycling of carbon dioxide and oxygen. You can place a small fan in the room where you have your seeds, and turn the fan on a low setting to mimic the outdoor breeze.[10]
- Your seeds will grow into stronger plants with proper airflow.
-
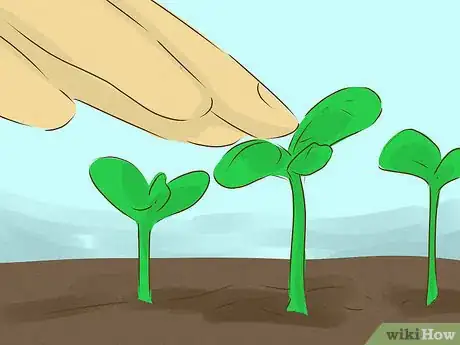
6Touch your seedlings to show them some love. Once your seedlings have sprouted, run your hands over their leaves and stems. This will strengthen them and get them used to more air movement.[11]
- Touch your plants once a day or a few times a week--whatever works for you.
Transplanting Your Seeds
-
1”Harden off” your seeds before you transplant them outside. “Hardening off” is a process where you slowly adjust your plants to life outdoors. This typically spans about a week. On day 1, set your seedlings in a shady, wind-free area outdoors for about 2-3 hours. Over the next few days, gradually increase the time outdoors by a 1-2 hours.[12]
- You can also gradually decrease the amount of water you provide, so that way they easily adapt outdoors.
-
2Move your seeds outdoors on a cool, overcast day. Your seeds are still rather sensitive, and it is best to transplant them when the temperature will be consistent. You also want to avoid harsh sunlight.[13]
- Check specific transplant instructions for your type of plant to make sure you are transplanting them correctly.
-
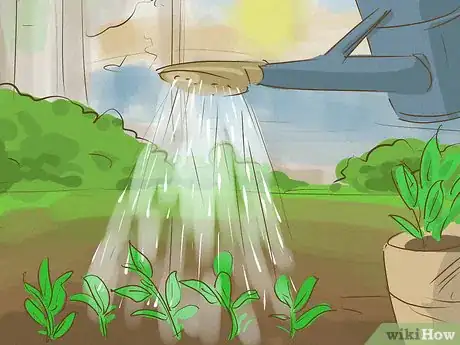
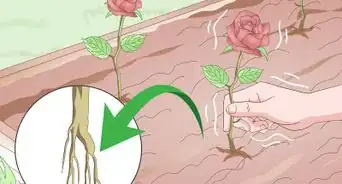
3Replant your seedlings outside in fresh soil. You can transplant your seedlings to your garden bed or an outdoor pot. Make a small hole, place the seedling inside the hole, spread out the seedlings’ roots, and add soil on top. Water your seedlings immediately after you replant them so their roots will take to the new soil.[14]
-
4Water and feed your seedlings routinely to keep them healthy! Check your seedlings' moisture level daily and water as needed.[15] Feed your seedlings with fertilizer every 7-14 days for best results. You can also spread mulch over top your soil to help retain moisture.
Expert Q&A
-
QuestionWhat happens if the leaves start to develop brown spots?
 Chai SaechaoChai Saechao is the Founder and Owner of Plant Therapy, an indoor-plant store founded in 2018 based in San Francisco, California. As a self-described plant doctor, he believes in the therapeutic power of plants, hoping to keep sharing his love of plants with anyone willing to listen and learn.
Plant Specialist This could be a sign that your plants are dehydrated and you need to water the plant more frequently. If water isn't the problem, it could be that your plants are getting too much sun. If you can, move the plant to an area with a little more shade to give it less direct sunlight.
 -
QuestionHow do you care for a seedling?
 Maggie MoranMaggie Moran is a Professional Gardener in Pennsylvania.
Home & Garden Specialist Ensure it gets enough sunlight if possible. Do not over water the plant—wait until the soil's surface is very dry. You can stir the topsoil as well, but be careful not to disturb the roots.
 -
QuestionWhat do seedlings need to grow?
 Maggie MoranMaggie Moran is a Professional Gardener in Pennsylvania.
Home & Garden Specialist There are 3 needs that need to be met before seedlings grow: the correct amount of water, the right temperature, and the ideal location.
Things You'll Need
- Garden gloves or clean hands
- Clean potting containers
- Nutrient-rich potting soil
- Seeds
- Indoor grow lights
- Watering can or spray bottle
- Fertilizer
- Garden bed or outdoor pots
References
- ↑ https://www.apartmenttherapy.com/perfect-timing-when-to-get-your-garden-started-228838
- ↑ https://www.rodalesorganiclife.com/garden/how-to-grow-healthy-seedlings
- ↑ https://www.almanac.com/content/starting-seeds-indoors
- ↑ http://www.tomatodirt.com/seed-starting-containers.html
- ↑ https://www.growveg.com/guides/starting-seeds-indoors-what-went-wrong/
- ↑ http://www.plantea.com/growing-seedlings.htm
- ↑ https://www.rodalesorganiclife.com/garden/how-to-grow-healthy-seedlings
- ↑ https://www.rodalesorganiclife.com/garden/how-to-grow-healthy-seedlings
- ↑ https://www.rodalesorganiclife.com/garden/how-to-grow-healthy-seedlings
- ↑ http://www.plantea.com/growing-seedlings.htm
- ↑ http://www.plantea.com/growing-seedlings.htm
- ↑ https://www.almanac.com/content/starting-seeds-indoors
- ↑ https://www.almanac.com/content/starting-seeds-indoors
- ↑ https://www.almanac.com/content/starting-seeds-indoors
- ↑ Chai Saechao. Plant Specialist. Expert Interview. 20 February 2019.
