This article was co-authored by Lauren Kurtz. Lauren Kurtz is a Naturalist and Horticultural Specialist. Lauren has worked for Aurora, Colorado managing the Water-Wise Garden at Aurora Municipal Center for the Water Conservation Department. She earned a BA in Environmental and Sustainability Studies from Western Michigan University in 2014.
There are 8 references cited in this article, which can be found at the bottom of the page.
wikiHow marks an article as reader-approved once it receives enough positive feedback. In this case, 98% of readers who voted found the article helpful, earning it our reader-approved status.
This article has been viewed 156,256 times.
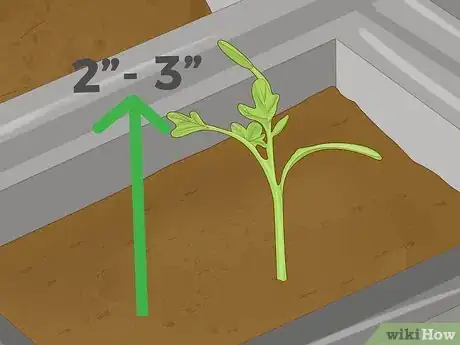
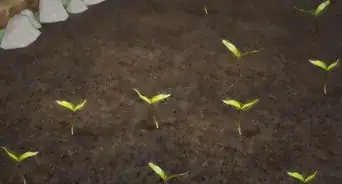
Seedlings must be thinned out to grow into healthy and strong adults. Although it can feel wrong to remove healthy plants, this prevents fungal and growth problems later on. Creating enough space between the plants lets each seedling get all of the sunlight, water, and nutrients it needs. Wait until the seedlings are 2–3 inches (5.1–7.6 cm) tall and choose a mild day to start thinning them out. Properly spaced plants will help your garden be fruitful and thriving!
Steps
Choosing Which Seedlings to Cut
-
1Thin the seedlings when they are 2–3 inches (5.1–7.6 cm) tall. Monitor the growth of the seedlings closely. Don’t let the seedlings get too big, as more leaves will form, which can cause crowding.[1]
- It's easiest to wait until the seedlings are tall enough to grasp.
-
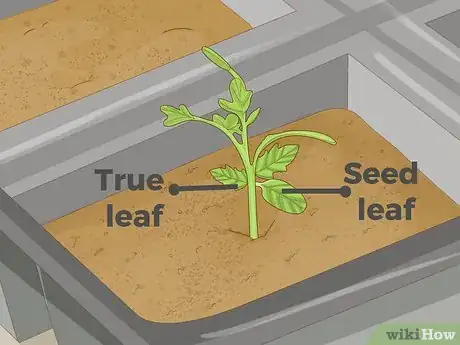
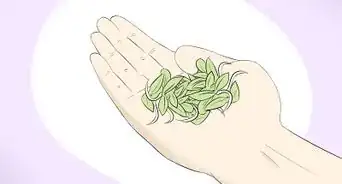
2Look for 1-2 sets of true leaves on each seedling. Seed leaves are replaced by true leaves as the seedlings grow. Look for leaves that match the adults, as seed leaves are more rounded and simpler than true leaves. Waiting for the true leaves to appear helps you pinpoint the healthiest seedlings to keep.[2]Advertisement
-
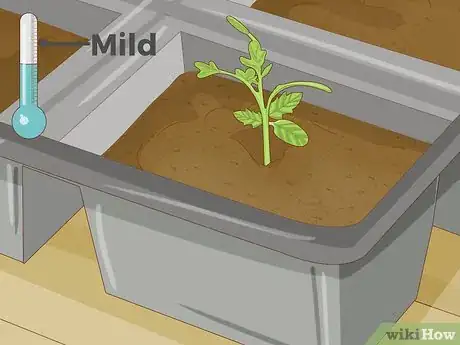
3Pick a mild day when the soil is damp. Thinned seedlings have a greater survival chance if the weather is not too hot or cold. Moisten the soil with a hose or a watering can if it's too dry.[3]
- It's easier to pull up roots from damp soil.
-
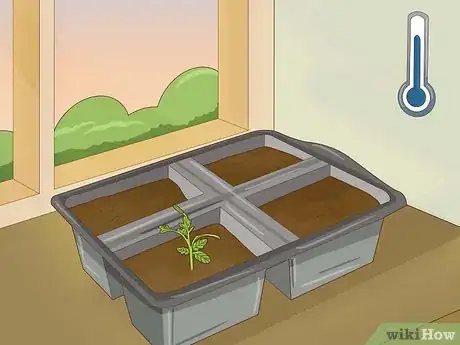
4Wait until the evening to give the seedlings a good chance to adjust. Only start thinning out when the temperature is cooler. The remaining seedlings need time to adjust to the extra air and light before the increased sunlight exposure during the next day. This prevents the seedlings from getting stressed and helps them to grow into healthy adults.[4]
-
5Locate the strongest and healthiest seedlings to keep. Look for the seedlings that appear bright, healthy, and disease-free. Use thin wooden sticks like toothpicks or popsicle sticks to mark these seedlings. Check that there is only 1 seedling per cell or that you have followed the recommended spacing.[5]
- Taller seedlings aren’t always stronger. Avoid choosing tall and spindly seedlings, as these may not become healthy adults.
Removing the Seedlings
-
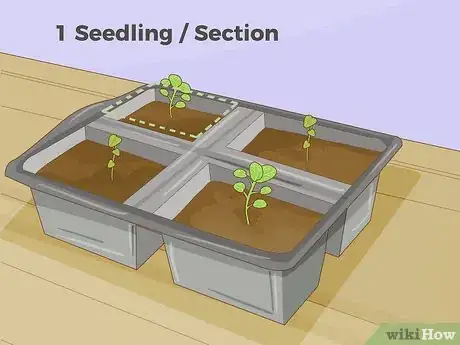
1Aim for 1 seedling per section if they were started in cells or punnets. Often several seedlings are started in the same place to make germination more likely. Leave only 1 seedling in each cell or punnet to give it the best chance of survival.
-
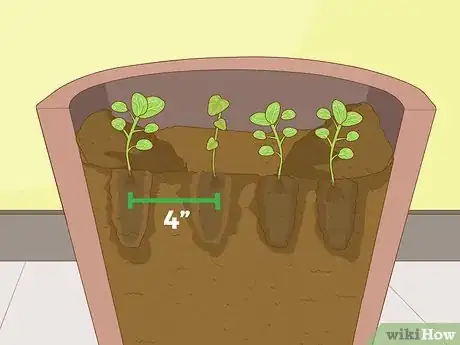
2Learn the recommended spacing for seedlings that share a plot. Read the seed packet to find the spacing for thinning out your particular plant. Follow the recommended guidelines so that the remaining seedlings have the best chance to grow.[6]
- If the spacing is too small you may need to thin out the seedlings again later.
- The recommended spacing varies between plants. For example, for beans it's 4 in (10 cm) and for corn it's 1–1.5 ft (30–46 cm).[7]
-
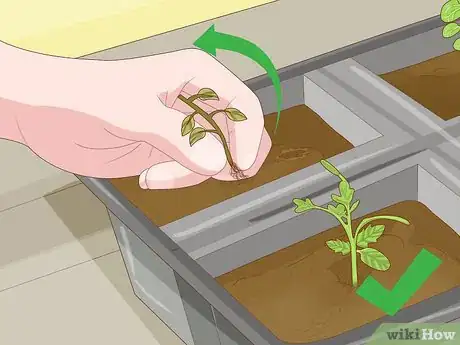
3Pull up leafy seedlings from the ground. Grasp firmly where the shoots meet the soil. Gently pull the seedling upwards to pull out the roots. Leafy seedlings are easy to remove with your hands.[8]
- Press your fingers on the soil around each desired seedling when you remove the neighbors if you are worried about disturbing the roots.
- Discard the seedlings when you are done. Alternatively, you can wash the microgreens and use them in a salad!
-
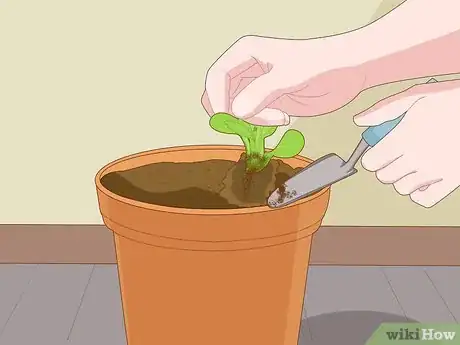
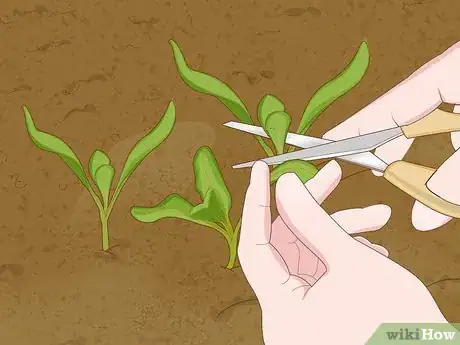
4Cut the seedlings at soil level to thin root vegetables. Use a small pair of scissors to cut the shoots off the seedlings you aren’t keeping. Do this for vegetables like beetroot, carrot, parsnip, and potato. This is because pulling up root vegetables can easily disturb neighboring plants.[9]
- You can thin out any seedlings with scissors if you are worried about damaging the roots of the desired plants. However, it takes longer than simply pulling up the roots.[10]
-
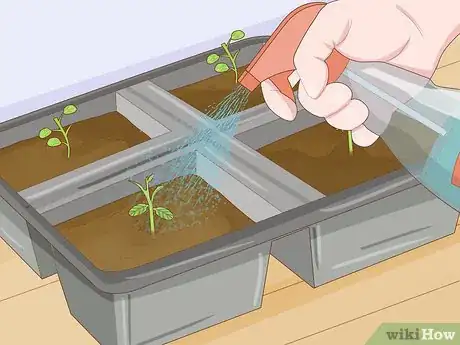
5Water the remaining seedlings to settle the soil. Water the seedlings lightly after thinning them out using a watering case or a hose with a fine-spray nozzle. Keep the seedlings well-watered to help them grow into healthy adults![11]
Community Q&A
-
QuestionCan you explain the process of transplanting seed?
 DonaganTop AnswererThe idea is not to disturb the roots during transplant. When the soil in the pot is slightly wet, dig a hole in the garden slightly larger than the pot. Put some compost or fertilizer in the hole. Gently remove the roots and soil from the pot and set them in the hole. Add more compost/fertilizer around the root ball if you can. Gently tamp down on the root ball. Add some water. Stake the plant if it needs (or will need) support.
 -
QuestionWhat should I use to thin out seedlings?
 DonaganTop AnswererAll you need is fingers. Just pull up the weaker or smaller ones.
Things You’ll Need
- Seedlings
- Watering can or hose with a fine-spray nozzle
- Wooden sticks
- Scissors
References
- ↑ http://growingplaces.org/wp-content/uploads/NEWSLETTER-2012-Volume-9-Issue-24.pdf
- ↑ https://garden.org/courseweb/vegetables/CLASS3/c3p9.html
- ↑ http://www.bbc.co.uk/gardening/basics/techniques/propagation_sowingoutdoors1.shtml
- ↑ http://growingplaces.org/wp-content/uploads/NEWSLETTER-2012-Volume-9-Issue-24.pdf
- ↑ https://schoolgardening.rhs.org.uk/Resources/Activity/Weeding-and-Thinning-Flower-Seedlings
- ↑ http://www.frugalupstate.com/garden/garden-primer-how-to-read-a-seed-packet/
- ↑ https://www.sunset.com/garden/fruits-veggies/choosing-which-vegetables-to-grow
- ↑ http://www.bbc.co.uk/gardening/basics/techniques/propagation_sowingoutdoors1.shtml
- ↑ https://harvesttotable.com/carrot_and_parsnip_growing_pro/
