This article was co-authored by wikiHow staff writer, Travis Boylls. Travis Boylls is a Technology Writer and Editor for wikiHow. Travis has experience writing technology-related articles, providing software customer service, and in graphic design. He specializes in Windows, macOS, Android, iOS, and Linux platforms. He studied graphic design at Pikes Peak Community College.
The wikiHow Tech Team also followed the article's instructions and verified that they work.
This article has been viewed 108,998 times.
Learn more...
Are you having a problem with stick drift on your Xbox controller? Stick drift happens when one of your analog sticks starts to move by itself without you pressing it. Before long, your games become unplayable because the camera or your characters start to move on their own. Before you consider purchasing a new controller, there are a few things you can try to salvage your controller. This wikiHow article will go over troubleshooting steps and how to repair your controller.
Steps
Troubleshooting
-
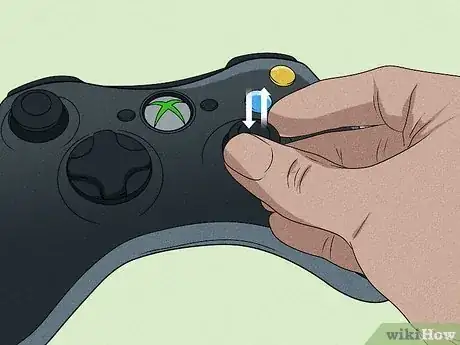
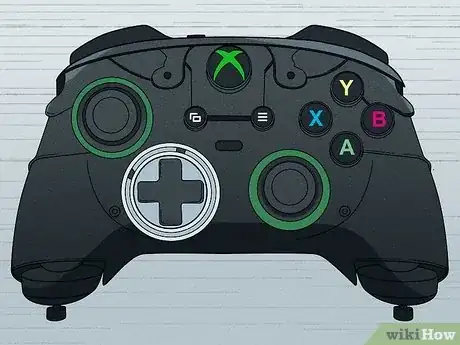
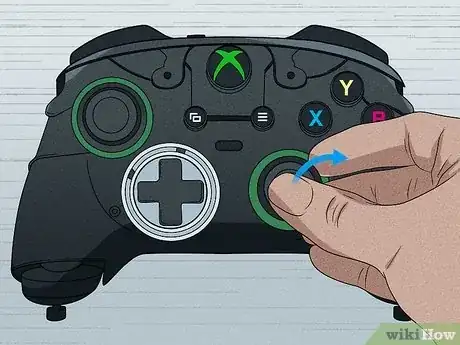
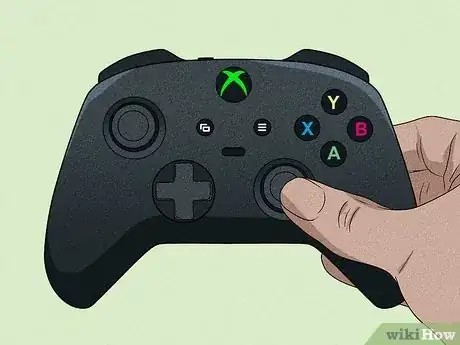
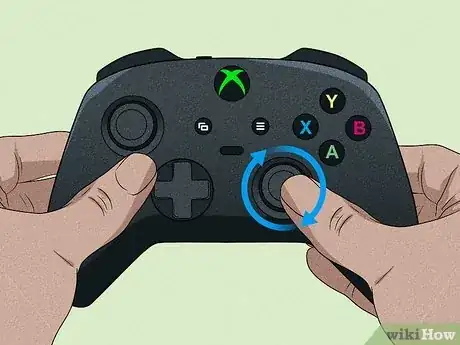
1Push and pull on the joysticks lightly. When the problem first starts, try leaning the sticks in different directions and pressing down on them so that they click. You can also try pressing on the base of the joystick with your finger. If that doesn't work, you can try pulling up on the stick and clicking it in place.
-
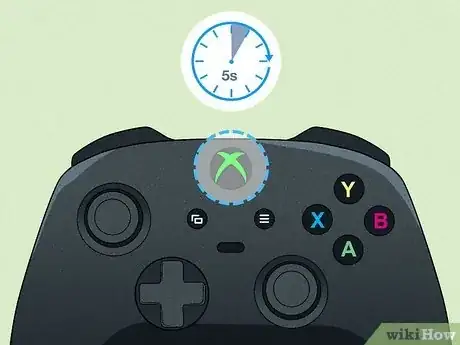
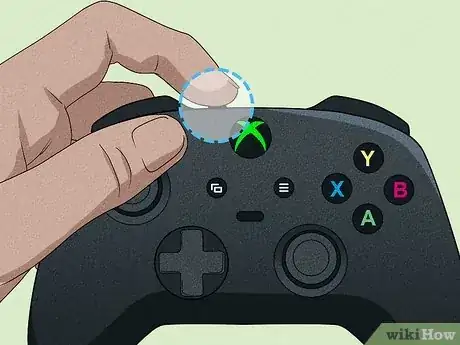
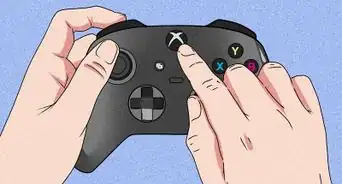
2Restart the controller. To do so, press and hold the Xbox button in the center of the controller until it turns off. Wait a few seconds, and then press and hold the Xbox button to turn it back on.Advertisement
-
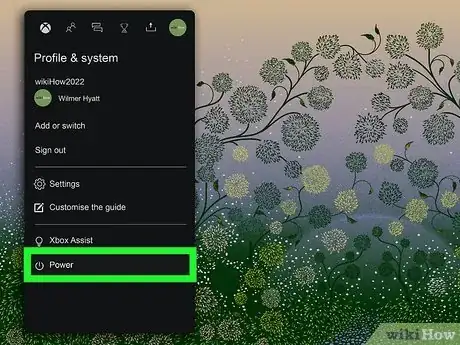
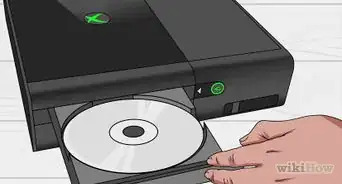
3Restart the Xbox One. Restarting your system can fix any errors that just started occurring. Use the following steps to restart your Xbox One:
- Press the Xbox button in the center of the controller to open the Guide.
- Select the Profile & System tab.
- Select Power.
- Select Turn off console.
- Wait 5 minutes.
- Press the Xbox button on the front of the console.
- See if the problem continues.
-
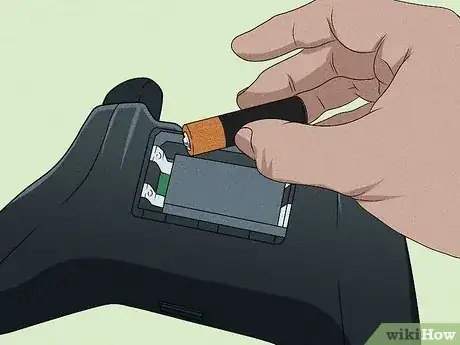
4Change the batteries. In some cases, low battery levels can cause issues with the controller. Try replacing the batteries and see if the problem persists.
-
5Resync the controller. If there is a connection problem with your controller, resyncing it may reestablish a connection and fix any connection issues you are having. Use the following steps to resync your Xbox controller with your Xbox console:[1]
- Press the Connect button on the left side of your Xbox console.
- Press and hold the connect button on the top, center-right side of the controller.
- Continue holding the Connect button until the Xbox button flashes.
-
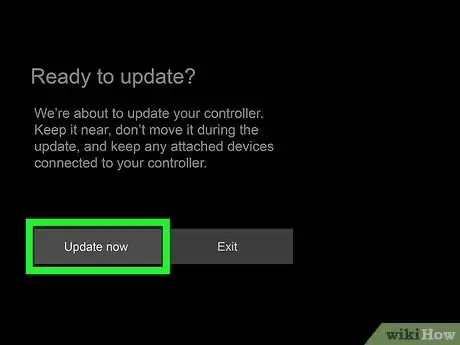
6Update your Xbox controller. Updating the firmware of the controller may fix certain issues you are having with the controller. Use the following steps to update your Xbox controller:[2]
- Connect your controller to the Xbox using a USB cable.
- Press the Xbox button on the controller to open the Guide.
- Select the Gear/Settings tab.
- Select Settings.
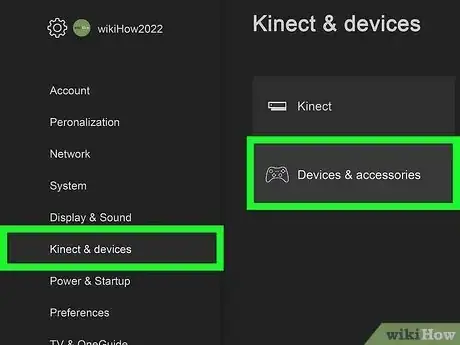
- Select Kinect & devices.
- Select Devices & accessories.
- Select More options.
- Select Firmware version.
- Select Update now.
-
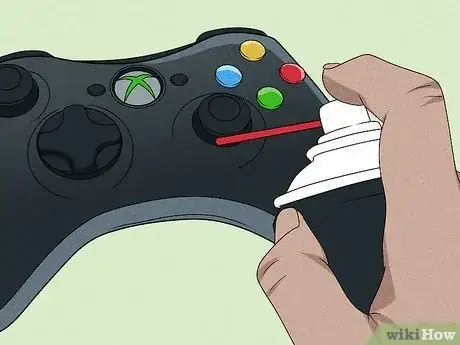
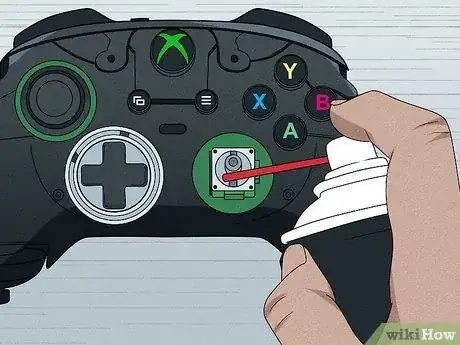
7Clean the sticks with compressed air. First, make sure you have the batteries removed. Press the stick in one direction and spray the base of the stick on the opposite side. Use quick, short bursts of air. Continue pressing the stick in all directions while spraying the opposite side of the base. Let the controller sit for a while before putting the batteries back in. See if the problem continues.[3]
- Be sure to keep the can of compressed air level to avoid spraying moisture into the controller that could damage the circuitry.
-
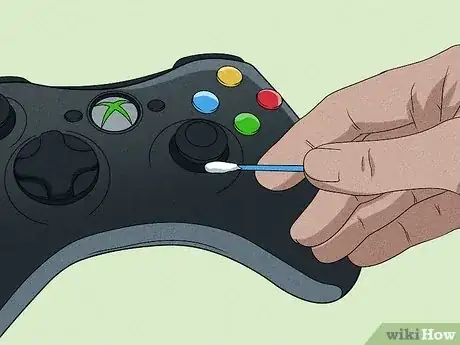
8Clean the stick with alcohol. Again, make sure the batteries are removed from the controller. Lightly soak a cotton swab with Isopropyl rubbing alcohol. Use it to clean the base of the joystick. Press the joystick in all directions to expose more of the base and clean as much of it as you can. Wait for the alcohol to completely dry before reinserting the batteries and powering it back on.[4]
-
9Change the deadzone. The deadzone is the area you can move the stick without moving. If you are having problems with the joystick leaning slightly on its own, expanding the deadzone may prevent unwanted movement during a game. Use the following steps to change the deadzone:[5]
- Press the Xbox button on the controller to open the Guide.
- Select the Gear/Settings tab.
- Select Settings.
- Select Kinect & devices.
- Select Devices & accessories.
- Select your controller and press the Menu button.
- Select Adjustments.
- Use the slider bar below "Deadzone" to increase the deadzone.
Repairing the Controller
-
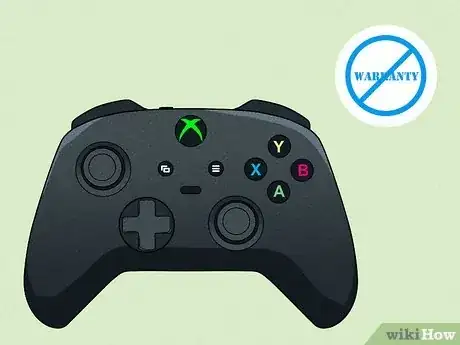
1Make sure your controller isn't under warranty. If all the standard troubleshooting steps don't fix the stick drift problem, you will need to take the controller apart and attempt a physical repair. This will void your warranty. If your controller is less than a year old, contact Microsoft and see if you qualify for a warranty exchange.[6]
- If you do qualify for a warranty exchange, ask for a controller that has the newer stick modules that last longer.
- If you are not comfortable attempting a physical repair, you can take it to an electronic repair shop and see if they are able to fix it for you.
-
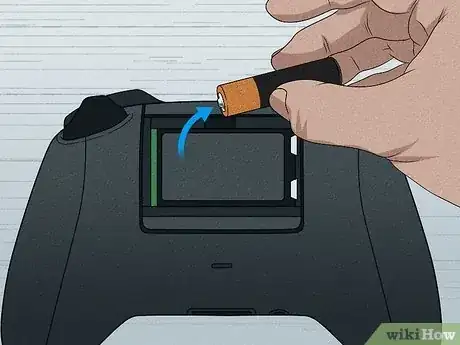
2Remove the batteries. You'll need to remove the batteries in order to access one of the screws needed to take the controller apart. Remove the batteries from the controller on the back.
-
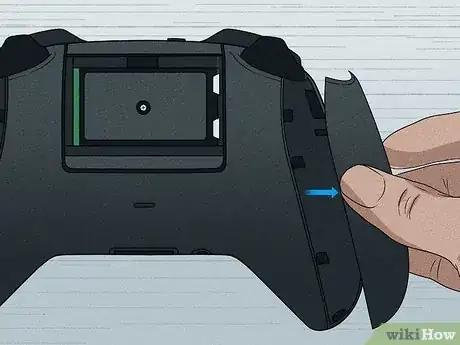
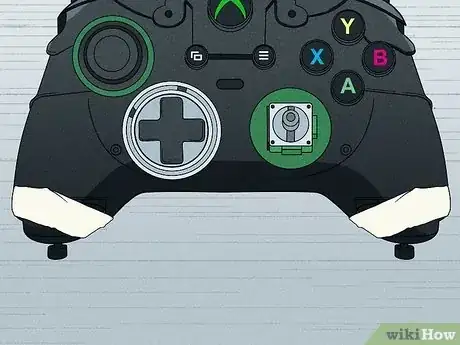
3Remove the plastic covers from the back sides. You can either use a flathead screwdriver or your fingernails to pry lose the plastic covers on the back left and right of the controller below the trigger buttons.
- Be careful not to apply too much pressure so that you don't break the plastic covers.
-
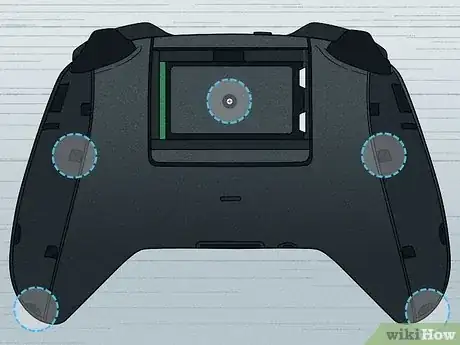
4Use a Torx screwdriver to remove the screws from the back. There are two screws on the left and right sides under the plastic cover and one in the center of the battery compartment. Use a Torx screwdriver to remove the screws.
- If you don't have a Torx screwdriver, you can use a small flathead screwdriver. You'll have to place it in at an angle against one of the triangle sides.
- You may need to peel off the warranty stick from inside the battery compartment to access the screw.
-
5Remove the faceplate of the controller. Once the screws are removed from the back, turn the controller over. The front faceplate should lift right off. If it does not, you may need to pry it lose with your fingernails or a flathead screwdriver.
-
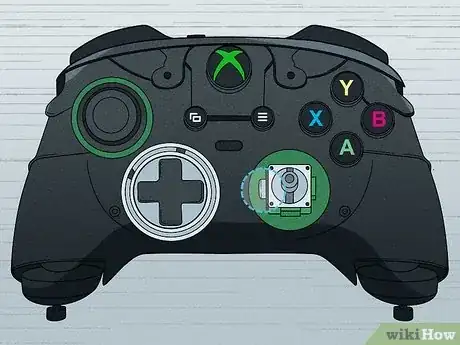
6Remove the joysticks. The rubber joystick pieces slide right on top of the joystick modules. Just pull them off to expose the modules below the stick.
-
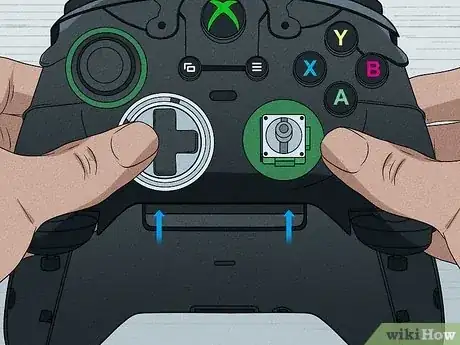
7Remove the grey plastic holder on the left side of the module. The purpose of this plastic piece is to hold the module in place. Once you put the faceplate on, it's not really needed. A lot of times, the plastic piece comes lose and starts to rise. This could be what is causing the drift, so removing the grey plastic piece on the side of the module may fix the drift problem.
- Do not glue the plastic piece down. If you get glue inside the module, it will ruin your controller.
-
8Clean out the joystick modules. Use compressed air to clean out any dust and debris that might have gotten stuck in the joystick modules. You can also use a cotton swab slightly damp with Isopropyl rubbing alcohol to clean it out. Just make sure you let the alcohol completely dry before putting the controller back together.
- Be sure to hold the can of condensed air level to avoid getting any moisture inside the modules.
-
9Test the controller. Go ahead and put the joysticks back on the modules and put the faceplate back on. Put the batteries back in and go ahead and test the controller. If it's working properly, go ahead and put the screws back in. If not, go ahead and take it apart again. There are still a couple more things you can try.
-
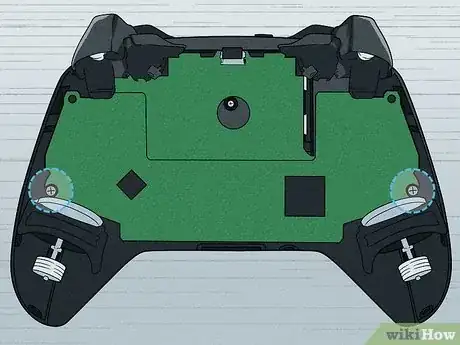
10Take apart the controller and remove the backplate. If you are still having problems with the controller, go ahead and remove the faceplate and the rubber thumbstick from the modules. Then grab the motors on the left and separate the controller boards from the backplate of the controller. You may need to pry the backplate lose with your fingernails or a flathead screwdriver.
-
11Tape the motors down. Right now, the motors are lose. To keep them from flopping around, it's recommended you tape the motors down with some electrical tape or something that's not too sticky. You should be able to turn the controller over without the motors falling out.
-
12Turn the controller over and remove the screws from behind the motors. These are the screws that are holding the motherboard in place. You'll need to use a slightly smaller Torx screwdriver than the one you used to remove the screws that hold the controller faceplate in place.
-
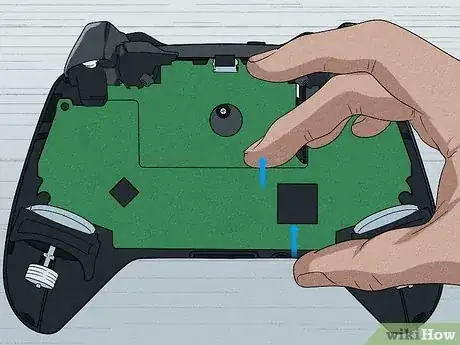
13Move the motherboard forward and prop it on the trigger buttons. It's the larger circuit board. Be careful not to touch any of the metal parts on the circuit board. Place your index finger on the top of the board and your thumb on the bottom. Wiggle it gently until you are able to remove the circuit board. Use the trigger buttons as a prop so that the circuit board rests tilting towards you.
-
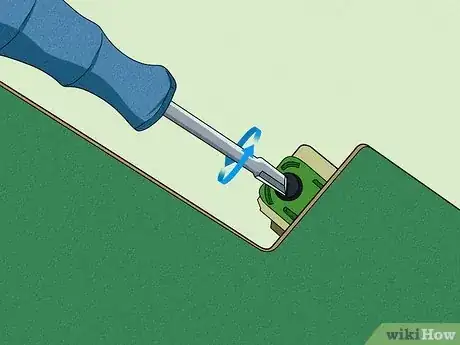
14Turn the black piece on the side of the joystick module. Use a flathead screwdriver to turn the black piece on the left side of the joystick module you are having problems with. If the stick is drifting up, turn it counterclockwise. If it is drifting down, turn it clockwise. Give it two or three full turns. Then wiggle the stick inside the module and give the black piece a few more turns. Repeat a couple of times.
- While you have the controller disassembled, see if the insides need any cleaning. Use condensed air to clean out any dust or debris inside the controller.
-
15Test the controller. Go ahead and reassemble the controller. First, reattach the motherboard and put the controller back in the backplate. Put the rubber joysticks back on the modules and then place the faceplate back on. Don't reinsert the 5 screws on the back until you are sure the controller is working. Go ahead and test the controller. If it is not working, take it apart again and give the black piece on the side of the module a few more turns. Repeat until the controller is working.
- If you are not able to get the stick drift to stop, you may need to replace the joystick modules. You can purchase Xbox One controller parts online, but it is not recommended you try to replace the modules yourself unless you are skilled at soldering and desoldering. You may want to take it to a repair shop, or just get a new controller.[7]
References
- ↑ https://www.technobezz.com/xbox-one-controller-joystick-drift-fix/
- ↑ https://www.technobezz.com/xbox-one-controller-joystick-drift-fix/
- ↑ https://techrt.com/how-to-fix-xbox-one-controller-drift/
- ↑ https://www.wepc.com/tips/how-to-fix-xbox-controller-drift/
- ↑ https://deletingsolutions.com/how-to-set-deadzone-on-xbox-one-controller/
- ↑ https://www.youtube.com/watch?v=XfGpdQ3bS4I
- ↑ https://www.youtube.com/watch?v=Uoxz0oHX9TE&t=409s
