wikiHow is a “wiki,” similar to Wikipedia, which means that many of our articles are co-written by multiple authors. To create this article, 13 people, some anonymous, worked to edit and improve it over time.
The wikiHow Video Team also followed the article's instructions and verified that they work.
This article has been viewed 166,488 times.
Learn more...
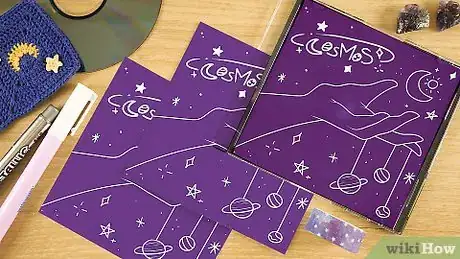
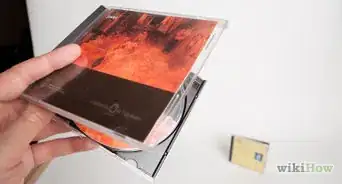
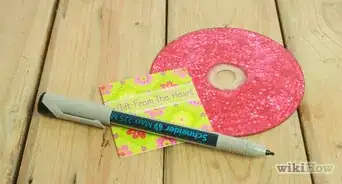
Designing your own CD covers for mixtapes, burned CDs, or to replace your old worn out ones is a project with a lot of possibilities. You can print out computer-generated covers to size, or make you own CD covers by hand. You can even learn to design your own sleeves. Whatever your ideas for your project, you can learn the skills to make it happen.
Steps
Printing Case Labels
-
1Choose an appropriate design software. A variety of computer software programs equipped for designing and printing individualized CD covers are available, most of them available for free download. You can customize your own photos, add text, and size them appropriate for jewel cases, or your own slip-cases. Any of the following are perfect for designing CDs:
- Adobe Illustrator
- CD Label Designer
- CD & DVD Label Maker
- CD Cover Creator
- CNET
- Print Master Gold
-
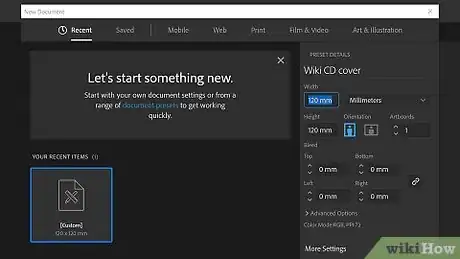
2Draw a sizing box. In some programs, you'll be able to select this when you open the program, but if you're using a multi-purpose software, like Illustrator, you'll have to define the size of the project. CDs are 4.724 inches square (120mm x 120 mm), so use the box tool or set your parameters accordingly.[1]
- It might be appropriate to change the background color to something like dark gray, or whatever you'd like the base color scheme of the CD to be, to make the changes more obvious.
- If you want to create the back cover for a jewel case, as well, the dimensions are 5.906 in. x 4.646 in. (150 mm x 118 mm), to make space for the folding line. To create the back cover, follow the same steps as follow.
Advertisement -
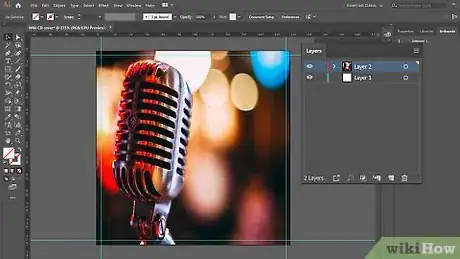
3Create a new layer and import a photo for the cover. This tutorial will assume you're using an Illustrator-like program, but you should defer to the specific design software you're using. In general, though, you want to create a new layer on top of the base layer, then select an appropriate image for the cover.
- Browse through your saved photos or search for one online. The simpler, the better, in general. You can change the background color scheme to match your desired image later, if necessary.
- Select "Import Image" and resize and trim the image to fit the box, if necessary. You can usually do this by dragging.
- Alternatively, if you're trying to replace a lost cover, you can search for and save an image of the cover online and import that. Skip the next few steps and go straight to printing, if this is the case.
-
4Add text. Add another layer on top of the image and draw a text box to include text on the CD cover. Use complementary fonts, sizing, and coloring to match the image you selected for the cover. Generally, you won't need to include more than the title and the name of the artist, or you could just include something simple, like "Dave's Awesome Mix" if it's a CD of your own making. It's also perfectly fine to leave text off entirely for a more artistic look.
-
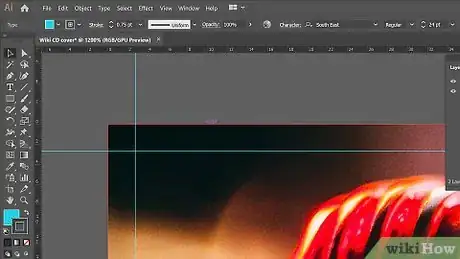
5Be careful near the borders. Any time you're printing and cutting, the edges may very occasionally, so you should probably keep the most valuable imagery and text somewhere near the middle of the design. Try to keep important stuff at least an 1/8 of an inch away from the borders.[2]
-
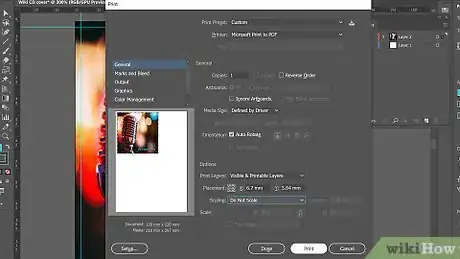
6Print the CD covers. Make sure to make sure the sizing parameters in your printer match the size of the CD cover. Select "Print Preview" to be sure that you don't need to resize the document before you print out a physical copy.
-
7Print on heavy-duty CD cover paper. This can be found at most arts and crafts stores, as well as office supply facilities. CD cover paper is perforated on the edges, allowing you to easily break apart the individual front and back covers.
- You might need to reconfigure your printer to
- Alternatively, just use plain printing paper, if you're going to use heavy-duty jewel cases anyway. It'll look fine.
Making Case Labels by Hand
-
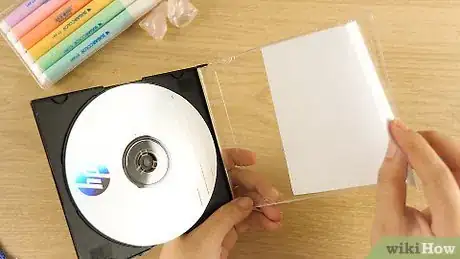
1Prepare the CD case. If you just want to make a new insert for a jewel case that you already have, remove the old one, or clean up the jewel case some for the new cover. Remove stickers, fingerprints, and other markings from the case with a fine cloth and a small amount of isopropyl alcohol.
- Alternatively, you may find it easier to buy new jewel cases for your CD or for burned CDs. Full-size, with the capacity for back covers, and half-size jewel cases are available, usually in bulk. Since they have a tendency to break over time, it's a good idea to buy new ones.
-
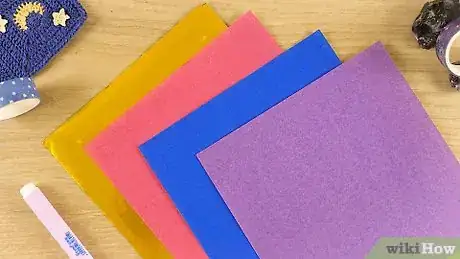
2Use good-quality cardstock for the base. Get some heavy-duty cardstock that's still thin enough to fit inside the jewel case comfortably and cut it to size using a paper-cutter, or scissors. Use the following dimensions as a guide:
- Front cover: 4.724 inches x 4.724 inches (120mm x 120 mm)
- Back cover: 5.906 inches x 4.646 inches (150 mm x 118 mm
-
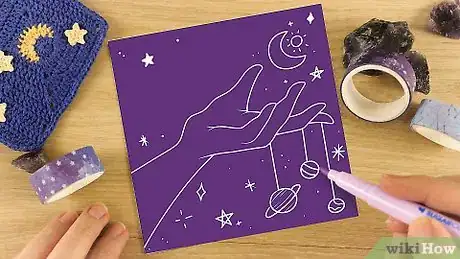
3Plan your design. The image you create for the cover can be as simple or as complex as you want it to be. Consider the songs that are on the CD and the image they create, and start going through old magazines, text books, snapshots, and other materials for collage elements. It's usually a goo idea to use a pencil to lightly draw in where your CD cover images will be placed before you get started, as a template, but it's also good to just start free-handing if you want to experiment.
- Old textbooks can be a great source of weird images and diagrams that can make for good CD art. Head to the thrift store or the library for toss-aways that you can cut up.
- Try combining disparate elements to make for weirdness. A picture from a cereal box can look suddenly great for a punk rock CD, when everyone's eyes are cut out.
- When you have your images, start gluing them on, using a simple glue stick. It might seem too primitive, but a good quality Elmer's glue stick or rubber cement is usually the best way of getting the pieces down on the base.
-
4Decide how you'll do the text. You can hand-write the text onto the image lightly, using pencil and then going over it with dark marker, or you can print out individual words and glue them onto the image separately for a DIY look.
- It can also look cool to use stamps to mark out letters and words on the cover. Invest in a set of stamps at a craft store that you'll be able to use for label-making.
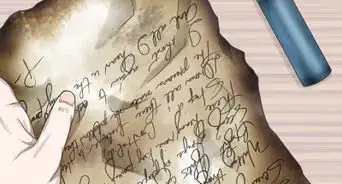
- Want a real punk alternative? Go ransom note. Cut out individual letters from the newspaper and magazines and spell out your title and the name of your band on the cover. It'll look slightly psychotic and totally rad.
-
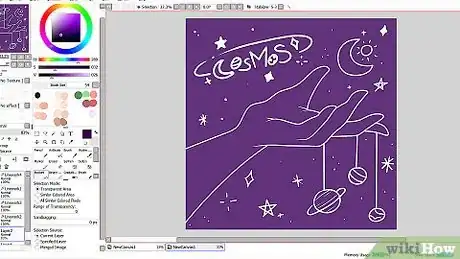
5Consider scanning your image. To mass-produce your hand-designed cover, you'll need to scan the image into the computer and follow the steps in the previous method. That will be much easier than drawing them out, one by one.
- Likewise, if you want to design a 3D image, made up of collage and hand-drawn elements, it might be better to scan it and print out a 2D image to keep in the jewel case.
Making Whole Sleeves by Hand
-
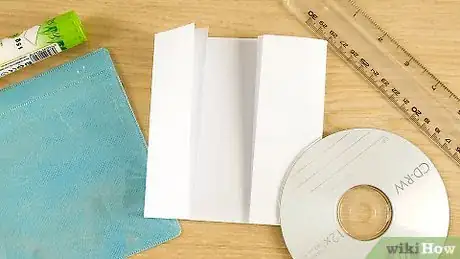
1Use plain paper to fold a sleeve. If you want to make up a simple sleeve to keep a CD in that you can design by hand, all you need is a piece of paper, some glue, and some good folding. It's easy, if you've got a ruler or a CD for a guide. All you've got to do is:
- Fold a sheet of US letter-sized, or A4 sized paper horizontally, leaving a 1-inch (2.5 cm) overlap.
- Fold in both sides approximately 1.75 inches (4.5 cm) inward.
- Open the paper flat and re-fold the two vertical side strips, then slide the CD into the pocket of the longer side, beneath the vertical side strips.
- Refold over the horizontal and fold in the 1-inch (2.5 cm) overlap to complete the square.
- Tuck the overlap into the remaining pocket and press flat.
-
2Secure the folds with staples or glue. After you create the pocket, it's a good idea to secure it to make sure the CD will stay up and won't fall apart when you give it away to someone. Good options are usually staples, glue, or even just tape.
-
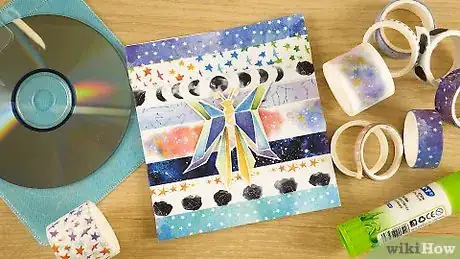
3Design the sleeves accordingly. Use the same method described in the previous section, using old pictures or drawings to decorate the outside of the CD case as normal. It's usually a good idea to remove the CD from the sleeve while you're doing this, so you don't have to worry about messing it up with glue or ink.
- One cool idea is actually designing the paper before you fold it, making the image wrap around the outside of the case. It can make the case look unique, if you don't know where the folds are going to be in each one.
-
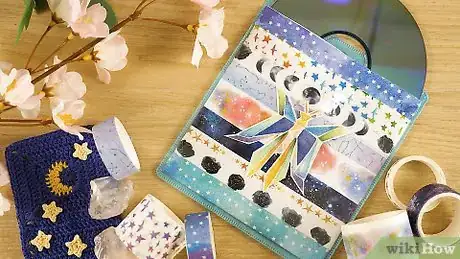
4Slip into a plastic slip case for protection. One little hack for securing your DIY CD cases is to take the pages from one of those old CD books people used to carry around in their cars, pre-iPods, and carefully cut the pockets out to use for security. You can even use these and just slip CD-sized track lists into the same pocket for a quick alternative.
Community Q&A
-
QuestionShould I make picture cover if I am using paper sleeves?
 Community AnswerYes, you may make a picture cover.
Warnings
- CD covers that are too thick may be difficult to fit into the jewel case. Try to limit your use of sequins, beads and other similar items. It addition, keep your glue layers as thin as possible to prevent excessive bulk.⧼thumbs_response⧽
