X
This article was co-authored by wikiHow staff writer, Darlene Antonelli, MA. Darlene Antonelli is a Technology Writer and Editor for wikiHow. Darlene has experience teaching college courses, writing technology-related articles, and working hands-on in the technology field. She earned an MA in Writing from Rowan University in 2012 and wrote her thesis on online communities and the personalities curated in such communities.
This article has been viewed 147,991 times.
Learn more...
Do you want to deposit that physical check while you're on the go? Luckily, depositing paper checks into Cash App is a simple and easy process. This wikiHow article teaches you how to deposit a physical check into the Cash App mobile app.
Steps
-
1Ensure that your check meets all the requirements. Before you can deposit a check with Cash App, a few requirements must be met:
- The check is made out to you, the same person that's on the Cash App account, or jointly, with an approved person.
- The check is payable in US Dollars. Since the Cash App works with US financial institutions, the money in the check must be in US currency.
- The check has been properly signed by the person or company issuing the check.
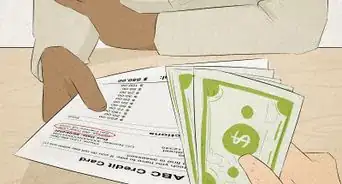
- The check equals or is less than your deposit limit. (For every Cash App account, each check has a limit of $3,500 with a total limit of $7,500 per month, and the app will tell you how much you have left before you reach your monthly limit).
- The check hasn't expired. There's usually a 90-day limit on checks.
- The check hasn't been deposited already.
- The check is unaltered.
- You have signed the check and written "Cash App Deposit" under your signature.
-
2Open Cash App. This app icon features a white "$" inside a green box.Advertisement
-
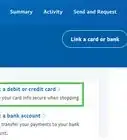
3Tap the bank icon. It's the icon that looks like a building with pillars outside it in the bottom left corner of your screen.
-
4Tap Checks. The Checks option will allow you to scan paper checks into your account using your phone.
-
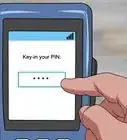
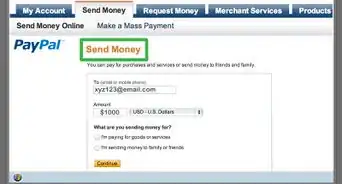
5Enter the check amount. Using the keypad on the screen, enter the amount that the check is in.
- Tap Confirm Amount to continue.
-
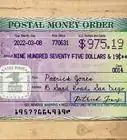
6Confirm the front of the check and tap Confirm front of check. To confirm it, tap the box next to "The check is written correctly" if your check matches the example on your screen.
-
7Confirm the back of the check and tap Confirm back of check. To confirm it, tap the box next to "The check is written correctly" if your check matches the example on your screen.
-
8Tap Take Photo next to "Front." This will open your phone's camera so you can take a photo to scan the check.
- Use the grids on your screen to line up the photo of your check and Cash App will automatically take a picture of the check when it is clear and acceptable. (Make sure to use a dark background).
-
9Tap Take Photo next to "Back." This will open your phone's camera. Cash App will automatically take a photo of the check as soon as it is clear and easy to read.
-
10


Advertisement


References
About This Article

Darlene Antonelli, MA
wikiHow Technology Writer
This article was co-authored by wikiHow staff writer, Darlene Antonelli, MA. Darlene Antonelli is a Technology Writer and Editor for wikiHow. Darlene has experience teaching college courses, writing technology-related articles, and working hands-on in the technology field. She earned an MA in Writing from Rowan University in 2012 and wrote her thesis on online communities and the personalities curated in such communities. This article has been viewed 147,991 times.
Co-authors: 3
Updated: January 15, 2023
Views: 147,991
Categories: Money Transfers
Advertisement