X
This article was co-authored by wikiHow Staff. Our trained team of editors and researchers validate articles for accuracy and comprehensiveness. wikiHow's Content Management Team carefully monitors the work from our editorial staff to ensure that each article is backed by trusted research and meets our high quality standards.
This article has been viewed 23,784 times.
Learn more...
Magnets are useful for all kinds of projects, but what do you do if you need to cut one into pieces? Keep reading for tips on how to get a clean, even cut on a magnet with a variety of different tools.
Steps
Method 1
Method 1 of 3:
Using a Paper Cutter
-
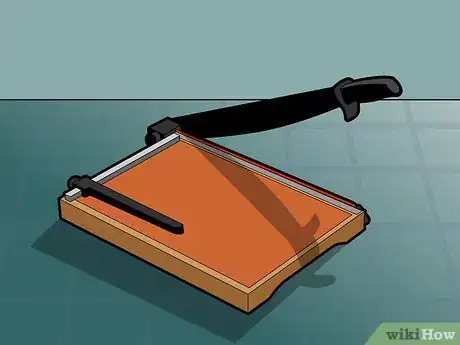
1Get a heavy duty paper cutter. You can get paper cutters at any office supply stores. Make sure it’s labeled as “heavy duty,” since this kind slices through thicker objects better than regular cutters. Newer cutters also tend to have sharper blades, which is necessary for making an even cut.
-
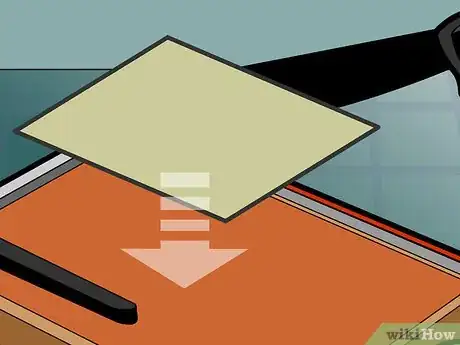
2Place the magnet on top of the paper cutter. Position the magnet flat over the cutter’s base. If you are using a magnet sheet, lay the magnet side face-down. Keep the colored adhesive side facing up towards you.Advertisement
-
3Hold the magnet in place with the steel edge. Push the magnet to the end of the paper cutter so it rests flat against the steel edge underneath the blade. Hold the magnet still with your other hand.
-
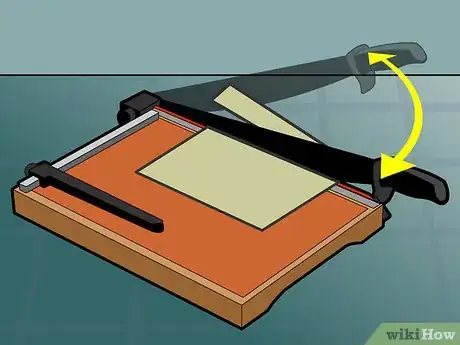
4Push the blade down to cut the magnet. Grab onto the handle of the cutter’s blade. Pull it to bring the blade down over the magnet. Move the blade down in 1 short, swift motion. Do this quickly so the blade cuts cleanly through the magnet.
- Be careful when using a paper cutter. The blade is sharp, so avoid touching it. Pull the blade all the way down when it is not in use.
Advertisement
Method 2
Method 2 of 3:
Cutting with a Utility Knife
-
1Set the magnet face-down on a flat surface. Find a table or another spot where you have plenty of room to reach over the magnet. If you are using an adhesive magnet, place the magnet side down on the table. Leave the adhesive backing attached.
-
2Place a straight edge along the line you need to cut. Use a metal straight edge from a home improvement store, since these are more resistant to damage from the knife. Hold the straight edge flat with your non-cutting hand.[1]
-
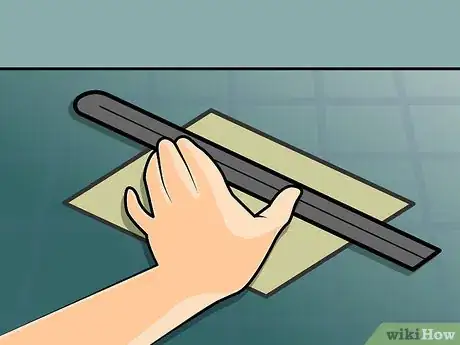
3Hold the magnet still with the heel of your palm. Press down hard with your non-cutting hand. While holding the straight edge with your fingers, use the rest of your hand to keep the magnet still. It’s important to do this so you cut cleanly and safely into the magnet.
-
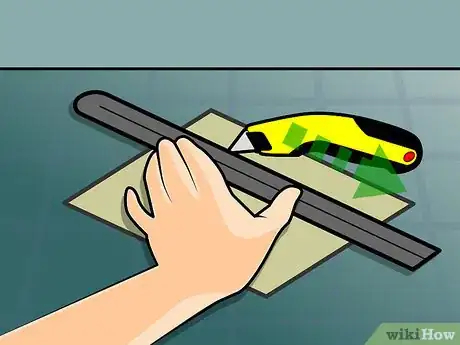
4Cut the magnet using a new utility knife. You can find a utility knife at any home improvement or craft store. Use one that is new and sharp. While holding the straight edge still, drag the knife across the magnet, working from top to bottom. Press the blade down with enough force to cut into the magnet.[2]
- To stay safe, adjust the knife so you aren’t dragging it directly towards your body. Also consider wearing polycarbonate safety goggles in case the blade snaps.
-
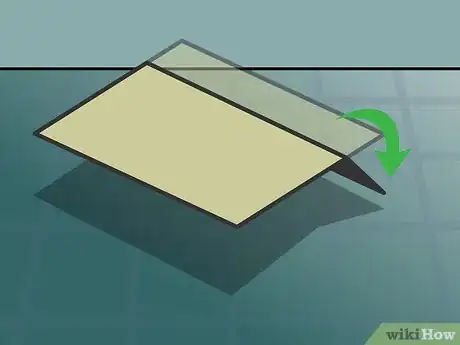
5Fold the magnet to tear it apart. Set the knife and straight edge aside. Pick up the magnet and fold it along the cut you made. The magnet should fold over without much trouble. Unfold the magnet and rip it apart by hand, tearing it along the fold line.[3]
- If the magnet doesn’t fold or tear easily, the cut may not be deep enough. Go back over it using the knife and straight edge.
Advertisement
Method 3
Method 3 of 3:
Using a Printer and Cutting Machine
-
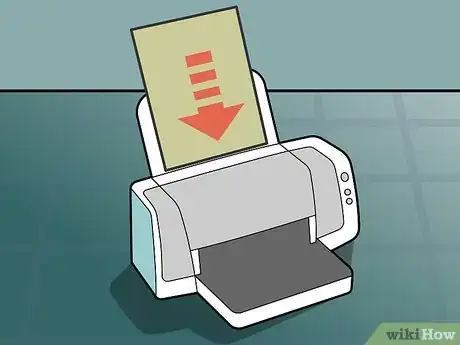
1Load the magnetic paper into a printer. Magnetic paper fits into an inkjet printer the same way as regular paper. Load it with the paper side facing upwards, towards the inner portion of the machine. That way, the ink will print on it.[4]
- You can only use regular magnetic paper from a craft store. Vinyl magnetic material is cut through the same process, but requires an industrial-sized machine.
-
2Design your image in a photo editor program. Use a program like Photoshop or Silhouette on your computer. Create your design using the various tools available in the program. This design is what prints over the magnetic paper, so don’t hold back on the creativity.[5]
- For example, you can import an image to print using the file option in the upper left corner of the screen.
-
3Press the print button to print the design. Select the print option from the menu bar in the upper left corner of the screen. If you loaded the printer correctly, the image will print onto the white, paper side of the magnetic paper. Leave it in the printer for a few minutes to dry.
-
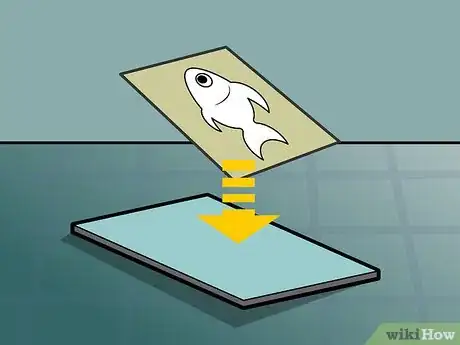
4Place the magnet paper on a cutting mat. Lay the magnet side on top of the cutting mat. The cutting mat should be sticky and hold the magnet paper in place after you press it flat. You can purchase cutting mats from craft stores, but make sure they are small enough to fit into the cutting machine.[6]
- If your cutting mat loses its stickiness, wash it off and apply an adhesive spray from the craft store.
-
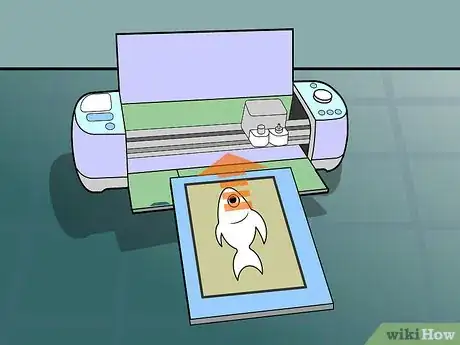
5Load the cutting mat into the cutting machine. Slide the mat into your specialized cutting machine. Again, it works like regular paper. Keep the image side facing up towards the inside portion of the machine. This way, the blades will slice through the paper side first, ensuring a clean cut.[7]
- If you don’t have a cutting machine, you can always cut the design by hand using a paper cutter or knife.
-
6Select the magnetic material option in the cutting machine’s software. Open the software included with your cutting machine. Select the print options in the top left corner of the screen. First, select “printable magnetic material from the drop-down menu that appears. Then, drag the cutting margins with your mouse to show the machine how much of the magnet to cut.[8]
-
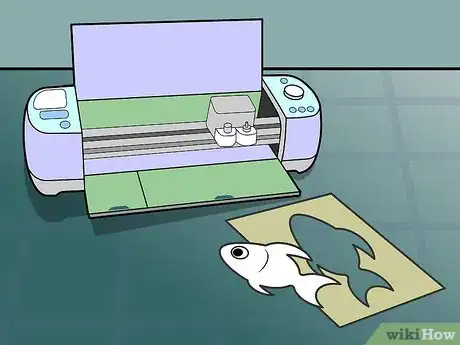
7Tear away the excess magnet material after printing. Hit the print button and watch the machine go to work. After it finishes, pick up the magnetic paper. You should easily be able to fold the magnet along the cut margins and tear off any leftover material by hand.
Advertisement
Things You’ll Need
Using a Paper Cutter
- Heavy duty paper cutter
- Magnet
Cutting with a Utility Knife
- Metal straight edge
- Utility knife
- Magnet
Using a Printer and Cutting Machine
- Inkjet printer
- Magnetic paper
- Cutting machine
- Cutting mat
References
- ↑ https://www.adamsmagnetic.com/blogs/best-tool-to-use-to-cut-030-thick-magnet-sheets/
- ↑ https://www.adamsmagnetic.com/blogs/best-tool-to-use-to-cut-030-thick-magnet-sheets/
- ↑ https://www.adamsmagnetic.com/blogs/best-tool-to-use-to-cut-030-thick-magnet-sheets/
- ↑ https://www.youtube.com/watch?v=ZBIDKThkHUU&feature=youtu.be&t=89
- ↑ https://www.youtube.com/watch?v=qxlHTuN6-74&feature=youtu.be&t=27
- ↑ https://www.youtube.com/watch?v=v3BQ_bEhl64&feature=youtu.be&t=104
- ↑ https://www.youtube.com/watch?v=v3BQ_bEhl64&feature=youtu.be&t=104
- ↑ https://help.cricut.com/hc/en-us/articles/360009555053-Printable-Magnet-Sheets-Cutting-Instructions
About This Article
Advertisement
