X
wikiHow is a “wiki,” similar to Wikipedia, which means that many of our articles are co-written by multiple authors. To create this article, volunteer authors worked to edit and improve it over time.
This article has been viewed 102,576 times.
Learn more...
Creating a Windows Application and need to know how to create a print and print preview control? Follow these simple steps and you will easily be able to print and print preview documents in your application.
Steps
Part 1
Part 1 of 3:
The Form
-
1Adjust the form to the size you require.
- It doesn't matter what size the form is, providing it can fit a large textbox and two buttons.
-
2Add a RichTextBox to your form.
- You can add a RichTextBox by double-clicking or dragging it onto the form.
- Adjust the size of the RichTextBox to your requirements.
Advertisement -
3Add two Buttons to your form.
- Ideally, place the two Buttons near the RichTextBox.
- Again, you can add Buttons to your form by double-clicking or dragging onto the form.
-
4Name the Buttons "Print" and "Print Preview".
- You can change the text for the buttons in the properties box.
-
5Add the controls: "Print Document" and "PrintPreviewDialog" to your form.
- These will not be visible on the form as they perform in the background.
-
6Click on PrintPreviewDialog and change the "Document" to "PrintDocument1".
- You can change this in the properties box after clicking on PrintPreviewDialog.


Advertisement
Part 2
Part 2 of 3:
The Code
-
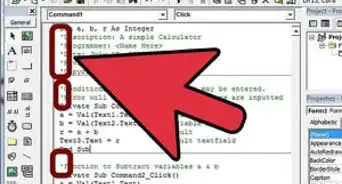
1Double-click on your "Print Preview" button.
- This will bring up the page for coding.
- A Private Sub has already been created and awaiting code to tell it what to do when the Print Preview button is clicked.
- Add the following code into the Private Sub:
PrintPreviewDialog1.ShowDialog()
-
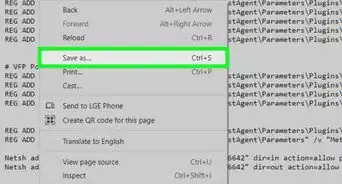
2Go back to the form and double-click on your "Print" button.
- You will be taken back to the page for coding.
- In the Private Sub that has been created, add the following code:
PrintDocument1.Print()
-
3Go back to the form and double-click on "PrintDocument1" located underneath the form.
- You will be taken back to the page for coding.
- A Private Sub will be created called "PrintDocument1_PrintPage". Place the following code into the Sub:
Dim font1 As New Font("arial", 16, FontStyle.Regular) e.Graphics.DrawString(RichTextBox1.Text, font1, Brushes.Black, 100, 100)


Advertisement
Part 3
Part 3 of 3:
Debugging and Testing
-
1Click "Start" to begin the debugging and testing process.
- If you have followed part one and two of this article you should encounter no errors.
-
2Test to see if the Print Preview function works.
-
3Test to see if the Print function works.
-
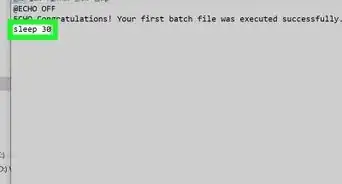
4Clean up your code. After the debugging and testing process has completed with no critical errors, be sure to clean up your code. Make it look tidy and professional.


Advertisement
Community Q&A
-
QuestionHow do I verify my username and password from a database using SQL Server?
 Md Mahadi HasanCommunity AnswerOpen Microsoft SQL Server Management Studio. Connect to SQL Server as the 'SA' or an administrative user. Right-click on the Security folder > New > Login. Type in a login name. Check the bullet for SQL Server Authentication and type in a password. Click 'User Mapping' at the top left under 'Select a Page'. Check the database(s) to apply the user to, and type in the username for 'Default Schema'.
 -
QuestionHow come when I copy this, it says that "e" is an error?
 Community AnswerYou have probably placed it inside another sub. You need to paste it inside the Public Class.
Advertisement
Warnings
- When coding, it is easy to misspell something. This can cause your whole application to fail.⧼thumbs_response⧽
Advertisement


About This Article
Advertisement