wikiHow is a “wiki,” similar to Wikipedia, which means that many of our articles are co-written by multiple authors. To create this article, 22 people, some anonymous, worked to edit and improve it over time.
This article has been viewed 296,019 times.
Learn more...
Connecting your Nintendo Wii to the Internet allows you to easily download games, keep up to date on the latest news about Nintendo products, and even stream movies and TV shows directly to your TV. An Internet connection also makes it possible to focus your playing experience by challenging your friends to a round of your favorite game even if they're thousands of miles away. Follow the steps below to connect your Wii to the Internet using either a wireless router or an Ethernet cable.
Steps
Connecting Wirelessly
-
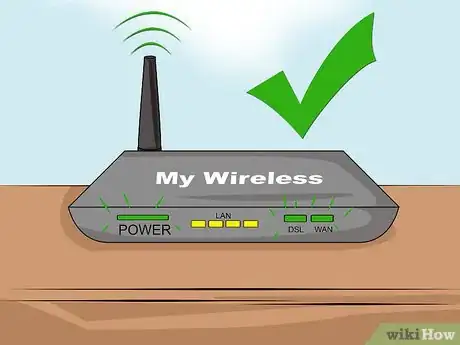
1Ensure that your network is properly set up. You will need to be properly broadcasting a signal in order to connect the Wii to the network. Refer to your router or modem's instructions in order to properly set up your network.
- If you can connect to your network with other wireless devices, then you should have no issues connecting your Wii. No special adjustments need to be made to the wireless network to accommodate it.
- If you don't have a wireless router, you can attach the Nintendo USB Wi-Fi adapter to your computer to make a specialized access point. You will need to install the software that comes with the adapter onto your computer, and then plug the Nintendo USB Wi-Fi Adapter in.
-
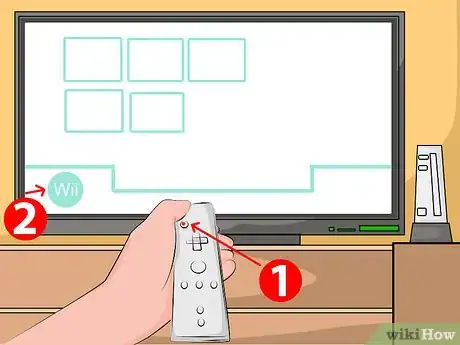
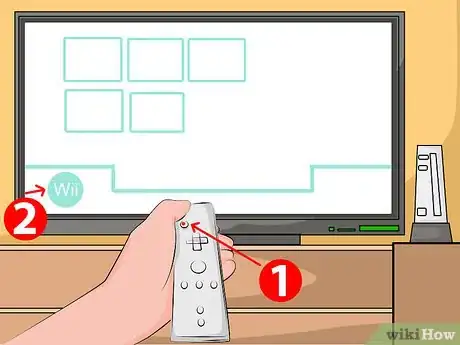
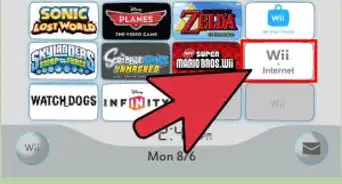
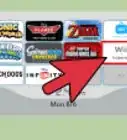
2Power on the Wii and press the A Button on the Wii Remote to reach the Wii main menu. Use the Wii Remote to select the "Wii" button. This round button will be located in the bottom left of the Wii Channels screen.Advertisement
-
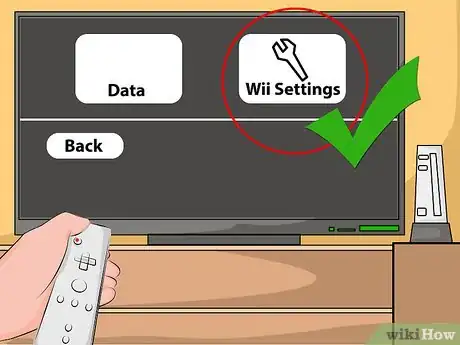
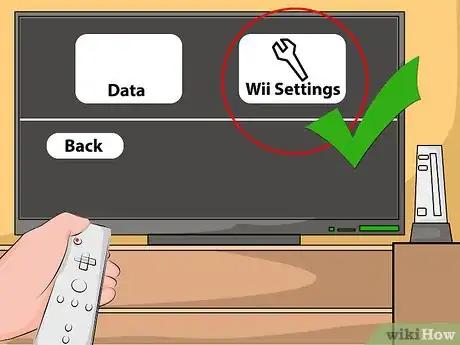
3Select "Wii Settings" and open the "Wii System Settings" menu. Click on the arrow on the right side of the screen to scroll to the next page of options.
-
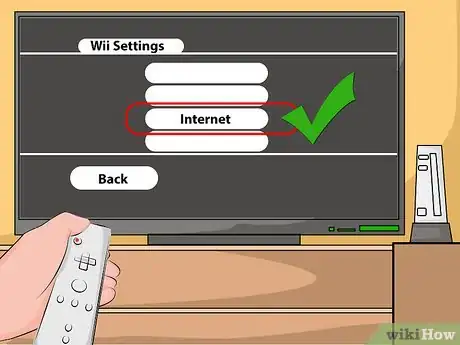
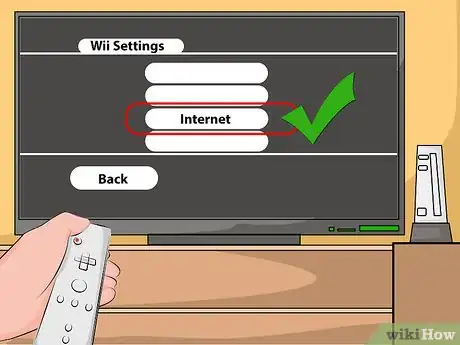
4Choose "Internet" from the System Settings. From the Internet options, select "Connection Settings." This will display three different connections. If you haven't set up any connections previously, they will all say “None” next to the Connection number.
-
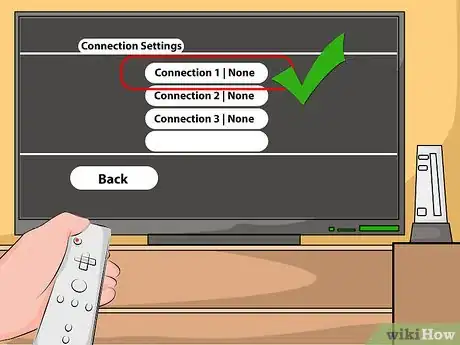
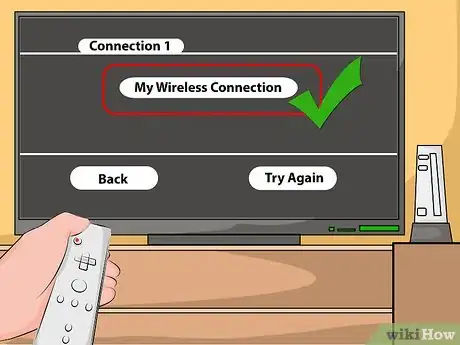
5Select the "Connection 1: None." Pick "Wireless Connection" from the menu. Then click “Search for an Access Point.” The Wii will begin searching for active network connections. After detecting a network, a screen will open asking you to select your access point. Press OK to continue.
-
6Select your network. You should see the name of your network appear along with the strength of the connection. If your network has a password, a box will open asking you to enter it. Enter the password and select OK.
- If your access point does not show up on the list, be sure that your Wii is within range of the router, and that your network is configured correctly.
- You can manually change the type of encryption by clicking the orange encryption name (WEP, WPA, etc.)
- If you are using the Nintendo USB Wi-Fi Adapter, go to your computer at this point and accept the connection from the Wii using the installed software.
- If error code 51330 or 52130 pops up on your Wii, this means the password you entered for your wireless network is incorrect.
-
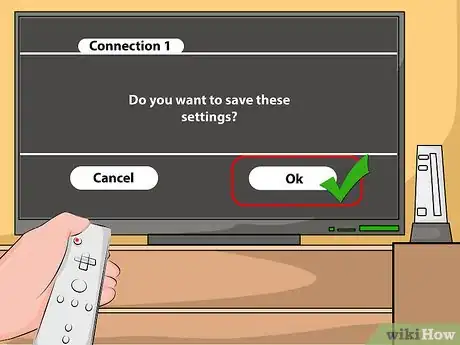
7Save the settings. After you have entered your information, the Wii will prompt you to save the connection information. After you do so, the Wii will attempt a network test to make sure that the connection works.
-
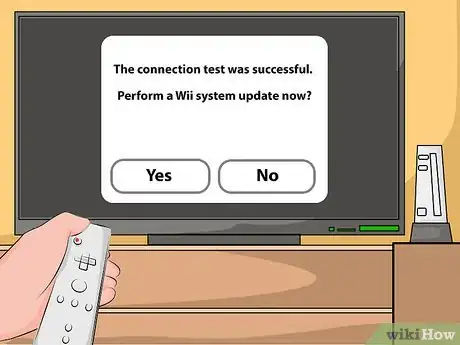
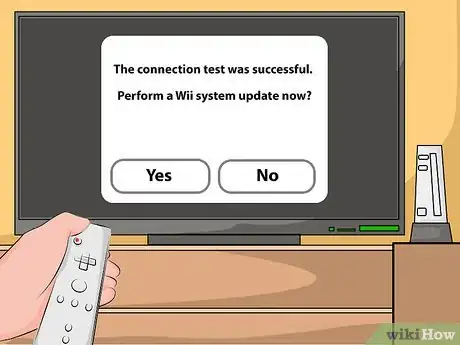
8Finish the setup. After a successful connection, a box will open letting you know that it succeeded and will ask you if you would like to perform a System Update. This update may take a few minutes, but is optional.
Connecting with an Ethernet Cable
-
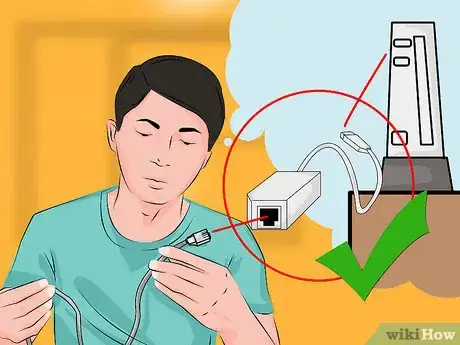
1Purchase a Wii LAN Adapter. In order to connect the Wii to a wired network, you will need to purchase and connect a Wii LAN Adapter. The adapter does not come included with the Wii system, and non-Nintendo adapters will not work.
-
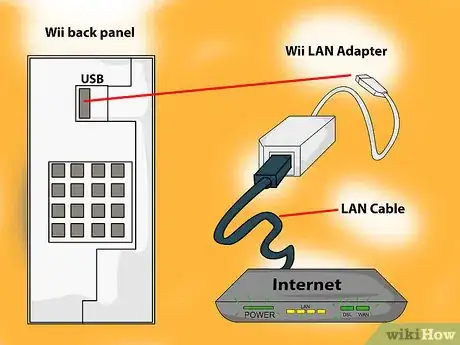
2Plug the Wii LAN Adapter into the USB port in the back of the Wii, making sure the Wii is powered off before connecting. The Ethernet cable should now be plugged into the adapter.
-
3Power on the Wii and open the "Wii Options" menu. This round button will be located in the bottom left of the Wii Menu.
-
4Open "Wii Settings." This will take you to the "Wii System Settings" menu. Click on the arrow on the right side of the screen to scroll to the next page of options.
-
5Select "Internet" from the System Settings. From the Internet options, select "Connection Settings." This will display three different connections. If you haven't set up any connections previously, they will all say “None” next to the Connection number.
-
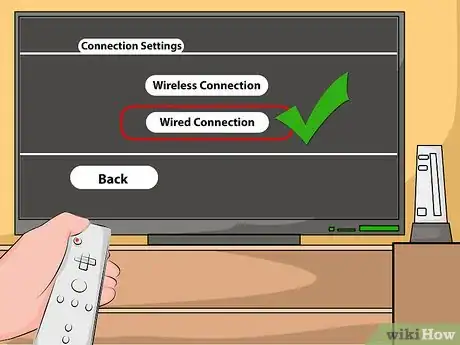
6Select the first unused connection and select "Wired Connection" on the next page that pops up.
-
7Choose OK to save your settings and wait for the Wii to finish the connection test. If the connection is successful, you will see a window confirming it and asking if you would like to perform a System Update. This update may take a few minutes, but is optional.
Community Q&A
-
QuestionWhat do I do if don't have either of them?
 Community AnswerIt's impossible to connect to the internet. You can buy the Nintendo Wi-Fi USB connector, if possible.
 -
QuestionWhat do I do if the screen freezes?
 Community AnswerYou may have to unplug everything and reboot it.
 -
QuestionWhat do I do if my WiFi access is not listed?
 Community AnswerYour router may be too far away, to fix this issue move your Wii and router closer together. There may also be a chance your router doesn't have wireless capabilities. In order to fix this you must get a Nintendo USB WiFi adapter or get a new router.
Things You'll Need
- A Wii
- A TV
- A working internet connection
- Some source of wireless internet (Wireless router, Nintendo Wi-Fi USB connector)
- Wii LAN Adapter (for wired connections)
-Connection-Step-12-Version-5.webp)






-Connection-Step-12-Version-5.webp)
