This article was co-authored by Marta Nagorska. Marta Nagorska is a Nail Technician and Nail Art Blogger based in London, UK. She runs the blog, Furious Filer, where she gives tutorials on nail care and advanced nail art. She has been practicing nail art for over 5 years and graduated from Northampton College with distinction with a Nail Technician and Manicurist degree in 2017. She has been awarded the top spot in the OPI Nail Art Competition.
This article has been viewed 82,705 times.
Whether you're a nail art enthusiast or a professional working in a salon, taking care of the nail brushes you use is important. When acrylic residue hardens in brush bristles, it can be tough to clean and may damage the bristle fibers. Removing this hardened residue gently and properly can help restore your acrylic nail brush so it can be used again. Cleaning nail brushes regularly will also help keep brush bristles soft and flexible, and prolong their lifespan.
Steps
Using Monomer to Clean Your Brush
-
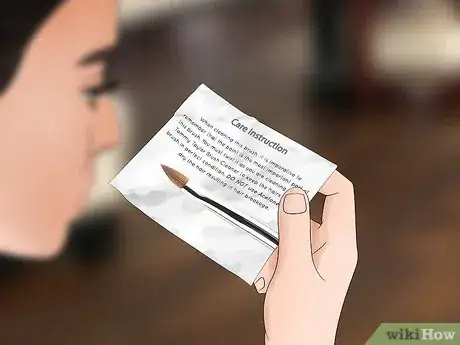
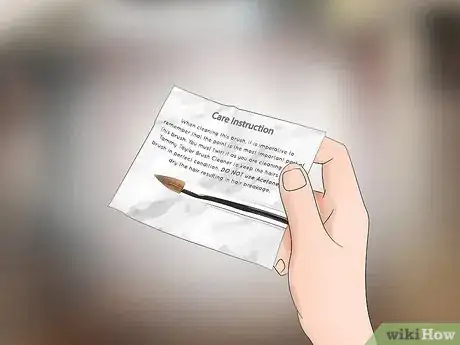
1Check if your brush came with specific care instructions for cleaning first. If your brush has natural hair bristles, like sable or kolinsky acrylic brushes, monomer is recommended as a gentler process compared to professional brush cleaner. Synthetic hair brushes are more resilient, so monomer or professional brush cleaner can be used.[1]
- Monomer is sometimes chosen over professional brush cleaners that contain acetone, which can dehydrate natural hair bristles.[2]
-
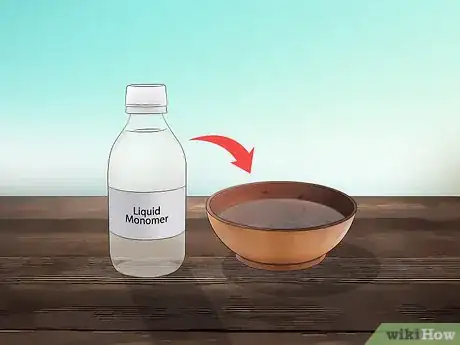
2Fill a small dish or bowl with clean monomer. Monomer is also called “acrylic liquid” or “monomer liquid” on some products. Monomer is used in a formula to create acrylic nails, but can also be used to clean your nail brushes too.[3] [4]
- Use a separate bottle of monomer that is only used for cleaning brushes, not for nail care. This separate bottle will be less exposed to other chemicals or contaminants and will work well as a cleanser.[5]
Advertisement -
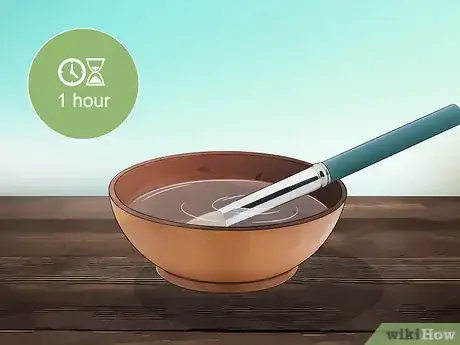
3Let the brush bristles soak in the monomer for 1 hour. It’s easiest to clean brushes soon after use. But if polish has hardened on the brush and caused buildup, let the brush soak in the monomer overnight. Soaking it for a longer period of time will make the buildup easier to wash out of the bristles.[6]
-
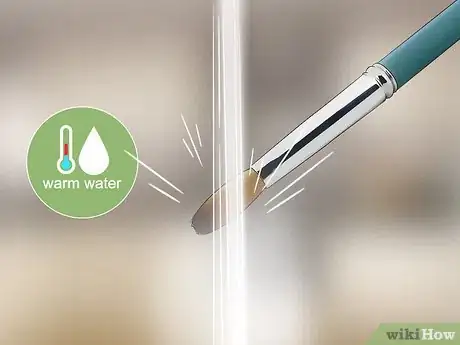
4Remove and rinse the brush bristles with warm water. Don’t pull on the bristles to try and scrub them. Pulling on bristles can damage them or cause them to fall out.[7]
- If the brush bristles are misshapen, place a drop of mild liquid soap on the brush tip and very gently rub the bristles back into shape.[8] Let the soap sit in the bristles for 48 hours. Then rinse the brush with warm water.
-
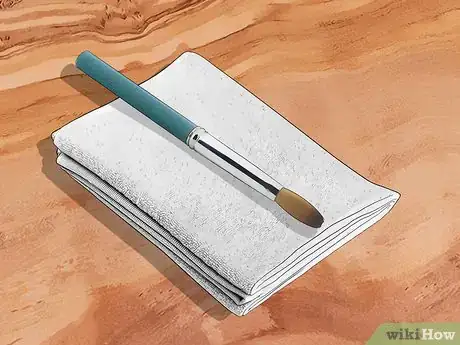
5Allow the brush to air dry completely. Lay it flat on a surface that will absorb excess moisture, like a cloth or towel. Don’t squeeze the bristles to get rid of excess moisture. This can damage the bristles and bend them out of shape again.[9]
-
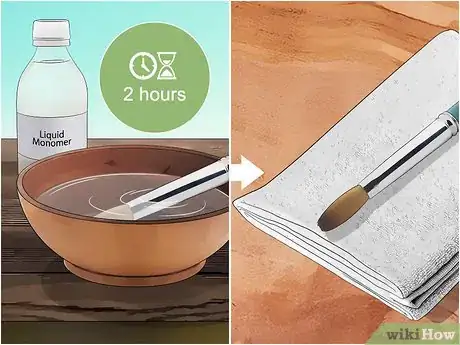
6Soak the brush bristles in fresh monomer for 2 hours before removing to air dry. After removing your brush from the monomer, allow it to lay flat until the monomer has evaporated completely. If you store it upright too early, the metal section attached to the bristles (the ferrule) can fill with monomer and contaminate your tools.[10]
Cleaning Your Brush with Brush Cleaner
-
1Follow any care instructions that came with your brush. Many professional brush cleaners contain acetone, which can cause brushes with natural hair bristles to dry out.[11] Experiment with different methods of cleaning and choose a method based on your preferences and brush type.
- Brushes with synthetic fibers are more durable against brush cleaners compared to natural hair brushes.[12]
-
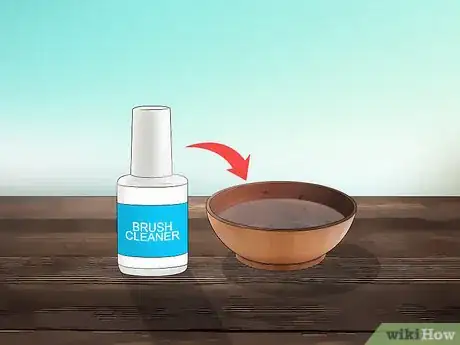
2Fill a small dish or bowl with a small amount of brush cleaner. Use just enough cleaner to submerge the brush bristles. If you use too much cleaner in your dish or bowl, the metal section that joins the bristles to the rest of the brush (the ferrule) can become wet and hard to get dry.[13]
- A small clear measuring bowl or shot glass can be used to hold the brush cleaner. Since they are clear, it’s easier to measure the appropriate amount of brush cleaner.
-
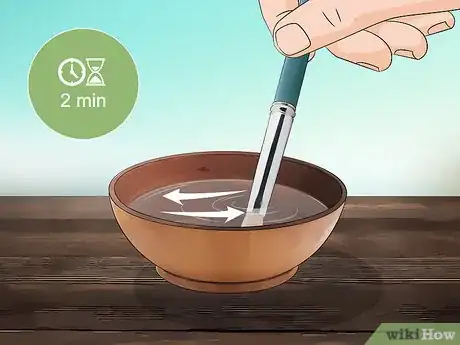
3Swish the bristles in the brush cleaner gently for 2 minutes. Submerging the bristles in the brush cleaner will soften any hardened polish built up on your brush. Using a back-and-forth motion will allow the brush cleaner to soak into the bristles.[14]
-
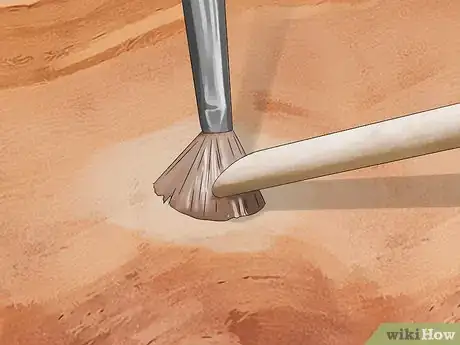
4Scrape the acrylic off the bristles gently using a wooden tool. This is easily done by lightly pressing the brush tip against a flat surface so the bristles fan out. On a flat surface, the brush cleaner will also remain pooled around the bristles, keeping them moist and encouraging the softened acrylic to release.
- Using a wooden tool like orangewood rather than a metal tool like a cuticle pusher will prevent damage to the bristle tips.[15]
- Don’t scrape the bristles too hard with your wooden tool, which can also cause damage to the bristle tips.
-
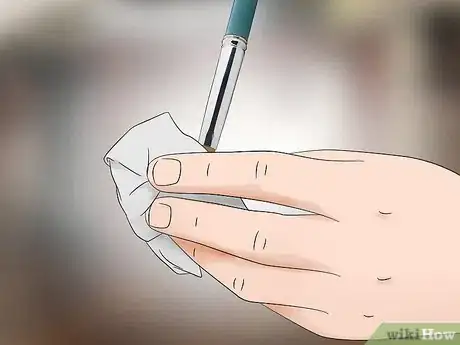
5Press the bristles between two paper towels. Gently squeezing the brush tip this way will remove the brush cleaner from the bristles. Be sure to press the bristles in their natural direction. Using an upward motion against the direction of the hairs may bend them out of shape.[16]
-
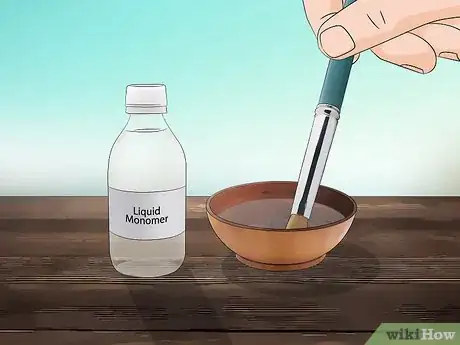
6Dip the bristles in monomer and press them to reshape. Using the same pressing motion with paper towels, gently reshape your brush. Allow your brush to lay flat so the monomer can completely evaporate. Store it flat or upright in a holder, brush tip facing up, to prevent damage to the bristles.[17]
Expert Q&A
-
QuestionHow do I keep my acrylic nail brush in great shape?
 Marta NagorskaMarta Nagorska is a Nail Technician and Nail Art Blogger based in London, UK. She runs the blog, Furious Filer, where she gives tutorials on nail care and advanced nail art. She has been practicing nail art for over 5 years and graduated from Northampton College with distinction with a Nail Technician and Manicurist degree in 2017. She has been awarded the top spot in the OPI Nail Art Competition.
Nail Artist Purchase conditioning nail cleaners to keep your brush in tip-top condition.
References
- ↑ https://www.nailsmag.com/article/96514/its-a-hard-knock-life-for-brush-picking-and-caring-for-nail-brushes
- ↑ https://www.nailsmag.com/article/96514/its-a-hard-knock-life-for-brush-picking-and-caring-for-nail-brushes
- ↑ https://www.fda.gov/Cosmetics/ProductsIngredients/Ingredients/ucm127068.htm
- ↑ Marta Nagorska. Nail Artist. Expert Interview. 26 May 2021.
- ↑ https://www.nailsmag.com/article/96514/its-a-hard-knock-life-for-brush-picking-and-caring-for-nail-brushes
- ↑ https://oureverydaylife.com/clean-out-acrylic-nail-brushes-29444.html
- ↑ https://oureverydaylife.com/clean-out-acrylic-nail-brushes-29444.html
- ↑ https://www.hunker.com/12302429/how-to-clean-out-acrylic-nail-brushes
- ↑ https://oureverydaylife.com/clean-out-acrylic-nail-brushes-29444.html
- ↑ https://www.nailsmag.com/article/96514/its-a-hard-knock-life-for-brush-picking-and-caring-for-nail-brushes
- ↑ https://www.nailsmag.com/article/96514/its-a-hard-knock-life-for-brush-picking-and-caring-for-nail-brushes
- ↑ https://www.nailsmag.com/article/96514/its-a-hard-knock-life-for-brush-picking-and-caring-for-nail-brushes
- ↑ https://www.nailsmag.com/article/96514/its-a-hard-knock-life-for-brush-picking-and-caring-for-nail-brushes
- ↑ https://www.nailsmag.com/article/96514/its-a-hard-knock-life-for-brush-picking-and-caring-for-nail-brushes
- ↑ https://www.nailsmag.com/article/96514/its-a-hard-knock-life-for-brush-picking-and-caring-for-nail-brushes
- ↑ https://www.nailsmag.com/article/96514/its-a-hard-knock-life-for-brush-picking-and-caring-for-nail-brushes
- ↑ https://www.nailpro.com/tips-cleaning-and-replacing-your-brushes/
- ↑ https://www.nailsmag.com/article/96514/its-a-hard-knock-life-for-brush-picking-and-caring-for-nail-brushes
- ↑ https://www.nailpro.com/tips-cleaning-and-replacing-your-brushes/
- ↑ https://www.nailpro.com/tips-cleaning-and-replacing-your-brushes/
