This article was co-authored by JoAnna Minneci. JoAnna Minneci is a Professional Chef based in the Nashville, Tennessee area. With more than 18 years of experience, Chef JoAnna specializes in teaching others how to cook through private cooking lessons, team-building events, and wellness and nutrition classes. She has also appeared in numerous television shows on networks such as Bravo and Food Network. Chef JoAnna received Culinary Arts training from the Art Institute of California at Los Angeles. She is also certified in sanitation, nutrition, kitchen management, and cost control.
This article has been viewed 358,907 times.
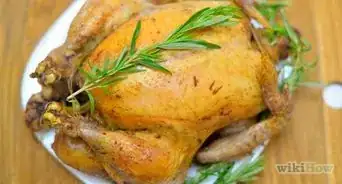
Nothing looks tastier in the center of a holiday feast than a turkey! Whether you caught your bird yourself or bought it at the store, though, the first step in the preparation process is cleaning. Skinning, plucking, or simply removing the wrappings from your turkey in the proper manner can ensure that it’s cooked safely—to become the hit of your dinner spread.
Steps
Cleaning a Store-Bought Turkey
-
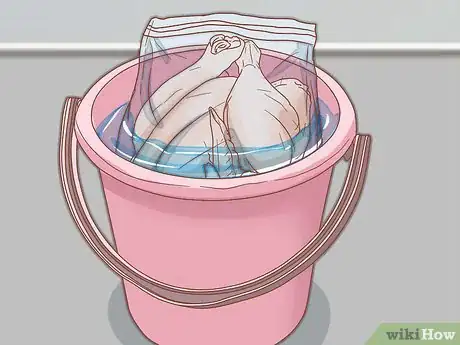
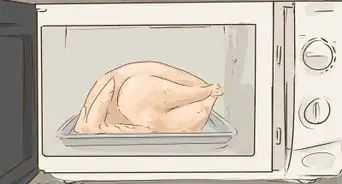
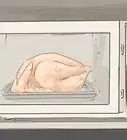
1Thaw your turkey before you clean it. If you have enough time, you can thaw your turkey by setting it in the refrigerator for a few days, allowing 24 hours to thaw every 5 pounds (2.3 kg) of turkey. For a slightly faster thaw, place the turkey in a leak-proof bag and set it in a sink or bucket. Completely submerge it with cold water, changing the water every 30 minutes and allowing 30 minutes to thaw every 5 pounds (2.3 kg) of turkey. For the fastest method, place the turkey in a pan and use the defrost setting on your microwave to thaw it.[1]
- Keep the turkey in its wrapping, unless you’re thawing it in the microwave.
- If you thaw your turkey in the refrigerator, you can keep it there for up to 2 days before cooking it. If you thaw it in water or the microwave, you’ll need to start cleaning and cooking it as soon as it’s ready.
-
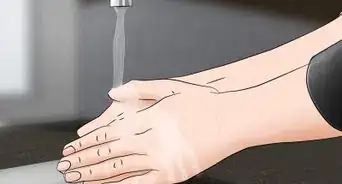
2Wash your hands thoroughly before handling your turkey. Use warm water and soap to wash your hands for 20 seconds before you start handling the turkey. Roll up your sleeves and pull back any long hair as well. This will help you keep clean and avoid spreading foodborne illnesses.[2]Advertisement
-
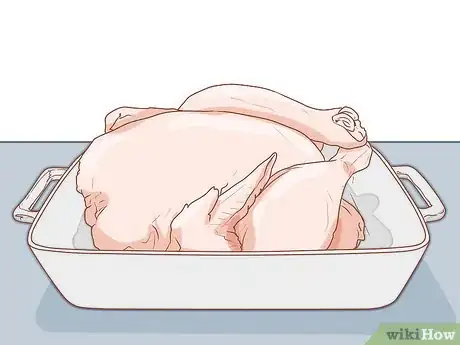
3Take off the packaging and place the turkey in its baking dish. Carefully cut open and pull off the turkey’s packaging. Discard it in the trash can. Then, place the turkey directly into your baking pan or dish.[3]
- The fewer surfaces you let the raw turkey touch, the less you’ll need to clean when you’re done cooking.
- Don’t let any part of the turkey or its juices come into contact with other food items, with the exception of food cooked inside the turkey, like stuffing. If accidental contact occurs, throw away the other food.
-
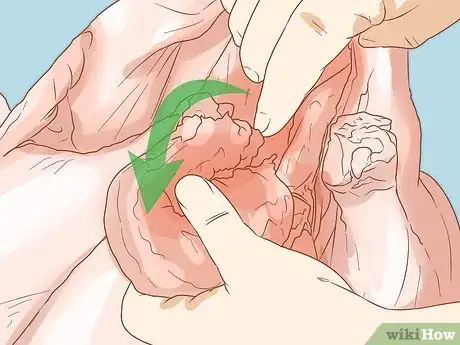
4Remove the neck and giblets from inside the turkey. You can typically find the turkey’s neck and giblets inside the body cavity. Carefully reach inside and draw them out, leaving the inside hollow.[4]
- You can either cook the neck or giblets, following a recipe, or throw them away.
-
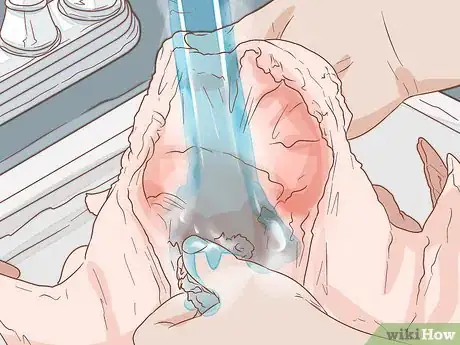
5Rinse the inside of your turkey if it’s brined. If you’re cooking a brined turkey, first empty your sink completely, then clean it with hot, soapy water and rinse it out well. Fill it with 2–3 inches (5.1–7.6 cm) of cold water, then rinse out the cavity of the turkey with a gentle stream of cool water. Drain the turkey by holding it up over the sink, then set it down in the roasting pan.[5]
- You don’t need to scrub or rinse the outside of the turkey at all.
- Place the roasting pan right next to the sink and cover the surrounding area with paper towels in case of any spillage.
-
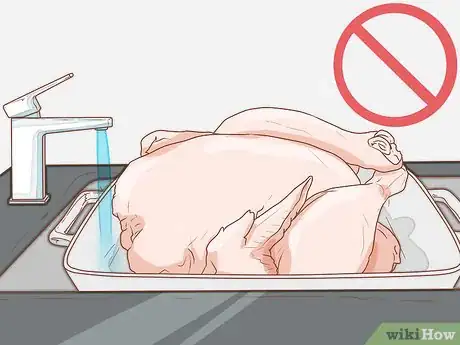
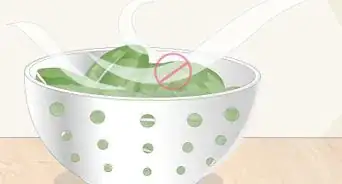
6Avoid washing the turkey if it’s not brined. Washing poultry, including turkey, won’t actually do anything to remove bacteria. In fact, it can actually help spread the bacteria around your kitchen and even onto you, which can lead to illness. The safest way to prepare your turkey is to simply move it directly from its packaging into the baking dish.[6]
Did you know? Cooking your turkey to at least 165 °F (74 °C) internally is all you need to do to kill any bacteria.[7]
-
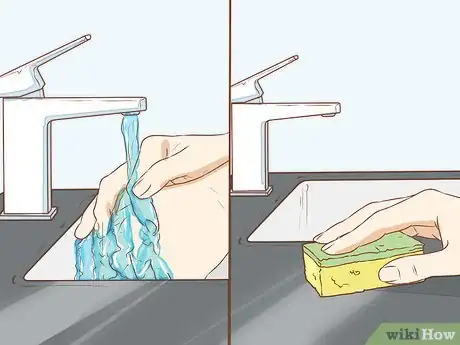
7Wash your hands, sink, and anything else that has touched the raw turkey. To avoid cross-contamination, wash your hands and forearms with warm water and soap for at least 20 seconds after handling the turkey. Then, use hot, soapy water to clean any utensils and kitchen surfaces you used, such as the countertop or sink. Rinse with clean water afterwards.[8]
- For extra protection, you can sanitize kitchen surfaces with 1 tablespoon (15 mL) of liquid chlorine bleach mixed into 1 gallon (3.8 L) of water. Let these surfaces dry thoroughly before using them.
Plucking and Cleaning a Wild Turkey
-
1Pluck the feathers if you’re planning to deep-fry or roast your turkey. Plucking takes longer than skinning a wild turkey, but it’s the way to go if you’re planning to roast, smoke, or deep-fry. It tends to preserve the turkey’s moisture more effectively as well.
- Plucking is also the option to choose if you want to cook your turkey whole.
- Plucking is a messy process, so do it outside or in a garage, if possible.
-
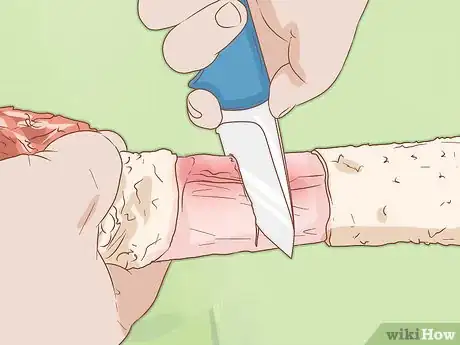
2Remove part of the turkey’s wings along with its head and neck. Use a sharp, strong knife to cut off the turkey’s head and neck, starting 1–2 inches (2.5–5.1 cm) above the neck’s connection to the body. You can also remove part of the wings, starting at the first joint to leave a drumstick-shaped section behind.[9]
- The wings are edible, but they’re difficult to pluck and typically don’t have enough meat near the ends to warrant the extra effort.
-
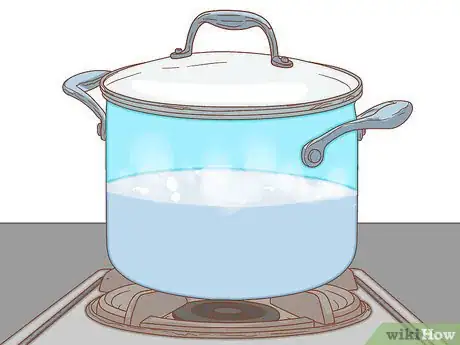
3Heat a large pot of water to 140–150 °F (60–66 °C). Fill a large pot with enough hot water to completely submerge your turkey. Aim for the water to be 140–150 °F (60–66 °C), which is warm enough to loosen the feathers for plucking, but not hot enough to start cooking the skin.
- You can heat the water on a stove or on an outdoor burner.
- You’ll need to use a kitchen thermometer to check the water’s temperature.
-
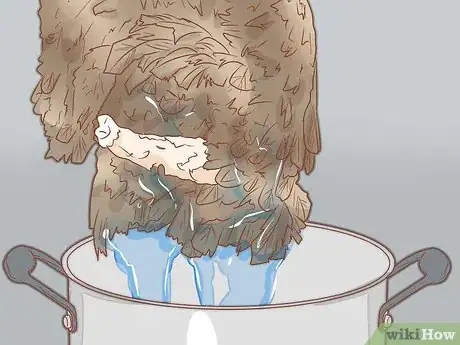
4Dip the turkey in for 30 seconds to make it easier to pluck. Hold the turkey by the feet and dip it into the water for about 30 seconds. Lift the turkey out and try to pull out a feather. If it comes out easily, it’s ready to pluck. If you have to tug hard, dip the turkey again for a few seconds.[10]
- Soaking the turkey for longer than 30 seconds might start to cook it, which you don’t want to do while the feathers are still attached.
-
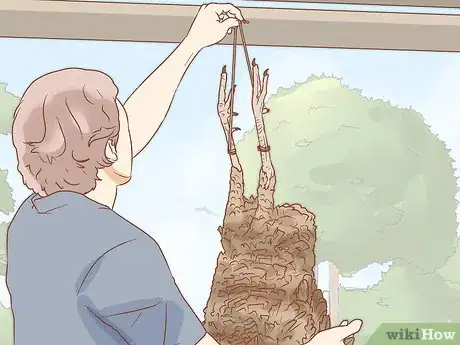
5Hang the turkey up at head-height. Pull the turkey out and use a strong rope to hang it up by the feet. You can tie it to a strong tree branch or a sturdy beam in your garage, making sure to keep it over the pot to drip dry.[11]
-
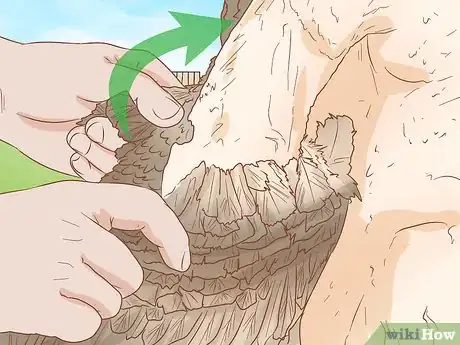
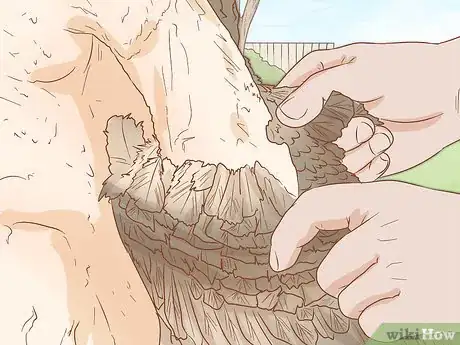
6Pluck out the feathers a few at a time. Starting at the back, start pulling out just a few feathers at a time, grasping them by the roots and plucking with a gentle tug. Pull down against the grain of the feathers, going over the entire bird until it’s clean.[12]
Tip: If you have any small, hair-like feathers left over after plucking, you can burn them away by carefully passing over them with a lighter.
-
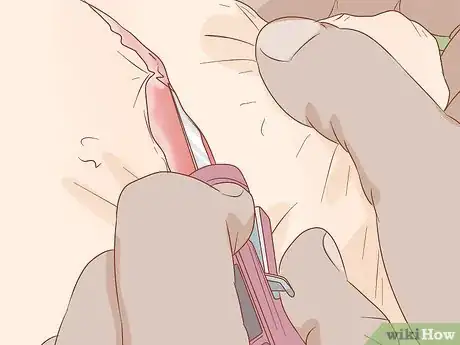
7Remove the turkey’s innards. Once your bird is plucked, carefully open up the body cavity with a knife and remove the entrails. Wear gloves to protect your hands and make sure to remove all of the lung material, which is connected to the backbone and can rot quickly.[13]
-
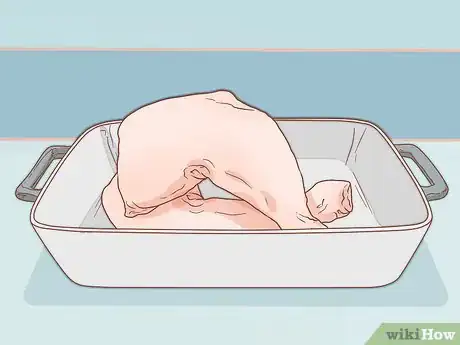
8Remove the legs and place the turkey in a baking dish if you want to cook it whole. If you prefer to cook or preserve your whole turkey, first cut off the legs at the knee or second joint using a sharp, strong knife. Keep the thighs and drumsticks attached but not the scrawnier part of the leg, which won’t have as much meat. Place it on a large baking dish if you’re ready to cook.[14]
- If you want to freeze your turkey, put it in 2 plastic freezer bags and seal it as tightly as possible. You can keep it for up to 7 months before using it.
- Dispose of the parts of the leg that you’re not cooking.
-
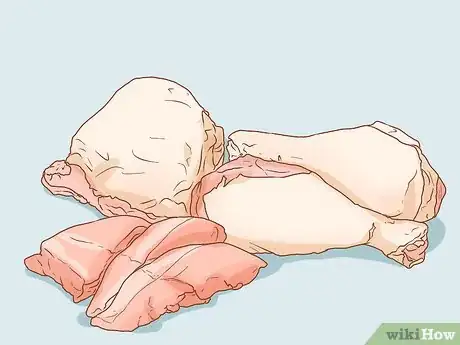
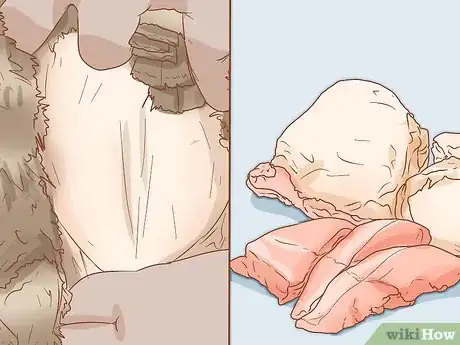
9Separate the breast fillets, thighs, and legs if you want to cook it in separate pieces. To cut the turkey into sections, lay it on its back and cut back the skin from the breast. Then, cut the turkey along each side of the breastbone and on the inside of either wing. Pull at the breast fillet and use the knife to loosen it and lift it away from the breast bone, working from the rear to the front.[15]
- To remove the thigh and leg of the turkey, cut through the thigh muscle at the back, then pull it up with your hand until the joint pops. Continue cutting through the thigh until you can remove it.
- If you have a smaller freezer, cutting your turkey into smaller pieces will make it easier to preserve. Put each section in 2 sealed plastic freezer bags and keep the turkey for up to 7 months before using it.
Skinning a Wild Turkey
-
1Skin the turkey if you want to grill it or fry it in separate pieces. Skinning a turkey is typically faster and cleaner than plucking it. It’s a great option if you’re planning to grill or fry your turkey in separate pieces.
-
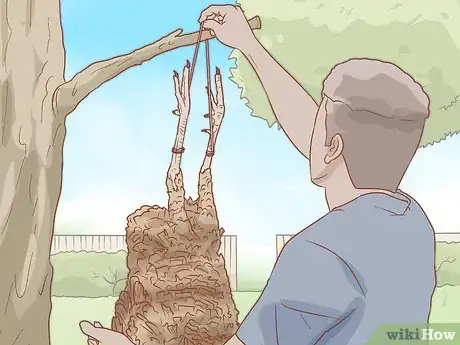
2Hang the turkey up at chest level. Use strong rope to tie the turkey up by both feet, attaching it to a sturdy tree branch or beam. Tie the feet up separately, so that they’re 12–18 inches (30–46 cm) apart.[16]
Tip: You can hang the turkey to any height, but keeping it at your chest-level will make for the easiest skinning process.
-
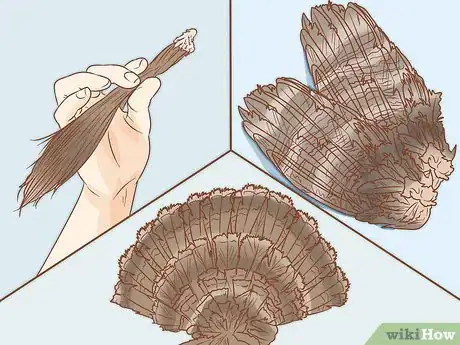
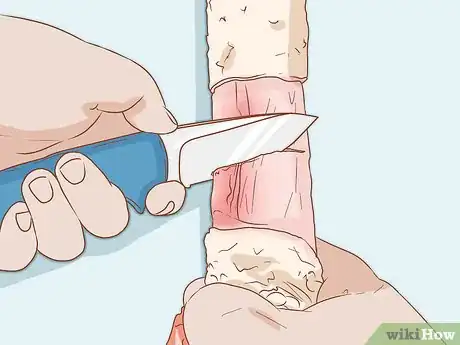
3Remove the turkey’s beard, fan, and wings. Grasp the beard close to the body, twist it halfway around, then give it a firm tug to remove it from the breast. Set it aside or discard it, then remove the turkey’s fan by cutting the skin away from the tail. Then, move on to the wings, cutting them off at the elbow or the second joint.[17]
-
4Skin the tail and remove the neck. Hold the skin of the tail and start to pull it down the body. Use your hands to gently work it off around the wings and chest. Pull it down until it’s at the turkey’s neck, then stop.[18]
-
5Cut off the neck and skin to finish the skinning process. Use a sharp, strong knife to cut off the turkey’s head and neck, starting 1–2 inches (2.5–5.1 cm) above the neck’s connection to the body. This will also take off the extra skin and feathers that you’ve pulled down.[19]
- Set the skin and head aside or discard them.
-
6Remove the turkey’s innards before cooking or preserving it. To remove the turkey’s insides, carefully open up the body cavity with a knife and remove the entrails. Wear gloves to protect your hands and make sure to remove all of the lung material, which is connected to the backbone, since it can rot quickly.[20]
-
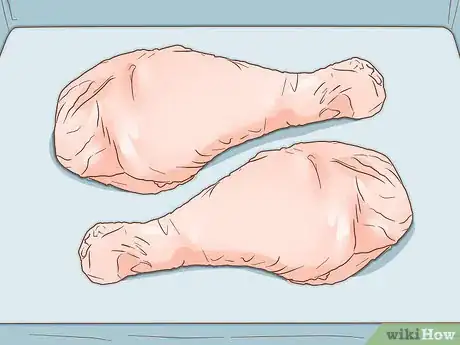
7Remove the legs and place the turkey in a baking dish if you want to cook it whole. If you prefer to cook or preserve your whole turkey, first cut off the legs at the knee or second joint, using a sharp, strong knife. You’ll keep the thighs and drumsticks attached but remove and dispose of the scrawnier part of the leg, which won’t have as much meat. Place it on a large baking dish if you’re ready to cook it.[21]
- If you want to freeze your turkey, put it in 2 plastic freezer bags and seal it as tightly as possible. You can keep it for up to 7 months before using it.
-
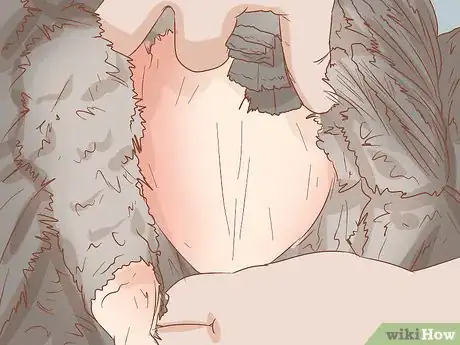
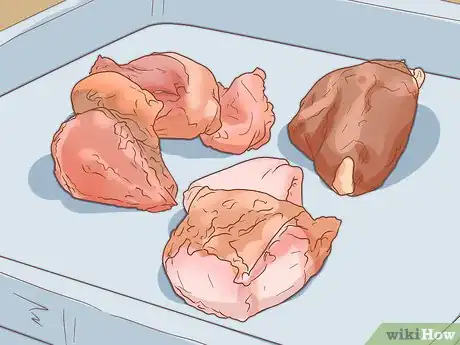
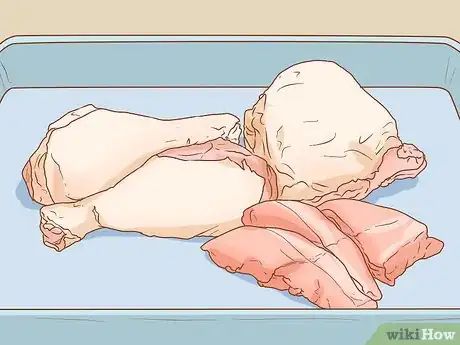
8Separate the breast fillets, thighs, and legs if you want to cook it in separate pieces. To cut the turkey into sections, lay it on its back and cut it along each side of the breastbone and on the inside of either wing. Pull at the breast fillet and use the knife to loosen it and lift it away from the breast bone, working from the rear to the front.[22]
- To remove the thigh and leg of the turkey, cut through the thigh muscle at the back, then pull it up with your hand until the joint pops. Continue cutting through the thigh until you can remove it.
- If you have a smaller freezer, cutting your turkey into smaller pieces will make it easier to preserve. Put each section in 2 sealed plastic freezer bags and keep the turkey for up to 7 months before using.
Community Q&A
Did you know you can get answers researched by wikiHow Staff?
Unlock staff-researched answers by supporting wikiHow
-
QuestionDo you need to wash a turkey before cooking it?
 wikiHow Staff EditorThis answer was written by one of our trained team of researchers who validated it for accuracy and comprehensiveness.
Staff Answer wikiHow Staff EditorStaff Answer
 -
QuestionHow do you get all the stuff out of a turkey?
 wikiHow Staff EditorThis answer was written by one of our trained team of researchers who validated it for accuracy and comprehensiveness.
Staff Answer wikiHow Staff EditorStaff AnswerTypically, when you buy a turkey in the grocery store, the giblets are tucked inside either the neck cavity or the main body cavity. The giblets are usually wrapped up in a small paper bag. The neck may also be tucked inside the body cavity. Simply reach in and pull them out by hand, then wash up with soap and water when your'e done.
 -
QuestionShould you remove the hock locks from a turkey?
 wikiHow Staff EditorThis answer was written by one of our trained team of researchers who validated it for accuracy and comprehensiveness.
Staff Answer wikiHow Staff EditorStaff Answer
Things You’ll Need
Cleaning a Store-Bought Turkey
- Leak-proof bag
- Baking dish
- Soap
- Paper towels
Plucking and Cleaning a Wild Turkey
- Knife
- Large pot
- Kitchen thermometer
- Rope
- Lighter
- Plastic gloves
- Baking dish
Skinning a Wild Turkey
- Rope
- Strong beam or tree branch
- Knife
- Baking dish
- Plastic gloves
References
- ↑ https://www.recipetips.com/kitchen-tips/t--431/cleaning-turkey.asp
- ↑ https://www.usda.gov/media/blog/2013/11/21/wash-or-not-wash-your-turkey
- ↑ https://www.usda.gov/media/blog/2013/11/21/wash-or-not-wash-your-turkey
- ↑ https://www.recipetips.com/kitchen-tips/t--431/cleaning-turkey.asp
- ↑ https://www.foodsafety.gov/blog/2016/11/wash.html
- ↑ https://www.foodsafety.gov/blog/2016/11/wash.html
- ↑ https://www.usda.gov/media/blog/2013/11/21/wash-or-not-wash-your-turkey
- ↑ https://www.recipetips.com/kitchen-tips/t--431/cleaning-turkey.asp
- ↑ https://www.realtree.com/timber-2-table-articles/how-we-pluck-a-wild-turkey
- ↑ https://www.realtree.com/timber-2-table-articles/how-we-pluck-a-wild-turkey
- ↑ https://www.realtree.com/timber-2-table-articles/how-we-pluck-a-wild-turkey
- ↑ https://www.realtree.com/timber-2-table-articles/how-we-pluck-a-wild-turkey
- ↑ https://www.biggamelogic.com/Articles-News/articleType/ArticleView/articleId/354/Cleaning-a-Turkey
- ↑ https://www.biggamelogic.com/Articles-News/articleType/ArticleView/articleId/354/Cleaning-a-Turkey
- ↑ https://www.biggamelogic.com/Articles-News/articleType/ArticleView/articleId/354/Cleaning-a-Turkey
- ↑ https://www.biggamelogic.com/Articles-News/articleType/ArticleView/articleId/354/Cleaning-a-Turkey
- ↑ https://www.biggamelogic.com/Articles-News/articleType/ArticleView/articleId/354/Cleaning-a-Turkey
- ↑ https://www.biggamelogic.com/Articles-News/articleType/ArticleView/articleId/354/Cleaning-a-Turkey
- ↑ https://www.biggamelogic.com/Articles-News/articleType/ArticleView/articleId/354/Cleaning-a-Turkey
- ↑ https://www.biggamelogic.com/Articles-News/articleType/ArticleView/articleId/354/Cleaning-a-Turkey
- ↑ https://www.biggamelogic.com/Articles-News/articleType/ArticleView/articleId/354/Cleaning-a-Turkey
- ↑ https://www.biggamelogic.com/Articles-News/articleType/ArticleView/articleId/354/Cleaning-a-Turkey
- ↑ https://www.foodsafetynews.com/2014/11/dont-rinse-your-turkey-and-other-safety-tips-for-thanksgiving/
About This Article
To clean a turkey, start by thawing it completely and then taking off the packaging. Then, put the turkey in the baking dish you'll be cooking it in. Next, reach inside of the turkey's body cavity and pull out the neck and giblets inside so that the inside of the turkey is hollow. If you're cooking a turkey that's already been brined, rinse out the cavity with cold water. Otherwise, after you take the neck and giblets out, the turkey is ready to be cooked. To learn how to pluck and clean a wild turkey, scroll down!
