This article was co-authored by Lindsay Yoshitomi. Lindsay Yoshitomi is the nail artist behind the blog, Lacquered Lawyer. She was featured as one of Nail It! magazine’s “Bloggers You Should Know,” and has been on the cover of Nail Art Gallery Magazine. She has been practicing nail art for over 15 years.
There are 13 references cited in this article, which can be found at the bottom of the page.
This article has been viewed 35,780 times.
Acrylic nails require regular cleaning and maintenance to look healthy. Give your nails a basic cleaning with a nail brush and antibacterial soap every day. Nails should be dried thoroughly after washing, and protected and moisturized to keep them in good condition. After a few weeks, buffing and filing will help to make nails look clean and fresh.
Steps
Giving Your Nails a Basic Cleaning
-
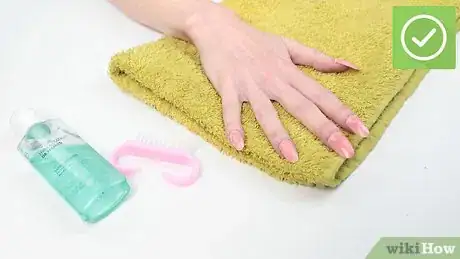
1Set up a cleaning area near the sink. Set up a cleaning area near the sink. Make sure that you have a nail brush (available for purchase at most pharmacies and beauty supply stores, or online), a washcloth, anti-bacterial hand soap, and a clean towel ready. In a pinch, soft toothbrush will work in place of the nail brush.[1]
-
2Scrub your nails. Wet the nail brush and apply antibacterial soap to it. Scrub underneath each acrylic nail, taking the time to remove any debris that might be stuck there. Rinse your hands thoroughly.[2]Advertisement
-
3Wipe the top of your nails. After scrubbing under your nails, wipe down the surface to make sure they are clean. Wet a washcloth and gently wipe the top of your nails, focusing on the cuticles and areas surrounding your nails. Rinse your hands again.[3]
-
4Dry nails thoroughly. After cleaning your acrylic nails, make sure to dry them thoroughly using a clean towel. Excess moisture or humidity under nails can create an environment for bacteria to grow and thrive. To speed up the drying process, try using a blow dryer on the coolest setting.[4]
Maintaining Your Nails
-
1Wear gloves when doing household chores. To protect your acrylic nails, wear gloves while doing any household chores (e.g. washing dishes, cleaning countertops). Choose a glove size slightly larger than your hands to accommodate your acrylic nails. If you have a latex allergy and cannot wear regular rubber gloves, opt for vinyl or nitrile gloves instead.[5]
- Try to avoid putting unnecessary stress on your nails so they don't break.[6]
-
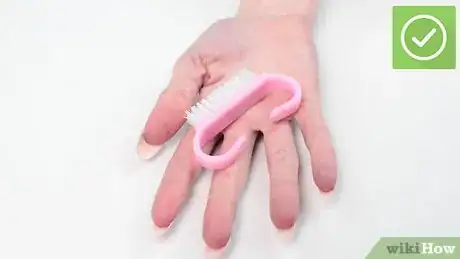
2Carry a small nail brush with you. Make sure that your nails stay clean by carrying a small nail brush with you during the day. Remove any food, dirt, or other debris that might get stuck under your nails right away to avoid buildup. Before washing your hands (e.g. before eating), take the opportunity to give your nails a quick brush to clean away any small particles under your nails.[7]
-
3Wash hands frequently. Be sure to wash your hands frequently during the day to keep your acrylic nails clean. Use an antibacterial soap to remove germs that can build up and cause the growth of fungus under your nails. Dry nails thoroughly after washing your hands.[8]
-
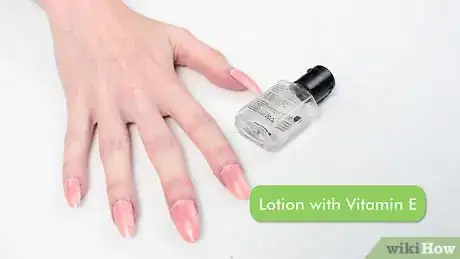
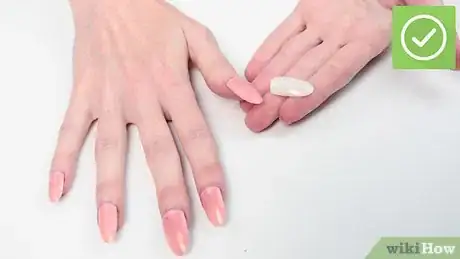
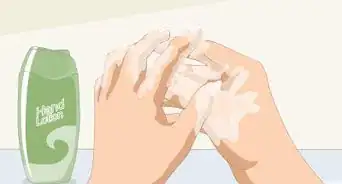
4Moisturize nails and cuticles. To keep your acrylic nails looking clean and healthy, keep them properly moisturized. Lotions and oils can help add flexibility to acrylic nails to avoid breakage or damage.[9] Some good moisturizer options include:[10]
- Lotion with vitamin E
- Rapeseed oil
- Jojoba oil
- Coconut oil
-
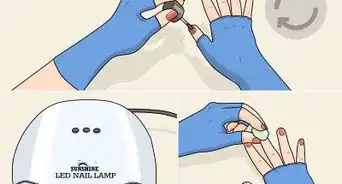
5Apply topcoat every few days. To keep nails looking clean, apply a clear top coat every two to three days. The top coat will prevent chips and cracks in your nails, and keep them looking fresh. Purchase topcoat at your local pharmacy or beauty supply store.[11]
-
6Change acrylic nails frequently. To keep your acrylic nails healthy, avoid leaving them on for more than three months at a time. Over a prolonged period, bacteria may accumulate under nails and allow for the growth of fungus. Replace your nails regularly and give your natural nails at least a few days to recuperate in between.[12]
-
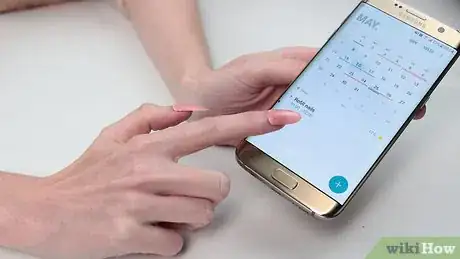
7Refill your nails every two weeks. When you are at the salon getting acrylic nails put on, make an appointment for refills ahead of time so you don’t forget. If you apply your own acrylic nails at home, write a note on your calendar or set an alarm on your phone to alert you in two weeks time that it is time to refill them.[13]
Refreshing the Look of Your Nails
-
1File the surface of your nails. After a few weeks, your acrylic nails will likely show signs of wear or discoloration. Using a regular emery board, lightly filing the surface of your nails to remove any marks or yellowish tint that might have developed on them. Make small, circular strokes and take your time to buff the surface of each nail evenly.[14]
-
2Even out the bottom of your nails. While you are buffing your nails clean, even out the visible gap between your acrylic nail and your natural nail underneath. Lightly buff the bottom edge of the acrylic nail with an emery board until it merges seamlessly with your natural nail. Do not file down too hard as it might damage your cuticles or natural nail, which is likely sensitive from the application of the acrylics.[15]
-
3Dust off your nails. After filing and buffing, use a dusting brush to remove acrylic dust from your nails. If you do not have a dusting brush (available online or at beauty supply stores), use an old makeup brush. To avoid a buildup of acrylic dust, brush off your nails frequently during the buffing process.[16]
-
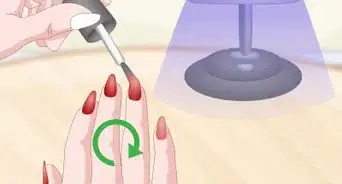
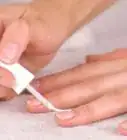
4Apply a top coat. After dusting off your nails, apply a clear top coat to them. Apply topcoat in a thin layer as opposed to a thick one, then reapply after drying if you want more coverage. Use a lip brush to remove any polish that falls outside the lines of your nails.[17]
- After your top coat dries, apply a coat of polish in the color of your choice, if desired.
Expert Q&A
-
QuestionHow can I prevent my nails from breaking?
 Lindsay YoshitomiLindsay Yoshitomi is the nail artist behind the blog, Lacquered Lawyer. She was featured as one of Nail It! magazine’s “Bloggers You Should Know,” and has been on the cover of Nail Art Gallery Magazine. She has been practicing nail art for over 15 years.
Nail Artist Try to limit stress on your nails to limit breakage. For instance, you might wear gloves to clean or do dishes. Also, apply lotion or oil to your nails to help them stay flexible.
Things You'll Need
- Nail brush
- Washcloth
- Anti-bacterial hand soap
- Clean towel
- Rubber gloves (or nitrile or vinyl gloves)
- Moisturizer (e.g. vitamin E lotion, coconut oil)
- Emery board
- Dusting brush
- Top coat
References
- ↑ http://nailcare.ygoy.com/2010/08/12/the-art-of-keeping-your-acrylic-nails-sparkling-clean
- ↑ http://nailcare.ygoy.com/2010/08/12/the-art-of-keeping-your-acrylic-nails-sparkling-clean/
- ↑ http://nailcare.ygoy.com/2010/08/12/the-art-of-keeping-your-acrylic-nails-sparkling-clean/
- ↑ http://www.dermanities.com/get-rid-nail-fungus-fake-acrylic-nails
- ↑ https://b4brands.com/blog/latex-vs-nitrile-vs-vinyl-gloves-which-to-choose/
- ↑ Lindsay Yoshitomi. Nail Artist. Expert Interview. 12 July 2019.
- ↑ http://nailcare.ygoy.com/2010/08/12/the-art-of-keeping-your-acrylic-nails-sparkling-clean/
- ↑ http://www.more.com/beauty/nails/nail-care/home-hacks-maintain-your-acrylic-nails
- ↑ Lindsay Yoshitomi. Nail Artist. Expert Interview. 12 July 2019.
- ↑ http://www.more.com/beauty/nails/nail-care/how-care-your-acrylic-nails-10-tips-pros
- ↑ http://www.more.com/beauty/nails/nail-care/how-care-your-acrylic-nails-10-tips-pros
- ↑ http://www.dermanities.com/get-rid-nail-fungus-fake-acrylic-nails
- ↑ http://www.more.com/beauty/nails/nail-care/how-care-your-acrylic-nails-10-tips-pros
- ↑ http://www.fabhow.com/how-to-maintain-acrylic-nails-at-home.html
- ↑ http://www.fabhow.com/how-to-maintain-acrylic-nails-at-home.html
- ↑ http://www.fabhow.com/how-to-maintain-acrylic-nails-at-home.html
- ↑ http://www.cosmopolitan.com/style-beauty/beauty/how-to/a5101/things-about-painting-your-nails-you-might-not-know/
