This article was co-authored by wikiHow Staff. Our trained team of editors and researchers validate articles for accuracy and comprehensiveness. wikiHow's Content Management Team carefully monitors the work from our editorial staff to ensure that each article is backed by trusted research and meets our high quality standards.
wikiHow marks an article as reader-approved once it receives enough positive feedback. In this case, 86% of readers who voted found the article helpful, earning it our reader-approved status.
This article has been viewed 172,949 times.
Learn more...
A good ironing board should last decades, or even a lifetime. However, a cover will need to be replaced every couple of years. You may also choose to upgrade the cover that came with your ironing board in order to improve the quality or efficiency of your ironing work. Find the best cover to match your board, your work and your hobbies.
Things You Should Know
- You can get a metallic, non-slip, or cotton cover depending on your personal needs.
- Felt lining is much more durable than foam if you want to avoid replacing your cover every year or so.
- Ironing boards are not universal, so measure your board before buying a cover.
- Most boards come with either elastic edging or drawstrings to secure them, so choose whichever option suits you best.
Steps
Exploring Your Options for Covers
-
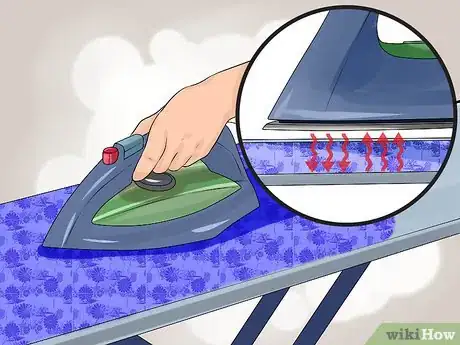
1Reflect heat onto the fabric you are ironing with a metallic cover. Metallic covers are made of fabric, but the exposed surface is woven with copper. This allows the heat of the iron to be reflected back into the fabric you are ironing as opposed to the heat being absorbed by both the fabric of your garment and the fabric of the ironing board cover.[1]
- Reflecting the heat back onto your garment will speed up your ironing process. It can also be an energy saver as more heat is created using less electricity and time.
-
2Ensure your item stays in place with a non-slip ironing board cover. The non-slip cover is especially useful for sewing and quilting projects. Making sure that your project stays in place on the board can be essential to creating straight seams.[2]Advertisement
-
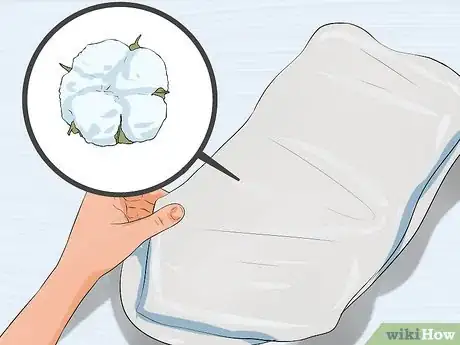
3Use natural unbleached cotton ironing board covers for everyday ironing. This is also a practical option for sewing and quilting. Your clothes and fabrics will stay put and not slide around or off of your ironing board. These are usually a thicker material like canvas or duck cloth, very durable and washable.[3]
- Cotton will scorch if you get your iron too hot or lay it down on the surface for a long period of time. Although scorch marks on your cover will not damage your clothes, they do not look nice and are almost impossible to wash out.
- Some manufacturers have designed their heavy duty cotton covers with a steam repellent layer underneath the cover to give you the best of both styles - no slip surface, with reflected heat for ease of ironing.
-
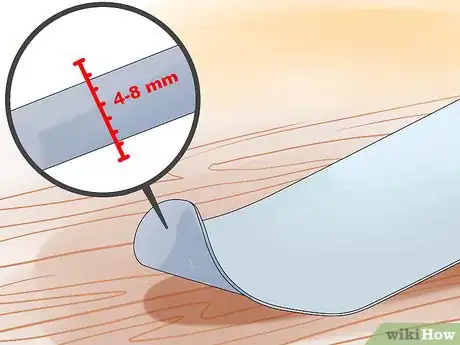
4Choose a cover with a heavy felt lining. Some ironing board covers are lined with a foam pad. The foam pad often loses its shape or becomes damaged easily. Felt lining is more durable and will maintain its shape.[4]
- Be sure that the lining is thick enough to create a buffer between your garment and the perforated ironing board so that the mesh of the board does not transfer to your garment. Most pads are between four and eight millimeters thick.
- If you find the perfect cover, but do not like the padding, you can always add your own. Fabric stores sell upholstery foam and felt by the yard. You can cut this to fit on top of your board, then place your cover on top.
- Some people keep the old cover as padding and place the new one on top.
- Felt is an organic material and does not contain the chemicals which may be used in foam padding.
-
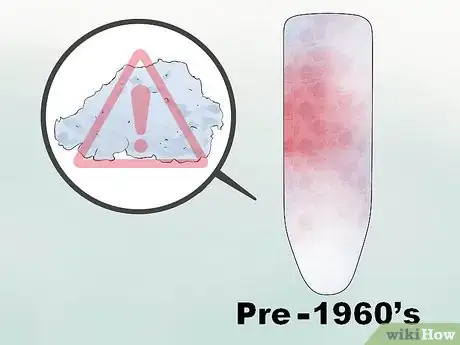
5Get rid of any old ironing board covers which may be made with asbestos. Asbestos was widely used up until the 1960s. It was considered a miracle material in that it was fire-resistant and durable. For this reason, white chrysotile, a form of asbestos, was commonly used in the production of ironing board covers. Since the 60s, though, the dangers of exposure to asbestos and its link to disease, has made asbestos obsolete and dangerous.[5]
- If you are using a cover made after 1960, it likely does not contain asbestos.
- If you are disposing of asbestos, you should contact your local council for instructions on specified disposal sites for hazardous materials.
Finding the Perfect Fit for Your Ironing Board
-
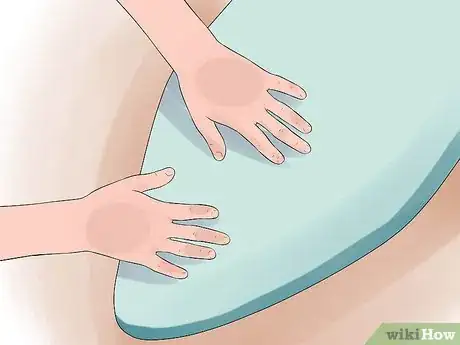
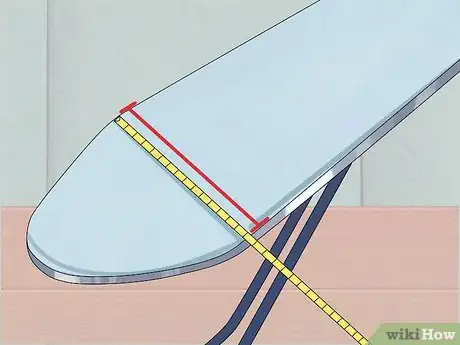
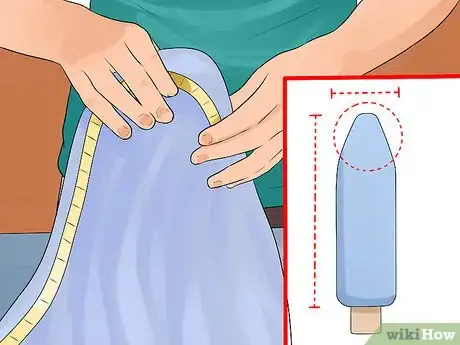
1Measure the width of your ironing board. Using a measuring tape, measure the width of your ironing board. Be sure to measure the board at its widest point, which should be near the middle of the board.[6]
- Only measure the top of the board. Do not wrap your measuring tape around the sides of the board.
-
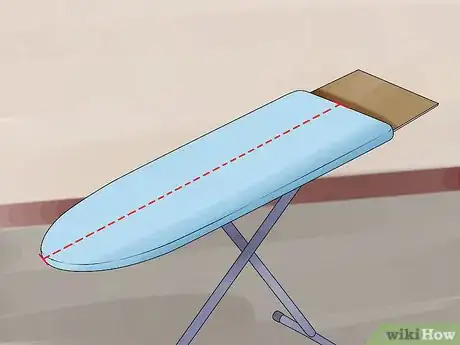
2Find the length of your ironing board. Measure the board from nose to tail using a measuring tape. Do not include any accessories like an iron rest plate when you are measuring the length of your board.[7]
- Knowing the length of your board is going to be the most helpful. Some covers can fit various widths using elastic or drawstrings, but the cover must reach both ends of the board.
-
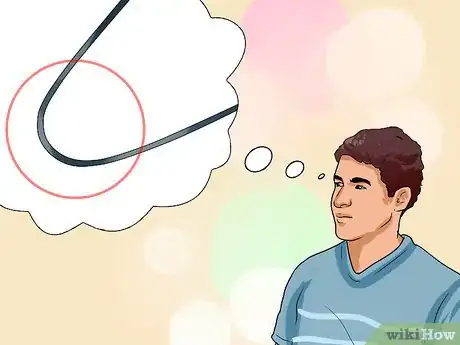
3Determine the shape of the nose of your ironing board. Different ironing boards are created with a variety of noses for different purposes. You will want to know whether your board has a rounded, tapered, or blunt nose in order to find a cover with the correct fit.
-
4Take your measurements to the store when you shop for a cover. Many covers come in a standard size which fits most ironing boards, but it is helpful to have your measurements handy to be sure your cover fits your board. This is especially useful for ironing boards which are an odd shape or size.[8]
- The size of the cover should be listed on the packaging. Match the size listed to your measurements.
Choosing Bonus Features for Your Cover
-
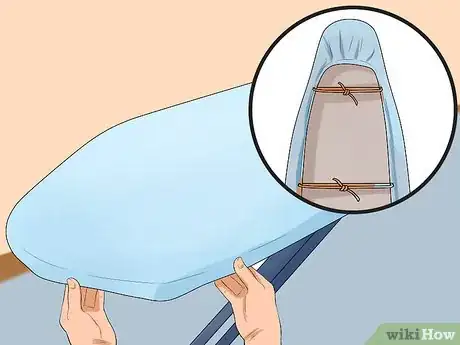
1Attach the cover to your ironing board with a drawstring. If you have measured the board correctly and found a perfect fitting cover, it should fit snug on your board and not pucker. Some covers will also come with a drawstring to assist in cinching the cover perfectly to your board.[9]
- Drawstrings can be easier to use than an elastic cover if you have an iron rest attached to you ironing board. The drawstrings can be worked between the board and the iron rest more easily than elastic edging.
-
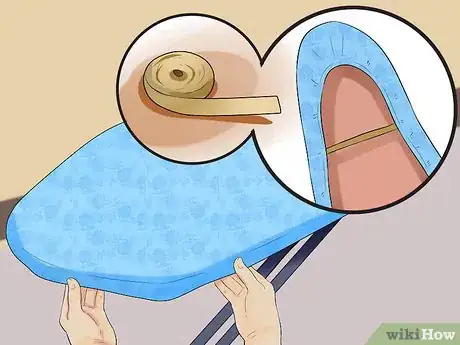
2Slip the cover over your board easily with elastic edging. As opposed to drawstrings, which tie and hang off the bottom of the board, some covers are made with an elastic band around the edge. This ensures that the cover fits snug, while keeping the edges neat and clean.[10]
- If you have an iron rest, remove the iron rest before slipping the cover on, then reattach the iron rest with the cover in place.
-
3Choose a cover which meets your aesthetic. Many cotton ironing board covers are coming in a variety of colors and design. This may appeal to you, especially if you use your ironing board regularly and leave it set up.[11]
- Some people find the designs distracting. They can make it more difficult to see seams in the garment or to determine if the wrinkles have been removed.
Community Q&A
-
QuestionDo Ironing board cover sizes on the package show the actual size edge to edge and end to end allowing for wrap around, or is the size shown on the package and actual full width and length of the cover?
 Community AnswerThe size listed on the cover should match the measurements of the width and length of your board. The listed measurements should not include the wrap around, which is excess.
 -
QuestionI have a new ironing board cover (cotton top, foam under) which sweats. When I lift the cover, the foam and the ironing board are wet. Is this common? Anyone have fixes for that?
 Community AnswerI suspect the foam (sponge) is absorbing and retaining the moisture from the steam when you iron. Replace the foam pad with a felt pad, which will absorb and wick away the moisture.
 -
QuestionI have a thick top ironing board. How do I find a cover deep enough to fit my board?
 Community AnswerIf you have the name of your ironing board manufacturer, you can contact them and ask them to direct you on which covers fit their boards.
References
- ↑ https://www.google.com/patents/US4484400
- ↑ http://www.houzz.com/photos/ironing-board-covers
- ↑ http://www.houzz.com/photos/ironing-board-covers
- ↑ http://laundry.about.com/od/ironing/bb/buyironingboard.htm
- ↑ http://www.mesothelioma.com/asbestos-exposure/products/ironing-board-covers/
- ↑ http://www.sew4home.com/tips-resources/sewing-tips-tricks/deciphering-marks-measuring-tape
- ↑ http://www.sew4home.com/tips-resources/sewing-tips-tricks/deciphering-marks-measuring-tape
- ↑ http://www.houzz.com/photos/ironing-board-covers
- ↑ http://laundry.about.com/od/ironing/bb/buyironingboard.htm
