X
This article was co-authored by Haley Snyder. Haley Snyder is a former Division I Student-Athlete and Softball Player. With over a decade of experience, she specializes in softball mechanics, fundamentals, and pitching. Haley holds a BA and MA from Stanford University, where she competed in the PAC-12 Conference as a pitcher.
This article has been viewed 93,901 times.
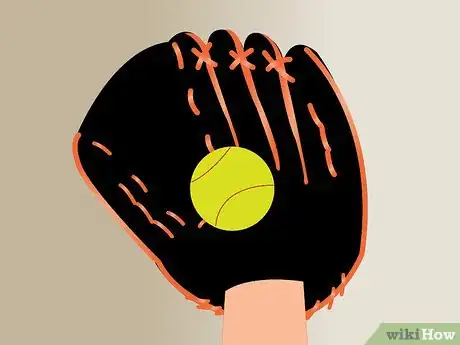
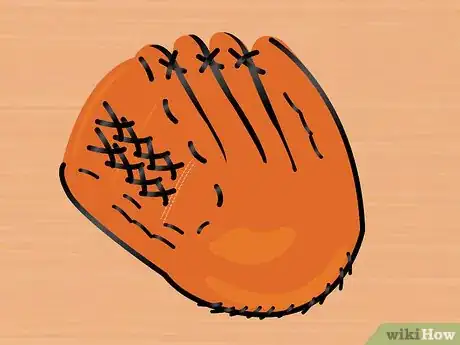
Softball players need to catch and hold on to the ball, which makes the right glove an important piece of equipment. Choosing the right glove for your position is as equally important.
Steps
Method 1
Method 1 of 6:
Searching for Mitts and Gloves in General
-
1Visit a brick-and-mortar store. Whether you plan on purchasing your mitt or glove online or in-store, go to a local sporting goods store first. Test the fit and feel of various brands and models in person to ensure that you’re buying the right glove for you.
-
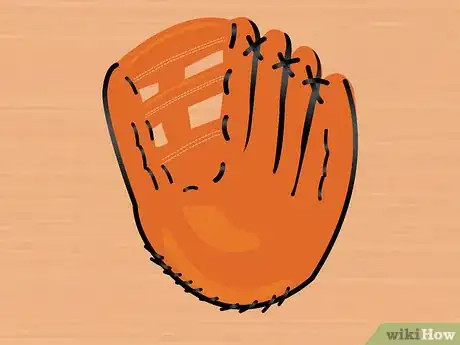
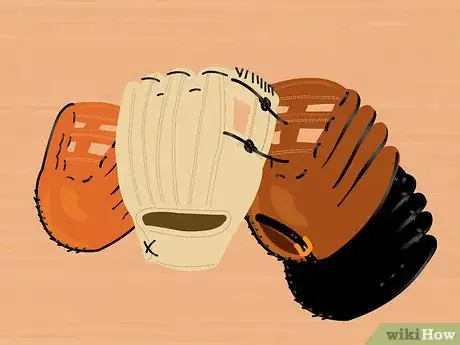
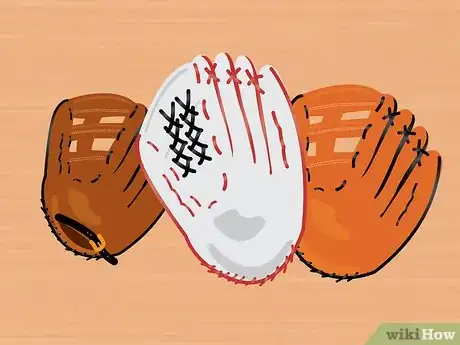
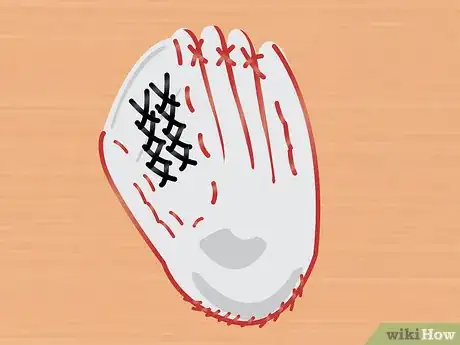
2Know the difference between a glove and mitt. Gloves separate your fingers from each other for greater dexterity. Mitts omit this feature due to their heavy padding; even if they did separate your fingers, the thicker padding would make it harder for your fingers to move independently of each other.
- Browse gloves if you’re an outfielder, pitcher, or second- or third baseman, or a utility player.
- Browse mitts if you’re a catcher or first baseman.
Advertisement -
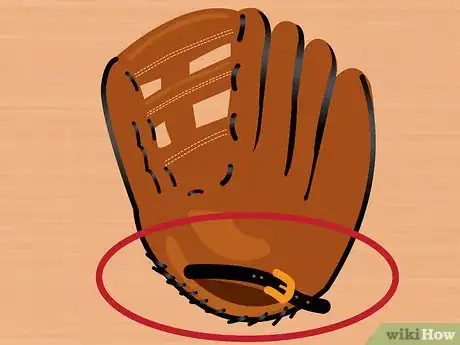
3Familiarize yourself with various adjustments. Learn the difference between velcro, D-ring, lace, and buckle adjustments. Decide which one you prefer.
- Velcro: loosens or tightens your glove quickly with minimal fuss.
- D-ring: allows you to adjust your glove's fit by pulling on one lace.
- Lace: uses multiple laces to change your glove's fit.
- Buckle: uses a clasp to secure your glove's fit.
-
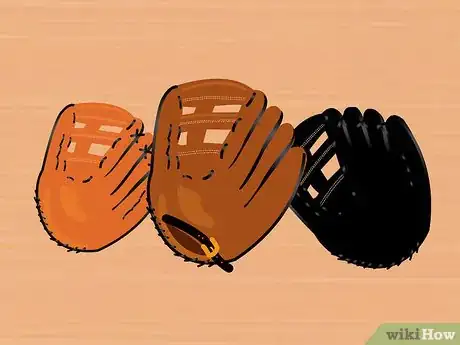
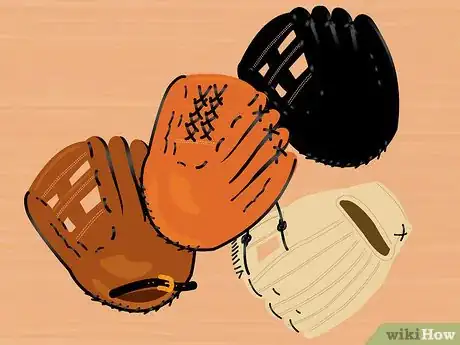
4Choose a material. Buy a glove or mitt made from synthetic materials for younger players who expect to grow out of their current size, since these tend to be cheaper. For more durability over longer use, invest in a leather glove or mitt. To break your glove or mitt in more quickly after purchase, opt for treated leather that has been pre-conditioned for this purpose.[1]
-
5Assess the cost. Avoid the cheapest mitt or glove available, since the price usually reflects the quality of craftsmanship. At the same time, resist grabbing the most expensive one automatically. Choose the right glove for you, which may or may not be the highest priced item.
Advertisement
Method 2
Method 2 of 6:
Choosing a Mitt
-
1Choose the right mitt for your position. Browse mitts that are specifically designed for either catcher or first baseman.
- Catcher’s mitts are the biggest; their circumference typically exceeds 30 inches.
- First baseman’s mitts resemble gloves, with less padding and more length than a catcher’s mitt. Adult sizes range from 12-13".[2]
-
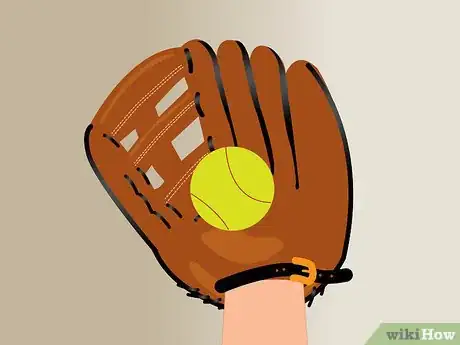
2Test the fit. On your way to the mitt section, grab a ball and bring it with you. Judge your ability to grip it securely through all that heavy padding.
- For younger first basemen, especially aged 10 and under, be sure they are able to close the mitt. If this is too difficult, use an infielder’s glove instead.[3]
- The glove is too big if it feels like your fingers are sitting in the palm.[4]
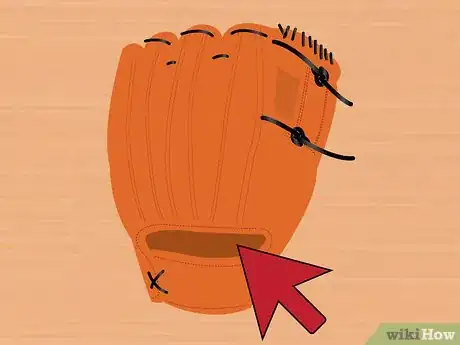
- Your glove may also be too large if your fingers can barely poke through the outer hole.[5]
- If your fingers hit the end of the finger pockets, the glove is probably too tight.[6]
-
3Judge the weight. Although all mitts will feel heavy in comparison to gloves, avoid buying a mitt that feels too heavy. Be sure that the mitt’s weight does not impede your ability to transfer the ball to your free hand for a quick throw to your teammates.
Advertisement
Method 3
Method 3 of 6:
Choosing a Pitcher’s Glove
-
1Choose a size. Although there’s no preferred glove-size for pitching, be sure to select one that’s large enough for you to hide the ball from the batter. Bring along someone who knows the game to stand in for the batter. Pose for them to see whether or not they can tell what sort of pitch you’re about to make.
- Adult sizes for pitchers range from 11.5-13".[7]
-
2Choose a closed web. Avoid gloves with open webbing when pitching, since these may offer the batter a glimpse of your grip on the ball.
-
3Judge the comfort. Know that, as a pitcher, you will be making catches continually throughout the game. Be sure your hand is well protected from so many impacts.[8]
-
4Judge the weight. Avoid gloves that feel too heavy. If you like every other feature of a particular glove, check with a sales rep or the manufacturer to see if the same design is available in alternate, lighter materials.[9]
Advertisement
Method 4
Method 4 of 6:
Choosing an Infielder’s Glove
-
1Choose a size. Opt for a smaller glove. Ensure a quicker ball-to-hand transfer for fast plays after catching the ball.
- Adult sizes for infield positions range from 11.5-13".[10]
-
2Choose an open back. Pick a glove whose design leaves the top of your wrist uncovered. Allow yourself greater flexibility.
-
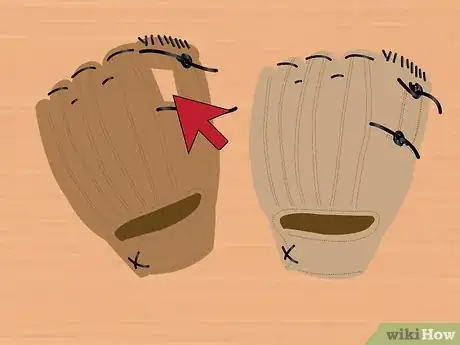
3Choose between open and closed webs. If you’re a third baseman, go with a closed web, which offers greater support for the harder balls you’re more likely to catch in your position.[11] For other infielders, opt for an open web instead for quicker ball-to-hand transfers.
Advertisement
Method 5
Method 5 of 6:
Choosing an Outfielder’s Glove
-
1Choose a size. Opt for a longer glove. Avoid the extra steps and costly seconds that it might take to catch fly balls or make diving catches with a short glove.
- Adult sizes for outfield positions range from 12-15".[12]
-
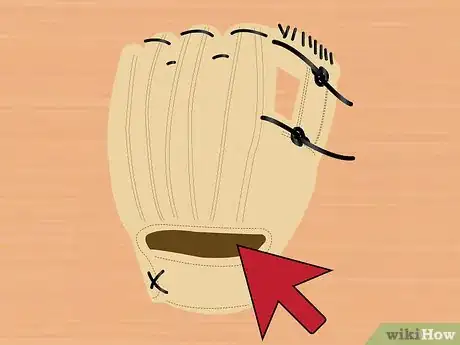
2Choose a closed back. Pick a glove whose design covers all of your hand for greater support. Sample a closed-back glove that offers a hole for your index finger to protrude from the glove for additional support and judge whether your prefer this option or not.
-
3Choose a closed web. Opt for the additional support that a closed web offers when catching fly balls and line drives.
Advertisement
Method 6
Method 6 of 6:
Choosing a Utility Glove
-
1Choose a size. If you're going to be switching between infield and outfield positions, pick a size as Goldilocks would: not so long that it would impede quick ball-to-hand transfers, but not so short that it would make catches in the outfield too difficult.
-
2Go for an open back. Keep your wrist uncovered. Allow yourself greater mobility while playing infield positions.
-
3Choose a closed web. Since the open back design sacrifices support for more mobility, avoid gloves with an open web design. Make up the difference with a closed web, which offers more support.
Advertisement
Expert Q&A
-
QuestionHow should a softball glove fit your hand?
 Haley SnyderHaley Snyder is a former Division I Student-Athlete and Softball Player. With over a decade of experience, she specializes in softball mechanics, fundamentals, and pitching. Haley holds a BA and MA from Stanford University, where she competed in the PAC-12 Conference as a pitcher.
Softball Player Your fingers shouldn't touch the end of the finger pockets, but they also shouldn't sit along the palm of your glove. Similarly, your index finger should comfortably peek out of the side opening and not barely be sticking out.
Advertisement
References
- ↑ http://www.baseballmonkey.com/baseball-softball-glove-buying-guide
- ↑ http://www.baseballmonkey.com/baseball-softball-glove-buying-guide
- ↑ http://www.baseballmonkey.com/baseball-softball-glove-buying-guide
- ↑ Haley Snyder. Softball Player. Expert Interview. 23 June 2021.
- ↑ Haley Snyder. Softball Player. Expert Interview. 23 June 2021.
- ↑ Haley Snyder. Softball Player. Expert Interview. 23 June 2021.
- ↑ http://www.baseballmonkey.com/baseball-softball-glove-buying-guide
- ↑ http://www.baseballmonkey.com/baseball-softball-glove-buying-guide
- ↑ http://www.baseballmonkey.com/baseball-softball-glove-buying-guide
About This Article
Advertisement
