X
wikiHow is a “wiki,” similar to Wikipedia, which means that many of our articles are co-written by multiple authors. To create this article, volunteer authors worked to edit and improve it over time.
This article has been viewed 8,194 times.
Learn more...
Whether it is a purchase for yourself or someone in your life, a new gaming PC is a big purchase. Most people purchasing prebuilt computers are looking to avoid the headache of building your own and facing the troubleshooting required to complete the task. This article will break down what errors to look for before using a new prebuilt gaming PC.
Steps
Part 1
Part 1 of 2:
Inspecting The Hardware
-
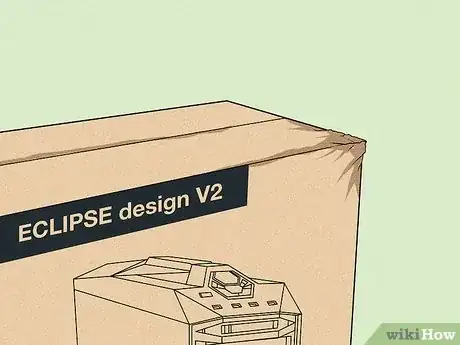
1Inspect the box for damage. When buying a computer, look at the tape surrounding the box to ensure the box is sealed, and has not been tampered with previously. If purchasing at a store, do not purchase the item if the box has noticeable damage such as tears and major dents. This could potentially be a broken device and should be treated as such.
-
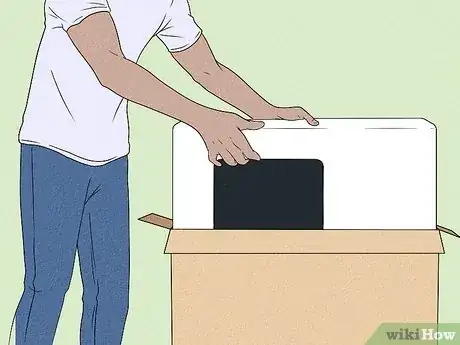
2Remove all padding and manuals first, and unbox the desktop on its side gently. Some instances may vary, but most desktops are cased in vertical towers and are more easily removed safely when the box is on the side.
- Attempting to lift a heavy computer from the top can potentially damage the system. To minimize risk, unload the computer horizontally.
Advertisement -
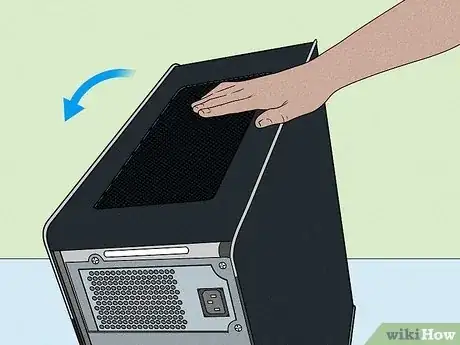
3Inspect case for loose screws and other hazards. While case is sitting in upright position, gently lean the case back from all directions and listen for any potential metal items such as loose screws and bolts that have been installed improperly during manufacturing.
- These loose items can potentially interfere with the power supply unit (PSU) of the computer and can even cause a short circuit, causing irreversible damage to the computer. Do not start the computer in this condition.
-
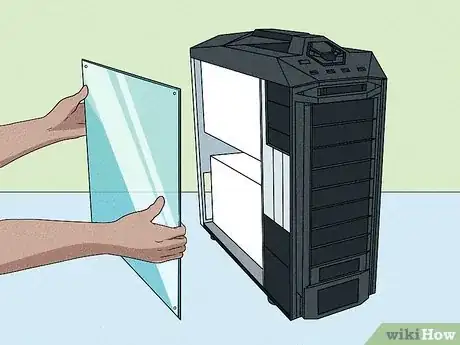
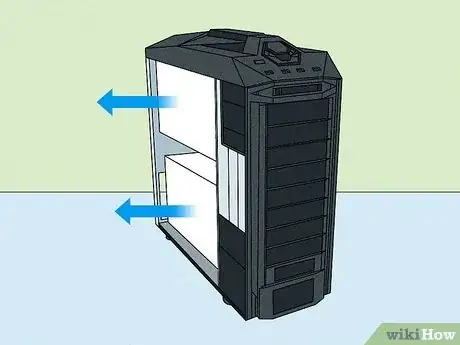
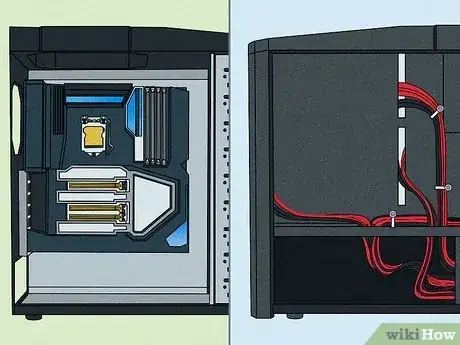
4Remove case front end. Many modern gaming PC cases will be constructed with a "back side" and "front side". The front side generally has a glass panel to view the inside, and can be removed easily to access the internals.
- The back side should not be removed for now, and is usually concealed as it hides the majority of the wiring in the computer, and is mostly used for access to the PSU only.
- There are 4 Phillips screws located on the exhaust of the desktop for easy removal. Unscrew the 2 that are currently holding the front panel and safely move to the side.
-
5Remove the protective foam and any loose hazards. Many performance computer manufacturers will reinforce the graphics card in the computer with a sealing foam that molds to the shape of the computers front interior. This must be removed before turning the computer on, as several cooling components will be comprised if not, leaving the case to overheat drastically and potentially harming the overall life of the desktop. Safely remove the protective foam and any loose hazards spotted in Step 3.
- (optional) If the hazards cannot be located on the front interior, remove the back panel using the same steps as the front panel and remove the hazards as previously mentioned. Re-install the back panel after removing all loose material.
-
6Inspect the motherboard and other wiring. This may seem like an overwhelming task, but there is no installation required. Simply view all connections you can see from the naked eye, and make sure all wiring and sockets are closed tightly and securely.
- Loose connections can result in failing components such as the storage, and causing cooling components such as fans to not be turned on, resulting in overheating and other issues.
- Pins almost always protrude straight and should not have any rough bends. Inspect all pins on the motherboard for damage and or missing pins in a pattern/row.
- If pins are found damaged and the computer is eligible for return it is recommended, as motherboard connections can be very difficult to fix for amateurs, and many can be crucial to the usability of the PC.
- (optional) For reference, you can search on YouTube for " *your motherboard name* (usually on the board itself) installation" and look for how connections should be inserted.
- Once everything has been fully secured, re-install the front panel to the case. The interior check is done.
-
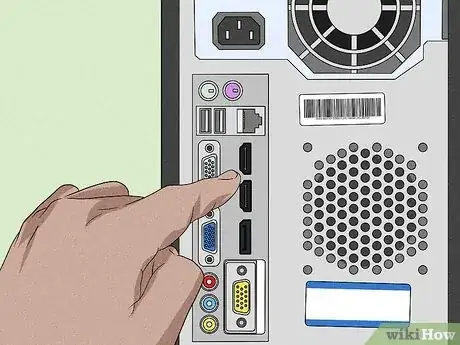
7Check the graphics card connection ports. Similar to the graphics card foam situation, many manufacturers can leave an invalid HDMI connection open on the back IO of the motherboard.
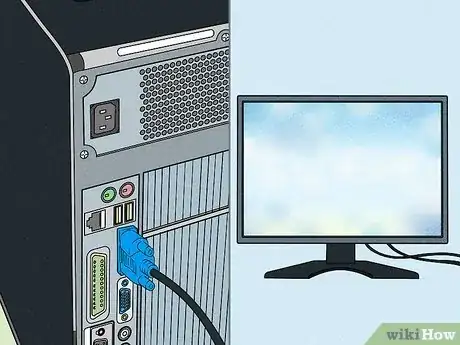
- When inserting an HDMI or DisplayPort connection to the back exhaust of the PC, make sure to insert into the slot located on the graphics card of the PC, and not the motherboard.
- The graphics card can be located easily as a device with multiple dedicated fans on the front side of the PC. Follow it to the back exhaust, and make sure you are inserting a connection from the GPU rather than the board directly.
- A motherboard's integrated graphics system can display signal, but cannot be used alone to run the latest games, and you will notice immediately while playing if this happens. Many manufacturers will block the motherboard display port with a rubber insert to prevent this confusion, but it is still a prevalent issue.
-
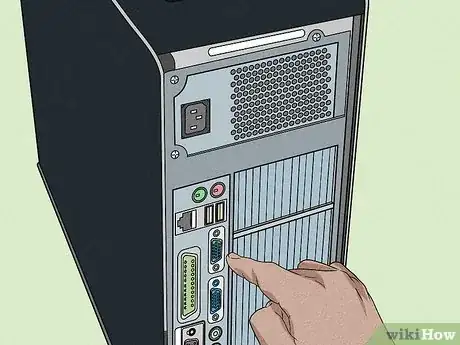
8Inspect the IO for other errors. While inspecting the rear exhaust with the display connections, inspect all ports further for damage during shipment or installation. Pins for HDMI and DisplayPort inserts can be damaged and potentially be rendered unusable, or provide an unstable connection.
-
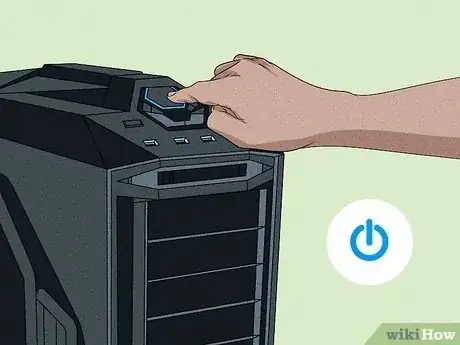
9Turn on the PC. After installing the proper display connection and outputting to a TV or monitor, plug in the provided AC cable into the PC as well as to a power source, and also connect any included or personal peripherals such as a mouse, keyboard, and speakers. Flip the PC power switch near the rear exhaust and power the PC on.
-
10Inspect connections. Check that the signal being provided to the display is accurate, of the correct color, and not flickering/showing other display issues. Troubleshooting for this problem consist of:
- trying a different display cable
- using a different display
- restarting the PC
- If the issues persist, follow the next step before considering a return.
-
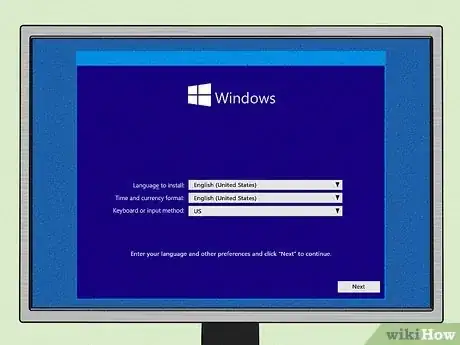
11Setup the OS. Most gaming PCs will come with a pre installed copy of Windows 10, or the more recent Windows 11. This is due to the compatibility of games being unmatched to any other current software, therefore being the preferred choice of PC gamers. Go ahead and go through the setup process of Windows to your liking. This process will take anywhere from 5-20 minutes depending on your computer.
- For more in-depth instructions on installing Windows 10, refer to How to Install Windows 10.
- If you are experiencing graphical issues, install the appropriate drivers for your corresponding graphics card, Nvidia or AMD. Both driver update software can be found on their respective company websites. A guide on how to update the drivers can be found at How to Update Video Card Drivers.
Advertisement
Part 2
Part 2 of 2:
Inspecting Temperatures in Software
-
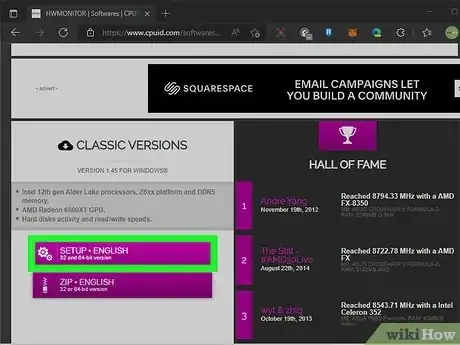
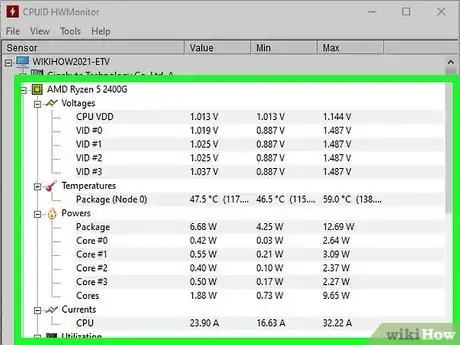
1Download a program used for inspecting the internal temperature. While this step can be performed without software, to get an accurate reading of temperature it is recommended to download CPUID Hardware Monitor. This program relays many temperature readings and other diagnostic information to the user entirely free. It can be found here
-
2Inspect idle readings. Upon installation, locate the readings of your CPU, which will be listed as AMD ______ or Intel ______.
- On an idle system with little processes running, this temperature should generally never rise above 45 °C. Idle temperature is not a large problem however.
-
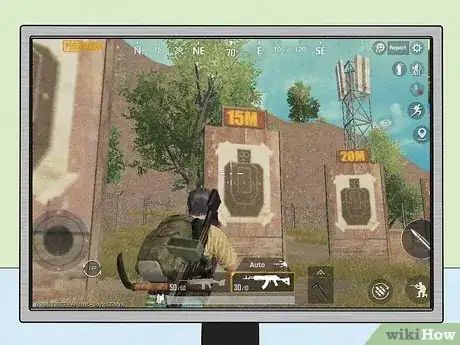
3Stress test the cooling. After installing the games of your choice, stress test your computer by playing some different games for varying lengths of time.
- Be sure to have CPUID open as you want to inspect readings of your temperatures while in-game as well, something that is inaccessible without the software.
- While testing, view the max temperature of both the CPU and the GPU in HWMonitor. It is generally not safe to be running a CPU at levels of 100 °C or above, and most will even throttle their performance at that temperature in order to cool down.
- You should not be going over 80 °C after sustained sessions of gaming. This will impact the overall quality and life of the CPU over time.
- General GPU temperatures can vary from card to card however should not be sitting over 85 °C while running intensive programs.
- If you are experiencing either CPU or GPU cooling problems, it's recommended to change a CPU cooler, as this is a simple problem of airflow in the system that can be upgraded. A guide for AMD boards can be found at How to Install a CPU Cooler in an AMD Motherboard.If it seems too overwhelming, you can simply return the computer and troubleshoot a new one with more effective cooling. It is simply not recommended to be running at maximum safe operating temperatures consistently as it will affect the life of the PC overall.
Advertisement
About This Article
Advertisement
