X
wikiHow is a “wiki,” similar to Wikipedia, which means that many of our articles are co-written by multiple authors. To create this article, volunteer authors worked to edit and improve it over time.
This article has been viewed 53,534 times.
Learn more...
Adding a tray ceiling to a room can create the illusion of spaciousness, or give the impression that a ceiling is higher than it actually is. Many people also apply tray ceilings simply for decorative purposes. Follow these instructions to build a tray ceiling in your home.
Steps
-
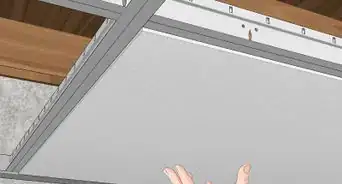
1Attach drywall to the entire ceiling.[1]
- Cut drywall to size with a sharp utility knife and a straightedge. Smoothen the edges of the drywall with coarse sandpaper and a sanding block.
- Utilize homemade 2-by-4 T-braces to assist yourself and a partner when installing the drywall. Rent a cradle lift for assistance if you are installing the drywall panels yourself.
- Nail the drywall into place, leaving 6-inch (15 cm) intervals between the nails. Dimple the drywall by giving the nail an extra hit to break the surface material.
-
2Tape the joints and use joint compound over the tape and nail dimples. Let the compound dry for about 24 hours, then apply a second and third coat.Advertisement
-
3Feather the edges of the drywall with medium-grit sandpaper and a sanding block.
-
4Tape the corners and areas where the walls meet the ceiling. Apply joint compound and sandpaper.
-
5Determine the width of the lowered area. Tray ceilings are made by adding a lower rim to the ceiling, rather than removing material from the center. The width of this rim is typically 1 or 2 feet (0.30 or 0.61 m) (30 to 61 cm), depending on the dimensions of the room.[2]
-
6Determine the shape of the lowered area. The shape of the lowered area on a tray ceiling often mimics the shape of the surrounding walls, although you can use a more intricate design. Use a chalk snap line to mark this outline.[3]
-
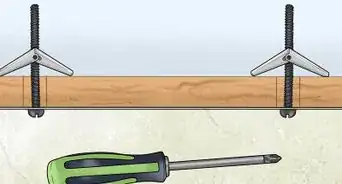
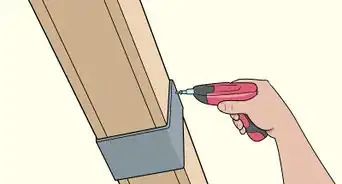
7Frame the outlined area with 1-1/2-inch-thick (3.8 cm) furring strips. Secure the furring with glue and nails.[4]
-
8Attach 1/2-inch-thick (13 mm) drywall to the furring to cover the space from the edge of the wall to the edge of the furring strips.
-
9Let the walls dry for a few days. Wait as long as the manufacturer of your joint compound recommends.
-
10Bridge the lowered section of ceiling to the upper level with a 3-inch-wide (7.6 cm) vinyl bead. The bead runs around the perimeter of the outline at an angle.
- Snap chalk to outline where the edge of the vinyl meets the upper level of ceiling.
- Apply adhesive caulk to secure the bead in place.
- Staple the vinyl bead where it meets the lowered section.
- Attach the longer vinyl beads first.
-
11Conceal the edges and seams of the drywall with joint compound.
-
12Sandpaper the area and coat it with primer.
-
13Apply more caulk to the edges as necessary.
-
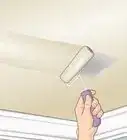
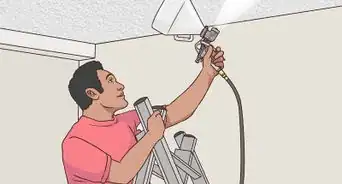
14Paint the ceiling. Painting the lowered section of ceiling a few shades darker than the upper ceiling can enhance the contrast between levels.[5]


Advertisement
Things You'll Need
- Measuring tape
- Chalk snap line
- 1-1/2-inch-thick furring strips
- Glue
- Drywall nails
- Hammer
- Drywall
- Utility knife
- Straightedge
- Sandpaper
- Sanding block
- T-brace or cradle lift
- Joint compound
- 3-inch-wide (7.6 cm) vinyl bead
- Caulk
- Primer
- Paint


References
About This Article
Advertisement