X
wikiHow is a “wiki,” similar to Wikipedia, which means that many of our articles are co-written by multiple authors. To create this article, volunteer authors worked to edit and improve it over time.
This article has been viewed 33,010 times.
Learn more...
Linux is known as for its clean, sharp appearance, for its unusual power, and sometimes for its speed. Adding a swap partition to your Linux system may help to increase you system's performance, especially if you often run multiple processes at once. This article will guide you step-by-step in creating a swap partition and attaching it to your system.
Steps
-
1Choose a partition that can be formatted into a swap partition. You can either split your system partition, or another partition. Please be advised that such actions may cause system damage or file corruption.
- If you wish to split a non-system partition, use GParted, a powerful utility to built for editing hard drives. This article gives a detailed tutorial on how to split a partition.
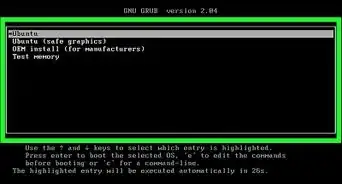
- If you need to split your system partition, you will need to live boot another system from a USB. Ubuntu OS contains GParted pre-installed, so go ahead and download the ISO file from here. Then, after you complete the ISO download, follow this article to make your USB bootable using a ISO file. Then restart your computer and boot from your USB drive. Launch GParted from the Live USB and continue to step 2.
-
2Create a swap partition. Open GParted, then select the partition you wish to partition and unmount it. Right-click the partition and click Resize/Move. Then resize the partition to be at least 1 GB smaller. Then select the unallocated space, right-click it, and format it as
linux-swap. After you have finished, click Apply in the top toolbar. Depending on the size of your partitions and the speed of your computer, this process could take quite a while. This article will give you a more detailed guide in how to resize a partition in Linux.Advertisement -
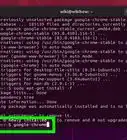
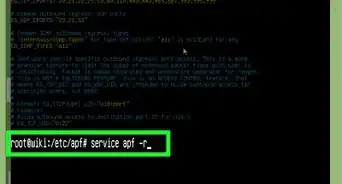
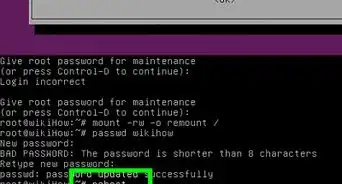
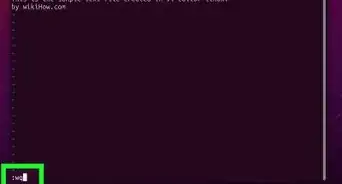
3Obtain your UUID code. This can by done using the terminal, so launch the terminal. The keyboard shortcut is Ctrl+Alt+T. Then type in the following command: sudo blkid /dev/sda3, assuming that the swap partition you created is sda3. To verify your partition path, open GParted and check your swap partition. It should be located under the Partition column. After giving the above command, press ↵ Enter. You will be required to provide an administrator password. The UUID code will be displayed; copy the code to a notepad or something.
-
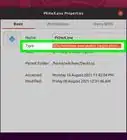
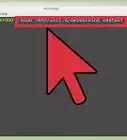
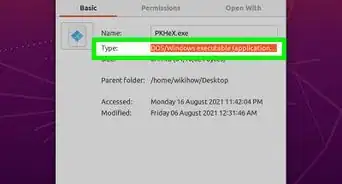
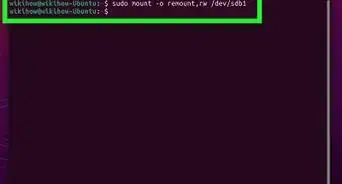
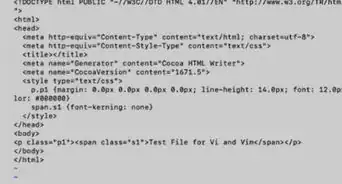
4Attach the new swap partition to your system. Type the following command into the terminal: gksu gedit /etc/fstab. You need to provide an administrative password. Then paste the UUID code you obtained in the step before after the line beginning like
UUID=[paste your code here]. After editing, the document should look something like the picture above. Before you exit, please remember to save the document. -
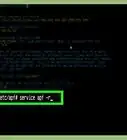
5Make your swap partition active. Again, open GParted. Then right-click the swap partition and click Swapon. Then restart your computer, and the swap partition will be attached now.


Advertisement

About This Article
Advertisement