This article was co-authored by Anthony Stark, EMR and by wikiHow staff writer, Hunter Rising. Anthony Stark is a certified EMR (Emergency Medical Responder) in British Columbia, Canada. With over 11 years of experience, he has worked as an industrial medic and provided urban and rural paramedic services. He currently works for Mountain View Safety Services and previously worked for the British Columbia Ambulance Service. Anthony has a Bachelor of Engineering in Electrical, Electronics, and Communications Engineering from the Georgia Institute of Technology. He has completed the EMP Canada EMT Course and Swiftwater Awareness Training associated with the British Columbia Ambulance Service.
There are 24 references cited in this article, which can be found at the bottom of the page.
wikiHow marks an article as reader-approved once it receives enough positive feedback. In this case, 90% of readers who voted found the article helpful, earning it our reader-approved status.
This article has been viewed 612,318 times.
Ouch! When you have a cut, scrape, or more serious injury, we know you’re in a rush to stop the bleeding and protect the wound. But with so many types of bandages in a first aid kit to choose from, how do you know which one offers the best protection? That’s where we come in! We’ll go over basic wound care and how to properly apply common bandages so they stick. With added tips about caring for minor and major wounds and preventing infections, you’ll be able to heal up quickly after you finish our helpful guide!
Things You Should Know
- To apply adhesive strip bandage, place the gauze section over your wound. Pull the adhesives tight and stick them to your skin.
- For a gauze pad, cover your entire wound with the gauze. Tape the edges of the pad down with surgical tape or wrap a roller bandage around it.
- To use a knuckle bandage, put the gauze on top of your knuckle. Wrap the wings around your finger tightly so they don’t move around.
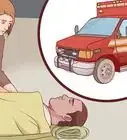
- Contact a doctor right away if you can’t stop the bleeding, have an injury on your head, or notice signs of infection on your wound.
Steps
Gauze Pads
-
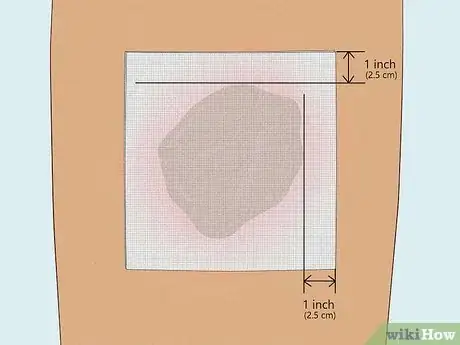
1Apply a gauze pad over the wound. Cut out a rectangular piece of gauze so it’s about 1 inch (2.5 cm) larger than the wound on each side. Gently press the gauze down so it completely covers the wound.[1]
- Use a gauze pad on any wounds that are too large to cover with a smaller adhesive strip bandage. Gauze pads also are effective for treating minor burns.[2]
- Use an impregnated gauze pad that’s soaked in petroleum jelly or antibacterial ointments to help your wound heal faster.
-
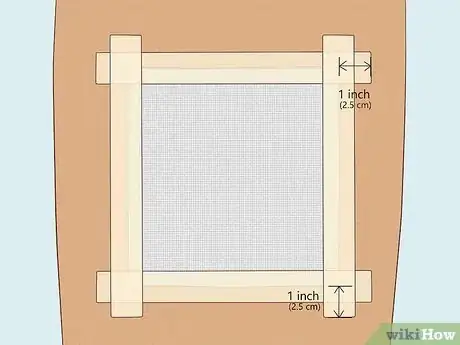
2Secure the gauze with surgical tape for a simple dressing. Cut off pieces of surgical tape that are 1 inch (2.5 cm) longer than the edges of your gauze pad. Place a piece of tape along the edge of the gauze so it’s half on the dressing and half on your skin. Firmly press the tape down to secure it. Then, apply the remaining tape strips to the other edges.[3]
- Be sure to tape all 4 sides of your gauze pad to keep bacteria and potential infections out.[4]
Advertisement -
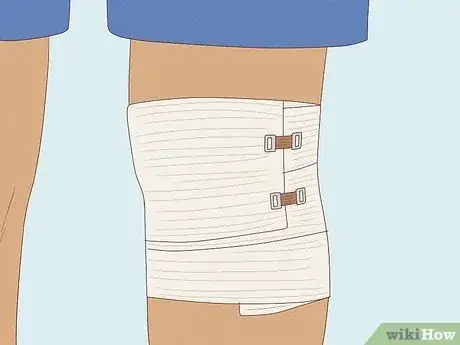
3Wrap a cotton roller bandage around the gauze for wounds near joints. Keep your joint relaxed while you put on your bandage. Place the end of the wrap just below your wound and start wrapping the bandage. Overlap half the bandage as you wrap it up over the wound. Once you’ve passed the top of the wound, clip the end of the roller bandage to the layer underneath it so it stays secure.[5]
- Using roller bandages also allows you to secure gauze without using any tape.
- If your bandage is so tight that it causes pain or cuts off your circulation, loosen it a little bit so it’s snug but comfortable.
-
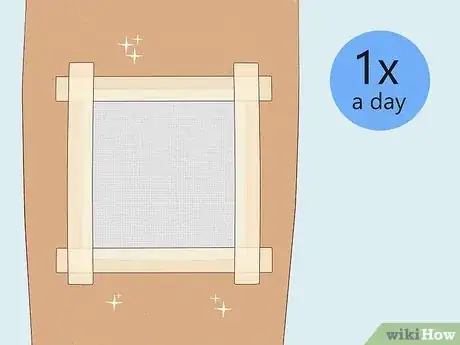
4Change the gauze at least once a day. In order for the wound to drain and heal, take your bandage and gauze off at the end of the day. When you remove the bandage, clean the wound and let it sit in the open air for a few minutes before applying the new bandage.[6]
- If blood soaks through the gauze pad, replace it right away so it doesn’t drip or leak.
Adhesive Bandages
-
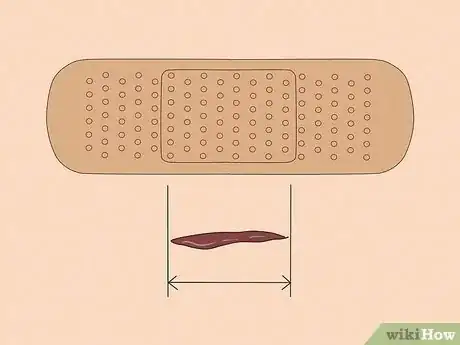
1Choose an adhesive bandage that’s large enough to cover your wound. Adhesive strip bandages come in a variety of sizes to treat a minor cut or protect a large scratch. Check that the padded gauze section of the bandage is large enough to cover your entire wound to keep out any bacteria.[7]
- If an adhesive bandage isn’t large enough to cover your wound, then you may need to apply a gauze dressing instead.
-
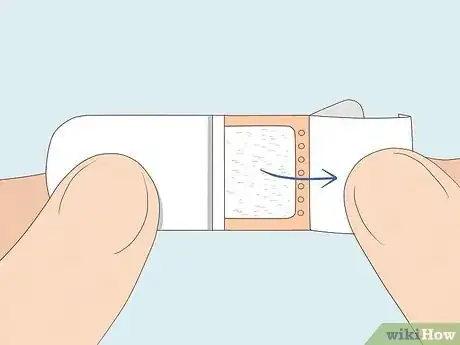
2Peel the backing paper off of the bandage. Flip your bandage over and hold onto the loose edge of the backing paper. Slowly pull the backing paper up and off of the adhesive without touching the gauze pad. Once you get the first piece of backing paper off, simply remove the second piece to expose the adhesive.[8]
- If you’re worried about the adhesive sticking to itself, bend the backing paper in half without fully pulling it off the bandage yet. That way, you expose the gauze to apply it to the wound, and you can easily peel the backing paper off once you position the bandage.
-
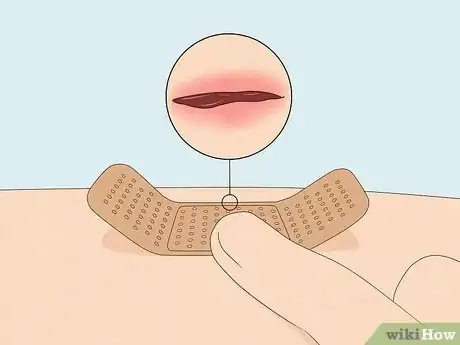
3Position the bandage’s gauze over your wound. Hold the padded gauze section of the bandage directly over the wound. Be careful not to apply the adhesive tape part of the bandage directly on your wound since it could cause irritation or re-open the cut.[9]
- Try to avoid touching the gauze with your fingers so that you don't transfer any dirt or germs to the bandage.
-
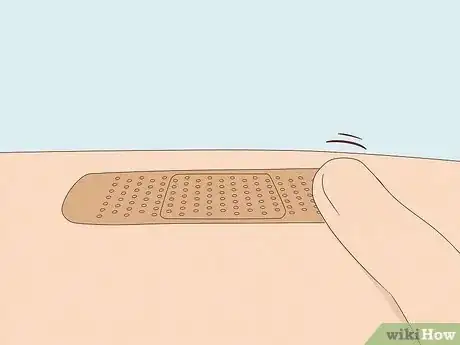
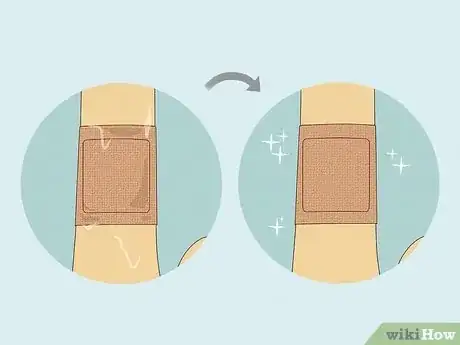
4Press the adhesive firmly against your skin. Once you have covered the wound with the gauze, gently stretch the adhesive part and press it onto your skin. Make sure the bandage doesn’t have any slack or gaps in the adhesive tape so that the bandage stays secured in one spot.[10]
- If there are gaps or any raised areas of the adhesive, bacteria could get into your wound which may lead to an infection.
-
5Replace your bandage at least once a day. Change your bandage if the gauze soaks through or when the bandage gets wet. Gently pull the bandage off instead of tugging or ripping it so you don’t hurt your skin or reopen your wound.[11]
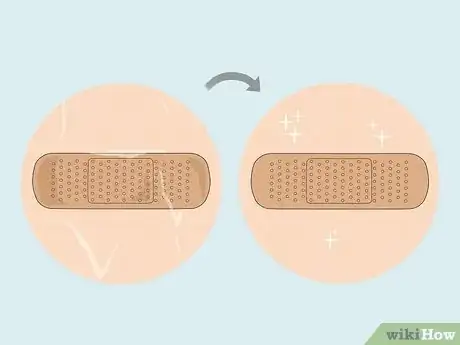
- Stop using bandages as soon as your wound completely heals.
Knuckle Bandages
-
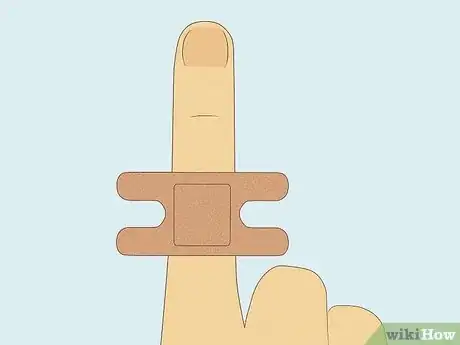
1Press the gauze of a knuckle bandage against the top of your knuckle. Knuckle bandages have a gauze pad in between 4 “wings” that wrap around your finger. Peel the backing paper off the bandage just enough so the gauze is exposed. Gently set the gauze against your wound so it’s completely covered.[12]
- If you don’t have a knuckle bandage on hand, you can cut the adhesive ends of a strip bandage in half to make the wings.
-
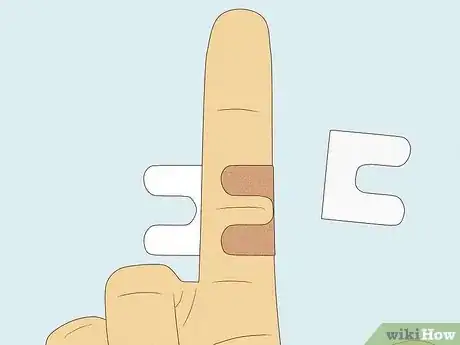
2Remove the backing paper from one side to stick on the wings. It’s easier to work with 2 of the wings at a time so they don’t stick to one another. Fully remove the backing paper from one side of the bandage. Slowly wrap the wings around your finger above and below your knuckle joint. Smooth the bandage out so there aren’t any raised areas or gaps.[13]
- The wings fit around your finger so you can easily bend your knuckle without the bandage coming loose or falling off.
-
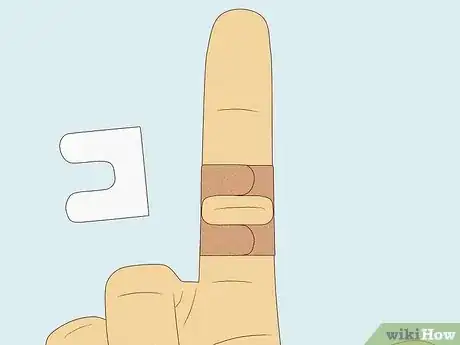
3Apply the last adhesive wings to your skin. Take the backing paper off the other side of the bandage and throw it away. Then, pull the wings tight and wrap them around the other side of your finger. Make sure the bandage isn’t so tight that it cuts off your circulation.[14]
- If your bandage feels uncomfortable, try lifting up one of the wings and making it fit a little looser.
-
4Replace your bandage whenever it gets wet. If fluids from your wound soak through the gauze or if you get your hands wet, gently peel the bandage off your finger. Clean your wound and let it air out for a few minutes before you put your new bandage on. Once your wound fully heals, you can stop using bandages.[15]
Bandaging Minor Wounds
-
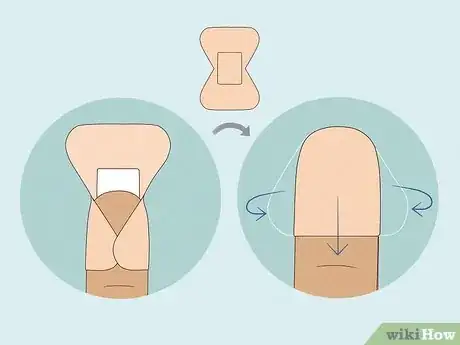
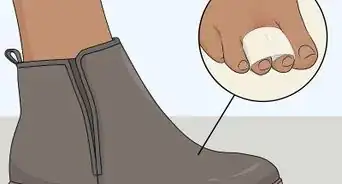
1Use a fingertip bandage on small cuts by your nails. Fingertip bandages have an hourglass shape that fits better around your fingers without any excess hanging off. Peel off the backing paper on one side, and position the bandage so one side of the hourglass is over your nail. Remove the other piece of backing paper and wrap the bottom of the hourglass around your finger. Then, bend the gauze over your fingertip and wrap the remaining adhesive around your finger.[16]
- You can cut a large rectangular adhesive strip bandage into an hourglass shape if you don’t have one made for fingertips.
-
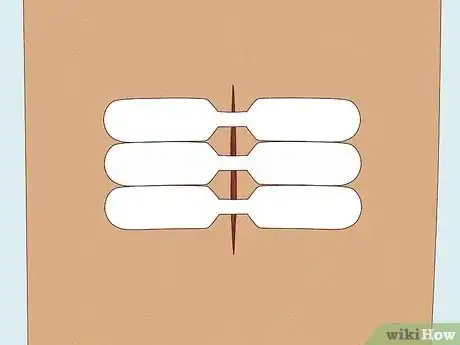
2Use a butterfly bandage to hold together slices and cuts. A butterfly bandage has two wider sticky adhesive strips connected by a thin, non-sticky strip. Peel off the backing off one side of the bandage and place it on one side of the cut. Pull the bandage tight so it closes up your wound, and stick the other adhesive onto the other side of the cut. The non-sticky center strip will sit directly over your wound.[17]
- Butterfly bandages are used for keeping a cut closed, not for absorbing blood or preventing infection.
- You may need to use multiple butterfly bandages to hold a large cut closed.
- If your cut is over a joint or cannot be closed, you may need to get stitches.
-
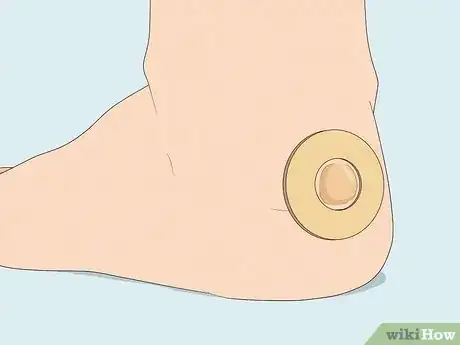
3Use moleskin to bandage a blister. Moleskin is a special type of foam-adhesive bandage used to prevent a blister from rubbing against anything. Remove the backing of the doughnut-shaped moleskin round, and apply it so that the blister sits inside the center cut-out. Place the round moleskin lid or an adhesive strip bandage over the top of the moleskin to cover the top of the blister to protect it if it pops.[18]
- You can make your own makeshift moleskin by taking layers of gauze slightly taller than the blister and cutting a hole out in the middle that’s the size of the blister. Put the gauze over your blister and top it with a piece of nonstick gauze.
-
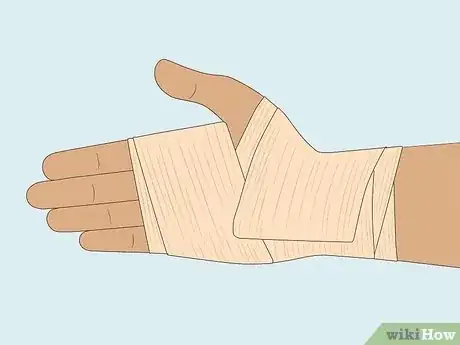
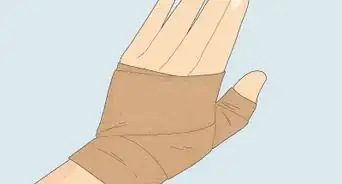
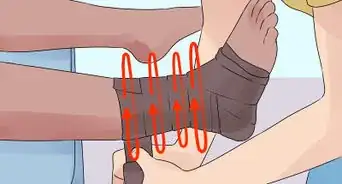
4Wrap an ACE bandage around a sprain. ACE bandages are a type of compression wrap to help support a sprained ankle or treat wrist pain. Start the bandage roll on one side of your joint, and slowly wrap it up toward your body. Keep the bandage taut and overlap it by half as you wrap it. When you’re finished wrapping, press the end of the compression wrap firmly against itself to hold it in place, or secure it with clips.[19]
- Avoid wrapping the bandage so tightly that it cuts off your circulation. If you feel discomfort, undo and loosen the bandage.
Bandaging Serious Wounds
-
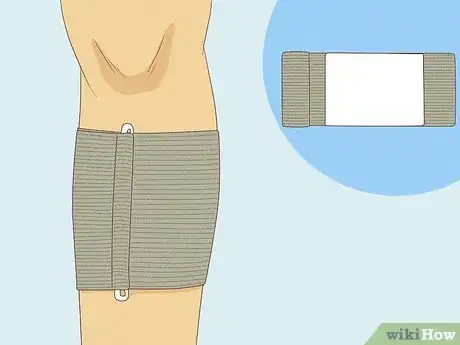
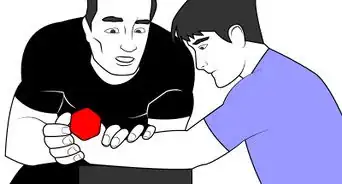
1Apply a pressure bandage for cuts that are bleeding heavily. A pressure bandage is a thick piece of padded gauze on the end of a long compression tape. Place the padded gauze directly over the wound so it’s completely covered. Then, pull the compression tape tight and wrap it over the gauze to apply pressure to the wound. Secure the end of the adhesive tape with clips to keep the gauze in place.[20]
- Pressure bandages are great to help apply firm pressure on the wound to help it stop bleeding in an emergency.
-
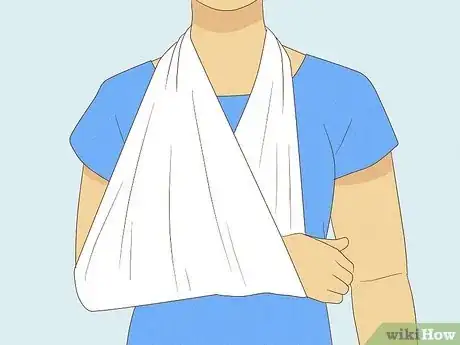
2Fold a triangle bandage into a sling. Triangle bandages unfold into a large, triangular shape so you can make a sling. Loop half of the bandage under your arm and around the back of your neck. Then, put the other half over the front of your arm and tie it into a knot at the shoulder. Pin any loose edges so they don’t hang loose.[21]
- You can also wrap a large dressing or wound with a triangle bandage for additional support.
-
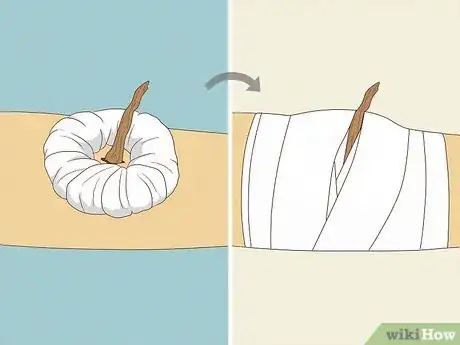
3Make a doughnut bandage for impalements or puncture wounds. A doughnut bandage is wrapped into a thick O-shape to relieve pressure around an impaled object or deep puncture.[22] Leave the impaled object in place if there is one, and carefully wrap a triangle bandage into a tight ring around it. Then, use surgical tape or gauze wrapped around the edges of the doughnut to hold it against your skin.[23]
- Do not wrap any gauze or tape over the center of the doughnut where the impaled object is located.
Best Practices
-
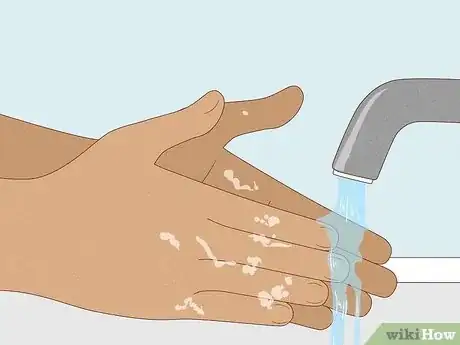
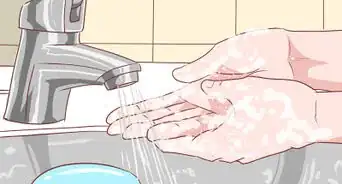
1Wash your hands before you care for a wound. Use soap and warm water to wash your hands any time you’re about to dress a wound so you don’t introduce bacteria.[24]
- For added protection, you can put on non-sterile gloves before caring for your wound.
-
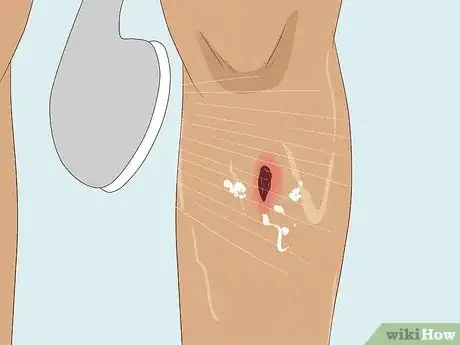
2Clean the wound with cool water and soap before you apply a bandage. Use cool running water to rinse out any debris that’s in your wound. Wash your skin around the wound with mild hand soap, but don’t let any get into the wound itself so you don’t have any irritation. When you’re finished, pat your wound dry with a piece of gauze or paper towel.[25]
- Try to apply a bandage as soon as you clean your wound so there’s less chance of developing an infection.
- Avoid using hydrogen peroxide, iodine, or rubbing alcohol to clean your wound since it could cause more irritation.[26]
-
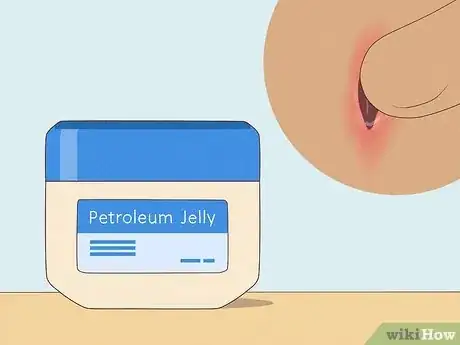
3Apply petroleum jelly over the wound to prevent scarring. Petroleum jelly helps keep your wound moisturized so it’s less likely to dry out. Gently spread a fingertip-sized amount of petroleum jelly into a thin layer over your entire wound. Wipe up any excess petroleum jelly with a clean towel.[27]
- You can instead apply an antibiotic cream to help prevent further infections, but petroleum jelly offers similar protection.
-
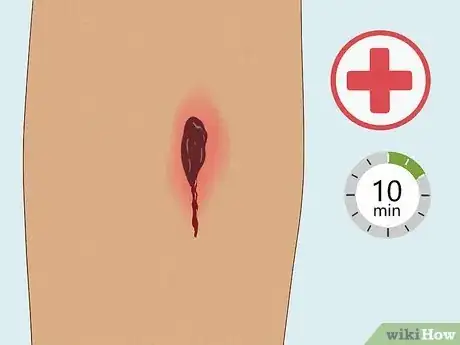
4Go to a doctor if the bleeding won’t stop or there are signs of infections. If you can’t stop the bleeding within 10 minutes, it’s a sign that the wound needs more serious treatment. If the wound is on your face, or if the edges look jagged or hang open, it’s another sign that you should have a doctor treat you.[28] As you’re healing, watch for inflammation, redness, pus, numbness, or fever since that could mean that the wound is infected and needs a stronger antibiotic.[29]
- If you bandage a wound and it has still not begun to heal or causes significant pain after 24 hours, you should head to a doctor for help.
Expert Q&A
-
QuestionHow do you apply a bandage to an amputation stump?
 Jonas DeMuro, MDDr. DeMuro is a board certified Pediatric Critical Care Surgeon in New York. He received his MD from Stony Brook University School of Medicine in 1996. He completed his fellowship in Surgical Critical Care at North Shore-Long Island Jewish Health System and was a previous American College of Surgeons (ACS) Fellow.
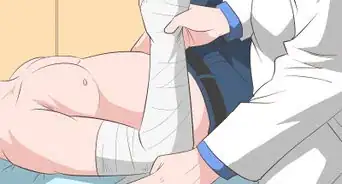
Board Certified Critical Care Surgeon This is a definite challenge, as bandages tend to fall off. The best way is a first layer of cover roll (2-inch), followed by a second layer with an elastic bandage under a small amount of tension. Also, overlap the passes of the bandage for even coverage to help it stay on.
Warnings
- Be on the lookout for infections. If you notice a grayish or yellow, foul-smelling discharge coming from the wound, a temperature above 100 °F (38 °C), intense throbbing or redness at the site, or red streaks radiating from your wound, seek medical attention.[30]⧼thumbs_response⧽
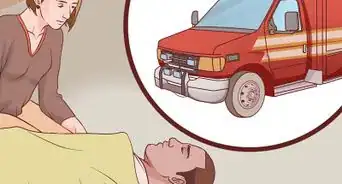
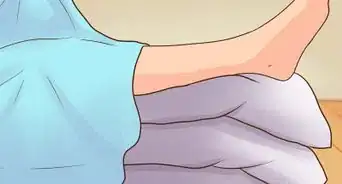
- Watch for signs of shock, such as clammy bluish skin, rapid pulse and breathing, dizziness, and vomiting. Call emergency services and treat shock by lying a person on their back and lifting their legs up, keeping them bent at the knee. If you can, wrap the person in a warm blanket, but not too tightly. Speak in a soothing, calm voice to keep them calm until help arrives.[31]⧼thumbs_response⧽
References
- ↑ https://www.facs.org/media/zr5dimjk/wound_surgical.pdf
- ↑ http://www.mayoclinic.org/first-aid/first-aid-burns/basics/art-20056649
- ↑ https://www.facs.org/media/zr5dimjk/wound_surgical.pdf
- ↑ https://youtu.be/0vRFW2bsKpM?t=458
- ↑ https://neuron.mefst.hr/docs/katedre/klinicke_vjestine/Dr.%20Lojpur%20-%20Dressing%20and%20bandage.pdf
- ↑ https://www.aafp.org/pubs/afp/issues/2002/0715/p315.html
- ↑ https://neuron.mefst.hr/docs/katedre/klinicke_vjestine/Dr.%20Lojpur%20-%20Dressing%20and%20bandage.pdf
- ↑ https://youtu.be/QUHmNuLowrA?t=172
- ↑ https://www.nhs.uk/common-health-questions/accidents-first-aid-and-treatments/how-do-i-apply-plasters-and-other-dressings/
- ↑ https://www.nhs.uk/common-health-questions/accidents-first-aid-and-treatments/how-do-i-apply-plasters-and-other-dressings/
- ↑ https://newsnetwork.mayoclinic.org/discussion/treating-skin-abrasions-known-as-raspberries/
- ↑ https://youtu.be/sUUh-3Ml0xc?t=37
- ↑ https://youtu.be/OUoYy02OrvY?t=123
- ↑ https://youtu.be/FfRv3MIgXAI?t=152
- ↑ https://www.urmc.rochester.edu/encyclopedia/content.aspx?contenttypeid=1&contentid=2978
- ↑ https://youtu.be/TeaK4w-IwGg?t=27
- ↑ https://thrive.kaiserpermanente.org/care-near-you/northern-california/santarosa/wp-content/uploads/sites/15/2015/10/Cuts-to-the-skin_tcm28-489816.pdf
- ↑ https://www.mayoclinic.org/first-aid/first-aid-blisters/basics/art-20056691
- ↑ https://myhealth.alberta.ca/Health/Pages/conditions.aspx?hwid=zm2802
- ↑ https://youtu.be/LdXZ2gwIqbA?t=25
- ↑ https://www.nhs.uk/common-health-questions/accidents-first-aid-and-treatments/how-do-i-apply-a-bandage/
- ↑ https://neuron.mefst.hr/docs/katedre/klinicke_vjestine/Dr.%20Lojpur%20-%20Dressing%20and%20bandage.pdf
- ↑ https://youtu.be/-QspPN2hnRQ?t=22
- ↑ https://medlineplus.gov/ency/patientinstructions/000315.htm
- ↑ https://www.mayoclinic.org/first-aid/first-aid-cuts/basics/art-20056711
- ↑ https://www.facs.org/media/zr5dimjk/wound_surgical.pdf
- ↑ https://www.aad.org/public/everyday-care/injured-skin/burns/wound-care-minimize-scars
- ↑ https://www.aafp.org/pubs/afp/issues/2002/0715/p315.html
- ↑ https://www.aafp.org/pubs/afp/issues/2002/0715/p315.html
- ↑ https://medlineplus.gov/ency/patientinstructions/000315.htm
- ↑ https://www.mayoclinic.org/first-aid/first-aid-shock/basics/art-20056620
About This Article
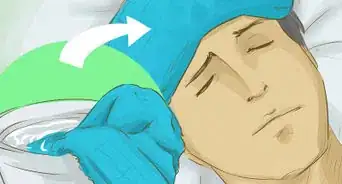
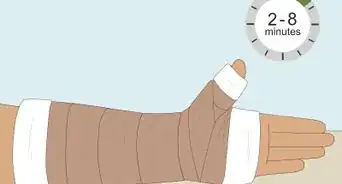
You may need to apply different types of bandages to different wounds. For instance, to apply a strip bandage to a minor scrape, place the gauze part of the bandage over the wound, then pull away the paper covering and press the adhesive onto your skin. If you need to use an elastic bandage over a large wound on someone’s limb, apply a large gauze pad over the would, then wrap the bandage securely around their limb to hold it in place. For advice from our medical reviewer on when you should call emergency medical assistance for a wound, keep reading!




Medical Disclaimer
The content of this article is not intended to be a substitute for professional medical advice, examination, diagnosis, or treatment. You should always contact your doctor or other qualified healthcare professional before starting, changing, or stopping any kind of health treatment.
Read More...