This article was co-authored by Ikaika Cox. Ikaika Cox is the Shop Director at the Salt Lake City branch Bicycle Collective in Salt Lake City, Utah. He has been a bike mechanic since 2012, beginning as a volunteer with the Provo Bicycle Collective, and growing and honing his skills as a bicycle mechanic and educator in multiple Bicycle Collective locations over the years. He now leads the Salt Lake City branch of the Bicycle Collective.
wikiHow marks an article as reader-approved once it receives enough positive feedback. In this case, 95% of readers who voted found the article helpful, earning it our reader-approved status.
This article has been viewed 547,958 times.
Correctly adjusting a front derailleur is one of the more subtler bike maintenance procedures, as it is a matter of millimeters. If you're having trouble shifting or seeing the chain grind against the derailleur, you shouldn't have to go to the bike store for a fix. All you need are some basic tools and a good eye. With practice and patience, you too can become a smooth-shifting pro.
Steps
Fixing Shifting Issues
-
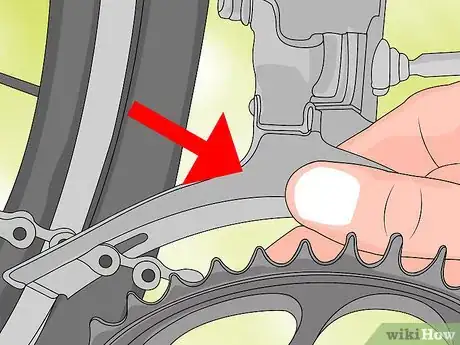
1Know what a properly adjusted front derailleur looks like. Your goal is for the front derailleur to sit comfortably above the chains, with the outside plate 2-3 millimeters above the largest chain ring. It will be aligned so that it curves parallel to the chain rings. It should sit parallel with the chain.[1]
- If the derailleur is rubbing up against a ring or is caught on something, do not ride the bike. Instead, reset your front derailleur.
-
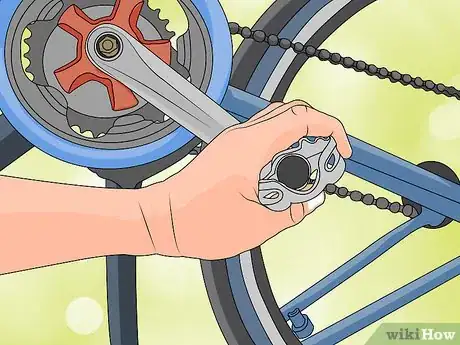
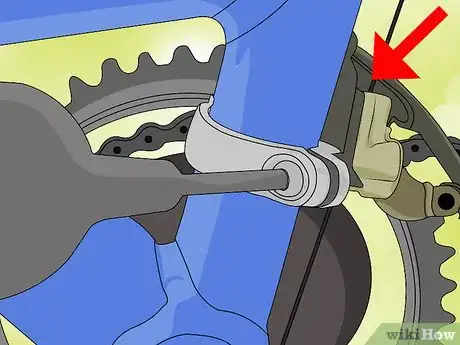
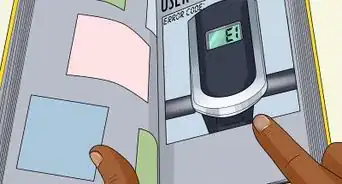
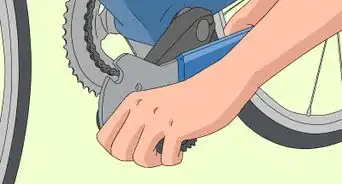
2Diagnose your problem. Place the bike on a repair stand or flip it over so it rests on the seat and handlebars. Shift the front derailleur up and down while pedaling with your hand. Can it get to all 2-3 gears? Is there clicking, rubbing, or grinding? Make a note of any problem areas and remember them as you move through your adjustments. Be sure to inspect the cables and housing as well.
- If the front derailleur doesn't move when you actuate the shifter, the cable could be corroded. If this is the case or if you notice cracks, splinters, or fraying, replace both the cable and the housing.
- Place the chain on the smallest gear in the front and release all tension from the shifter. Feel the cable and adjust the tension until it is barely taut.
- Reposition the derailleur if it appears to be crooked. Replace the derailleur or shifter if they are broken.
- Also, the rear derailleur needs to be correctly adjusted before continuing, so check it if it is shifting correctly.
Advertisement -
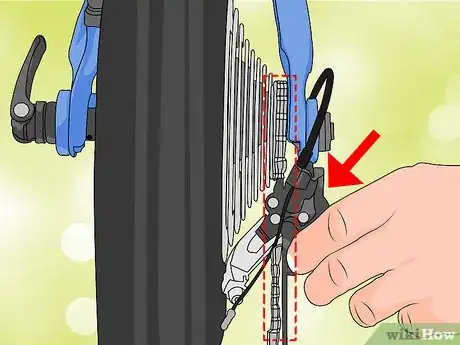
3Shift your bike into a low gear. Make sure the chain is on the middle cog at the back and the smallest chainring in front. This ensures that the chain isn't stretched diagonally and loosens the derailleur cable so that it is easier to manage.
-
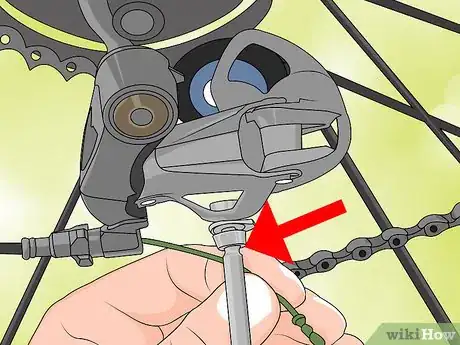
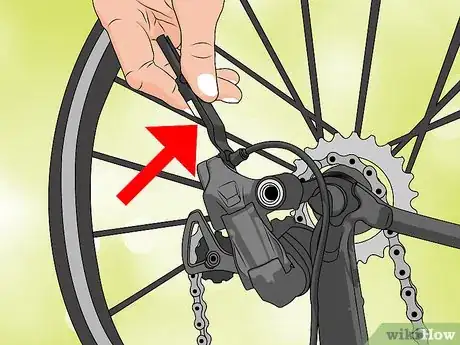
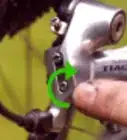
4Loosen the cable bolt and tighten the derailleur cable. Right above the derailleur is a thin cable, clamped in place by a bolt or screw. The derailleur is usually attached to the bike frame (the metal skeleton of the bike). Grip the top of the cable and pull up on it, then loosen the bolt. Pull the cable up so that it is tight, then re-tighten the bolt again. This will clamp the bolt down on the cable so it can't move.
- This may move the derailleur slightly, but you'll be adjusting it again in a minute. Right now you want to make sure that your derailleur cable is tight and has no slack so that the whole thing functions smoothly.
-
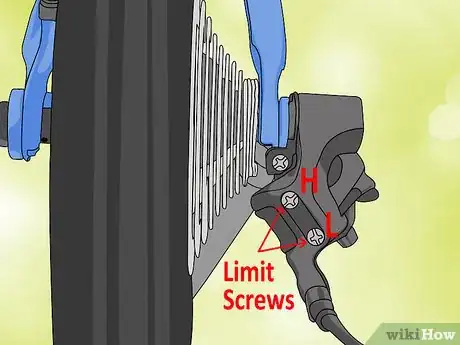
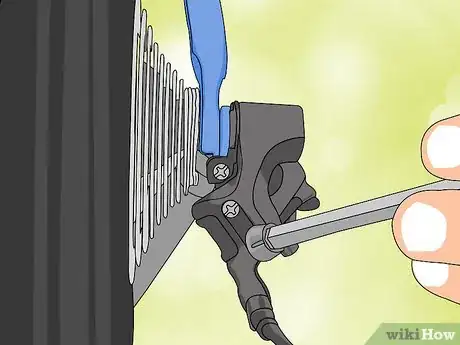
5Locate your limit screws. There are two small screws on the top or sides of your derailleur, one labeled "L" and the other "H." They are likely not entirely screwed in, and poke slightly up and out of the derailleur. These are your Low and High limit screws, and they control how far to the left or right your derailleur can move. They are adjusted with a normal Phillips ("star" or "+") screwdriver.[2]
- The L controls how far towards your bike the derailleur can go. The H controls how far out and away from your bike it can go.
- If your screws aren't labeled, you can easily test them out. Shift into your smallest ring up front. Turn one screw a full turn in each direction, watching the derailleur. If it moves, this is the Lower (L) limit, if it does not, try the other one. When this one moves, mark it with an L for future reference.[3]
-
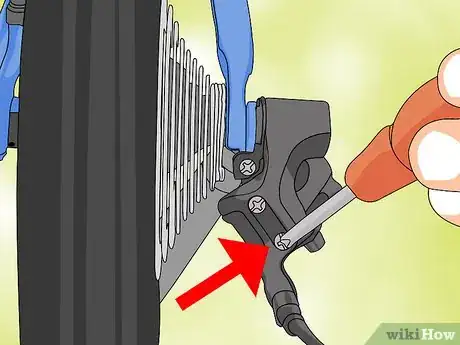
6Align the low end of your derailleur. Shift into the smallest chainring in the front and the largest in the back so that the chain is completely to the left and closest to the bike frame. Turn the L screw so that the derailleur has 2-3 mm of space on either side of the chain.
- You should see the derailleur move as you turn the screw.
-
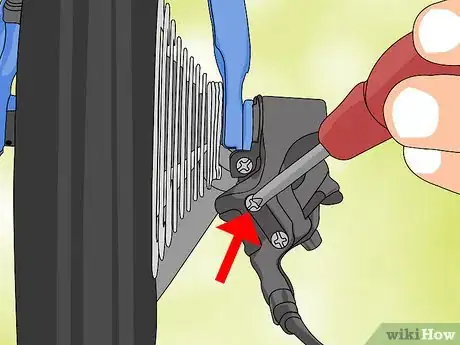
7Align the high end of your derailleur. Pedal the bike and shift the front to the biggest cog and the back to the smallest gear. The chain should be complete to the right on the bike and farthest from the bike frame. Turn the H limit screw until the derailleur is 2-3 mm on either side of the chain so that it has plenty of space to move.[4]
-
8Adjust the back derailleur into the middle cog, then test your shifting in the front. Shift the back gears to something in the middle so that it doesn't pull your chain either way as you shift. Then, pedal the bike and shift up and down through the front derailleur, making sure that you don't have any issues. Adjust the limit screws as necessary, and have fun riding.
- Setting your limits too far to either side can cause the chain to slip off, but you should be able to see if it is this far before you start testing.
Resetting Malfunctioning Derailleurs
-
1Reset your derailleur if it is hitting the chain rings, bent, or angled awkwardly. The limit screws are only going to fix so much if the derailleur is in need of serious adjustments. If you feel the derailleur hitting chain rings, notice that it is angled, or see that it is too high, you'll have to reset the derailleur and start again.
-
2Shift to your leftmost rings. Shift to the smallest ring in the front and the largest in the back. You may need to put the bike on a stand or turn it upside down to easily pedal and shift at once.
-
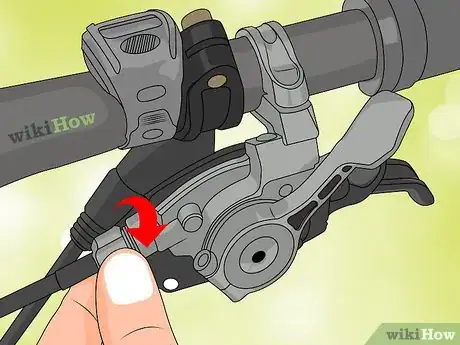
3Loosen the barrel adjusters to relieve cable tension. Barrel adjusters are usually located at the end of your derailleur cable, near the handle bars. To find them, follow the front derailleur cable as far as it goes until you get to a small, spinnable cylinder. Turn this clockwise as far as it goes.
- Count the number of rotations you make on the barrel. You'll want to return it back into approximately the same position when you're done.
-
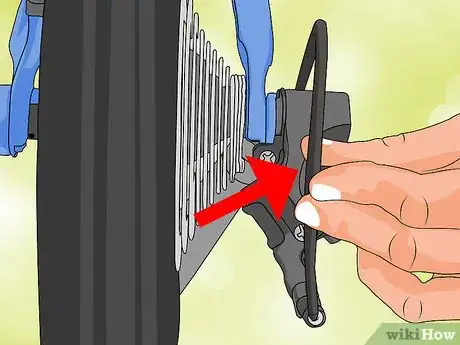
4Unclamp the bolt holding the derailleur cable in place. Above the derailleur is a cable that runs all the way to your shifter. It is held in place by a small bolt that prevents it from moving or sliding. Undo this bolt enough that the cable can move freely if pulled but doesn't just slide out on its own.[5]
-
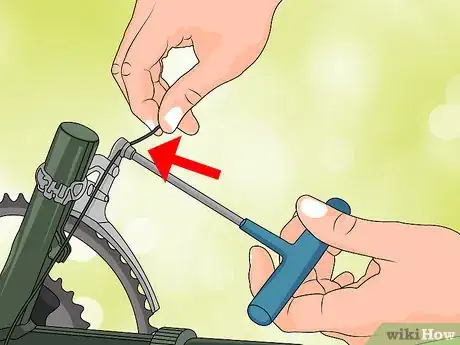
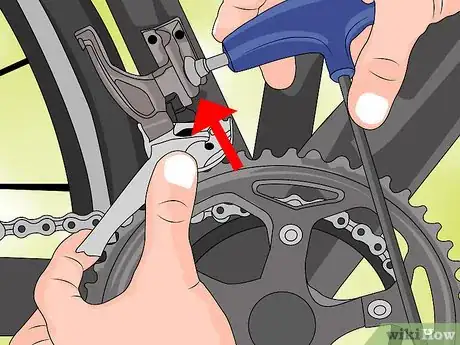
5Undo the bolts clamping the derailleur to the bike frame carefully. You do not want this to move seriously, as any major movements will change your entire alignment. Undo the bolts just enough so that you can wiggle and shift the derailleur's position.
-
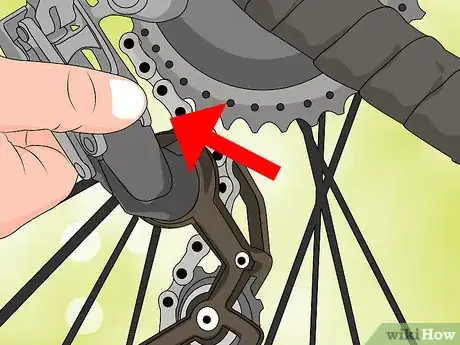
6Move the derailleur gently into the correct place. If the derailleur is angled, twist it so that it is parallel to the chain, being careful not to change the height. If it is touching the top of the chain ring, move it up a few millimeters so that it sits above the biggest cog. Your goals are:
- 1-3 mm above the largest chainring. You should be able to snugly fit a penny between the outer plate of the derailleur and the teeth of the ring.
- Both plates parallel to the chain.
- Curve of derailleur matches the curve of the cogs.[6]
-
7Readjust your cable and limit screws. Once you've made your changes, you'll need to readjust the derailleur so that it runs smoothly. To do so, pull the cable taut and then reclamp it underneath the bolt. Then adjust your limit screws.
- Be sure to lube your chain and keep it clean for the best shifting. Retighten your barrel adjusters too.
Expert Q&A
Did you know you can get expert answers for this article?
Unlock expert answers by supporting wikiHow
-
QuestionWhat do I do if my front gear isn't working?
 Ikaika CoxIkaika Cox is the Shop Director at the Salt Lake City branch Bicycle Collective in Salt Lake City, Utah. He has been a bike mechanic since 2012, beginning as a volunteer with the Provo Bicycle Collective, and growing and honing his skills as a bicycle mechanic and educator in multiple Bicycle Collective locations over the years. He now leads the Salt Lake City branch of the Bicycle Collective.
Bicycle Mechanic First, you need to diagnose in what way your front shifter is not working. Cable tension and derailleur position are usually the culprits, and both can be adjusted relatively easily. Sometimes the cable and/or the housing is ruined and will need to be replaced. Also, a bent or broken front derailleur or shifter will require replacement.
 -
QuestionOn a Falcon front derailleur, how do I best open the rails to go around the chain?
 Munko JensenCommunity AnswerYou have to break a chain link and feed it through the cage to remove it. Then feed it to the proper cog.
 -
QuestionCan I lower ride height on a mountain bike?
 Matt GanderCommunity AnswerNo, this is not possible. The seat height can be changed but not the height of the frame.
Warnings
- Improperly adjusted derailleurs can lead to poor shifting or can cause the chain to fall off while riding.⧼thumbs_response⧽
Things You'll Need
- Regular screwdriver
- 5mm allen key
- Pliers (optional)
References
- ↑ http://autobus.cyclingnews.com/tech/fix/?id=frontmech
- ↑ http://madegood.org/bikes/repair/set-a-limit-screw-on-a-rear-derailleur/
- ↑ http://autobus.cyclingnews.com/tech/fix/?id=frontmech
- ↑ http://www.rei.com/learn/expert-advice/front-derailleur.html
- ↑ http://www.parktool.com/blog/repair-help/front-derailleur-adjustments
- ↑ http://autobus.cyclingnews.com/tech/fix/?id=frontmech
About This Article
If you’re having trouble shifting or your chain is making a grinding sound, you may have to adjust your front derailleur. All you’ll need to do this is a basic tool kit and a little patience. First, you’ll need to flip your bike over onto its seat and handlebars so you can adjust its gears. Shift your bike into a low gear so the chain’s on the middle cog at the back and the smallest chain ring at the front. You’ll need to loosen the cable bolt, which attaches your derailleur to the bike frame, tighten the derailleur cable, then tighten the cable bolt again to make sure the cable is tight. If you’re still having trouble changing gears, try adjusting the 2 limit screws on the derailleur, which should be labelled “L” and “H.” These will adjust the alignment of your derailleur and stop it grinding against your bike. For more tips from our Biking co-author, including how to reset a malfunctioning derailleur, read on!
