X
This article was co-authored by wikiHow Staff. Our trained team of editors and researchers validate articles for accuracy and comprehensiveness. wikiHow's Content Management Team carefully monitors the work from our editorial staff to ensure that each article is backed by trusted research and meets our high quality standards.
This article has been viewed 100,490 times.
Learn more...
Trying to figure out how to make your nail polish glow in the dark? There are several ways you can do this, and it's easy. Some of them you can make at home.
Steps
Method 1
Method 1 of 3:
Activating the Glow in Nail Polish
-
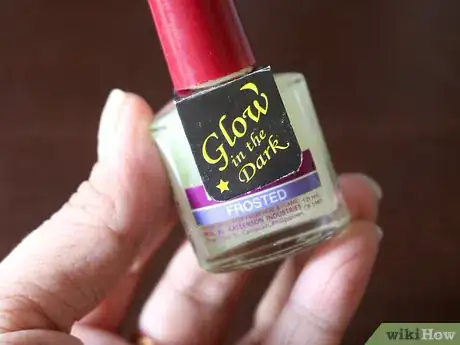
1Buy glow-in-the dark nail polish. Some nail polish is advertised as already being capable of glowing in the dark. You can buy the nail polish in many drug, accessory, and department stores and online.
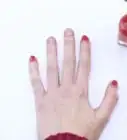
- Apply a base coat of regular nail polish. You should choose a white or neutral base color. Shake and hold the glow-in-the-dark nail polish bottle to a light for 30 seconds. Then paint on the glowing nail polish.[1] Apply the glow-in-the-dark nail polish like you would do any nail polish. Glow-in-the-dark nail polish often comes in multiple color sets, such as different neon colors.
- Put a second and third polish coat on your nails. The color will look nice during the day, but your nails will glow brightly during the night or in the dark. You could also paint your toenails with the same polish.
- You can apply different colors to the same nail to be even more creative. Glow-in-the-dark nail polish is not very expensive. You can get it for the same price as most regular nail polishes.[2]
-
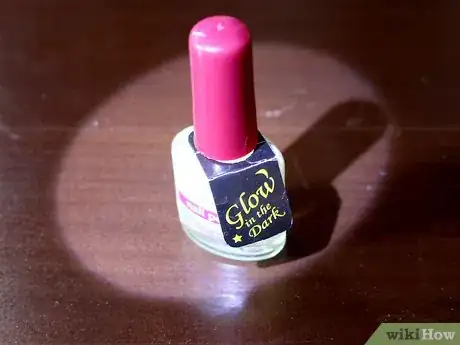
2Expose the polish to light. To activate the polish and make it glow more, expose your fingers (or toes) to the light.
- Next, hold your fingers to the light to activate the polish. Any light should work, even with a regular light bulb.
- The glow will last about 30 to 45 minutes in many nail polishes, but you can activate it over again by holding it up to a light again for just a few seconds.
- Even a dim light, like a nightlight, should work, and it should only take a couple of seconds to activate the nail polish. You don’t need a special light. You can also use a flashlight app on your smart phone to quickly charge your nails up on-the-go![3]
Advertisement -
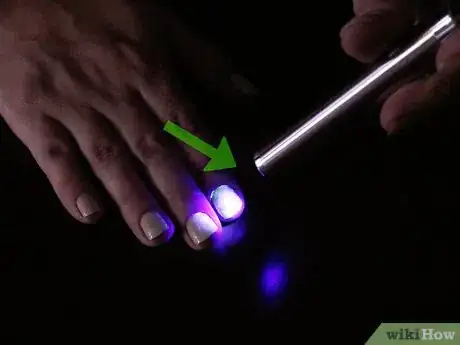
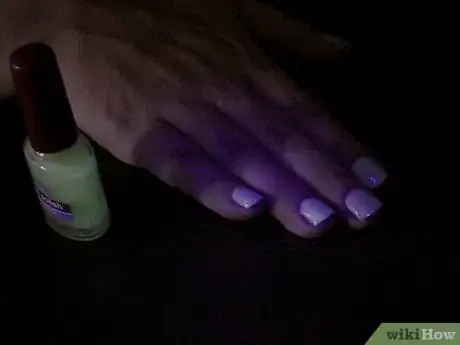
3Use a black light. You could also use an ultraviolet light if you had access to one.
- You can buy black lights or ultraviolet lights at some hardware stores, and they work even better, but they are not necessary to make it work.
- Check the label on your polish to be sure. You can also buy black light bulbs at some hardware stores.
- The process works the same way. Shake and hold the nail polish under the light, apply it, and then hold your polished fingers under the same light for a few seconds.
Advertisement
Method 2
Method 2 of 3:
Making Your Nail Polish Glow at Home
-
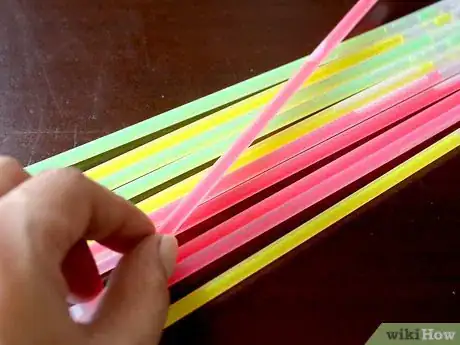
1Buy a glow stick. You can find these plastic sticks at many drug and big box stores. They are often sold at fairs and festivals too. It's possible to make regular nail polish glow with a glow stick.
- Glow sticks are thin sticks of bendable plastic that glow in the dark. Sometimes people wear them around their neck as a necklace.[4]
- People also buy glow sticks to wave them around in the dark. They usually come in bright neon colors, like lime green.
- Glow sticks are very inexpensive, and you can buy a package of them. You will need their glowing power to make your nail polish glow.[5]
-
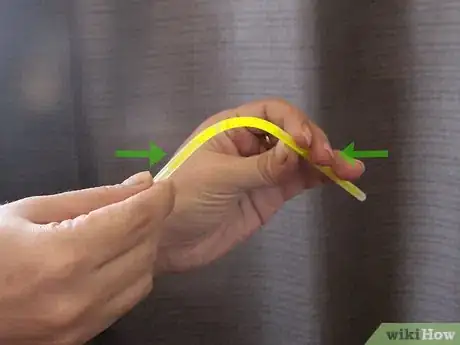
2Snap the glow stick. Shake it too. These actions will activate the glowing power of the plastic stick, which has glowing liquid inside of it.
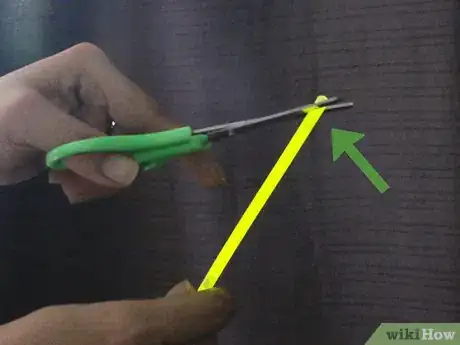
- Once you see the stick glowing, it’s ready to use. Next, you should take a pair of scissors, and cut the glow stick in half.
- Make sure that your scissors are sharp, so that you can more easily cut through the glow stick. Be careful when using scissors though that you don’t cut yourself.
- Cut the glow stick slowly and on a paper towel or plate, while being careful that none of the liquid spills out of the stick.
- Use the paper towel or plate as a stopgap under the glow stick as you cut it, in case a little bit of it does spill out. Try not to get the contents on your clothes.
-
3Add the glow from the stick into your polish. Take one cut end of the stick, and place it into the nail polish bottle.
- Squeeze the glow stick as if it’s a tube in order to get the glowing liquid inside the glow stick into the nail polish bottle.
- If you cut both ends of the tube, the liquid should flow into the nail polish bottle more easily, but cut the top end after you’ve put the tube into the bottle.
- Put the cap back on the nail polish bottle, and shake it vigorously! This is important so the glow liquid disburses throughout the nail polish evenly.
Advertisement
Method 3
Method 3 of 3:
Applying the Glowing Polish
-
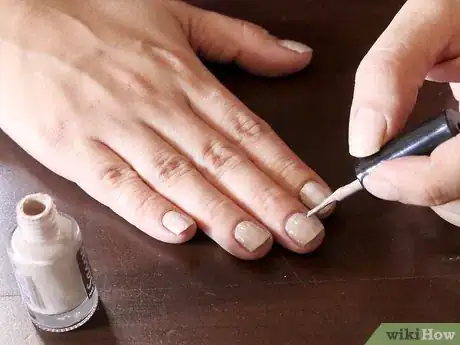
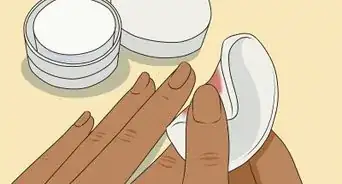
1Put regular nail polish on first. One trick you can use is to put regular nail polish on before the glow-in-the-dark variety. You will want to paint your nails with a regular nail polish or nail polish base first.
- This will make it easier to remove the glow-in-the-dark nail polish later if you want to do so.
- It will also help people see it. It’s a good idea to choose a lighter color base, or you will need to apply more coats of the glow-in-the-dark nail polish.
- Choose neutral colors. White is a good choice, or just a clear gloss or light beige color.
-
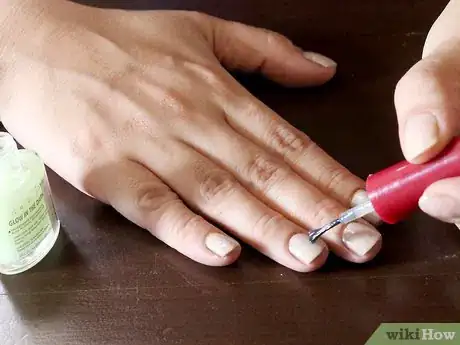
2Apply the glowing polish. Now you’re ready to put the glow-in-the-dark nail polish on your fingernails. This can be a great idea for Halloween!
- You might need three to four coats of the polish for the effect to take its full effect. Apply a coat, let it dry, and then apply another coat.
- You may need fewer coats, perhaps as few as two, if you’ve used a lighter nail polish color like white as the base.
- It will take your nail polish a little longer to dry than normal, so make sure that you don’t touch anything for awhile or you could ruin your nails.
-
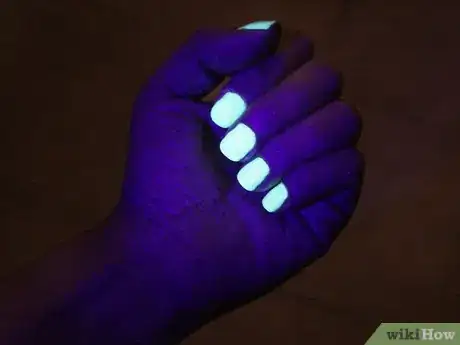
3Wait until it’s dark! Now that you’ve put the glow-in-the-dark nail polish on, you’re ready to check out the effects!
- You could test out the glowing effect in a dark room if you’re too excited to wait until it’s actually dark outside.
- The effect isn’t going to last forever. The glowing effect on your nails will probably only last for a couple of hours.
- You could always reapply more polish if you notice the glowing effect starting to wear off.
-
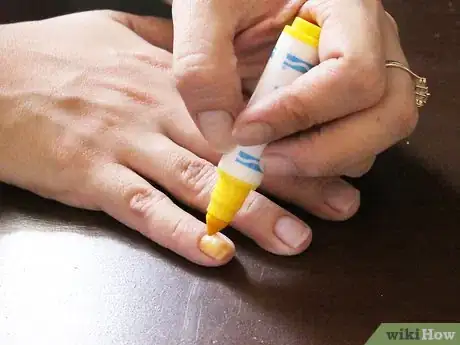
4Try using a highlighter pen. You’re going to need a black light in order to make the highlighter glow, and some highlighters won’t work. However, it's possible to use some highlighters to make your nails glow!
- Yellow highlighter is a good choice because it usually does glow. You can check the highlighter under a black light before you paint your nails.
- Apply a base of nail polish before applying the highlighter to your nails. This is because highlighter will stain your nails.
- Use the highlighter pens to draw on your nails. Then put your nails under black light for a few seconds. Apply a top coat of clear nail polish to seal the look.
-
5Finished.
Advertisement
Community Q&A
-
QuestionDo blue highlighter pens work?
 Community AnswerNot as well. Use yellow ones.
 -
QuestionHow can I get it to glow the longest?
 Community AnswerPaint three layers.
 -
QuestionCan you apply the glowing nail polish right to your nails?
 Community AnswerIt will work better if you apply a base coat of regular nail polish first!
Advertisement
References
- ↑ https://www.youtube.com/watch?v=OqzkWAx03IA
- ↑ https://www.pinterest.com/explore/glow-nails/
- ↑ https://www.youtube.com/watch?v=fFodcxD62mQ
- ↑ https://www.pinterest.com/pin/1266706117954159/?from_navigate=true
- ↑ http://www.sheknows.com/beauty-and-style/articles/1054335/make-your-own-glow-in-the-dark-nail-polish
About This Article
Advertisement
