

PowerPoint 2013
Advanced Presentation Options
Sharing presentation options
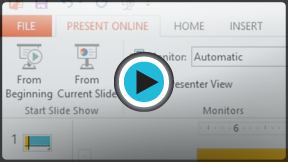
PowerPoint offers several options to enhance or even totally change the way you deliver presentations. Instead of presenting your slide show normally, you can choose to present it as a video, or even present it live online so others can view it remotely. No matter how you choose to give your presentation, you can enhance it by customizing your slide show to remove or reorder slides. All of these options can help you give a polished and professional presentation.
Exporting a presentation as a video
The Create a Video feature allows you to save your presentation as a video. This can be useful because it lets your viewers watch the presentation whenever they want. To make sure your viewers have enough time to view each slide, you might want to rehearse the timings or record your slide show before using this feature.
To create a video:
- Click the File tab to access Backstage view.
- Select Export, then click Create a Video. Video export options will appear on the right.
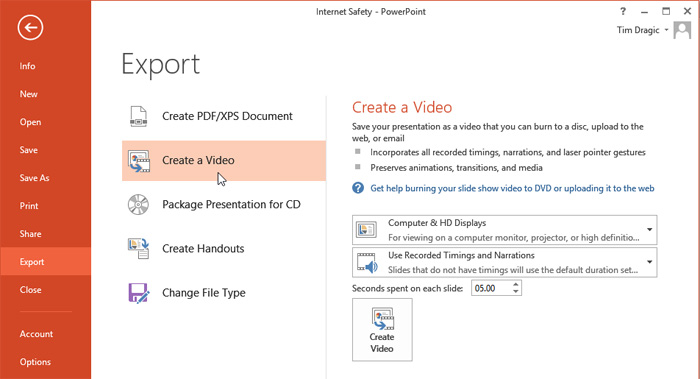 Creating a video
 - Click the drop-down arrow next to Computer and HD Displays to select the size and quality of your video.
 Selecting a video size and quality
 - Select the drop-down arrow next to Use Recorded Timings and Narrations.
- Choose Don't Use Recorded Timings and Narrations if you don't have or don't wish to use recorded timings. You can adjust the default Seconds to spend on each slide: in the box below the drop-down menu.
- Choose Use Recorded Timings and Narrations if you have already recorded timings and narrations and would like to use them in your video.
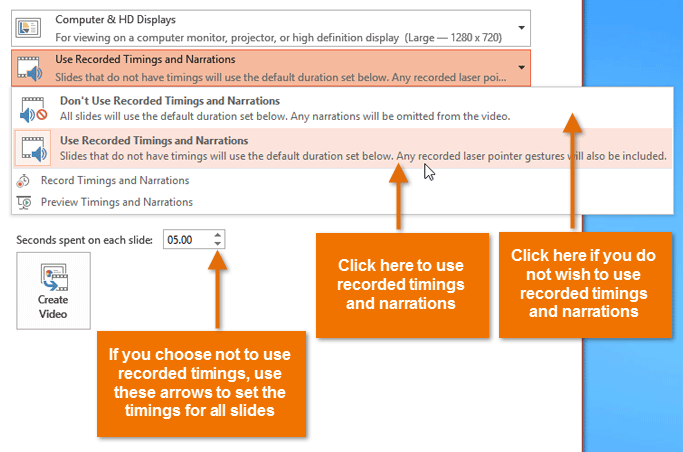 Selecting recorded timings and narration
 - Click Create Video. The Save As dialog box will appear.
- Select the location where you wish to save the presentation, then enter a name for the presentation.
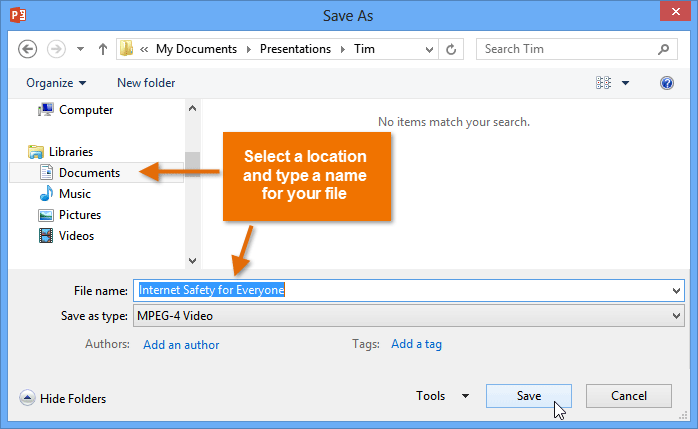 Saving the video
 - Click Save. As PowerPoint creates your video, a status bar will appear at the bottom of the PowerPoint window. When the bar is complete, your video is ready to view, send, or upload.
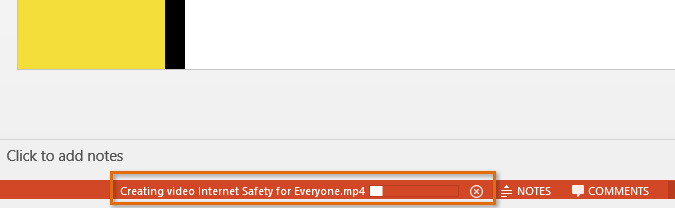 The status bar marking the time until the video is complete
In addition to emailing your video, you can upload your video to free video-sharing sites like YouTube. YouTube offers guides to creating an account and uploading videos. Once your video is uploaded, you can simply give the link to anyone you want to see it.
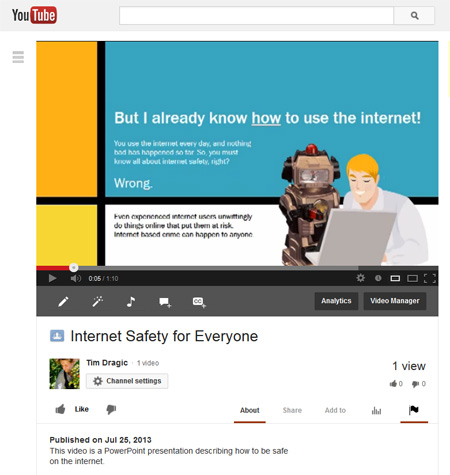 The finished video uploaded to YouTube


