

PowerPoint 2013
Arranging Objects
Introduction

In PowerPoint, each slide may have multiple items, such as pictures, shapes, and text boxes. You can arrange the objects the way you want by aligning, ordering, grouping, and rotating them in various ways.
Optional: Download our practice presentation for this lesson.
Aligning objects
When you move objects in PowerPoint, alignment guides and spacing guides will appear around the objects to help you align them. However, if you have many different objects on a slide, it may be difficult and time consuming to get them perfectly aligned. Luckily, PowerPoint provides you with several alignment commands that allow you to easily arrange and position objects.
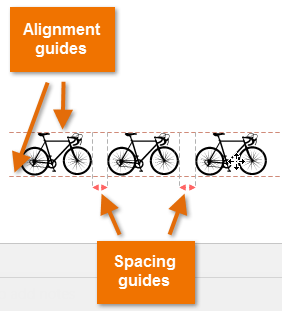 The alignment and spacing guides
To align two or more objects:
- Click and drag your mouse to form a selection box around the objects you want to align. The Format tab will appear.
 Selecting multiple objects
 - From the Format tab, click the Align command, then select Align Selected Objects.
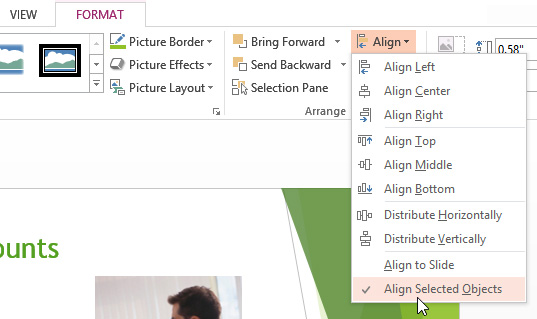 Choosing Align Selected Objects
 - Click the Align command again, then select one of the six alignment options.
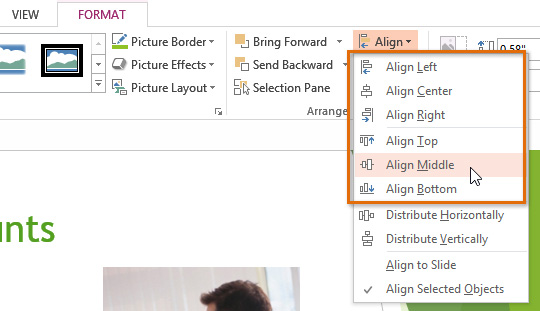 Choosing an alignment option
 - The objects will align based on the option you selected.
 The aligned objects
To align objects to the slide:
Sometimes you may wish to align one or more objects to a specific location within the slide, such as at the top or bottom. You can do this by simply selecting the Align to Slide option before you align the objects.
- Click and drag your mouse to form a selection box around the objects you want to align.
- From the Format tab, click the Align command, then select Align to Slide.
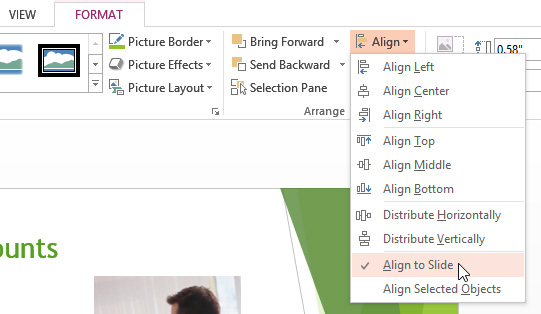 Selecting Align to Slide
 - Click the Align command again, then select one of the six alignment options.
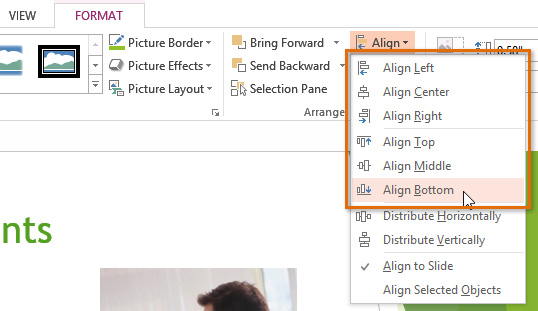 Aligning objects to the bottom of the slide
 - The objects will align based on the option you selected.
 The aligned objects
To distribute objects evenly:
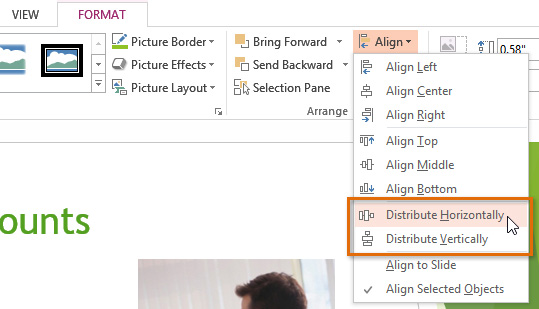
If you have arranged objects in a row or column, you may want them to be an equal distance from one another for a neater appearance. You can do this by distributing the objects horizontally or vertically.
- Click and drag your mouse to form a selection box around the objects you want to align.
- From the Format tab, click the Align command, then select Align to Slide or Align Selected Objects.
Choosing Align Selected Objects - Click the Align command again, then select Distribute Horizontally or Distribute Vertically from the drop-down menu that appears.
 Choosing a distribute option
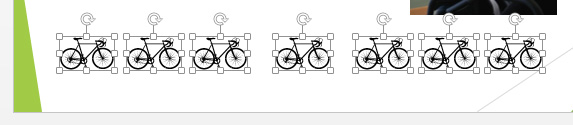
 - The objects will distribute evenly.
 Objects distributed evenly


