This article was co-authored by Lucy V. Hay. Lucy V. Hay is a Professional Writer based in London, England. With over 20 years of industry experience, Lucy is an author, script editor, and award-winning blogger who helps other writers through writing workshops, courses, and her blog Bang2Write. Lucy is the producer of two British thrillers, and Bang2Write has appeared in the Top 100 round-ups for Writer’s Digest & The Write Life and is a UK Blog Awards Finalist and Feedspot’s #1 Screenwriting blog in the UK. She received a B.A. in Scriptwriting for Film & Television from Bournemouth University.
There are 7 references cited in this article, which can be found at the bottom of the page.
This article has been viewed 14,238 times.
Inspiration for writers comes at the most inconvenient of times. Drafting an outline can seem counterproductive to this process, especially when you don’t know how long your creative energy will last. However, outlines are often useful tools that can dig you out of a writing rut. If you’re confused about where to go next, a skeleton outline can help clear up where more research needs to be done. Post-it outlines, on the other hand, help put things in sequential order, and can help you remember what step you need to take next in the process of assembling your story.
Steps
Drafting a Plot Skeleton
-
1Decide on a subject and establish your starting point. The first step with any book is to decide what you're writing about. Do you want to tell a story about Abraham Lincoln, or tell a story about a magical land? Ask yourself what inspires you, or write down a list of exciting ideas you've had. Once you know what you want to write about, figure out the logical point to start at. A specific story about Abraham Lincoln’s adulthood, for instance, wouldn’t be necessarily be benefited by a story about his grandfather.
- When the book “Eragon” starts out, we don’t know the circumstances behind his birth, because it doesn’t matter. What does matter is what brought him into the forest to find the dragon egg that changes his life.
-
2Introduce the problem or question guiding your book. This is what’s going to push not just your story, but your reader through your work. Try not to be too heavy-handed with your introduction. Adding too much will make your reader grow impatient for the meat of your work.
- If you’re writing a novel, give a one sentence explanation about what is driving your protagonist’s journey. Eragon hatches a dragon egg, marking him as both a dragon rider and an putting both himself and his family in the evil king’s line of fire.
- If you’re crafting a non-fiction book, ask yourself why your subject matters. Readers will be asking themselves why we should care about Lincoln’s log cabin, so reassure your readers that you will be answering that question.[1]
Advertisement -
3Understand where you want to end. This is where the phrase “begin with the end in mind” comes in handy. As you’re writing your outline or book, you want to know where exactly you’re going.
- Consider the message or lesson you’re trying to teach. If you want to teach someone how to tie their shoes, then your end goal is for them to successfully tie a knot. Now, make sure each step gets you toward that goal.
-
4Create a “table of contents” for your book. The amount of sections you use can be as numerous as chapters in a book, or as sparse as general concepts that you’ll be focusing on -- whatever you feel will guide your work easiest. You can create this as a digital document, or write it out on paper, whatever feels best to you.
- Be specific as you can. Dale Carnegie’s “How to Win Friends and Influence People” is separated into six parts, with titles like “Six Ways to Make People Like You,” and “Letters that Produced Miraculous Results.” These titles give both the reader and the writer an idea of what to expect (and even research) for each part.[2]
-
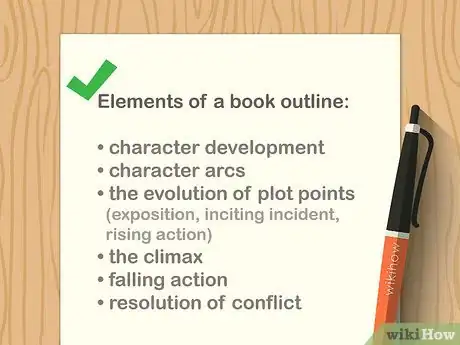
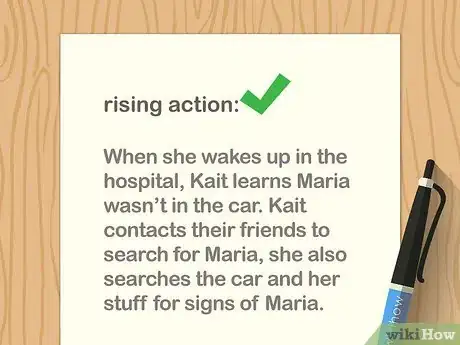
5List out your moments of “rising action." These are the major plot points that drive your story forward. You don’t need a detailed list of impacts or reactions, just a general idea of what happens when.
- For your non-fiction subject, consider what concepts, ideas, or events are critical to answering your guiding question. Be sure to note where you need to do more research, this will help you expand later.[3]
-
6Organize your plot points according to where they fall on your table. This will start to build a roadmap to your conclusion. Each point or concept should build on whatever has come previously, and lead coherently not only toward the next step, but to the end of your book.
- Eragon finding his dragon age would fall in the first section of the book, whereas meeting the rebel group, the Varden, would fall closer to the conclusion.
-
7Flesh out each section with your narrative. This means buckling down and starting to write. Use each chunk of your table of contents as a step-by-step guide to complete the chapter or section.
- If you realize you have too much in a section, don’t hesitate to break it up into smaller pieces. Your reader is just as likely to think you’ve been focused in one area for too long.
- Never be afraid to trim ideas down. Not everything works. You might find that your plot can progress perfectly well without taking a detour up the evil wizard’s mountain. Your readers don’t always want to go on a winding journey, either.
Using the Snowflake Method
-
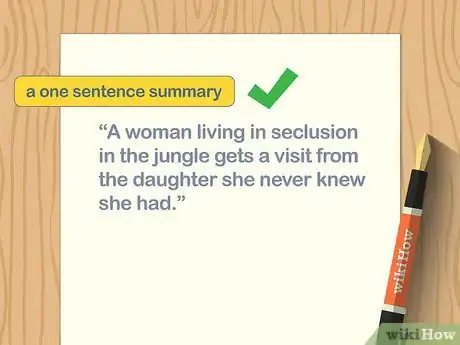
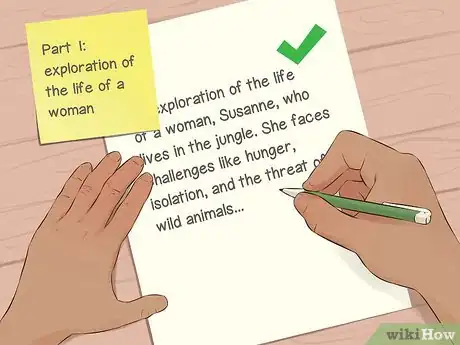
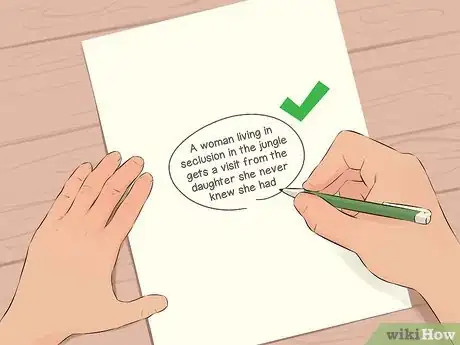
1Examine your premise. While you don’t want your premise to be too detailed, it should also be something more than "a prince saves a princess." Establish what your characters are doing, why what they're doing is important, and how that lends itself to a conflict.[4]
- Look to your favorite books and movies for help if you're feeling stuck. Try to think of how you would briefly summarize their story by focusing on the protagonist, understanding what their goal is and establishing how that conflicts with their world.
-
2Expand your premise into a one-paragraph plot summary. Add in information about where your characters are starting out, how they began on their journey, and where you want them to end up. Avoid getting too detailed or trailing off into a narrative, right now all you want is the basics.[5]
- For instance, you might write: "A young farm boy in Alagaësia named Eragon is hunting in the woods when he discovers a dragon egg, which he believes is a rare blue stone. After tending to stone, it hatches into the dragon Saphira. The king of Alagaësia had previously eradicated the dragon riders in order to secure his reign. His eyes turn to the young boy, who is forced to flee his home in order to find refuge with the rebel forces known as the Varden. He is assisted by a mysterious old man who knows more about Eragon and his dragon than he lets on.
-
3Breathe unique life into your characters. Think of your characters as the vehicle from which your story is told. How they interact with the world that you’ve created determines how the story will progress. Try to make each character different from not just themselves, but from pre-existing characters as well.[6]
- Think about each character’s own story. While the focus of what you’re writing about will most likely center around one character in particular, fleshing out each character’s personality and history will set a precedent for how they move about your story.[7]
-
4Turn your sentences into paragraphs. Expand outward by considering how each of your characters influence a given plot point, and how each plot point influences their story in turn.
- Go a step further by taking your paragraphs and turn them into pages. Just as you grew your sentence into something bigger, you now want to take the concepts introduced in your paragraphs and expand those out further as well.
-
5Expand, expand, expand. Step by step, take each sentence, paragraph and page and turn them into something bigger. If each page covers an important event in your plot, then turn those pages into chapters. Now is when you can actually start crafting a narrative, rather than restraining yourself and including only the barest of details.
Using Post-It Notes
-
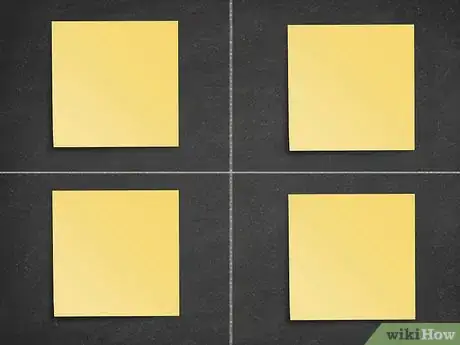
1Separate your wall or board into four sections. These will represent each act of your story, with two boxes representing act two. This is because the second act is where 50 percent of your story will take place.
-
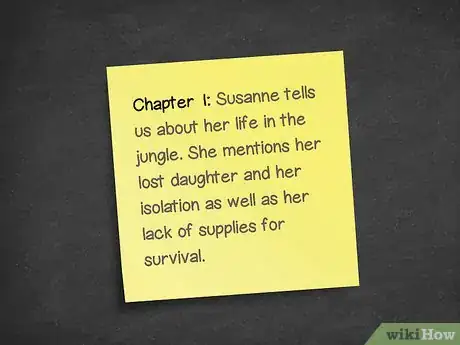
2Write down the major scenes on individual sticky notes. You don’t have to have every plot point mapped out yet. Just as long as you have a general idea of what needs to happen when.[8]
- You can break the beginning of "Eragon" down like such: Eragon finds a dragon egg while hunting in the woods; the dragon egg hatches; the king discovers Eragon's secret and sends the evil Ra'Zac to take him out, killing Eragon's uncle in the process.
-
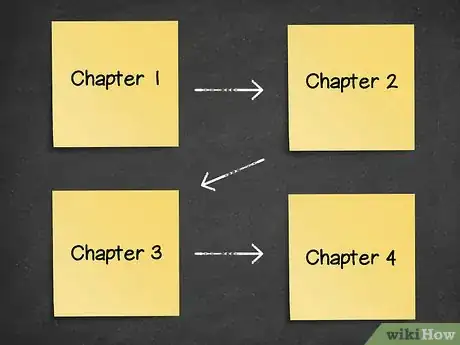
3Arrange your scenes chronologically and organize by act. You want to build a solid path through your novel, so try make sure each scene logically leads into the next.[9]
- If you’re working with multiple plots, try to organize by color to help differentiate. Be sure to not include too many plots, or the story may get confusing.[10]
- Now is where you want to make note of any gaps that might exist within your story. Take the time to brainstorm how certain events can affect the world around your characters. Look to those characters and their motivations to see how that might bridge the gap between events.
-
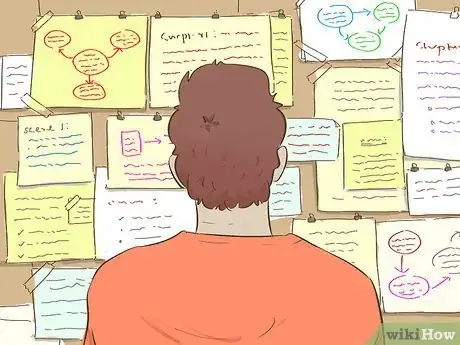
4Step back and check your board for cohesive flow. Don’t worry about making sure each act has the same amount of scenes; your exposition shouldn’t ever be as long as your second act is. Instead, make sure that each scene logically leads into the next, and that each act comfortably gives way to the act that follows.
- Eragon spends less time in his home of Carvahall, where the introduction of the book takes place, than on the road to finding safety with the Varden. Harry Potter spends only a small amount of time with the Dursley's at the beginning of each book. Instead, most of his time is spent at Hogwarts, where his adventures take place.
-
5Start writing using each sticky note as a guide. Write out the events of each post-it until you’ve drained them dry and started bumping into the next idea. Follow it up by writing that idea out, until you’ve moved on down the line.
- Never be afraid to jump ahead. If something just isn’t clicking right, feel free to take a step forward. Sometimes, the plot or even future versions of your characters might answer your own questions about their past.
Drafting a Mind Map
-
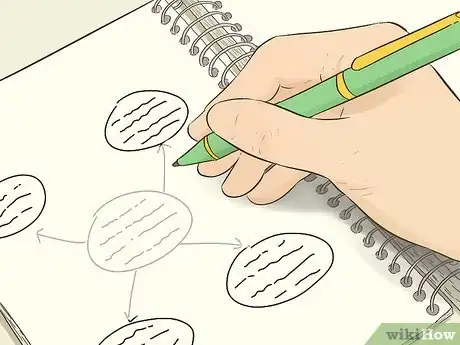
1Write your premise in the center of a piece of paper or digital document. This is going to be your main focus throughout the map. Everything you add must tie back to this, so make sure you’ve really narrowed down what you want to write about.
-
2Branch out from your premise by adding major plot points. Consider the events that will get your character from the beginning of their story to the end. Do they leave home? Do they lose an important object. Ask yourself these questions as you work.
- If your focus is based on something rooted in reality, like physics or history, use these branches to make note of important theories or dates that will help better understand your topic.
-
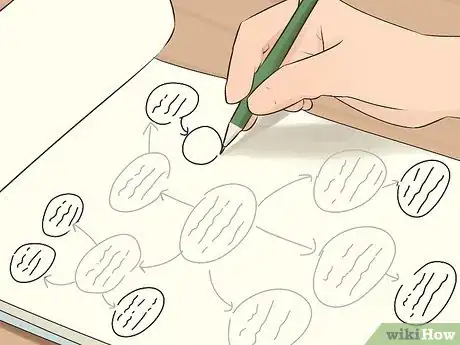
3Create smaller branches focused on individual details. Include information like the lead up to the event, impact of the event, and how characters or real-life people reacted to it. You want to take plot points from rough or vague ideas to a more detailed play-by-play of the event.
- Consider making each character a branch of their own. If you’re having trouble figuring out how a character might react to something, use a separate branch to do a deep dive on their person. Explore their personality, their backstory, and how they got involved with the plot to begin with. Think of it as an in-depth interview with your own creations.[11]
-
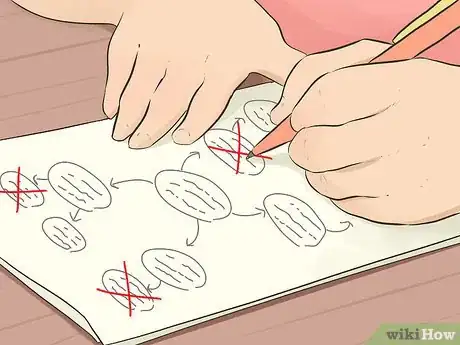
4Identify weak or out of place branches. Cohesion is key to whatever story you’re trying to tell. If something sticks out or doesn’t lend itself well to the main topic overall, prune it from your tree. You can also try to rework or refine these problem spots[12]
-
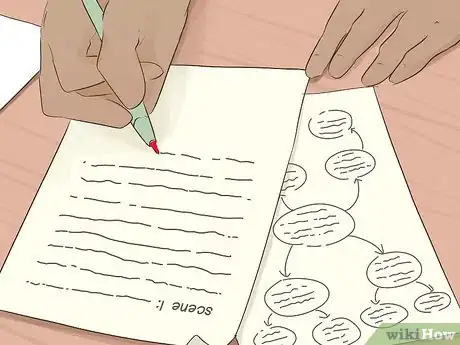
5Flesh out each branch with your narrative. Instead if connecting points together with thin lines, you’ll use your words to detail these connections and establish the flow of plot. As with previous steps, remove or rework any parts of the story that don't seem to flow well.
Expert Q&A
Did you know you can get expert answers for this article?
Unlock expert answers by supporting wikiHow
-
QuestionHow do you create an outline for a book?
 Lucy V. HayLucy V. Hay is a Professional Writer based in London, England. With over 20 years of industry experience, Lucy is an author, script editor, and award-winning blogger who helps other writers through writing workshops, courses, and her blog Bang2Write. Lucy is the producer of two British thrillers, and Bang2Write has appeared in the Top 100 round-ups for Writer’s Digest & The Write Life and is a UK Blog Awards Finalist and Feedspot’s #1 Screenwriting blog in the UK. She received a B.A. in Scriptwriting for Film & Television from Bournemouth University.
Professional Writer I really like visual representations of plotting. There are a lot of different types of visual representations online. Some visual representations are really crazy, while others are very straightforward and plain. You can even find worksheets where you physically draw the story, including where all the escalation is going to be and whose arc is whose. It's about finding the one that works for you.
References
- ↑ https://allfreelancewriting.com/use-skeleton-outlines-write-faster/
- ↑ https://library.villanova.edu/Find/Record/405954/TOC
- ↑ https://allfreelancewriting.com/use-skeleton-outlines-write-faster/
- ↑ https://www.writersdigest.com/online-editor/7-steps-to-creating-a-flexible-outline-for-any-story
- ↑ https://blog.reedsy.com/snowflake-method/
- ↑ https://jerichowriters.com/how-to-plot-a-novel/
- ↑ https://jerichowriters.com/how-to-plot-a-novel/
- ↑ http://writeonsisters.com/writing-craft/outlining-method-3-the-wall-of-sticky-notes-aka-the-board/
- ↑ http://writeonsisters.com/writing-craft/outlining-method-3-the-wall-of-sticky-notes-aka-the-board/
