This article was co-authored by Courtney Foster. Courtney Foster is a Licensed Cosmetologist, Certified Hair Loss Practitioner, and Cosmetology Educator based out of New York City. Courtney runs Courtney Foster Beauty, LLC and her work has been featured on The Wendy Williams Show, Good Morning America, The Today Show, The Late Show with David Letterman, and in East/West Magazine. She received her Cosmetology License from the State of New York after training at the Empire Beauty School - Manhattan.
This article has been viewed 89,609 times.
Wet wrapping is a method of styling and protecting African hair. Wrapping uses the shape of your head as a giant roller to add volume and shape to your hair. This method works especially well on relaxed or straightened hair, which can be brittle and prone to breakage. You can find all of the supplies for a proper wet wrap at beauty supply stores, drug stores or online retailers. To wet wrap your hair, prepare it, wrap it, and then care for the wrap.
Steps
Preparing Your Hair
-
1Set aside time to wrap your hair. Wrapping can take a long time, so make sure you have enough time set aside to fully wrap your hair. The exact amount of time spent wrapping depends on the length of your hair. The whole process, including the drying, could take three or more hours. The drying process alone can take up to an hour on its own!
-
2Shampoo and condition your hair as normal. Use the type of shampoo and conditioner you use on a daily basis. Follow the same routine as you normally would when you wash and condition your hair. Do not use a leave-in conditioner.Advertisement
-
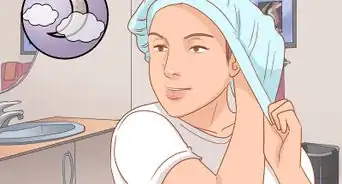
3Towel your hair. Do not fully dry your hair. Your hair will need to be wet when you wrap it. Instead, gently remove the excess water from your hair by squeezing it with a towel. You can also use your hands to remove the excess water.[1]
-
4Apply setting lotion. Setting lotion is actually kind of foam. It helps your hair stay in position as it being wrapped. Use a generous amount of setting lotion and massage it through your hair from root to tip. Any type of setting lotion will work as long as the label states that it is meant for styling and moisturizing/conditioning.[2]
- If you didn’t use a leave-in conditioner after your shampoo, apply some leave-in conditioner before you apply the setting lotion.
-
5Comb through your hair. Once you have used the setting lotion, use a wide-toothed comb to work out any tangles or kinks. Using a comb will also distribute the styling lotion evenly throughout your hair. Part your hair in the center and comb through your hair again. Bend forward and comb if you are having trouble detangling.[3]
- Use the comb gently to avoid breakage.
Wrapping the Hair
-
1Sweep your hair in a clockwise direction. You can also choose to sweep it counterclockwise instead of clockwise. Use your hands and the comb to direct your hair. Comb your hair in a circular motion away from the part. Smooth your hair down around your head and continue wrapping until you have flattened all the hair around your head.[4]
- You can use a small amount of styling lotion to help direct your hair during the wrapping process.
-
2Use a brush to secure loose ends. You may have trouble keeping the ends down while you’re using your hands to wrap your hair. Use a plastic styling tool when you have finished wrapping to help keep the ends down. Brush to finish smoothing your hair around your head until all ends are in place.[5]
- Plastic styling brushes can be found at most beauty supply shops.
- Do not use clips to pin sections of your hair in place. They’ll put indentations in your hair, which will cause it to dry unevenly. The setting lotion will keep your hair in place.
-
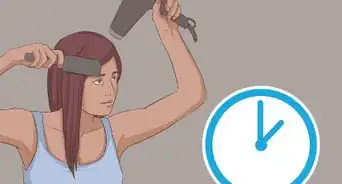
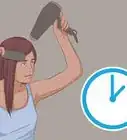
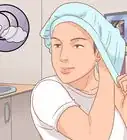
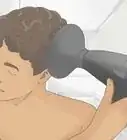
3Sit under a hooded hair dryer. You will need to sit under a hooded hair dryer. Beauty shops have hooded hair dryers, but you can also invest in a collapsible hair dryer. Turn the dryer to medium and sit under it until your hair is dry. You may want to check your hair a few times. If you do not have a hood dryer, use a hand-held dryer with a dryer cap. To use a hand-held dryer, put it on the highest heat setting and blow dry over the entirety of the cap. It may take a couple of hours to fully dry your hair.[6]
- You can buy hooded hair dryers online or at a beauty supply store.
-
4Comb and style your hair. Unwrap your hair when it is dry, and comb your hair in the opposite direction with the wide-toothed comb. Style your hair the way you normally would. If you prefer to wait until later to style your hair, leave your hair wrapped and cover your head with a silk scarf.[7]
- If done correctly, your hair should be shiny and straight when you comb it out.
Caring for the Wrap Style
-
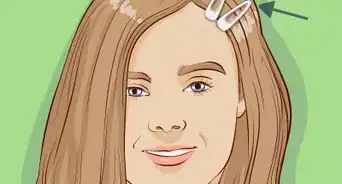
1Clip or tie your hair if you’d like. Once your hair is dry, you can clip any edges or strands you’re worried about flying off. It’s not mandatory, and it might disrupt the style in the long run, but it’ll keep your hairdo uniform.
-
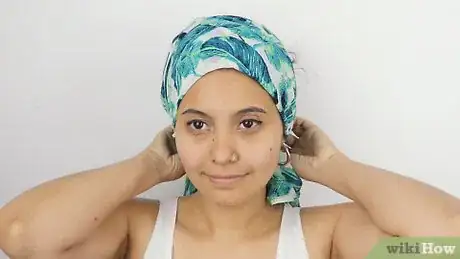
2Wrap your hair to help maintain the style when you go to bed. You will need to wrap your hair on a nightly basis to maintain the same hair style. Grab a silk scarf and wrap it around your head. It should be easy since your hair has been detangled and straightened.
- You can also wrap your hair in satin; like silk, it'll help control friction.
- Keep in mind, your hair is going to move a little bit at night, even if your wrap is perfect, something is going to move when you lie down for bed.
-
3Style in the morning. Your clips and/or hair wrap should have stayed in place throughout the night. Remove the clips or hair wrap in the morning. Comb your hair out and style it as usual.[8]
Warnings
- Do not use mineral oil-based, or petroleum-based products when you wet wrap hair. These products clog the pores and the hair cannot absorb them properly. Use vegetable-based oils, such as olive or carrot which absorb more easily into the hair.⧼thumbs_response⧽
- Avoid alcohol-based styling lotions. These products can dry out your hair and cause breakage.⧼thumbs_response⧽
Things You'll Need
- Shampoo
- Conditioner
- Moisturizing styling cream
- Wide-toothed comb
- Plastic brush
- Hair clips
- Hair dryer
- Dryer cap (optional)
- Square silk scarf (optional)
Expert Interview
Thanks for reading our article! If you'd like to learn more about wrapping hair, check out our in-depth interview with Courtney Foster.
References
- ↑ http://www.treasuredlocks.com/how-to-wrap-hair-style.html
- ↑ https://www.youtube.com/watch?v=JIGDkOQKXH8
- ↑ https://www.youtube.com/watch?v=JIGDkOQKXH8
- ↑ https://www.youtube.com/watch?v=JIGDkOQKXH8
- ↑ http://www.treasuredlocks.com/how-to-wrap-hair-style.html
- ↑ http://www.treasuredlocks.com/how-to-wrap-hair-style.html
- ↑ https://www.youtube.com/watch?v=JIGDkOQKXH8
- ↑ http://www.treasuredlocks.com/how-to-wrap-hair-style.html
