This article was co-authored by Taissha G. LaReau and by wikiHow staff writer, Janice Tieperman. Taissha G. LaReau is a Wardrobe Consultant & Stylist based in Albany, NY. With more than three years of experience, Tai specializes in helping people maximize their wardrobes by creating functional, everyday outfits that are tailored to their lifestyle and make them feel polished. While she offers virtual and in-person closet editing, personal shopping, and outfit creation, she also has a knack for helping people shop strategically, discover new brands, and experiment with new styles. Taissha holds a BS in Marketing from The State University of New York College at Oswego.
There are 16 references cited in this article, which can be found at the bottom of the page.
This article has been viewed 154,513 times.
Oversized pants are no fun—they leave you with an uncomfortable fit, and make you feel like you need to pull up your pants for the entire day. While the best solution is to slip into a pair of pants that fits you comfortably, there are few quick fixes to help your pants fit more snugly throughout the day, especially if you’re in a rush. If you have a few minutes to spare, there’s a quick alteration you can try that won’t take more than 5 minutes.
Steps
Oversized Waist
-
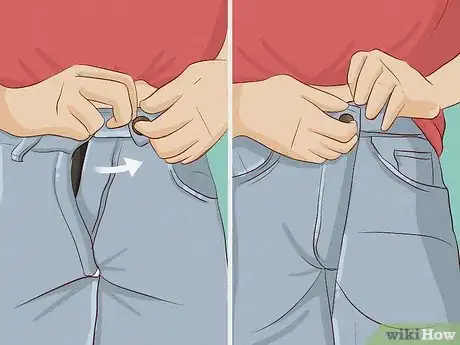
1Cinch your pants with a belt loop before buttoning them in place. If your pants are a little loose, grab the belt loop to the left of your pants button and loop (or “cinch”) it around the button. At this point, secure your pants button as you normally would to hold your pants in place.[1]
- This is a great option if you’re in a rush.
-
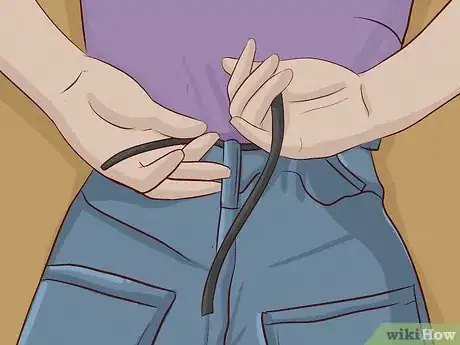
2Pleat the waistband and use a belt to hold everything in place. Start by pulling your pants forward so you can see how oversized they are. Fold and pinch the excess fabric into 2 large pleats, until the waistband is taut and comfortable around your waist. Hold these pleats in place with 1 hand and thread a belt through the loops. Once you’ve tightened the belt into place, you’ll be ready to go![2]
- The size of your “pleats” depends on how oversized your pants are. Extremely oversized pants might need two 1 to 2 in (2.5 to 5.1 cm) pleats, while slightly baggy pants will only need small pleats.
Advertisement -
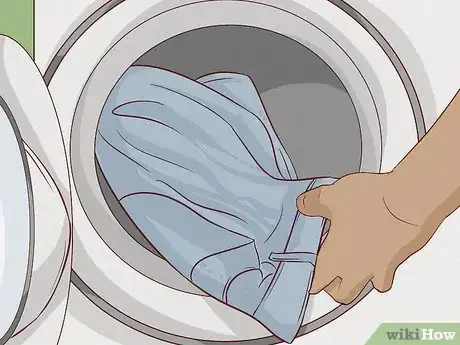
3Shrink your pants manually to make them smaller. Depending on the fabric of your pants, you can possibly wash, soak, or steam them to become smaller. Choose a method that works well for the type of pants that you’re dealing with.[3]
- Machine-wash and dry any clothes made with cotton, denim, jersey, hemp, or linen to shrink the material that way.
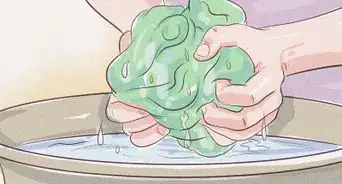
- If you have corduroy, denim, khaki, cotton, silk, or drill pants, you can soak your pants in warm water for up to 6 hours. Then, hand-wash the pants with detergent, rinse out the suds, and air-dry the pants.
- You can shrink silk, cashmere, tweed, camel, boucle, and mohair pants with a steam iron. If you’re shrinking velvet, turn it inside-out before steaming.
Long Pant Legs
-
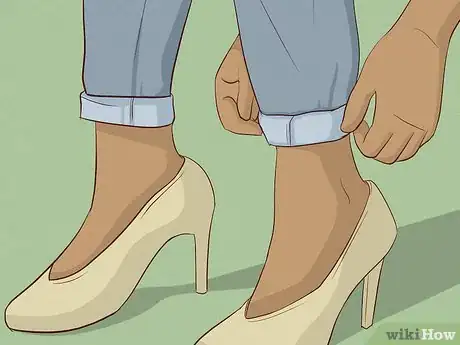
1Cuff or roll your jeans to get rid of the extra fabric. Take a bit of time to roll up the extra fabric along the bottom of your pants. Roll up the fabric slowly, keeping it flat and about 1 1⁄2 in (3.8 cm) wide against your ankle. You can also flip up the bottom of your pant legs to create a 4 to 5 in (10 to 13 cm) cuff.[4]
- You don’t want to roll up the fabric too quickly, or it’ll look bulky and awkward.
-
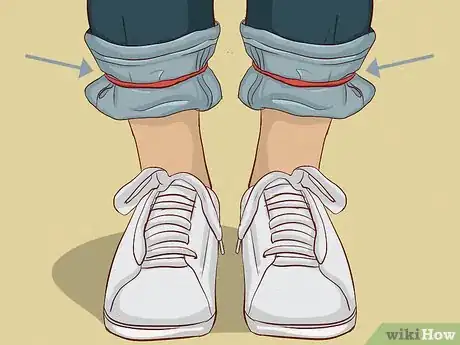
2Roll up oversized pant legs with a hair tie. Lift and roll up the bottoms of your jeans so they’re a comfortable distance away from your shoes. Stretch a hair tie around this rolled cuff, then fold the exposed pant hem down over the hair band. As a finishing touch, roll the banded cuff into your pants completely, so it’s not visible whatsoever.[5]
-
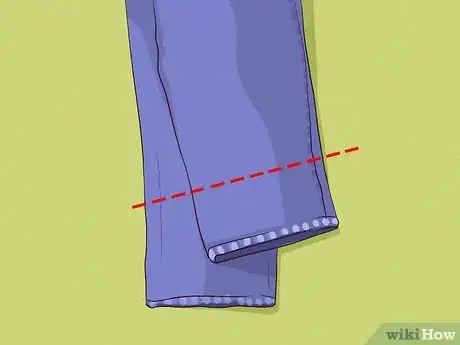
3Hem your pants to bring them in. Measure the total length of your inseam, which starts at your crotch and goes to the very bottom of your pants. Remove this seam with a seam ripper, and flip your pants inside-out so you have a better look. Measure and cut away some of the excess material around your feet and ankles, then fold and restitch the new hem back in place.[6]
Adding an Elastic Band
-
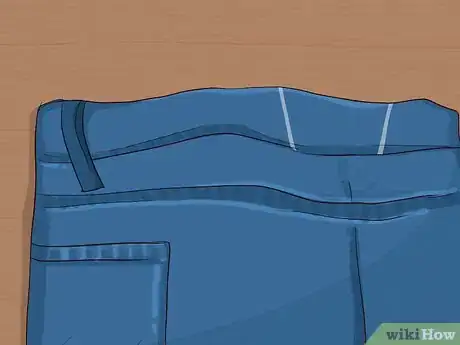
1Mark off 3 spots along the back inner waistband of your pants. Take off your pants and set them flat on the ground, making sure that the inner waistband is visible. Grab a fabric marker and draw vertical lines along the left and right sides of the inner waistband, as well as the center.[7]
- These marks are where your elastic band will go.
- The back, inner waistband refers to the inner portion of your pants that touches the back of your waist.
-
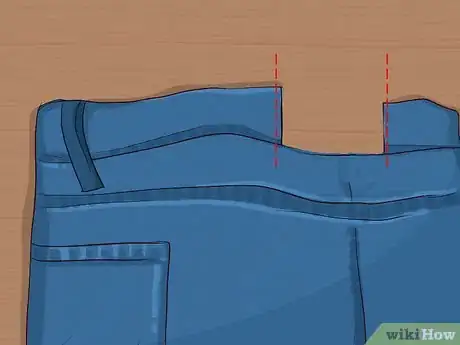
2Cut vertically along each mark through the top layer of fabric. Grab a pair of fabric scissors and gently cut along each mark. Try not to cut through the entire waistband—the goal is to cut out several openings, so you can slip your elastic band inside the waistband.[8]
- This strategy works especially well with jeans, but works with any kind of pants with a hemmed waistband.
-
3Thread an elastic band through the first and second cuts. Cut out a stretch of elastic that’s longer than 2 outer marks you sketched on your pants. Insert 1 end of elastic into the leftmost opening, using your fingers to pinch and pull the elastic through the waistband. Continue doing this until you’ve pulled the elastic out of the middle cut in your waistband.[9]
- This may seem a bit tricky at first, but don’t give up! The cut in the center of your waistband will make this easier.
- Leave 1 end of the elastic sticking out from the pants.
-
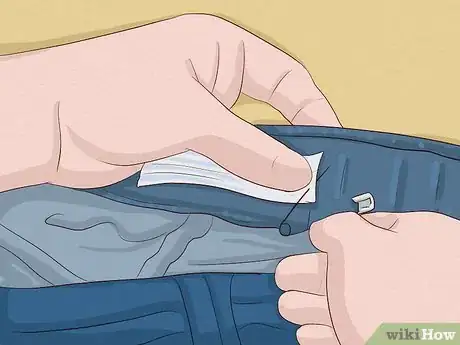
4Safety-pin the end of elastic to the waistband. Grab a safety pin and secure it to the left side of your pants. Double-check that the safety pin isn’t sticking out, and that the pin is securely in place along your pants.[10]
-
5Continue threading the elastic through the third cut. Take the loose, unpinned end of elastic and stick it back into the waistband. As you did before, pinch and pull the elastic with your fingers until you can pull it out through the rightmost cut on your back waistband.[11]
- It’s okay if you have a lot of extra elastic—you can always cut it off later.
-
6Pull along the elastic to tighten the back waistband of your pants. Tug on the elastic in the same way you’d tug on a drawstring. Continue pulling on the band until the waistband tightens your desired amount.[12]
-
7Pin this end of the elastic in place. Take another safety pin and secure it along the right side of your waistband. At this point, try on your pants and make sure they fit comfortably with these new adjustments. If they’re still too big, unpin the rightmost safety pin and pull on the elastic band a little bit more.[13]
-
8Trim off any excess elastic. Grab your fabric scissors and snip off any leftover material. Try to cut it as close to the pin as you can, so the pants are still comfortable to wear.[14]
Expert Q&A
-
QuestionWhat is the benefit of tailoring?
 Taissha G. LaReauTaissha G. LaReau is a Wardrobe Consultant & Stylist based in Albany, NY. With more than three years of experience, Tai specializes in helping people maximize their wardrobes by creating functional, everyday outfits that are tailored to their lifestyle and make them feel polished. While she offers virtual and in-person closet editing, personal shopping, and outfit creation, she also has a knack for helping people shop strategically, discover new brands, and experiment with new styles. Taissha holds a BS in Marketing from The State University of New York College at Oswego.
Wardrobe Consultant & Stylist Most people are in-between sizes and are never going to be just one size, so tailoring helps you feel good in what you're wearing.
Things You’ll Need
Oversized Waist
- Belt
Long Pant Legs
- Hair tie
- Measuring tape
- Fabric scissors
- Seam ripper
- Pins
- Sewing machine
- Needle and thread (optional)
Adding an Elastic Band
- Fabric scissors
- Elastic band
- 2 safety pins
- Seam ripper (optional)
References
- ↑ https://m.youtube.com/watch?v=Kpnj3D47P2E&t=1m34s
- ↑ https://m.youtube.com/watch?v=hVCPEChoPAA&t=1m36s
- ↑ https://sewguide.com/how-to-shrink-clothes/
- ↑ https://www.gq.com/story/how-to-cuff-roll-stack-your-jeans
- ↑ https://www.thesun.co.uk/fabulous/8862114/clothing-hack-roll-jeans-hair-bobble/
- ↑ https://www.businessinsider.com/how-to-hem-pants
- ↑ https://m.youtube.com/watch?v=BWxrDBGlSnQ&t=1m27s
- ↑ https://m.youtube.com/watch?v=31s8vSaKOy4&t=1m20s
- ↑ https://m.youtube.com/watch?v=BWxrDBGlSnQ&t=2m16s
- ↑ https://m.youtube.com/watch?v=BWxrDBGlSnQ&t=3m14s
- ↑ https://m.youtube.com/watch?v=BWxrDBGlSnQ&t=3m20s
- ↑ https://m.youtube.com/watch?v=BWxrDBGlSnQ&t=3m35s
- ↑ https://m.youtube.com/watch?v=BWxrDBGlSnQ&t=3m40s
- ↑ https://m.youtube.com/watch?v=BWxrDBGlSnQ&t=3m44s
- ↑ https://m.youtube.com/watch?v=BWxrDBGlSnQ&t=0m48s
- ↑ Taissha G. LaReau. Wardrobe Consultant & Stylist. Expert Interview. 31 January 2022.
