This article was co-authored by Josh Goldenberg and by wikiHow staff writer, Hunter Rising. Josh Goldenberg is a Residential Remodeling Expert and the Co-Founder of 5blox, based in the Greater Los Angeles area. With more than seven years of experience, Josh and his team specialize in luxurious and sustainable home renovations. 5blox is fully licensed and bonded.
There are 12 references cited in this article, which can be found at the bottom of the page.
This article has been viewed 48,213 times.
Spray foam is a convenient product that you can use for many applications, like fixing holes in drywall, filling in seams between wood, and insulating your walls. While spray foam expands to fill in gaps, there may be times when you accidentally apply too much. If you have foam that bubbles out, it could have an unsightly appearance or make it difficult to finish the surface. Luckily, there are a few easy ways you can get rid of the excess foam.
Steps
Cutting Small Pieces of Spray Foam
-
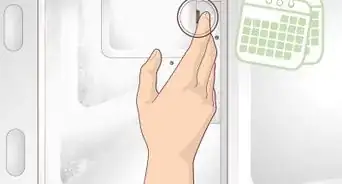
1Wait until the foam cures completely before trimming it. Check the curing time on the spray foam’s packaging so you know how long it needs to set, which is usually between 12–24 hours. Allow the foam to expand completely and harden before you start working with it. Test the foam after 12 hours by seeing if it feels tacky. If the foam still feels a little sticky, leave it alone to cure until it has a hard, smooth finish.[1]
- Different brands of spray foam have different curing processes. Be sure to check the instructions for the one that you have.
-
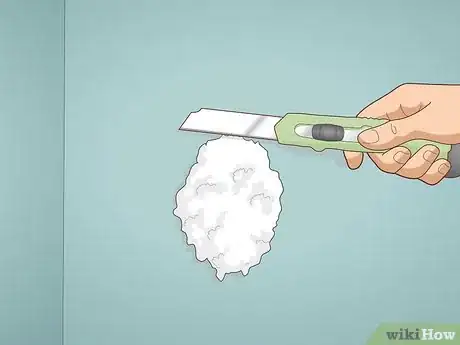
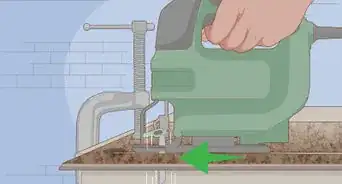
2Hold your utility knife on top of the foam so it’s flush against the wall. Extend the blade so it’s long enough to cut through the entire section of foam that’s expanded out from the wall. Press the blade of your knife against the foam’s top edge so it lays flat against the wall or surface.[2]
- Be careful not to apply too much pressure to the utility knife blade since they’re usually segmented and could break apart.
Tip: If you don’t have a utility knife that’s long enough, you can use a flush-cut saw that has a flexible blade instead. You can buy them from your local hardware store.
Advertisement -
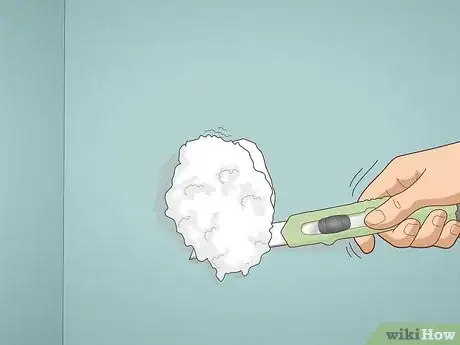
3Saw straight through the foam to remove the excess. Slowly guide your blade along the entire length of the foam piece you’re cutting off. Try to keep the blade as flat against the wall as possible so you can remove the most foam. Keep slicing the foam off in small pieces until it’s completely flush with the rest of the wall.[3]
- Throw away the excess pieces of spray foam with your regular trash.[4]
- Always cut away from your body so you don’t hurt yourself if the knife slips.
- If the foam that’s applied in a corner, keep your blade flush against one of the walls and cut along the edge of the foam. Then reposition your knife against the other wall so you can cut the opposite side of the foam.
-
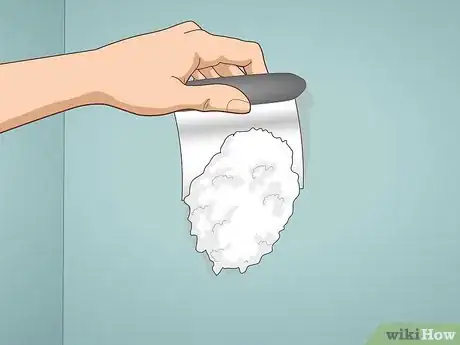
4Try using a metal scraper if you can’t cut through the foam easily. Place the blade of your metal scraper against the top edge of the foam so it’s flat against the surface. Apply a firm amount of pressure and push the scraper through the foam. Keep using sharp downward thrusts with the scraper to get rid of the foam.[5]
- Metal scrapers work best for rigid foam that’s stuck on studs or are too large to cut with your knife. You can buy one from your local hardware store.
- In a pinch, you could even try using a serrated butter knife.[6]
- Be careful not to hold the metal scraper perpendicular to the surface, or else you may damage or cut into it.
-
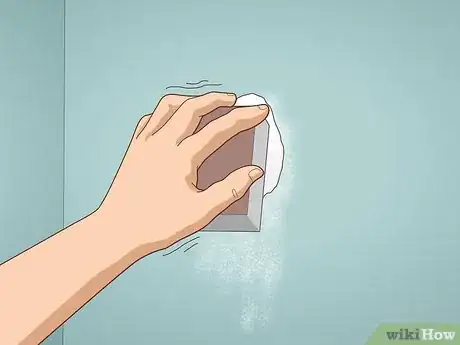
5Level the foam with the surface using a sanding block. Choose a fine sanding block so you smooth out the surface without leaving scratch marks. Go over the surface using small circular motions to smooth out any bits of foam that still stick out from the surface. Keep sanding until the foam looks perfectly flush with the surface so you’re able to finish over it.[7]
- You can buy sanding blocks from your local hardware store.
Using a Foam Saw for Wall Insulation
-
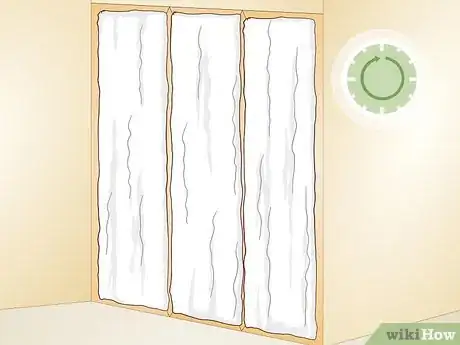
1Give the foam about 24 hours to harden and cure before cutting it. After spraying your foam, it will expand to fill in any small gaps before it starts to harden. Leave the spray foam alone for at least 24 hours so it has a chance to set. Test if the foam feels tacky, and if it does, allows it to continue curing until it has a hard, smooth finish.
- Avoid cutting the foam before it finishes curing since you could damage the entire treatment.
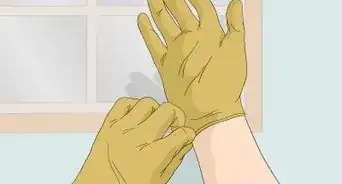
Warning: Spray foam insulation creates toxic fumes when it’s applied and while it’s curing. If you need to go back into the room before the foam cures, wear safety goggles, coveralls, disposable gloves, and a ventilator to stay protected.
-
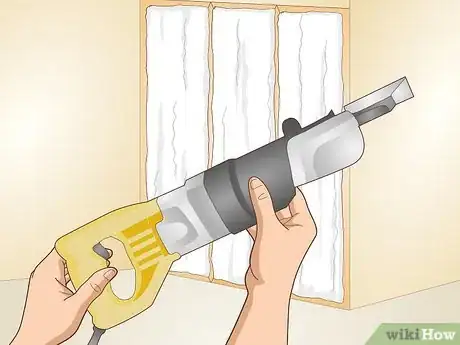
2Rent a foam saw from your local hardware or equipment store. Foam saws are power tools designed with long, flexible blades to help you cut foam that extends past your wall studs.[8] Contact a few local hardware or equipment supply stores to see if they have a foam saw that you can rent for the day. Compare the rates and choose the option that you can best afford.
- If you have a reciprocating saw, you may be able to find blades made to cut through spray foam so you don’t have to buy a separate tool.
-
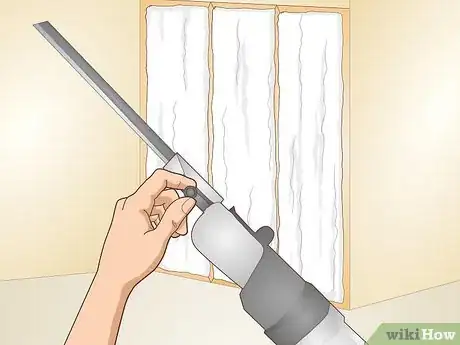
3Choose the saw blade meant for the type of cell structure your foam has. Your spray foam will either have an open-cell or closed-cell structure, which determines how well it blocks water and air. Open-cell foam has small air bubbles inside of it, which helps trap outside air and also gives it a more flexible consistency. Closed-cell foam fills in the air bubbles to completely block water and air, and it hardens into a more rigid finish.[9] Pick the appropriate saw blade for the foam you used so you don’t cause any damage to your walls or the tool.
- You can buy foam saw blades online or at your local hardware store.
- Avoid using the wrong type of blade on your foam since you could damage the saw or the insulation.
- Foam saw blades are usually around 18–27 inches (46–69 cm) long.
-
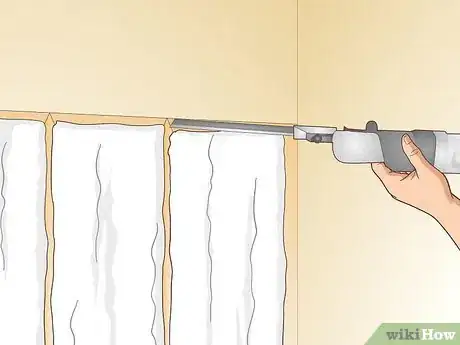
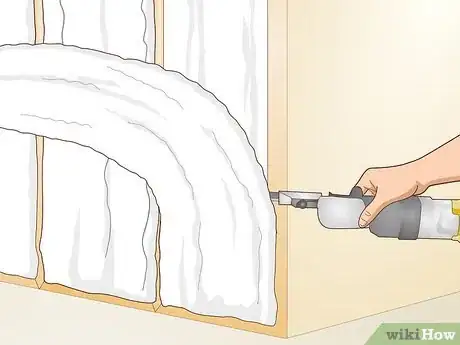
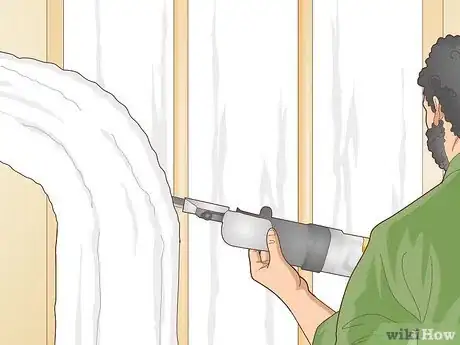
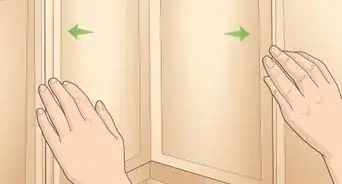
4Hold the blade of the foam saw flush against the wall studs. Position the blade so it spans across 2 wall studs so you can level off the foam between them. Start at the top of your wall so the pieces fall down easily as you cut them. Keep the blade as flat against the studs as possible so you make the cleanest cut.[10]
- Keep your saw turned off while you’re positioning the blade so you don’t accidentally cut or damage anything.
-
5Guide the saw down the height of the wall to cut the foam. Hold the handles on the side and back of the saw to stabilize it before pulling the trigger to turn it on. Slowly move the blade down the wall, making sure it stays tightly against the studs. When you reach the bottom of the wall, let go of the trigger to stop the saw and let the foam pieces fall down.[11]
- You do not need to wear goggles or a ventilator when you’re working with cured foam.
- Dispose of the foam pieces along with your regular garbage.
- Be extremely careful when working with your saw since you could easily cut yourself and cause serious injury.
-
6Continue trimming the foam from the rest of your walls. Reposition the blade at the top of the wall between the next 2 studs. Pull the trigger and work your way back down toward the floor to remove all of the foam. Keep trimming back the rest of the foam so it’s flush with the fronts of the wall studs.[12]
Warnings
- Spray polyurethane foam used for insulation gives off toxic fumes when it’s applied and curing. Wear a ventilator, safety goggles, and coveralls if you’re installing it yourself. You do not need to wear safety equipment once the foam completely cures.⧼thumbs_response⧽
- Always keep knife and saw blades pointed away from your body so you’re less likely to cut yourself.⧼thumbs_response⧽
- Use caution when you’re working with power tools. Read the instructions thoroughly to make sure that you’re using it properly.⧼thumbs_response⧽
Things You’ll Need
Cutting Small Pieces of Spray Foam
- Utility knife
- Metal scraper
- Sanding block
Using a Foam Saw for Wall Insulation
- Foam saw
- Open- or closed-cell foam saw blades
References
- ↑ https://youtu.be/duZWFkX-4-0?t=23
- ↑ https://youtu.be/duZWFkX-4-0?t=24
- ↑ https://youtu.be/6-xPIgRLuBE?t=1132
- ↑ https://youtu.be/6-xPIgRLuBE?t=1169
- ↑ https://youtu.be/6-xPIgRLuBE?t=1159
- ↑ Josh Goldenberg. Residential Remodeling Expert. Expert Interview. 25 January 2022.
- ↑ https://youtu.be/e-nhZ63Qy-0?t=128
- ↑ Josh Goldenberg. Residential Remodeling Expert. Expert Interview. 25 January 2022.
- ↑ https://www.thomasnet.com/articles/plastics-rubber/closed-cell-open-cell/

