This article was co-authored by Art Fricke. Art Fricke is a home renovation and repair specialist and the owner of Art Tile & Renovation based in Austin, Texas. With over 10 years of experience, he specializes in bathroom and kitchen renovations. Art focuses on a single contractor approach to customized renovation work, and performs projects such as installing custom tile showers, fixing tiled shower leaks, replacing cracked tiles, and installing floor and wall tile.
There are 10 references cited in this article, which can be found at the bottom of the page.
This article has been viewed 52,760 times.
You do not have to be a professional tile layer to tile a countertop. It is possible to get professional results tiling a countertop yourself by following these steps. Note, however, that this requires not only a lot of tools, but time -- tiling is not a quick process by any means.
Steps
Preparing the Countertop
-
1Measure out your tiling plans in advance, getting all of your dimensions and marking problem areas like sinks. Break down your counter into workable sections, dividing up the room by large obstacles like the sink or oven. Clean everything off the countertops and empty the kitchen so that you can move and work freely.[1]
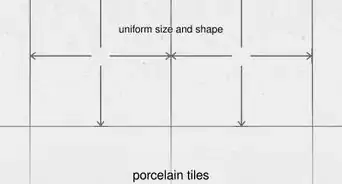
- Know your planned tile size, how many tiles you need total, and how the tiles will fit into rows ahead of time. If you can get a tile size that requires minimal cutting and fitting your life will be much easier.
- Remember to account for the grout when planning your tile size.
-
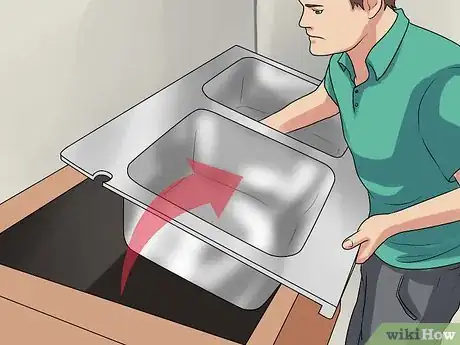
2Remove the sink, stove, and any other appliances. If you plan on tiling a countertop in a wet area, then you will need to take out the sink in order to lay the new tiled countertop. You should also remove the stove, though this is much easier to simply slide out than a sink. To remove your sink:
- Turn off the water supply to the sink. If you have a garbage disposal, you will need to cut the power to that, as well.
- Disconnect the plumbing hoses from the sink. This includes the flexible tubing that connects your dishwasher to your sink plumbing, and the hose clamps that keep your disposer in place.
- Unscrew the sink from underneath the countertop, if there are screws holding it in place. If there are clamps holding the sink to the countertop, these will need to be removed, too.
- Run a razor around the edge of the sink to cut the caulking before removing the fixture.
- Pry the sink loose from the countertop, then remove it completely and set it aside.[2]
Advertisement -
3Prepare the tile countertop base if not purchasing or using a preexisting counter. If you're crafting a new counter from scratch, the following bullets detail how to build a new countertop using plywood and concrete boards. In most cases, your countertop will already have a solid base -- click here to skip ahead if it does.
- Measure the existing countertop.
- Use a carpenter's pencil to outline the dimensions of the existing countertop on a piece of 3/4 inch (2 cm) plywood. Be sure to trace the sink opening, too.
- Cut the plywood using a circular saw. If you need to make smaller cuts or round out your corners, finish up with a jigsaw. Clamp a straight edge along the marked lines to guide the saw so that your lines are perfectly straight.
- Place the plywood base on top of the existing countertop. From underneath the existing countertop, trace the sink opening onto the plywood base. Cut out the sink opening using a jigsaw.[3]
-
4Use your plywood template to cut the concrete backer boards with a wet saw. Put the plywood base on top of a piece of concrete board. Use the plywood base as a template to make an identical countertop piece out of the concrete board. Cut the concrete board to the shape of the countertop using a spiral cutting saw with a masonry bit. Don't forget to cut out the sink opening as well.
-
5Screw the plywood base into the countertop, then adhere the concrete board with thinset mortar and an electric drill. Screw the plywood base onto the existing countertop using wood screws. Then, apply thinset mortar to the plywood base using a 1/4 inch (0.6 cm) trowel. Place the concrete board on top of the plywood base and screw it into place with galvanized screws.[6]
- The exact type of screws you'll use will depend on the type of cabinet construction you're dealing with, but generally, you'll need 1 5⁄8 in (4.1 cm)-length stainless cabinet screws, using pre-drilled pilot holes.[7]
- When done, reinforce any corners and edges with fiberglass mesh tape. This prevents chipping, cracking, or crumbling along the cut edges of the concrete.
-
6Alternatively, cut and sand down laminate countertops to adhere tiles to them. If you have a laminate (popular, smooth, plastic-like surface) countertop, you only have a little preparatory work to do. You must simply get the surface ready to absorb the mortar and adhere the tiles. Most laminate is non-porous and a bad adhesive surface. To get your counter ready for tiles:
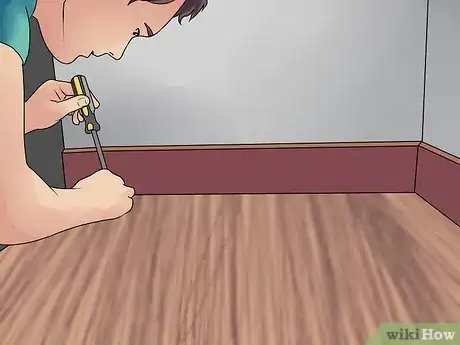
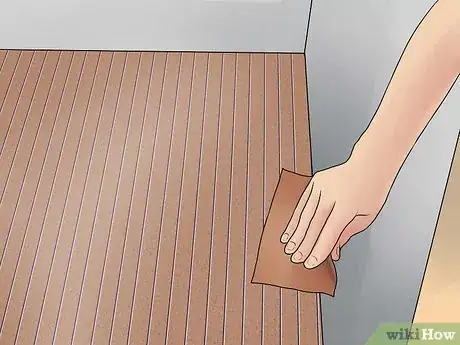
- Use an orbital sander and 50 grit paper to rough up the surface. Do not gouge any big holes.
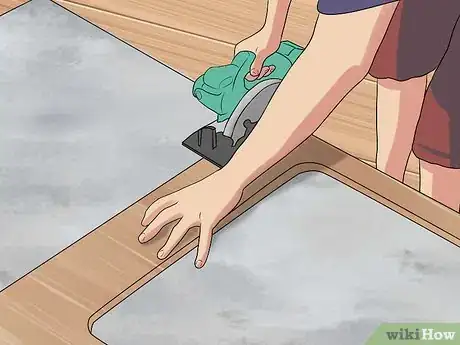
- Use a circular saw and a straight-edge to saw off any rounded, overhanging edges. You want square, 90-degree corners to fit your tiles into.[8]
- This will not work if you have a countertop made of factory laminate bonded to particle board. This is because the particle board isn't stiff enough to support tile, and it will crack.[9]
-
7Mark out a backsplash, or set of tiles along the corner of the counter and wall, if you want one. Make sure you prep the area as well with a light sanding. Mark the height of your backsplash -- usually just one tile high. Be sure to account for the width of the tile below it, however, on the countertop. Because of this, the backsplash usually comes last.[10]
Laying the Tiles
-
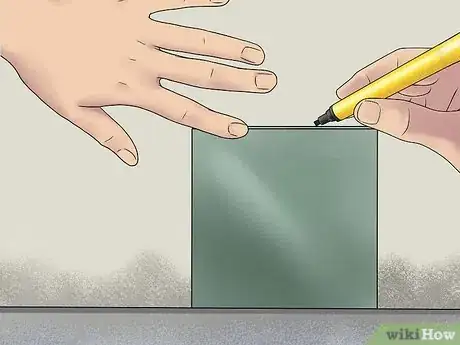
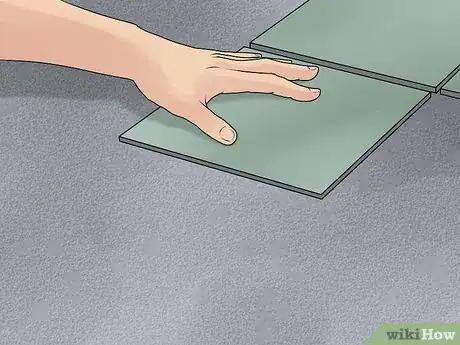
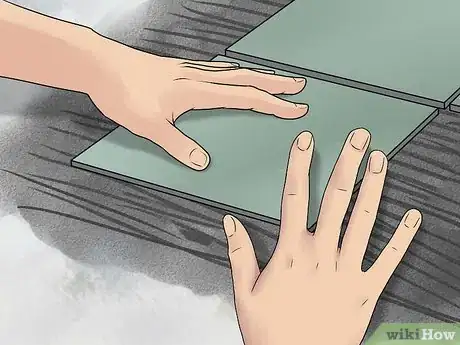
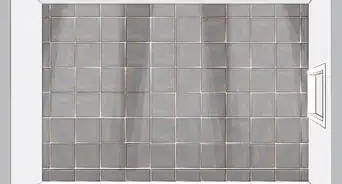
1Do a dry run to ensure your tiles fit. Arrange the tiles on the countertop base. It is important to determine the appropriate placement and spacing of the tiles before you tile countertops. Position your tiles on the concrete board countertop as you want them to be set, making sure to account for grout lines. Use spacers to make sure your tiles are properly placed.
- Whenever possible, start from the center. Place a tile in the middle and work out, cutting the end tiles when necessary. This makes everything look evener.[11]
- In general, grout lines range from 1/16" to 3/16" in thickness.
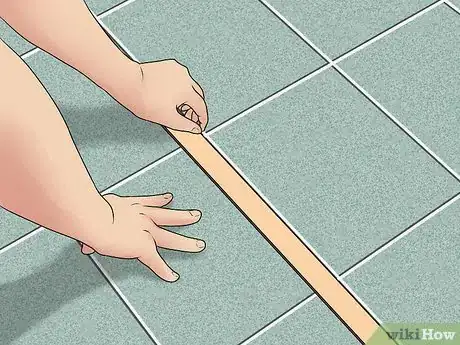
- It can help to use a marker and a straight-edge to draw out your rows of tiles in advance. Start nearest to the wall, then work to the edge. If you have a caulk box, you can use that to snap horizontal lines, or use a laser level to help keep things straight.
-
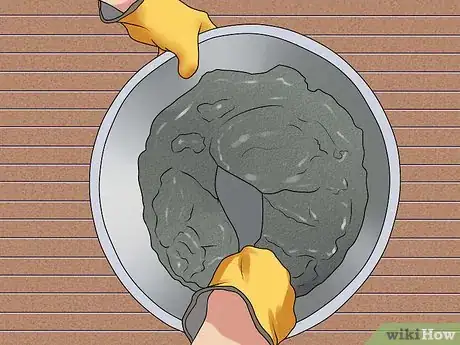
2Mix up your mortar according to the manufacturer's directions. Follow the specific instructions on the back of the bag. Only make as much mortar as you need, opting for a little bit less if you're unsure how much to pour. You'll need to use it all while it is still wet and well mixed, and you can always pour and mix more.
-
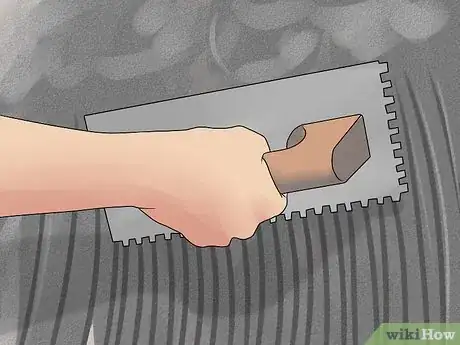
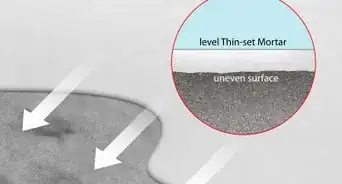
3Using a notched trowel, lay a roughly 1/4" thick layer of mortar on the countertop. Give yourself enough mortar for 3-4 tiles at once. Lay the mortar down so that it evenly covers the surface, moving in mostly one direction.
- Use a 1⁄8 in (0.32 cm) or 1⁄4 in (0.64 cm) notched trowel for this.[14]
- Apply thin-set mortar to the top of the countertop.
- For the edges and backsplash, apply tile mastic, which is flexible, along the outside edge of the countertop. This will allow for expansion so that your edge tiles do not crack.[15]
-
4Lay the tile in place, then push it firmly into the mortar to adhere it in place. Lay the edge tiles first, then lay the countertop (field) tiles, using vinyl spacers to account for the grout lines. Keep moving in this pattern -- mortar, tile, press, spacers, repeat -- until you need to mix more mortar or finish your section.
- Clean any excess mortar off the surface of your tile as you work. Removing grout is much more difficult once it dries, so work to get rid of excess while it's still soft.
-
5Check for consistency as you work with a straight edge. Use a straight edge to determine that your lines are straight, and place a level on top of the tile countertop to determine that your tiles are uniformly set into the grout. If not, you still have some time to adjust the tiles while the mortar sets.
-
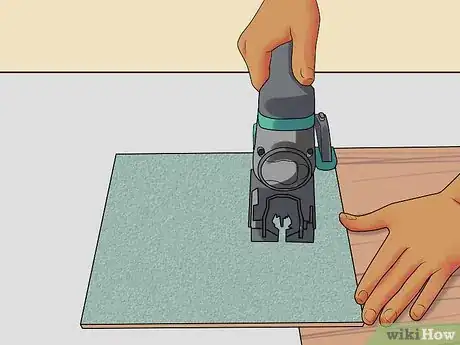
6Cut tiles as you go to fit any problem areas. Use a tile cutter to cut any irregular edge and sink pieces if they only require trimming, then set those in place last. For larger cuts, or making many cuts, you should invest or rent a wet saw, which is made to cut tile without deforming or cracking it.
- When done with the counter, set any backsplash tiles using mastic. The process is the exact same.[16]
Finishing Your Countertop
-
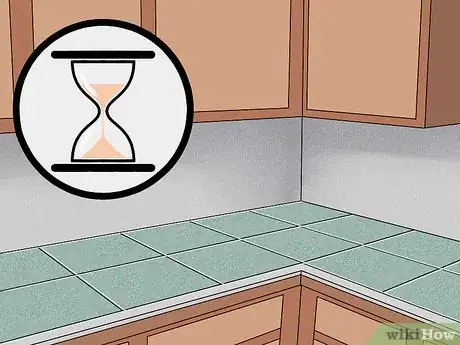
1Allow the mortar to set overnight. After tiling a countertop, you should let the mortar dry according to the manufacturer's instructions. While it may be only a few hours, waiting overnight ensures that everything is well set when you get back to work.[17]
-
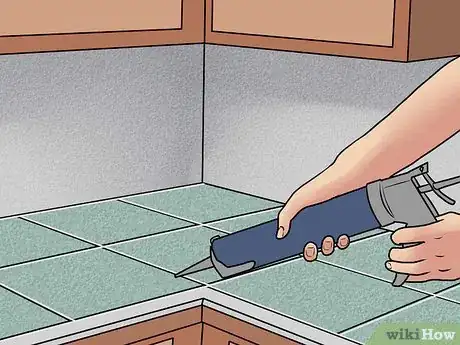
2Grout the tile countertop using the grout of your choice. Remove the vinyl tile spacers. Then, use a rubber float to press grout into the grout lines. Work smoothly and methodically, using a rubber float to spread the grout and wipe up any excess.
- Remove excess grout by holding the rubber float at a 45-degree angle and dragging it across the tiles in a diagonal direction.
-
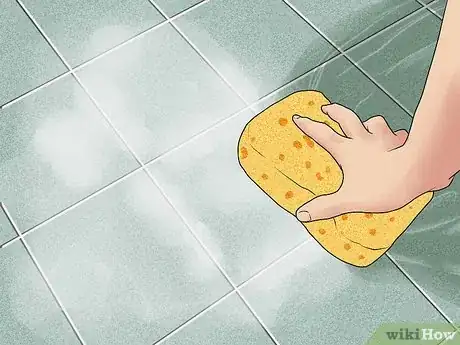
3Clean the tiles with a damp sponge when finished. Once the grout is evenly distributed in the joints, clean the grout off the tile faces using a damp sponge. This should wipe off any residue or grit that got on the tiles while installing.
- Only swipe over the surface of the tiles -- do not dig into the grout lines.
-
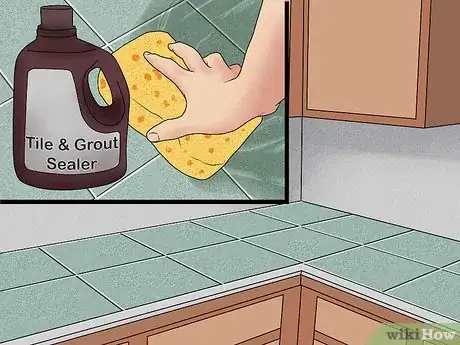
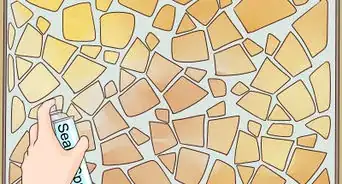
4Allow the grout to dry before adding a finish to the counter. To protect your tiles for years, you'll want to apply a finishing solution to the grout. Find a grout and tile sealer that works for you at your local hardware store and apply according to the directions on the bottle.[18]
Expert Q&A
-
QuestionCan you tile over a laminate countertop?
 Art FrickeArt Fricke is a home renovation and repair specialist and the owner of Art Tile & Renovation based in Austin, Texas. With over 10 years of experience, he specializes in bathroom and kitchen renovations. Art focuses on a single contractor approach to customized renovation work, and performs projects such as installing custom tile showers, fixing tiled shower leaks, replacing cracked tiles, and installing floor and wall tile.
Home Renovation & Repair Specialist That depends on what's underneath the laminate. If it's factory laminate bonded to particle board, it won't work, because the particle board core isn't stiff enough to support tile and grout, and it will crack. If it's an older made-in-place laminate counter with plywood underneath, you can rip off any laminate that's bubbling or peeling up, then screw on a layer of concrete backerboard with a 1/8" layer of unmodified thinset sandwiched in between.
Things You'll Need
- 3/4 inch (2 cm) plywood
- Concrete board
- Measuring tape
- Straight edge
- Clamp
- Carpenter's pencil
- Circular saw
- Jigsaw
- Spiral cutting saw
- Tile cutter
- Masonry bit
- Screwdriver
- Wood screws
- Masonry screws
- Thinset mortar
- Tile mastic
- Notched trowel
- Level
- Vinyl tile spacers
- Rubber float
- Grout
- Sponge
- Paper towels[19]
References
- ↑ http://www.diynetwork.com/how-to/skills-and-know-how/masonry-and-tiling/install-tile-over-laminate-countertop-and-backsplash
- ↑ http://www.diynetwork.com/how-to/skills-and-know-how/masonry-and-tiling/install-tile-over-laminate-countertop-and-backsplash
- ↑ http://www.hgtv.com/design/rooms/kitchens/how-to-tile-a-countertop
- ↑ http://www.familyhandyman.com/kitchen/countertops/installing-tile-countertops/view-all
- ↑ Art Fricke. Home Renovation & Repair Specialist. Expert Interview. 1 July 2020.
- ↑ http://www.diynetwork.com/how-to/skills-and-know-how/masonry-and-tiling/how-to-install-tiles-on-a-kitchen-countertop
- ↑ Art Fricke. Home Renovation & Repair Specialist. Expert Interview. 1 July 2020.
- ↑ http://www.diynetwork.com/how-to/skills-and-know-how/masonry-and-tiling/install-tile-over-laminate-countertop-and-backsplash
- ↑ Art Fricke. Home Renovation & Repair Specialist. Expert Interview. 1 July 2020.
- ↑ http://www.familyhandyman.com/kitchen/countertops/installing-tile-countertops/view-all
- ↑ http://diydiva.net/2010/06/tile-101-how-to-build-tile-counters/
- ↑ http://www.ronhazelton.com/article/home/kitchens/UDIwMg/P0061_How_to_Tile_a_Kitchen_Countertop_ http://www.ronhazelton.com/article/home/kitchens/UDIwMg/P0061_How_to_Tile_a_Kitchen_Countertop_
- ↑ http://diydiva.net/2010/06/tile-101-how-to-build-tile-counters/
- ↑ Art Fricke. Home Renovation & Repair Specialist. Expert Interview. 1 July 2020.
- ↑ http://www.hgtv.com/design/rooms/kitchens/how-to-tile-a-countertop
- ↑ http://www.ronhazelton.com/article/home/kitchens/UDIwMg/P0061_How_to_Tile_a_Kitchen_Countertop_ http://www.ronhazelton.com/article/home/kitchens/UDIwMg/P0061_How_to_Tile_a_Kitchen_Countertop_
- ↑ http://www.hgtv.com/design/rooms/kitchens/how-to-tile-a-countertop
- ↑ http://diydiva.net/2010/06/tile-101-how-to-build-tile-counters/
- ↑ http://www.ronhazelton.com/article/home/kitchens/UDIwMg/P0061_How_to_Tile_a_Kitchen_Countertop_ http://www.ronhazelton.com/article/home/kitchens/UDIwMg/P0061_How_to_Tile_a_Kitchen_Countertop_
About This Article
To tile a countertop, start by laying a 1/4 inch thick layer of mortar on the countertop using a notched trowel. Then, lay the tile in place, push it firmly into the mortar, and use vinyl spacers to account for the grout lines. Next, use a tile cutter as you go to fit individual tiles to any irregular edges. Finally, allow the mortar to set overnight and then, in the morning, use a rubber float to press grout into the grout lines. For more tips from our Handyman reviewer, like how to prepare your countertop, read on!

