This article was co-authored by Kate Jutagir. Kate Jutagir is an Equestrian Specialist, Hunter/Jumper Trainer, and the Owner of Blackhound Equestrian, a premier training barn located on 65 acres in Castro Valley, California. Originally designed to be a riding school used as a springboard for dedicated students into careers in the sport, Blackhound Equestrian has grown into a hunter/jumper training program for all levels focusing on providing a solid foundation needed for personal advancement in the sport. Kate has over 25 years of equestrian instruction and training experience. Her focus on developing horse and rider partnerships provides a complete equestrian education for both beginners and advanced riders alike.
This article has been viewed 122,459 times.
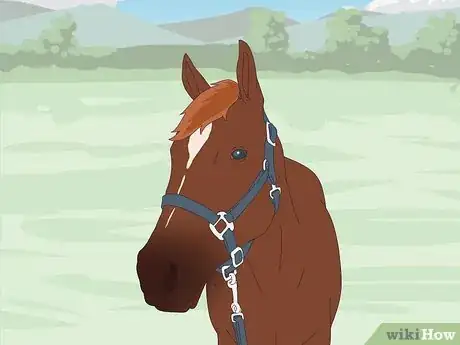
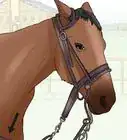
Tying a horse, sometimes called racking-up, means securing a horse to a fixed object by means of a halter and lead rope. This may be done to restrict the horse’s movement for grooming, tacking up or simply to stop the horse from wandering around. Learn to tie up your horse properly and securely to avoid injury to your horse or yourself, and to prevent escape.
Steps
Learning Proper Knots for Tying up a Horse
-
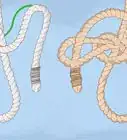
1Learn the best knots for tying up a horse ahead of time. The most common knots used to tie a horse are quick-release knots, of which there are several varieties, and the bowline knot. [1]
- Quick-release knots are easy to tie, and while they will tighten up if the horse pulls against the rope, are still easy to release with a quick tug of the trailing rope.
- The bowline is a bit less convenient to tie and untie, but will not tighten up if the horse pulls on it. Also, some horses are quite adept at untying quick release knots. If you are going to leave your tied horse unsupervised or know that he has untied a quick release in the past, the bowline is the safer option. [2]
- Practice tying these knots ahead of time, before you use them with an actual horse.
-
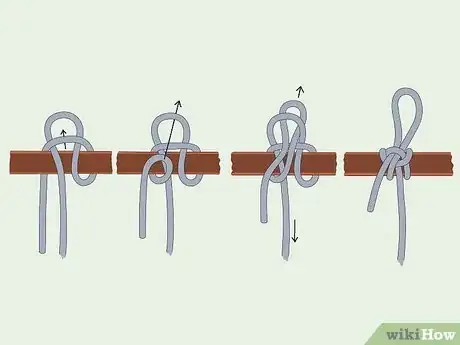
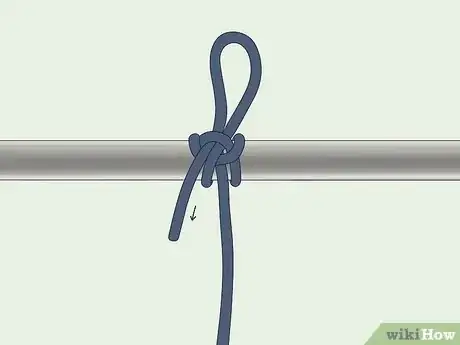
2Learn to tie a quick-release knot. This quick-release knot should not tighten if your horse pulls against it, and is very easy to untie.
- First make a fold in the rope (called a ‘’bight’’) and fold it over the pole you are tying to, or through a ring.
- Then make another bight in the part of the rope that leads to the horse (called the “standing end”).
- Pull the second bight through the first bight.
- Then with your other hand, make a bight in the loose end of the rope, and pull this through the second bight.
- To tighten the knot, pull on the standing end.
- To release the knot, simply tug on the loose end.
Advertisement -
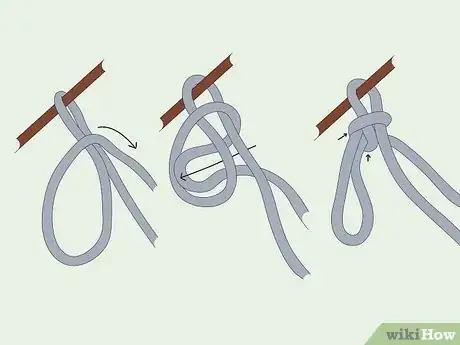
3Learn another quick-release knot. This quick-release knot is easy to tie and untie, and can be finished off in a daisy-chain fashion to take up extra rope, and prevent your horse pulling or tripping on the loose end. [3]
- First loop the rope over a pole, or through a ring.
- Then twist the loose end of the rope to form a loop.
- Hold the loop in your left hand, and with your right hand, wrap the loose end over the standing end.
- Fold the loose end over into a bight, and pull the bight through the loop in your left hand.
- Pull on the standing end to tighten the knot.
- Pull on the loose end to release the rope.
- To create an extra-secure knot that is harder for your horse to untie, create another bight in the loose end of the rope, and feed it through the last loop. Repeat this daisy-chain process as many times as needed to use up the loose end of the rope.
-
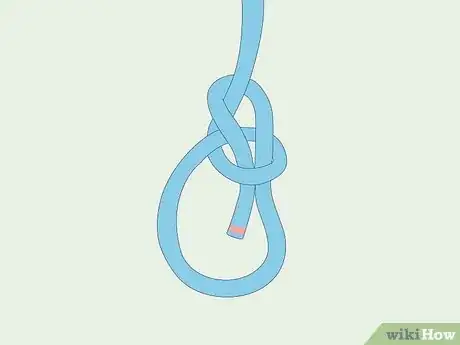
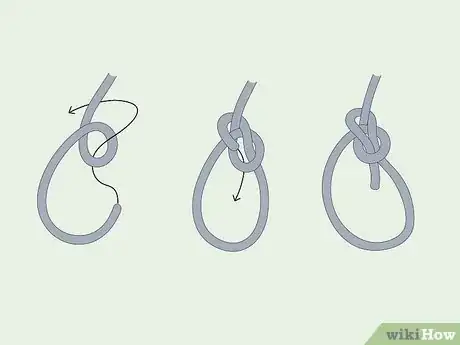
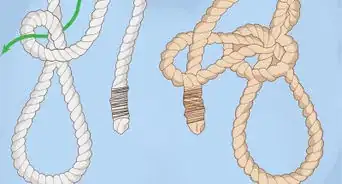
4Learn to tie a bowline knot. This is a secure knot that will not tighten if the horse pulls on it. You can untie it quickly, but your horse cannot.
- First take the standing end of the rope in your left hand and wrap the loose end over the pole.
- Then twist a loop in the standing end, and feed the loose end through the loop.
- Then wrap the loose end back over the standing end, and through the loop again going the other way.
- Pull firmly on both the loose and standing ends to snug the knot.[4]
-
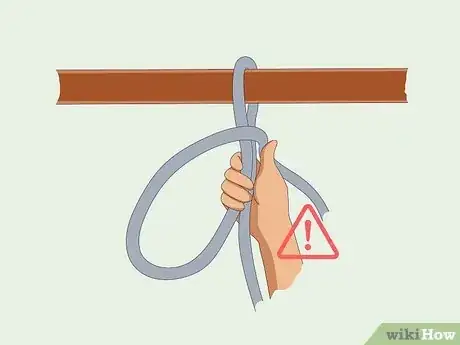
5Use caution when tying knots. Never wrap a rope around your hand or finger, or put your hand inside or through any loop or bight while tying up a horse. If the horse were to jerk quickly, the loop could tighten on your hand and cause serious injury. Be careful to avoid doing this while you practice tying knots to avoid learning unsafe knot-tying habits.
Tying Up Your Horse
-
1
-
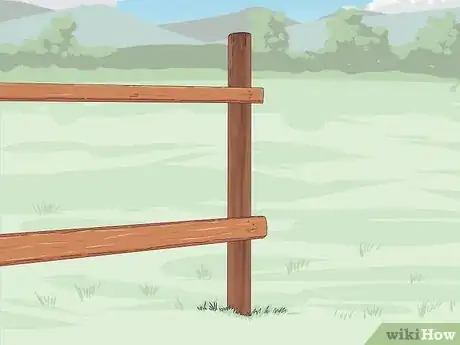
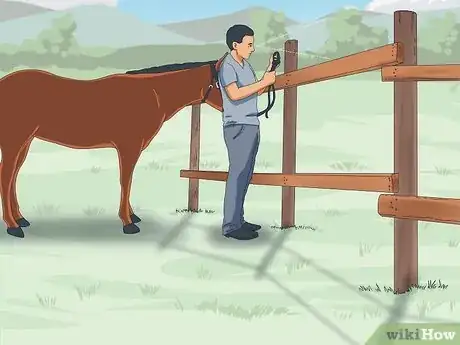
2Choose a safe place to secure your horse. Only tie your horse to a solid object that the horse cannot break or pull over. Horses are very strong and can pull with tremendous strength when frightened. If you tie your horse to a fence or railing, inspect the poles or rails and be sure to choose one that is not damaged or corroded. Make sure the area in the immediate vicinity of the horse is clear of dangerous objects the horse might step on or run into.[6]
- If you must tie your horse to something the horse ‘’could’’ break, tie a loop of string around the object and then tie the horse’s rope to the string, instead of the object itself. If the horse does decide to make a break for it, this will minimize property damage.
-
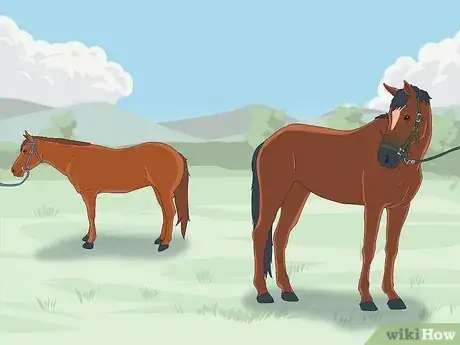
3Tie your horse up away from other horses. Make sure to tie your horse up far enough away from other horses that they cannot fight. It is best not to tie your horse up around other horses at all, until it is used to being tied.
-
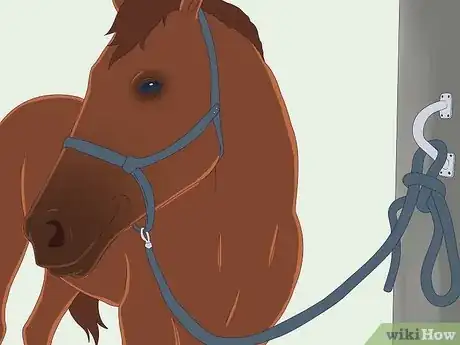
4Secure the horse at eye-level or higher. Do not tie the horse to an object on or near the ground. The horse could step on the rope, trip on it, or get tangled up on it, and potentially suffer serious injury. You can tie a horse to something higher than his head.
-
5Leave the right amount of slack. Leave about 2 to 3 feet (0.6 to 0.9 m) of rope between the horse and the object it is tied to. This is enough rope to allow the horse to comfortably move his head. Leaving more rope can lead to injury.[7]
-
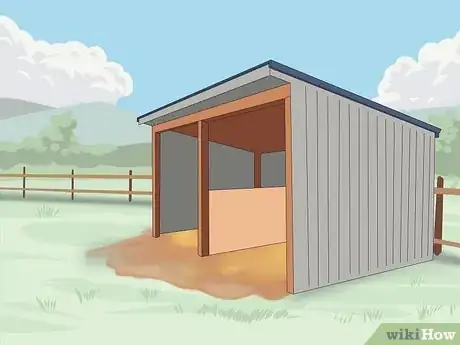
6Shelter a horse that will be tied for a long time. If your horse will be tied up for a number of hours, be sure that there is food and water available, and that the horse is sheltered from the elements. Tying your horse to a sturdy fence post under the shade of a tree might be an option, or to a sturdy post or gate inside a barn.[8]
- Check on the horse frequently, especially if it is new to being tied up.
-
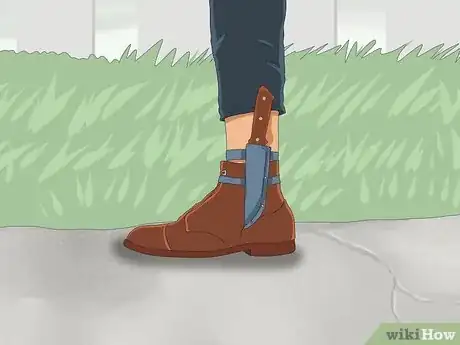
7Keep a knife handy for cutting rope in emergency situations. It is always a good idea to carry a knife, in case the horse manages to pull the knot tight and you need to release it in a hurry. Cut through the rope between the post or ring and the knot. Be sure to hold the knife so the blade is facing away from both you and your horse, so that no one is injured if the rope abruptly gives way.[9]
-
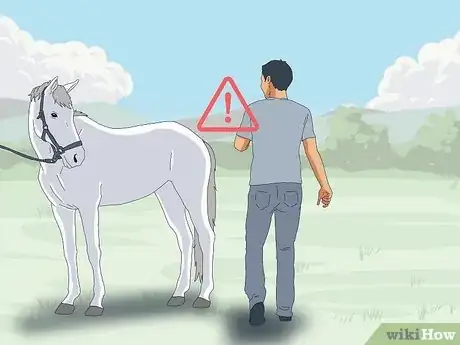
8Use caution around tied horses. Never step over or under a tie rope, and remain well out of kicking range when walking behind the horse. Speak to your horse softly before approaching it, to avoid startling it, and keep your hands on the horse as you walk alongside it.
-
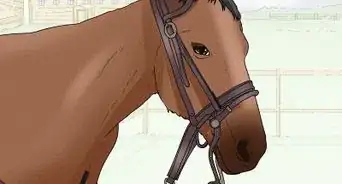
9Untie the horse before removing its halter. Untie the horse and turn the horse to where you want it to go before you remove the halter. Quick-release knots should be very easy to untie. For the bowline, simply untie the knot using both hands.
Expert Q&A
-
QuestionWhat knot do you use to tie up a horse?
 Kate JutagirKate Jutagir is an Equestrian Specialist, Hunter/Jumper Trainer, and the Owner of Blackhound Equestrian, a premier training barn located on 65 acres in Castro Valley, California. Originally designed to be a riding school used as a springboard for dedicated students into careers in the sport, Blackhound Equestrian has grown into a hunter/jumper training program for all levels focusing on providing a solid foundation needed for personal advancement in the sport. Kate has over 25 years of equestrian instruction and training experience. Her focus on developing horse and rider partnerships provides a complete equestrian education for both beginners and advanced riders alike.
Equestrian Specialist & Trainer The best and safest way to tie up a horse is using a crosstie, with two ropes attached to two opposing walls and the horse in the center. Connect the ropes to the halter using quick-release knots.
 -
QuestionWhich knot is easiest for beginners and the easiest to untie?
 Community AnswerDefinitely a slipknot. It's fairly easy to learn, and you untie it simply by tugging on the loose end.
 -
QuestionShould I practice my knot tying skills before I actually tie the horse?
 Community AnswerYes, it's a good idea to practice on your own before actually tying the horse.
References
- ↑ https://www.youtube.com/watch?v=lqOEop37d_U
- ↑ http://eclectic-horseman.com/tying-knots-that-work-for-horses/
- ↑ https://www.youtube.com/watch?v=fG6LiX10hlU
- ↑ https://www.youtube.com/watch?v=lqOEop37d_U
- ↑ http://horsetalk.co.nz/2014/10/03/safe-ways-tying-up-horse/#axzz3fPrxY0CW
- ↑ http://www.cowboyway.com/HowTo/TieHorse.htm
- ↑ http://horsetalk.co.nz/2014/10/03/safe-ways-tying-up-horse/#axzz3fPrxY0CW
- ↑ http://horsetalk.co.nz/2014/10/03/safe-ways-tying-up-horse/#axzz3fPrxY0CW
- ↑ http://horsetalk.co.nz/2014/10/03/safe-ways-tying-up-horse/#axzz3fPrxY0CW
About This Article
To tie up a horse, start by finding a secure, solid object to tie your horse to, like a fence or a post. Then, tie your horse to the object by its halter using a rope and a quick-release or bowline knot. Make sure you tie your horse to something that's eye-level or higher so it doesn't get tangled up in the rope. Also, leave about 2-3 feet of slack between your horse's head and the object it's tied to so it has room to move around. For more tips from our Veterinary co-author, like how to tie a quick-release or bowline knot, scroll down!
