This article was co-authored by wikiHow Staff. Our trained team of editors and researchers validate articles for accuracy and comprehensiveness. wikiHow's Content Management Team carefully monitors the work from our editorial staff to ensure that each article is backed by trusted research and meets our high quality standards.
wikiHow marks an article as reader-approved once it receives enough positive feedback. In this case, several readers have written to tell us that this article was helpful to them, earning it our reader-approved status.
This article has been viewed 192,806 times.
Learn more...
Swords are glossy, eye-catching weapons that make for great collector’s items and elegant decorations. Whether you handle your swords often or leave them on a wall, it’s important to clean and maintain them properly. Doing so will protect them from damage and keep them looking their best.
Steps
Cleaning Your Sword
-
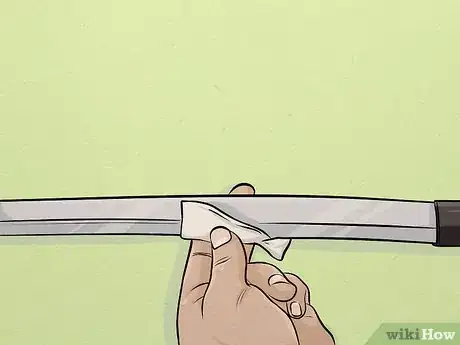
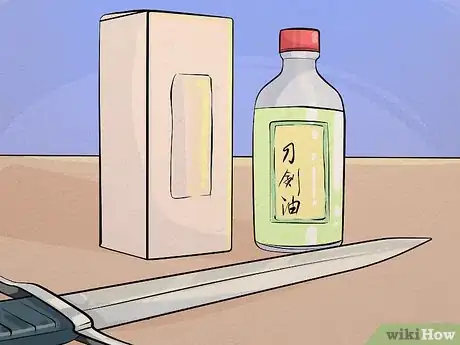
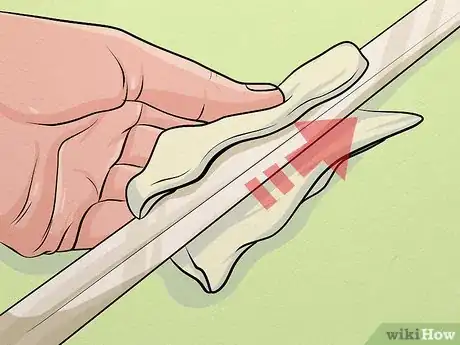
1Use a lint-free cloth to remove factory grease. When you purchase your sword from a factory producer or even a collector, it will likely be shipped with a thick coating of oil or grease. Once you receive your sword, immediately remove this grease with a lint-free, cotton cloth. Always wipe your blade in straight, one-directional strokes to prevent injury. Move from the bottom of the sword toward the tip, putting less pressure on the tip.
- When cleaning Japanese swords, use rice paper instead of lint-free cotton cloths. Coffee filters will also work as a cheap alternative.[1]
-
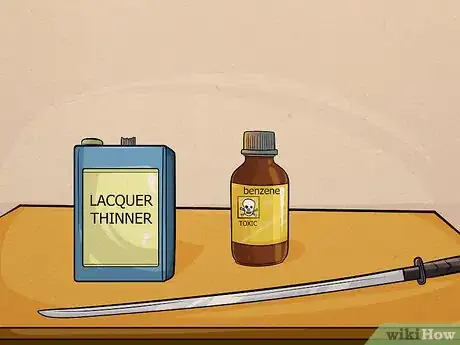
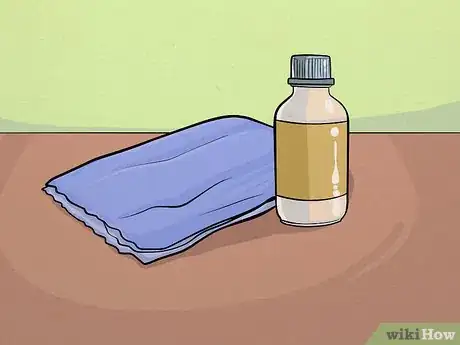
2Apply lacquer thinner to swords for stubborn gunk. Your lint-free cloth may not be enough to remove some dirt, dust, or gunk. This could include the factory grease. Pour a very small amount of lacquer thinner onto a different cloth and rub the gunk off, using the same straight, one-directional motions. Use another lint-free cloth to remove any remaining lacquer thinner.Advertisement
-
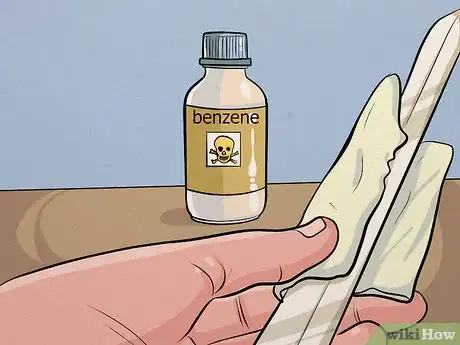
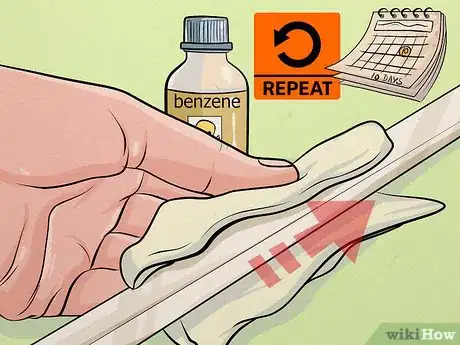
3Use lacquer thinner with benzene to wipe gunk off Japanese swords. Japanese swords sometimes require slightly different cleaning materials than steel swords. Ensure that your lacquer thinner contains benzene when cleaning these items. [2]
-
4Wipe the blade dry to prevent moisture damage. Using a fresh cloth, piece of rice paper, or coffee filter, completely dry your blade. This will remove any remaining dust and cleaning solution. Having a dry, clean blade before you oil the metal is essential for preventing moisture damage.[3]
Oiling Your Sword
-
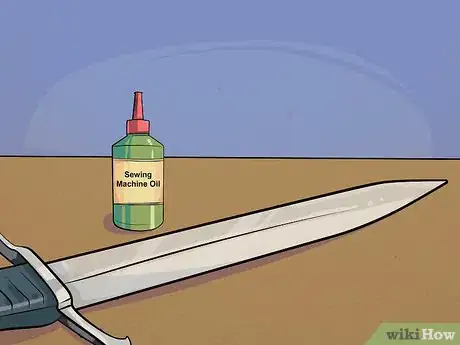
1Choose sewing machine oil for a basic and cheap oiling material. All swords are highly prone to rusting. In order to protect the metal, these items need routine application of a protective coat of oil. Sewing machine oil, which is a type of mineral oil, is an easy-to-find and cheap option for preserving your swords.[4]
-
2Pick choji oil for traditional oiling of Japanese swords. When oiling Japanese swords, you may choose to use more traditional cleaning and preservation materials. Choji oil is a type of mineral oil that also contains clove oil. This solution might be difficult to find and more expensive. Sewing machine oil will also work for these items.[5]
-
3Put a small amount of oil on a lint-free cloth. For both Japanese and steel swords, use a lint-free cotton cloth for oiling. Pour or spray a very small amount of oil on the cloth. Apply just enough oil to make a small circle on the cloth.[6]
- To avoid over-oiling, you can also apply the oil directly onto the sword with an eye dropper.[7]
-
4Wipe the oil onto the entire length of the blade. Use the same one-directional, straight motions as during cleaning when applying oil. Make sure the entire metal portion of the sword is covered in oil. Work slowly and carefully to avoid injury.[8]
-
5Avoid over-oiling the blade by wiping away excess oil. Aim for a light coat of oil that just barely gleams when exposed to light. Oil should not be dripping off the sword. Ensure that your coat is thin and even by using a fresh cloth to cover any remaining bare spots and remove any excess oil.[9]
Maintaining Your Sword
-
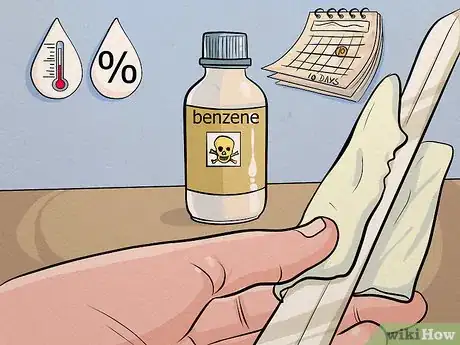
1Repeat oiling every ten days with new swords. It’s important to constantly check and see how new swords react to your climate. Continue this process for about six months to protect the sword and allow it to adjust to your area. If it appears that your oil is wearing off, re-apply the layer immediately.[10]
-
2Continue oiling each week in humid climates. If you live in an area that receives constant rain or high-humidity weather, take extra care with your metal. These regions put your swords at higher risk for developing rust. Rust can form quickly, so you may want to check the metal every couple of days, especially after you first make your purchase.[11]
-
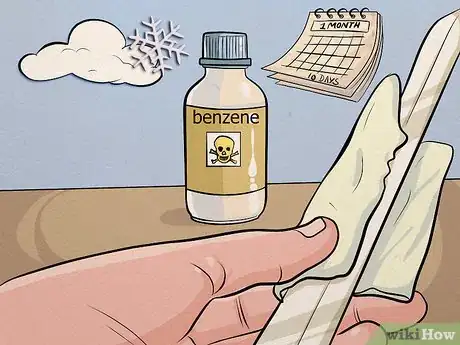
3Repeat oiling monthly in dry, temperate climates. Rust is a slightly less scary enemy in regions that don’t receive too much moisture. Still, water is everywhere! Don’t get too relaxed in these regions, and continue oiling your sword about once a month.[12]
-
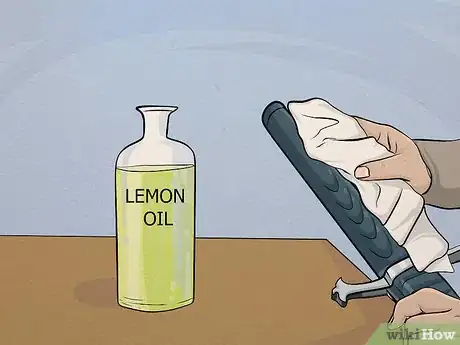
4Coat wooden sword handles lightly with lemon oil every six months. While these pieces of your sword don’t require quite as much care as the metal, they may crack if they’re not properly maintained. To keep the wood protected and supple, apply a very light layer or lemon oil to the wood using a soft cotton cloth. You should only need to do this every six months or so. Increase the frequency if you notice any small cracks in the material.[13]
-
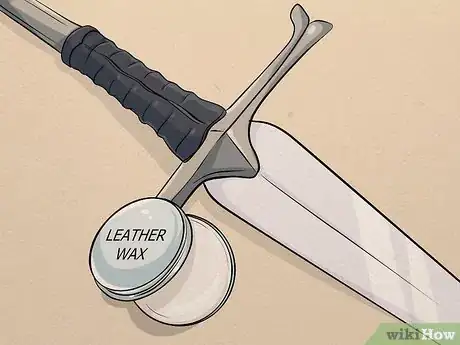
5Use leather wax paste on leather hilts to prevent cracking. Just like wooden handles, leather handles may crack if they don’t receive a bit of routine care. Maintain this part of your sword by rubbing a small amount of leather wax paste onto the material with a soft cloth. As with wooden handles, you shouldn’t need to do this more than once or twice a year.[14]
- Ensure that the oils you use to protect the metal on your sword don’t touch the leather handle. This can cause the leather to rot. You may want to protect the leather with plastic wrap whenever you oil the blade.
-
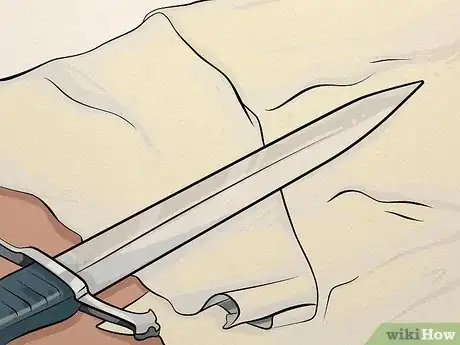
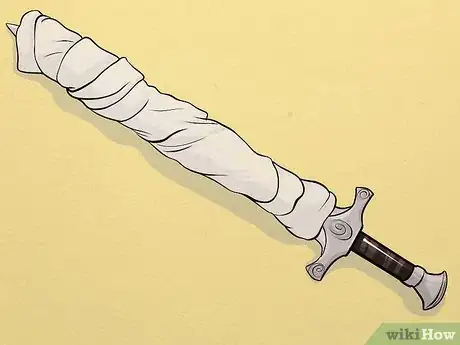
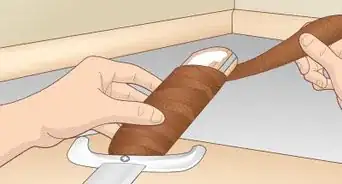
6Coat your sword in Vaseline and wrap in rags to store. If you’re not displaying your sword by hanging it on the wall, you may want to put it away in storage. To safely store swords for long periods of time, keep them out of their scabbards. Instead, apply a think coat of Vaseline, wrap the sword in several layers of rags, and tie the rags to secure them.[15]
-
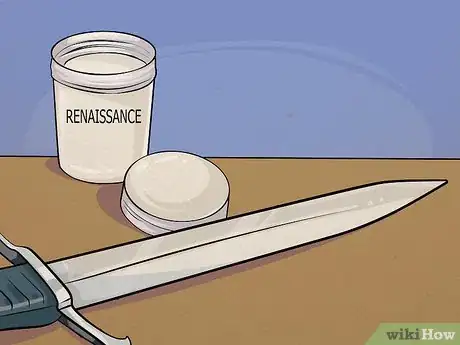
7Choose Renaissance wax for professional-grade storage. If you’re worried about Vaseline damaging your sword, you may want to try Renaissance wax. This material is used by museums when they store their sword collections. It’s more expensive, but you don’t need to use as much when coating the metal. Wrap the sword in rags and tie once you’ve applied the wax.[16]
- Renaissance wax can also provide long-term protection for swords on display.
-
8Keep the sword in a cool, dry place when storing. Extreme temperatures may damage your sword. Your sword will store best in an air-conditioned, dry space. These conditions will help avoid any rust from forming on the metal, and they should also prevent your handles from cracking.[17]
- Do not store your swords in leather scabbards. This will quickly cause the blade to rust. While wooden scabbards are a better option than leather, they, too, will not protect the blade as well as well-secured rags and ties.
Preventing and Repairing Damage to Your Sword
-
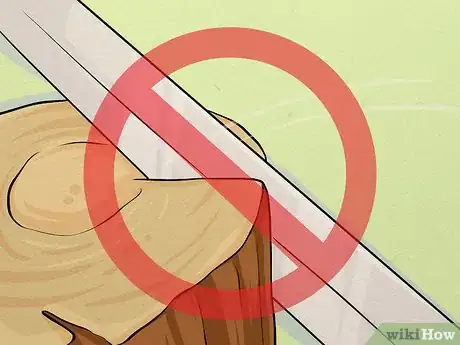
1Prevent scratches by gently handling your sword. While you may want to test your sword out by cutting trees or banging it against hard objects, this will damage the material. If you want to prevent scratches, do not engage in these practices. You may cause damage that even a professional sword polisher can’t fix.
- Some people choose to purposefully buy sturdier swords so they can handle them with less fear of damaging the metal. Even if you buy one of these swords, exercise caution and be prepared for damage.
-
2Avoid overhandling to minimize damage from your skin’s natural oils. Any time you touch your sword, you’re exposing it to any natural oils or foreign material on your skin. While you should always clean and dry your hands before handling your sword, this will provide only minimal protection.[18]
- If you’re worried about damaging the metal, you can wear cotton gloves when handling the sword. Don’t wear these gloves when cleaning, oiling, or polishing the sword, as they won’t provide you with the mobility you need to safely complete these processes.
-
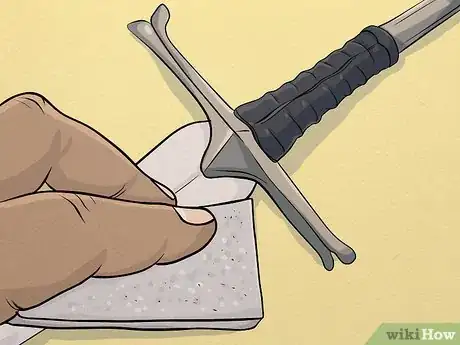
3Remove rust and scratches with metal abrasive pads. These pads come in coarse, medium, and fine grit. Attack small scratches or rust spots with the medium and fine pads, and use the coarse pads on deeper damage. You’ll want to slowly move through this process:[19]
- Lay the sword down on a flat, secure surface. The tip of the blade should be facing away from you.
- Rub the sandpaper over the damaged area in one-directional, straight motions. Focus on small areas, moving through them one at a time.
- Finish with the fine abrasive pad to provide a satiny, scratchless metal surface.
- Clean any rust dust off the metal with a soft cloth, and oil the blade as you normally would.
- If rust develops on more expensive swords, call a professional. You don’t want to cause further damage to valuable items by trying to fix them yourself.
-
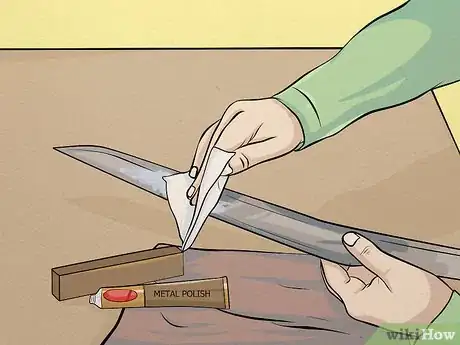
4Polish steel blades with Scotch-brite pads and metal polish. If you want to create a mirror-like finish on your blade, put a small amount of metal polish on a Scotch-brite pad. Rub this solution onto the blade, moving only in straight motions. You’ll be tempted to buff the metal in circles, but resist this urge! Apply high pressure to the pad to receive the proper polish. Finish by cleaning and oiling the blade as you normally would.[20]
-
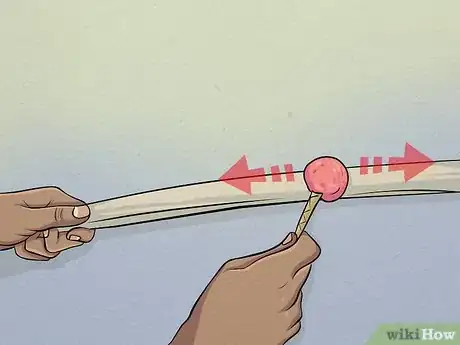
5Polish Japanese blades with an Uchiko ball. Japanese blades require a unique polishing process. When you purchase your blade, it may include an Uchiko ball, or a silk ball on a stick that contains stone powder. Gently tap the Uchiko ball against the blade every 1-2 inches (2-4 cm) to release a light film of stone powder along the entire length of both sides of the blade. Then wipe the powder off the blade with a clean cotton cloth, moving from hilt to tip in straight, one-directional swipes.[21]
-
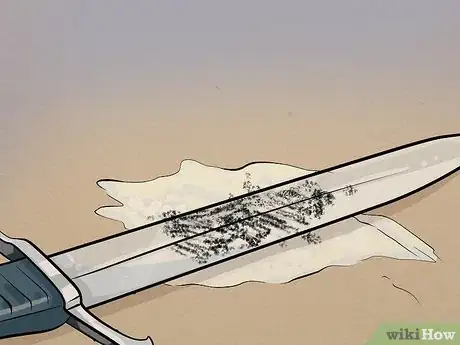
6Use flour for a cheap alternative to the Uchiko ball. If you don’t have access to this traditional Japanese tool, flour from your kitchen cabinet works as well. Simply sprinkle flour over the blade using your pinched fingers. As with the Uchiko ball, wipe the powder off the blade with a clean cotton cloth, moving from hilt to tip in straight, one-directional swipes.[22]
-
7Use a professional for deep nicks or extensive rust damage. Any time that your blade becomes extensively damaged, get in touch with a professional. If you attempt to fix this damage yourself, you may end up ruining the item. Professional polishers can be found online, although they may require you to ship your sword to them. You may also be able to rely on local knife shops for repair, which may ease any shipping woes.[23]
Community Q&A
-
QuestionHow do I care for an autographed sword?
 Community AnswerCover the autographed area in Saran Wrap, hold it in place with electrical tape, then just clean the blade like you normally would,and remove the tape and Saran Wrap when you're done.
 -
QuestionWill olive oil work to use on my sword?
 Community AnswerOlive oil and other food oils are not recommended for use on swords. Stick with mineral oils, like gun or sewing machine oil.
 -
QuestionWhat kind of oil should I use?
 Community AnswerUse WD-30 or 3-in-1 oil. Any kind of rust preventing oil should work, and there are oils specially made for swords that you can buy online that can get rather expensive.
wikiHow Video: How to Take Care of Swords
Warnings
- Do not test the sharpness of the blade with your finger.⧼thumbs_response⧽
- Never swing your sword around recklessly. This could cause you serious harm.⧼thumbs_response⧽
- Swords are weapons. Exercise extreme caution when handling, cleaning, and maintaining your sword. Most injuries occur during routine maintenance.⧼thumbs_response⧽
Things You’ll Need
- Lint-free cloth
- Lacquer thinner
- Benzene
- Sewing machine oil
- Vaseline
- Rags
- Low-grit abrasive pads
- Scotch-brite pad
- Metal polish
References
- ↑ https://dengarden.com/cleaning/How-to-Clean-a-Japanese-Katana-and-Saya
- ↑ http://www.samuraisword.com/care/handling_sword_NBTHK.htm
- ↑ http://www.sword-buyers-guide.com/support-files/sword-care.pdf
- ↑ http://www.sword-buyers-guide.com/support-files/sword-care.pdf
- ↑ https://dengarden.com/cleaning/How-to-Clean-a-Japanese-Katana-and-Saya
- ↑ http://www.sword-buyers-guide.com/support-files/sword-care.pdf
- ↑ https://dengarden.com/cleaning/How-to-Clean-a-Japanese-Katana-and-Saya
- ↑ http://www.sword-buyers-guide.com/support-files/sword-care.pdf
- ↑ http://www.sword-buyers-guide.com/support-files/sword-care.pdf
- ↑ http://www.samuraisword.com/care/handling_sword_NBTHK.htm
- ↑ http://www.sword-buyers-guide.com/support-files/sword-care.pdf
- ↑ http://www.sword-buyers-guide.com/support-files/sword-care.pdf
- ↑ http://www.sword-buyers-guide.com/support-files/sword-care.pdf
- ↑ http://hroarr.com/articles-reviews/sword-maintenance-preventive-actions/
- ↑ http://www.sword-buyers-guide.com/support-files/sword-care.pdf
- ↑ http://www.sword-buyers-guide.com/support-files/sword-care.pdf
- ↑ http://hroarr.com/articles-reviews/sword-maintenance-preventive-actions/
- ↑ http://kultofathena.com/care.html
- ↑ http://www.sword-buyers-guide.com/support-files/sword-care.pdf
- ↑ http://www.sword-buyers-guide.com/support-files/sword-care.pdf
- ↑ https://dengarden.com/cleaning/How-to-Clean-a-Japanese-Katana-and-Saya
- ↑ http://www.sword-buyers-guide.com/sword-cleaning-kit.html
- ↑ http://www.samuraisword.com/care/handling_sword_NBTHK.htm
About This Article
To restore a sword, first wipe away any obvious dust or debris with a cloth. If it’s rusty, grab some 220-grit sandpaper and carefully work the sandpaper back and forth over the rust until it starts to wear away. Wear cut-resistant gloves to do this if your sword is newer, or still sharp. Once most of the rust is gone, move up to a 600-grit sandpaper and repeat the process until the surface of the blade or handle is perfectly smooth. If any discoloration remains, use a sheet of 1500-grit sandpaper to wear it away. Next, gently run a clean sheet of 600-grit sandpaper back and forth over the entire surface of the blade and handle. This will smooth out any scratches you created when you were removing the rust and keep your sword’s surfaces looking uniform. Then, squirt some metal polishing paste along any surface you want to clean up. Get a buffing wheel or a rotary tool with a cloth attachment, and begin working the polish into the sword. Keep your wheel or tool moving to avoid buffing any one portion of the sword for too long. Once a portion is completely clean and shiny, move on to another portion of the sword. When you’re done, give it one final wipe-down with a microfiber cloth to remove any excess polish. Keep in mind, if you have an antique sword or you’re keen on preserving the value of the sword, do not attempt to restore the sword at home. Take it to a professional and have them take a look at it before they restore it. For tips on cleaning and oiling your sword, read on!
