This article was co-authored by Ndeye Anta Niang and by wikiHow staff writer, Hannah Madden. Ndeye Anta Niang is a Hair Stylist, Master Braider, and Founder of AntaBraids, a traveling braiding service based in New York City. Ndeye has over 20 years of experience in African hair including braiding box braids, Senegalese twists, crochet braids, faux dread locs, goddess locs, kinky twists, and lakhass braids. Ndeye was the first female of her tribe in Africa to move to America and is now sharing her knowledge of African braids passed on from generation to generation.
There are 19 references cited in this article, which can be found at the bottom of the page.
This article has been viewed 19,590 times.
Stretching out your hair before installing box or yarn braids in it is an essential step. Your braids will go in easier and stay secure for longer when the hair is stretched out to be as straight and long as possible. Fortunately, there are a few different ways you can stretch your natural hair with or without heat styling tools to get ready for your braids. You can experiment with different techniques until you find one that works best for you and your hair type!
Steps
Washing and Detangling Your Hair
-
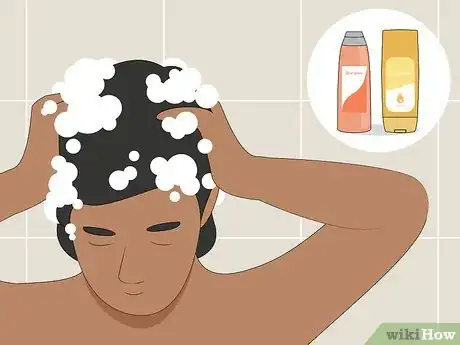
1Cleanse your hair with shampoo and condition it as you normally would. You can use whichever shampoo and conditioner that you normally would. Try to choose products that are hydrating to give your hair some extra moisture, like ones without silicones and sulfates.[1]
- It’s important to start with clean hair when you put braids in so that your scalp stays healthy.
- If your hair is already clean, you can just wet it with water instead of washing it again.
Tip: You can also use a deep conditioner or a hair mask if you’d like to add even more moisture into your hair.
-
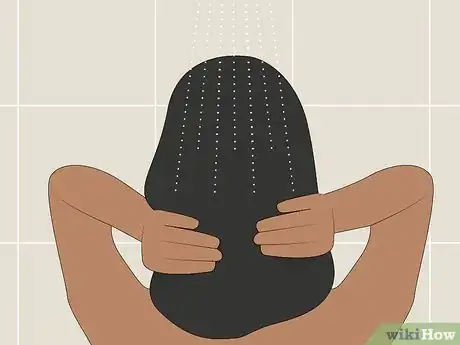
2Rinse out the shampoo and conditioner thoroughly with cool water. Make sure all of the product is rinsed out of your hair to ensure you won’t have any buildup on your scalp. Use cool water so it is less damaging and drying for your hair.[2]
- Try rinsing with cool water every time you wash your hair to prevent damage and dryness.
Advertisement -
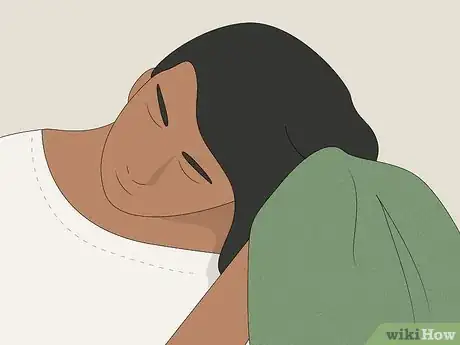
3Blot your hair with a microfiber towel to remove excess moisture. Try not to rub your hair with the towel; instead, gently press your hair inside of the towel to get rid of any excess moisture. Keep doing that until your hair isn’t dripping wet anymore.[3]
- Microfiber towels are less damaging because they don’t snag or tear your hair.
-
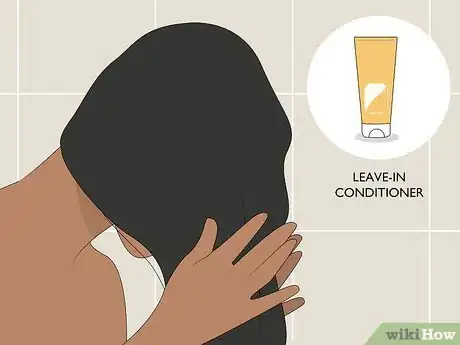
4Apply a leave-in conditioner from root to tip for extra moisture. If your hair is dry or prone to breakage, put some leave-in conditioner in your hair from the ends to the roots. Make sure it soaks in so you can’t see the conditioner sitting on top of your hair anymore.[4]
-
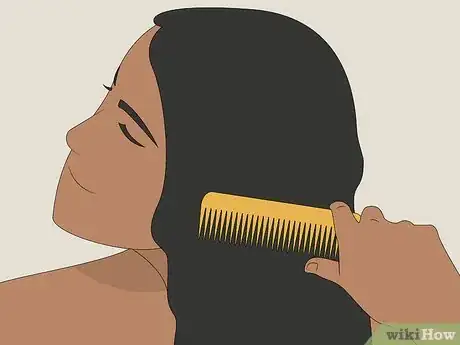
5Comb or brush your hair from the ends to the roots to remove tangles. Start from the ends of your hair and move upwards with your comb or brush to get rid of any tangles or snarls. The smoother your hair starts out, the easier it will be to stretch and lengthen it.[5]
- Try using a wet brush to avoid snagging or tearing your hair. Wet brushes have wider bristles, so they are less likely to damage your hair.
Stretching with Heat
-
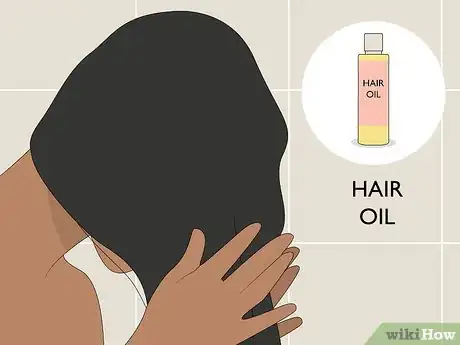
1Apply a hair oil from root to tip for extra moisture. Since heat tools can be slightly drying, you can use some hair oil from your roots to your ends to lock in more moisture. Put the hair oil all over your hair and let it soak in for about 5 minutes before you start drying.[6]
- You can use coconut oil or Argan oil for extra shine.
-
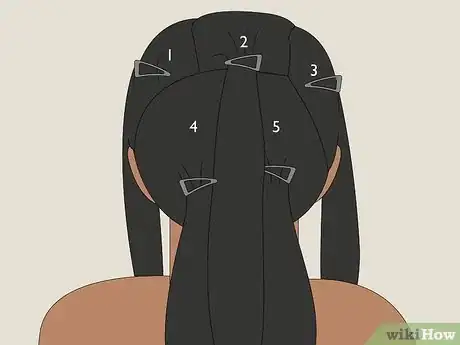
2Split your hair into 5 to 10 sections. The more separated your hair is, the faster it will dry. Use hair ties or clips to brush your hair into different sections, then clip them up so they stay separated. Depending on how thick your hair is, you can do more or less sections.[7]
- Try to have at least 3 sections in the front and 2 sections in the back.
-
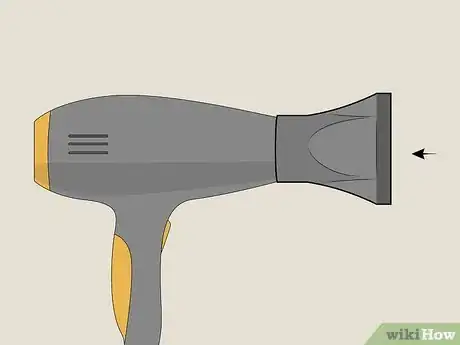
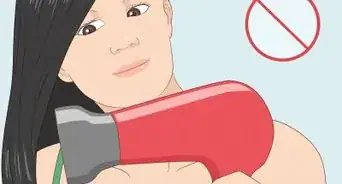
3Attach a concentrating nozzle to your hair dryer. These nozzles look like flat duck bills and help to focus the air coming out of the hair dryer. Stick one of these onto the front of your hair dryer to make your hair dry faster.[8]
- You can find these nozzles at most beauty supply stores.
-
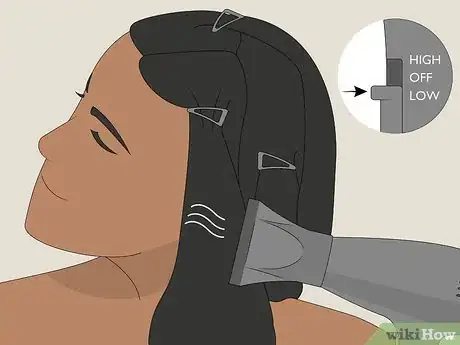
4Set the hair dryer to LOW and dry each section of hair individually. Let down 1 section of your hair and brush it out. Hold your hair dryer close to your hair and use your brush to fan out each strand. Move your hair dryer slowly down the length of your hair from the roots to the ends. Do this to each section of hair until it is all dry.[9]
- You can use a paddle brush or a wet brush to brush out your hair as you dry it.
Tip: If your hair isn’t quite stretched out enough after you blow dry it, you can use a straightener or flat iron to flatten it out even more. Be sure to spray heat protectant on your dry hair before using the flat iron so minimize hair damage.
Braiding or Twisting Your Hair
-
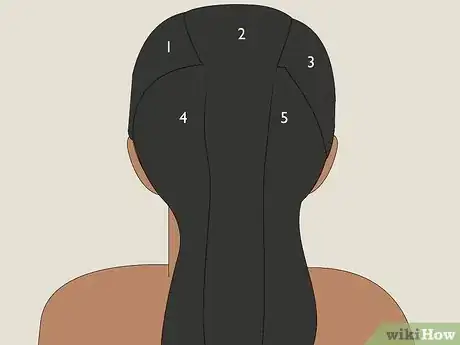
1Separate your hair into 3 to 5 sections. Depending on how thick your hair is, you may need to use more or less sections. Try to do 2 to 3 sections in the front and 1 to 2 sections in the back for the best results. Use a fine tooth comb to make sure your sections are even and use hair ties or clips to keep them separated.[10]
- If you have 3A or 3B curls, you can even just split your hair into 2 large sections.
-
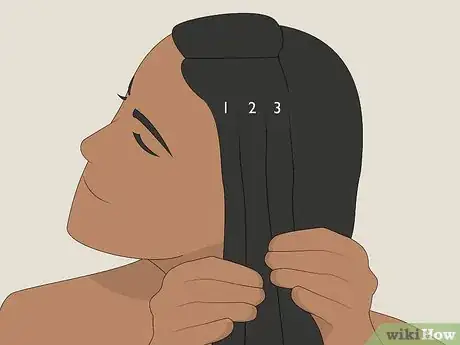
2Split 1 section into 3 parts for a braid. Grab the hair from 1 section and split it into 3 equal parts. Make sure your hair feels smooth and that it doesn’t have any lumps in it before you start braiding.[11]
- You want your hair to be as straight and smooth as possible to stretch it out.
-
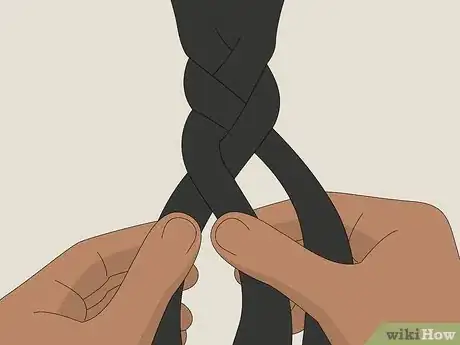
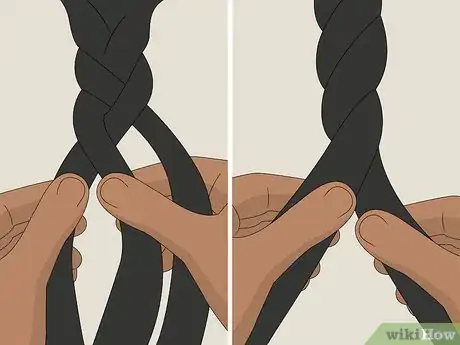
3Braid each section for an easy stretching method. Hold the 3 parts of your hair at the base of your head and overlap the right section over the middle section. Then, take the left section and overlap it over the middle section. Keep doing this until you reach the end of your hair for a small braid, then secure it with a hair tie.[12]
- Braids will stretch your hair downwards while keeping your curls straightened out. However, they may leave a slight wave in your hair.
-
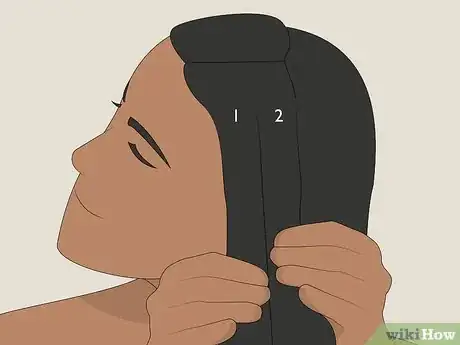
4Split 1 section into 2 parts if you prefer twists to braid. Make sure the hair in each section is brushed out and smooth, then use your fingers to tease apart 1 section into 2 even parts. Try to make the parts as even as possible so your hair stretches evenly.[13]
- You can run a comb through your hair one more time if you need to.
-
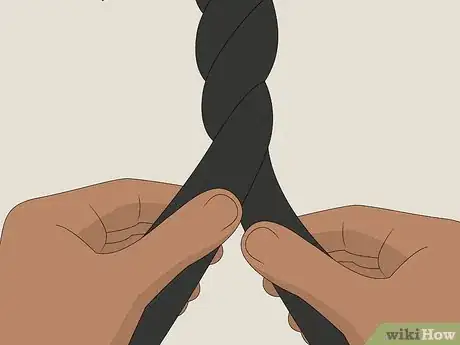
5Twist the section around itself for a more classic stretch. Grab both parts of your hair and wrap one over the other. Keep wrapping the hair parts over each other in the same direction until you reach the end of the section, then secure your twist with a small hair tie.[14]
- Twists are similar to braids except they won’t leave quite as big of a wave in your hair when you take them out.
-
6Braid or twist each section of your hair. Make sure all of your hair is either twisted or braided before you let your hair dry. Try to do all of your sections with the same amount of hair and tightness so that your hair stretches evenly.[15]
-
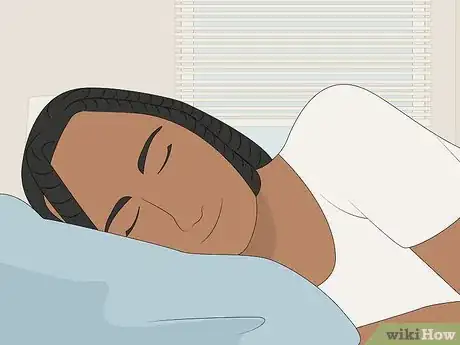
7Leave your braids or twists in overnight. Since your hair is in a braid or a twist, it may take a while to dry. Try to leave your style in for as long as possible before you take it out so your hair dries straight and stretched out.[16]
Tip: Once you take your braids or twists out, you can brush your hair again to get rid of any curls that may still be intact.
Threading or Banding Your Hair
-
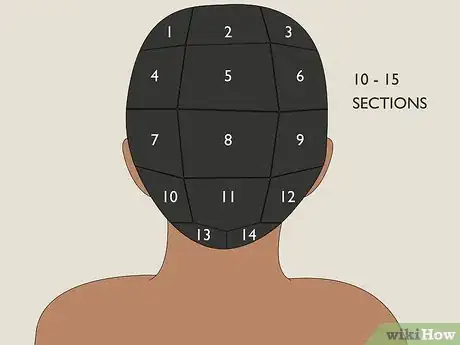
1Separate your hair into 10 to 15 sections. Depending on how thick your hair is, you may need more or less sections. Try to make them about 5 to 6 inches (13 to 15 cm) wide for the best results, and use hair ties or clips to keep them separated.[17]
Tip: Threading and banding works best on thinner sections of hair, so the more you put in the better.
-
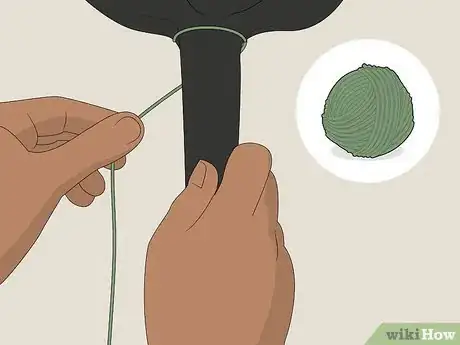
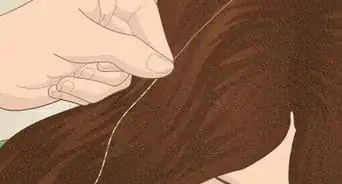
2Wrap a thread around the base of 1 section to thread your hair. Hold one section of hair in one hand and wrap a crochet thread around the base of your hair with the other. Wrap the thread a few times over itself around your hair so that it stays in place.[18]
- You can find crochet thread at most craft supply stores.
-
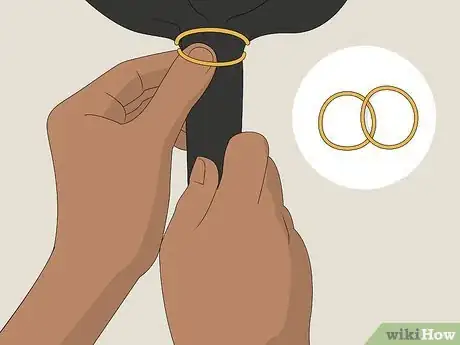
3Place a hair tie around the base to band your hair. Use a 1 in (2.5 cm) hair tie to make sure your hair gets banded tightly. Wrap the hair tie 2 times around the base of your hair so it’s secure.[19]
- If you don’t have super tiny hair bands, you can use larger ones and wrap them around your hair 2 to 3 times.
-
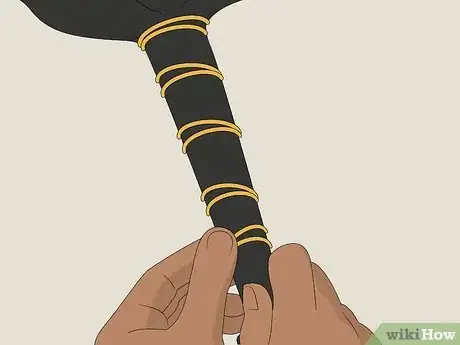
4Keep wrapping thread or hair ties down the length of your hair. If you are using the threading method, wrap the thread around your hair section as you pull it taut. Then, tie the excess thread around your hair to keep it in place. If you are using the banding method, keep adding hair ties down your length of hair about 0.5 inches (1.3 cm) apart until you reach the end of your hair.[20]
-
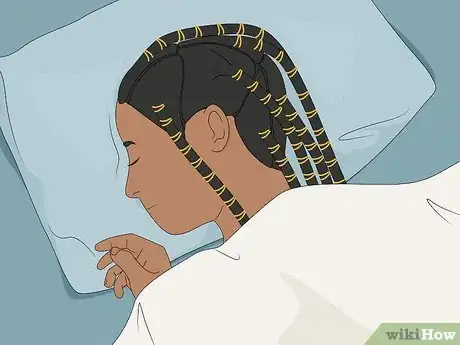
5Leave the hair ties or thread in overnight. Let your hair dry while it is in the threaded or banded style. This will pull your hair straight without using any damaging heat styling products to prepare your hair for braids.[21]
- If you have thick hair, it may take longer for your hair to dry.
Expert Q&A
-
QuestionHow can I dry my natural hair?
 Ndeye Anta NiangNdeye Anta Niang is a Hair Stylist, Master Braider, and Founder of AntaBraids, a traveling braiding service based in New York City. Ndeye has over 20 years of experience in African hair including braiding box braids, Senegalese twists, crochet braids, faux dread locs, goddess locs, kinky twists, and lakhass braids. Ndeye was the first female of her tribe in Africa to move to America and is now sharing her knowledge of African braids passed on from generation to generation.
Hair Stylist & Master Braider Cool air won’t dry your hair as quickly and high heat can do a lot of damage. Keep your hair dryer on the lowest heat setting to dry your hair quickly and safely. You can air dry your hair if you want the safest option available.
 -
QuestionDoes braiding stretch hair?
 Ndeye Anta NiangNdeye Anta Niang is a Hair Stylist, Master Braider, and Founder of AntaBraids, a traveling braiding service based in New York City. Ndeye has over 20 years of experience in African hair including braiding box braids, Senegalese twists, crochet braids, faux dread locs, goddess locs, kinky twists, and lakhass braids. Ndeye was the first female of her tribe in Africa to move to America and is now sharing her knowledge of African braids passed on from generation to generation.
Hair Stylist & Master Braider It can, since you need a little bit of tension and pressure to wrap your hair into braids. The good news is that braiding your hair can actually protect it, since it's not flowing freely which can lead to tangles or knots. Overall, there isn't really any serious risk to braiding your hair and you shouldn't see a ton of negative side effects from braiding your hair. Just don't overdo it on the product and don't tie your braids so tight that they cause you pain.
Things You’ll Need
Washing and Detangling Your Hair
- Shampoo
- Conditioner
- Microfiber towel
- Comb or brush
- Leave-in conditioner (optional)
Stretching with Heat
- Comb or brush
- Hair ties
- Hair dryer
- Hair oil (optional)
Braiding or Twisting Your Hair
- Comb
- Hair ties
Threading or Banding Your Hair
- Comb
- Hair ties or crochet thread
References
- ↑ Ndeye Anta Niang. Professional Hair Stylist & Master Braider. Expert Interview. 10 January 2020.
- ↑ Ndeye Anta Niang. Professional Hair Stylist & Master Braider. Expert Interview. 10 January 2020.
- ↑ https://www.youtube.com/watch?v=PX9xCWptI9k&feature=youtu.be&t=179
- ↑ https://www.ncbi.nlm.nih.gov/pmc/articles/PMC4387693/
- ↑ https://www.youtube.com/watch?v=PX9xCWptI9k&feature=youtu.be&t=207
- ↑ https://www.ncbi.nlm.nih.gov/pmc/articles/PMC4387693/
- ↑ https://www.youtube.com/watch?v=Uj8ibB9EUkY&feature=youtu.be&t=98
- ↑ https://www.youtube.com/watch?v=Uj8ibB9EUkY&feature=youtu.be&t=117
- ↑ https://www.youtube.com/watch?v=1oVGFRc0TJQ&feature=youtu.be&t=173
- ↑ https://www.youtube.com/watch?v=jt7kXAOeUMw&feature=youtu.be&t=30
- ↑ https://www.youtube.com/watch?v=PX9xCWptI9k&feature=youtu.be&t=224
- ↑ https://www.youtube.com/watch?v=jt7kXAOeUMw&feature=youtu.be&t=117
- ↑ https://www.youtube.com/watch?v=jt7kXAOeUMw&feature=youtu.be&t=72
- ↑ https://www.youtube.com/watch?v=jt7kXAOeUMw&feature=youtu.be&t=73
- ↑ https://www.youtube.com/watch?v=PX9xCWptI9k&feature=youtu.be&t=246
- ↑ https://www.youtube.com/watch?v=PX9xCWptI9k&feature=youtu.be&t=271
- ↑ https://www.youtube.com/watch?v=jt7kXAOeUMw&feature=youtu.be&t=129
- ↑ https://www.youtube.com/watch?v=xVHSx7OnSQ4&feature=youtu.be&t=84
- ↑ https://www.youtube.com/watch?v=oGidkUaLxIY&feature=youtu.be&t=57
- ↑ https://www.youtube.com/watch?v=oGidkUaLxIY&feature=youtu.be&t=81
- ↑ https://www.youtube.com/watch?v=xVHSx7OnSQ4&feature=youtu.be&t=158



-Step-1-Version-8.webp)
