This article was co-authored by Ndeye Anta Niang. Ndeye Anta Niang is a Hair Stylist, Master Braider, and Founder of AntaBraids, a traveling braiding service based in New York City. Ndeye has over 20 years of experience in African hair including braiding box braids, Senegalese twists, crochet braids, faux dread locs, goddess locs, kinky twists, and lakhass braids. Ndeye was the first female of her tribe in Africa to move to America and is now sharing her knowledge of African braids passed on from generation to generation.
This article has been viewed 394,884 times.
Braiding is a simple weaving technique used for everything from hair to ribbon to flowers. Braiding your hair can be a huge timesaver while also creating a hairdo you can flaunt! Once you learn the basic technique, you can move on to more complicated braid types.
Steps
The Basic Setting
-
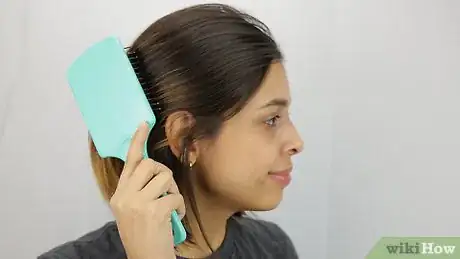
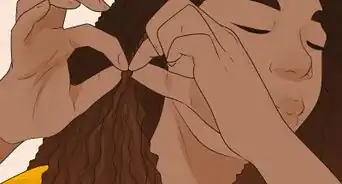
1Brush your hair. Brush your hair so it is light and fluffy. You want to get rid of any knots so your braid is silky smooth! This also makes the braiding process easier, so make sure you do it.[1]
-
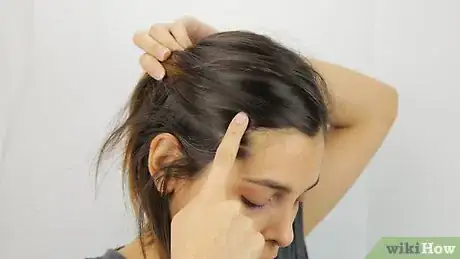
2Decide where the braid is going to be. Is it going to be at the back of your head on a pony tail? Is it going to be at the side or lower down near your neck? Decide this to determine where and how it will look best.
Braiding Hair
-
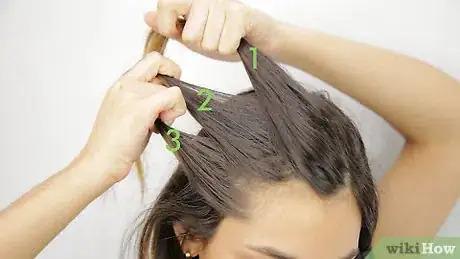
1Divide your hair into three sections. Use a comb to part your hair in two places to create three sections with even amounts of hair. One section is on the right side of your head, one in the middle, and one on the left side. Use your fingers to hold the sections separate from each other.
-
2Cross the right section over the middle section. Keep the sections tight, so the finished braid won't come loose. Now the right section has become the middle section.
-
3Cross the left section over the middle section. Cross the left section over the middle section. You've now completed the first segment of the braid. Keep holding the sections taut and apart from one another.
-
4Continue crossing the right and left sections over the middle. Keep weaving the left section over the middle, then the right section over the middle, always holding all of the sections taut and separate. Keep braiding the sections together until you run out of hair.
-
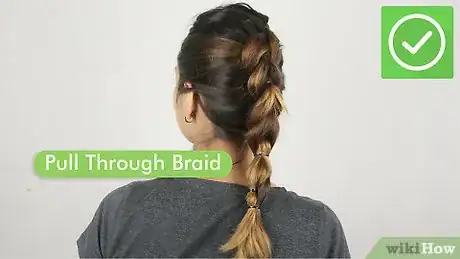
5Secure the end with a hairband. Hold the braid in place by wrapping a hairband around the end, leaving a 1" unbraided tail to keep it secure.
-
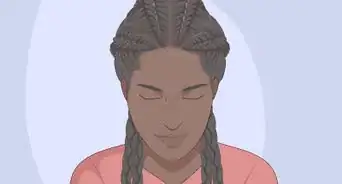
6Try other braiding styles. Now that you know the basic braiding form, try these gorgeous hairstyles to show off your new skills. They may take some practice, but you'll be pleased with the results.
- Do a French braid. French braids start at the scalp, incorporating hair from the sides of the head, and end in a braided tail secured with a hairband. Done correctly, a French braid will keep your hair out of your face all day and earn you plenty of compliments.
- Do a fishtail braid. This pretty braid looks more delicate than a regular braid, since you're working with smaller sections of hair.
- Try a Dutch braid. This looks like a French braid, only inside-out.
- Create a rope braid. This is made by twisting the strands of hair as you braid them.
Braiding Ribbon or String
-
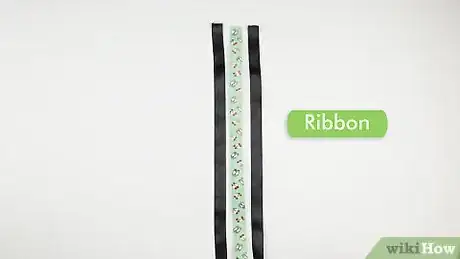
1Cut three pieces the same length. Whether you're using ribbon, string, or another long, thin material, start with three pieces that are all the same.
-
2Tie the three pieces together with a knot. Use a knot to tie the pieces together about 1/2" from the ends. You can double knot the pieces to make sure they're secure.
-
3Tape the ends to a board. Use a piece of masking tape to tape the ends above the knot to a board or other hard surface, to keep the pieces anchored while you braid.
-
4Separate the pieces and hold them taut. One is the left piece, one is the middle piece, and one is the right piece.
-
5Cross the right piece over the middle piece. Now the formerly left piece is in the middle. Continue holding all three pieces taut.
-
6Cross the left piece over the middle piece. This completes the first section of the braid.
-
7Continue crossing the right and left pieces over the middle. Alternate crossing the left over the middle, then the right over the middle, making sure the strings stay taut. Continue weaving the strings in this way until you've run out of string to weave.
-
8Tie a knot in the bottom. Gather the three ends and make another knot to secure them.
Braiding Flowers
-
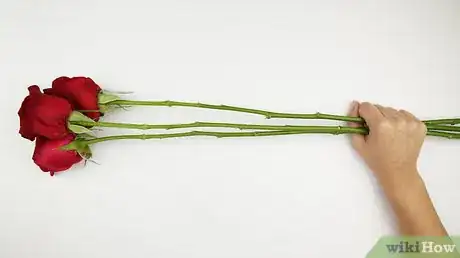
1Pick three flowers with long stems. Try to pick them so that the stems are all approximately the same length. You need flowers with sturdy, pliable stems, like dandelions or clover.
-
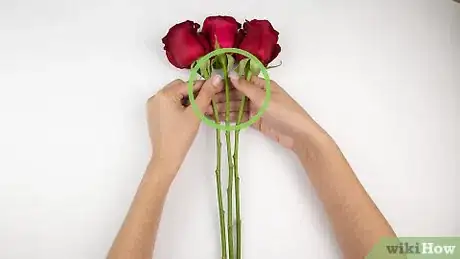
2Hold the flowers together just below their heads. Lightly pinch them together with one hand to hold them in place.
-
3Separate the stems. Use the other hand to gently separate the three stems, so you have a right stem, a middle stem, and a left stem.
-
4Cross the right stem over the middle stem. Keep handling the stems gently, and cross the right stem over the middle so that the right has now become the middle.
-
5Cross the left stem over the middle stem. Now the left stem has become the middle stem.
-
6Keep weaving the stems in this manner. Cross the right over the middle, then the left over the middle. Don't pull too hard, or the stems may break.
-
7Secure the ends. Once you've run out of stem to weave, secure the three ends together by tying a knot, if possible, or using a bit of string instead if you want to make sure not to break the stems.
Expert Q&A
Did you know you can get expert answers for this article?
Unlock expert answers by supporting wikiHow
-
QuestionShould I condition my hair before braiding it?
 Ndeye Anta NiangNdeye Anta Niang is a Hair Stylist, Master Braider, and Founder of AntaBraids, a traveling braiding service based in New York City. Ndeye has over 20 years of experience in African hair including braiding box braids, Senegalese twists, crochet braids, faux dread locs, goddess locs, kinky twists, and lakhass braids. Ndeye was the first female of her tribe in Africa to move to America and is now sharing her knowledge of African braids passed on from generation to generation.
Hair Stylist & Master Braider
-
QuestionWhat's the best way to prep your hair before braiding it?
 Ndeye Anta NiangNdeye Anta Niang is a Hair Stylist, Master Braider, and Founder of AntaBraids, a traveling braiding service based in New York City. Ndeye has over 20 years of experience in African hair including braiding box braids, Senegalese twists, crochet braids, faux dread locs, goddess locs, kinky twists, and lakhass braids. Ndeye was the first female of her tribe in Africa to move to America and is now sharing her knowledge of African braids passed on from generation to generation.
Hair Stylist & Master Braider
-
QuestionIs it bad to sleep with your hair braided?
 Ndeye Anta NiangNdeye Anta Niang is a Hair Stylist, Master Braider, and Founder of AntaBraids, a traveling braiding service based in New York City. Ndeye has over 20 years of experience in African hair including braiding box braids, Senegalese twists, crochet braids, faux dread locs, goddess locs, kinky twists, and lakhass braids. Ndeye was the first female of her tribe in Africa to move to America and is now sharing her knowledge of African braids passed on from generation to generation.
Hair Stylist & Master Braider
Warnings
- Be cautious while removing the hair band, as it gets tangled if pulled away harshly.⧼thumbs_response⧽
References
About This Article
To braid your hair, divide your hair into 3 even sections and use your fingers to separate the sections from one another. Start your braid by crossing the right section over the middle section. Then, cross the left section over the middle section. Continue crossing the right and left sections over the middle section until you’ve reached the end of your hair! Finish by binding your braid with a hair tie or scrunchie. For tips on how to do more complicated braids, like French braids, read on!
