This article was co-authored by Craig Watson. Craig Watson is a Baker, Entrepreneur, and the Founder of Baked Cravings, a nut-free bakery in New York City. With eight years of experience, he specializes in creating high-quality baked goods in a nut-free facility. Baked Cravings has received The Best of Manhattan Award. Craig holds a Bachelor's Degree in Accounting from New Jersey City University and a Master of Business Administration in Marketing from Wilmington University.
There are 9 references cited in this article, which can be found at the bottom of the page.
wikiHow marks an article as reader-approved once it receives enough positive feedback. In this case, 100% of readers who voted found the article helpful, earning it our reader-approved status.
This article has been viewed 279,015 times.
Shipping a cake may seem like a tricky task, but there are lots of things you can do to help make sure the cake arrives neatly and without damage. When you go to package the cake, place it in an insulated bag with ice packs before putting it in a new cardboard box that's sturdy. Place tape around all the edges of the box to create a cooler that keeps the cold air in and choose a shipping option that only takes 1-2 days if possible. By packaging the cake with lots of padding, your cake is more likely to arrive in great condition.
Steps
Packaging the Cake
-
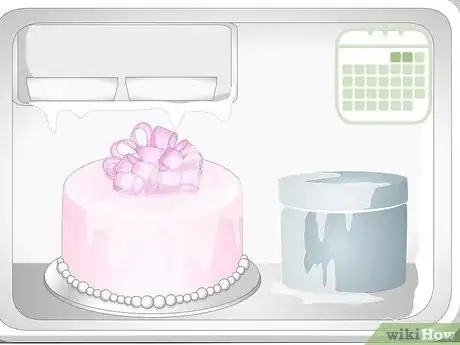
1Freeze the cake for 2 days before shipping. This will keep the cake fresh as it travels and will prevent the icing from smudging during transport. Place the cake in the freezer so it's level and avoid placing things on top of it as it freezes.[1]
- When making the cake, avoid using ingredients that may spoil during transport, like cream cheese frosting, custard, or fruits, just in case the cake begins to thaw.
-
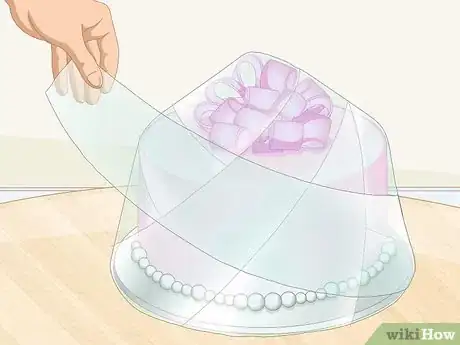
2Wrap the cake in plastic wrap to create an airtight seal. Begin wrapping the frozen cake in plastic wrap, going around all the edges a couple of times. Wrap the plastic wrap in all different directions to ensure it’s completely covered. This creates a tight seal so no air can get in, keeping it as fresh as possible.[2]Advertisement
-
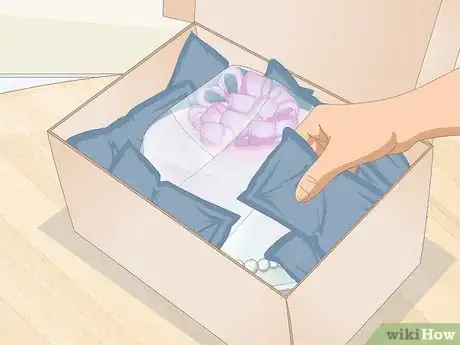
3Set the cake in an insulated bag or box with ice packs to keep it cold. Place the wrapped cake in an insulated bag that keeps food cold. Set a few ice packs in the bag around the cake to keep it frozen as well. Once the cake is in the bag, use tape to seal it off so the cold air doesn’t escape.[3]
- If you order frozen foods to be delivered, these often come in insulated bags with ice packs that you can use for the cake, or they can be purchased at a grocery store or big box store.
- As an alternative to ice packs, consider using dry ice. Wear gloves if you’re handling dry ice, as it will burn your skin.
- Use a container that's tight and fits the cake nicely so it's doesn't move around too much during shipping.
-
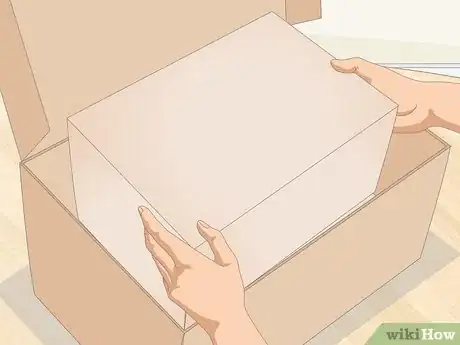
4Place the cake in a new sturdy cardboard box to ship it. Set the insulated bag with the cake in it in a brand new box the right size for the cake. There doesn’t need to be lots of free space around the cake, but the box shouldn’t be squishing any part of it. Choose a cardboard box that’s sturdy and corrugated to ensure a safe delivery.[4]
- USPS has free 2-day shipping boxes that come in varying sizes that you can use to ship your cake in. While the box itself is free, you'll pay a flat rate for shipping.
-
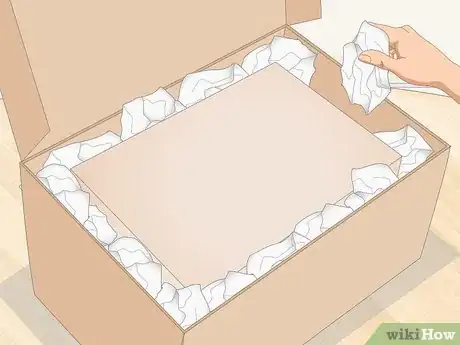
5Fill in any extra space with bubble wrap or paper. Once the cake is placed in the box, fill in the box so there isn’t any space for the cake to move around. Use bubble wrap, newspaper, tissue paper, or even plastic bags to fill in the empty spaces, creating a snug cushioning for the cake.[5]
- Place the padding on all sides of the cake to protect it.
Sealing and Labeling the Box
-
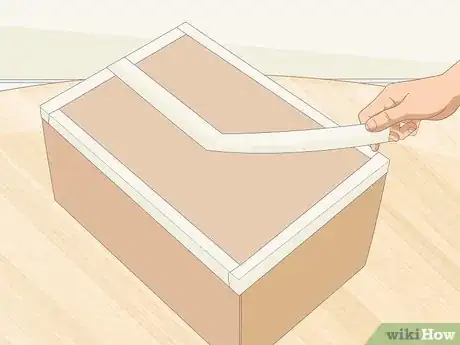
1Use packing tape to seal off the edges of the bag and box. After using packing tape to seal off the insulation bag, tape up the box as well. Place the tape on each open edge of the box, creating a fully sealed cooler so no cold air is able to escape.[6]
- Tape the top, bottom, and each edge of the box using packing tape.
- Use multiple layers of the tape to create a secure seal.
-
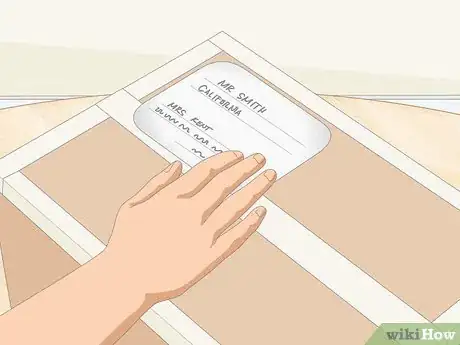
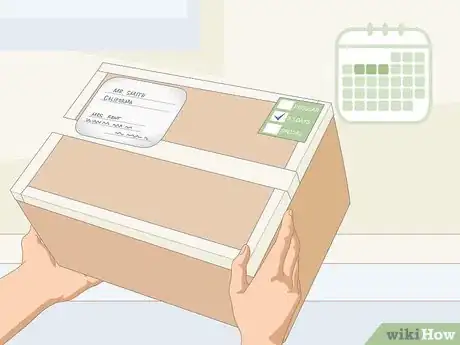
2Attach the address and shipping labels to the box. Either hand-write the address on the box to bring to the post office to pay for a shipping label, or do your shipping label online to make the process easier. If you’re printing out your shipping label with the address on it, tape the label on using packing tape.
- Make sure the address and shipping barcode are clearly visible on the box.
-
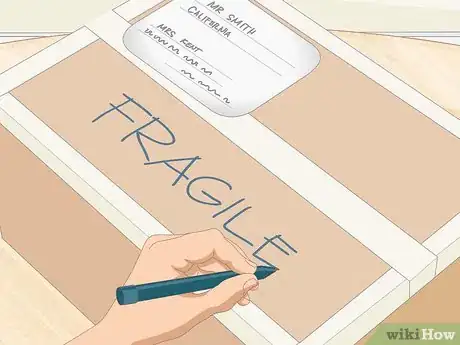
3Write “Fragile” on the box so postal workers know to handle it carefully. Once your box is all taped up and labeled, use a permanent marker to write “Fragile” on the top and sides of the box. You might also label which side is up so that postal workers know to handle the box carefully as well as which side to set it down on.[7]
- If you have a sticker that says “Fragile,” this would work as well.
Shipping the Cake
-
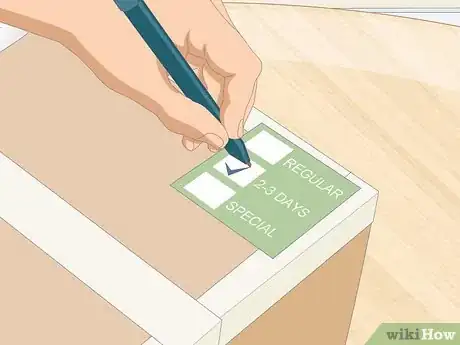
1Choose 1-2 day shipping to ensure your cake gets to its destination quickly. Since you’re shipping food, it’s important that the cake spends as little time traveling as possible. Choose a shipping option that only takes 1-2 days so that your cake doesn’t fully thaw by the time it arrives at its destination.[8]
- If you choose a flat-rate box from USPS, your cake will arrive in 2 business days.
- Fast shipping options often include overnight shipping, next-day shipping, or two-day shipping.
-
2Send out the cake early in the week to avoid weekend delays. Monday, Tuesday, or Wednesday are the best days to ship out your cake to ensure it arrives quickly. If you ship it out on a Thursday or Friday, it’s likely that your cake will get stuck over the weekend when things aren’t being mailed.[9]
- If you ship it out on a Wednesday, get to the post office early in the morning to make sure it’s sent out that day.
-
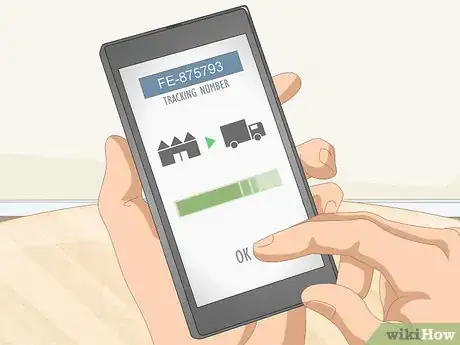
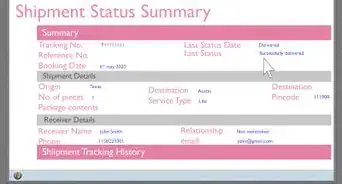
3Track the cake as it’s being delivered to keep an eye on its progress. Most mail or shipping services will give you a tracking number for your package. Type this number into the service’s online tracking system to check exactly where your cake is and when it gets delivered.
- Consider giving the tracking number to whomever you’re shipping the cake to so they can track it as well.
References
- ↑ https://www.youtube.com/watch?v=7CIQ8BCai9U#t=1m48s
- ↑ https://www.youtube.com/watch?v=6Mh87ogMRG0#t=11s
- ↑ https://www.youtube.com/watch?v=7CIQ8BCai9U#t=3m12s
- ↑ https://www.1-800-bakery.com/how-to-ship-a-cake
- ↑ https://www.sugardishme.com/how-to-ship-baked-goods/
- ↑ https://www.youtube.com/watch?v=7CIQ8BCai9U#t=7m56s
- ↑ https://www.youtube.com/watch?v=7CIQ8BCai9U#t=9m26s
- ↑ https://www.southernliving.com/food/desserts/cakes/how-to-mail-a-cake
- ↑ https://infinigeek.com/package-tracking-systems-work/
Community Q&A
-
QuestionCan I send food through the USPS?
 wikiHow Staff EditorThis answer was written by one of our trained team of researchers who validated it for accuracy and comprehensiveness.
Staff Answer wikiHow Staff EditorStaff AnswerFood is considered a “perishable item” by the USPS. You are allowed to ship food as long as you’re able to package it in such a way that it won’t cause a health hazard or other problems (like a nasty smell if it starts to go bad!).
 -
QuestionHow do I take my cake on a plane?
 wikiHow Staff EditorThis answer was written by one of our trained team of researchers who validated it for accuracy and comprehensiveness.
Staff Answer wikiHow Staff EditorStaff AnswerYou can bring cake on a plane, but you may need to let airport security inspect it first. Make sure the cake is unwrapped and in a box that can easily be opened. You may need to designate the cake as either a carry on or a personal item in order to bring it on board.
 -
QuestionHow can I ship chocolate without melting it?
 wikiHow Staff EditorThis answer was written by one of our trained team of researchers who validated it for accuracy and comprehensiveness.
Staff Answer wikiHow Staff EditorStaff AnswerPlace the chocolate in an insulated mailing box while the chocolate is still cold. You can also add cold packs to the box to help it stay cool even longer. Make sure the chocolate is well-sealed inside the box so that no moisture can get in.
Warnings
- Even if you package your cake really well, it's still possible that it may get damaged while in transit.⧼thumbs_response⧽
Things You'll Need
Packaging the Cake
- Cake being shipped
- Plastic wrap
- Insulated bag
- Ice packs
- Sturdy cardboard box
- Bubble wrap, tissue paper, or other packing material
Sealing and Labeling the Box
- Packing tape
- Scissors
- Shipping label
- Permanent marker
About This Article
Shipping a cake may seem tricky, but if you package it properly and make sure it's insulated, you can definitely do it. Start by freezing the cake for 2 days before you ship it so it stays cooler for longer. Then, wrap the cake tightly in plastic wrap and place it in an insulated bag or box. Place ice packs in the packaging to help keep the cake cool in transit. You can then place the packaged cake into a new and sturdy cardboard box and fill in any extra space with bubble wrap, newspaper, or packing peanuts to minimize movement. Choose 1-2 day shipping so the cake gets to its destination quickly to reduce the amount of time it spends traveling. To learn how to seal and label the box when you’re shipping a cake, keep reading!
