This article was co-authored by wikiHow staff writer, Hunter Rising. Hunter Rising is a wikiHow Staff Writer based in Los Angeles. He has more than three years of experience writing for and working with wikiHow. Hunter holds a BFA in Entertainment Design from the University of Wisconsin - Stout and a Minor in English Writing.
There are 7 references cited in this article, which can be found at the bottom of the page.
This article has been viewed 4,113 times.
Learn more...
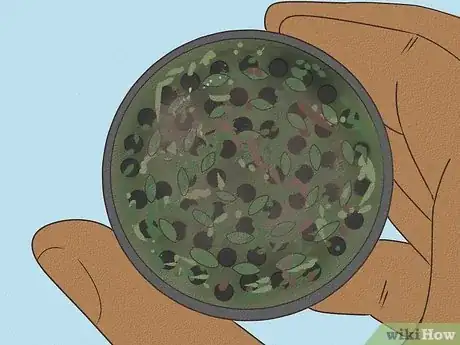
Are the blades inside your herb grinder not cutting as well as they used to? It’s pretty easy to clean and maintain your grinder so it works properly without the need to sharpen it. Even though you could try sharpening your grinder, it’s time-consuming and could leave residue in your weed that’s unsafe to consume. Keep reading to find out why your grinder isn’t working, why sharpening isn’t the most effective option, and how you can clean a grinder so it cuts through herbs again.
Things You Should Know
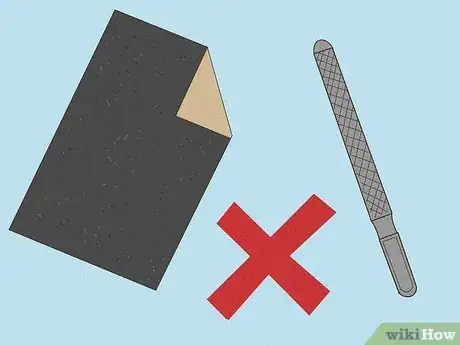
- You can try sharpening a grinder with sandpaper or a metal file, but it could leave metal or plastic shavings in your weed that are unsafe to breathe in.
- Clean an herb grinder with isopropyl alcohol and a toothbrush to get rid of residue stuck on the blades, because this will help the grinder work more effectively.
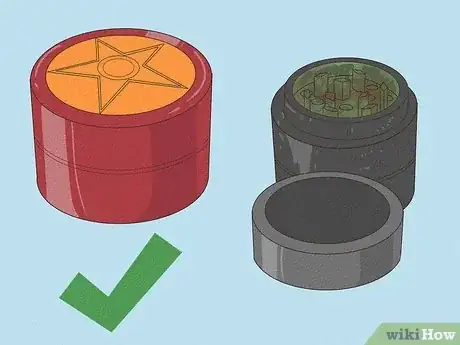
- Replacing an old grinder is easier than sharpening the blades if cleaning them doesn’t work.
Steps
Cleaning an Herb Grinder
-
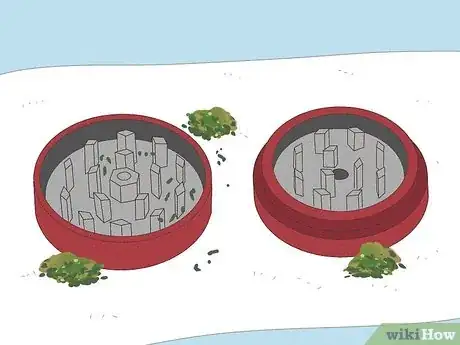
1Empty and disassemble your grinder. Work over a large plate or paper towel to help catch any loose herb that you could still use or smoke. Open your grinder and pour any loose weed or residue into a bag or container. Unscrew all of the pieces of your grinder and lay them out on a paper towel in front of you.[3]
- Plastic grinders usually have 2 pieces that both have blades.
- Some grinders have additional pieces, like a mesh screen and a bottom tray.
-
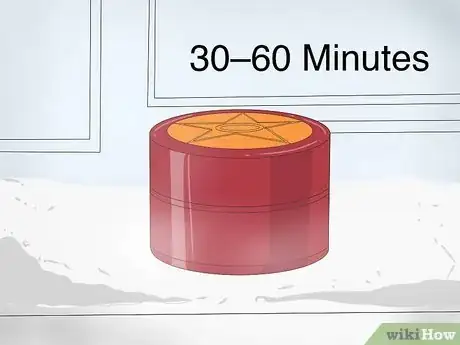
2Put your grinder in the freezer for 30–60 minutes. Put the pieces of your grinder in a plastic bag and set it inside of your freezer. The cold temperatures help harden sticky residue on the surface so it’s easier to clean off and collect.[4]
- You don’t have to freeze your grinder, but it would be helpful if you're grinding weed. Freezing lets you collect more kief, which is potent residue that falls off of weed as you grind it. You can smoke or use the kief that you clean out of your grinder.
-
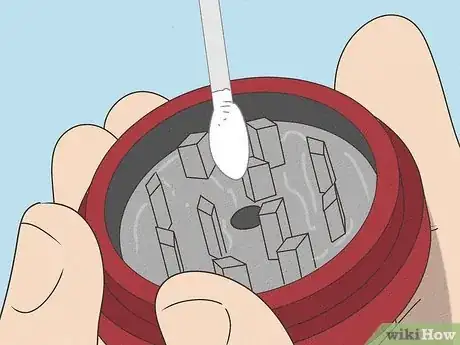
3Scrape loose gunk out of the grinder with a cotton swab. Keep working over a paper towel to make cleanup faster. Run a cotton swab between the blades of your grinder to knock out any loose residue that’s still inside. Then, focus on any threading where the pieces screw together since residue can build up there too.[5]
- Be gentle with the cotton swab so it doesn’t get caught or stuck in the blades. You don’t need to scrub all the residue off yet since you’ll do a deeper clean later on.
-
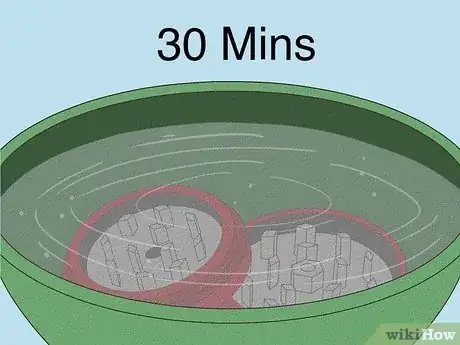
4Soak a metal grinder in isopropyl alcohol for 30 minutes. Put the pieces of your grinder in a large bowl or a resealable plastic bag. Add 91% or 99% isopropyl alcohol into the container until the pieces of your grinder are completely submerged. Leave your grinder in the alcohol for at least 30 minutes to loosen up the residue on the blades.[6]
- If you use a bag, place your grinder inside carefully so the blades don’t slice through it.
- Isopropyl alcohol is the best way to clean residue off of a metal grinder, like a SharpStone.
- If you’re cleaning a plastic or acrylic grinder, put the pieces in gently boiling water for 1 minute instead of using isopropyl alcohol.[7]
-
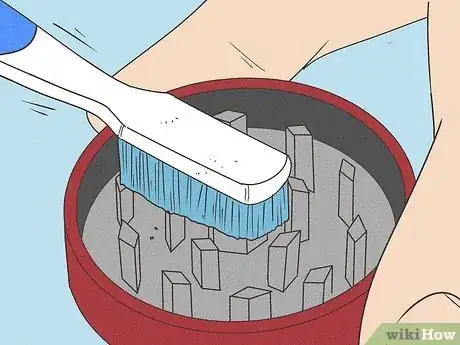
5Scrub residue out with a toothbrush. Take the pieces of your grinder out of the alcohol and shake off any excess liquid. While the alcohol probably removed most of the gunk on your grinder, gently scrub it with your toothbrush to clean off any areas that are still dirty.[8]
- Be extra careful if you’re scrubbing a mesh screen so you don’t accidentally poke a hole through it.
-
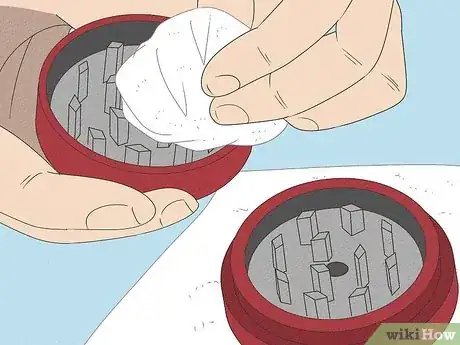
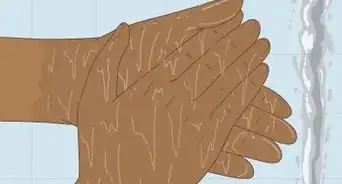
6Rinse and dry your grinder. Give your grinder one last rinse under warm water to remove any loose gunk or residual alcohol.[9] Then, pat the pieces of your grinder dry with paper towels. If the grinder is still a little wet, leave it out to air-dry before you reassemble it.[10]
- Avoid assembling a metal grinder while it’s still wet since it could cause rust to form.
References
- ↑ https://www.expertsofherb.com/clean-herb-grinder/
- ↑ https://rollingpaper.com/cannabis/how-to-clean-a-grinder/
- ↑ https://edmontonjournal.com/life/how-to-clean-a-weed-grinder/wcm/1603c993-9fcc-4c9a-a62d-be72c2626dd5/amp/
- ↑ https://www.expertsofherb.com/clean-herb-grinder/
- ↑ https://youtu.be/lXZEhazu7uc?t=186
- ↑ https://edmontonjournal.com/life/how-to-clean-a-weed-grinder/wcm/1603c993-9fcc-4c9a-a62d-be72c2626dd5/amp/
- ↑ https://rollingpaper.com/cannabis/how-to-clean-a-grinder/
- ↑ https://www.expertsofherb.com/clean-herb-grinder/
- ↑ https://youtu.be/lXZEhazu7uc?t=232
