This article was co-authored by Tony Hoang. Tony Hoang is a Landscaper and the Principal at H&J Landscaping & Concrete Contractor in Newark, CA. With over six years of experience, he specializes in designing the perfect concrete driveways & backyard patios for homes. H&J Landscaping & Concrete Contractor is a 4.5-star business on Yelp.
There are 7 references cited in this article, which can be found at the bottom of the page.
This article has been viewed 32,078 times.
Sealing concrete helps keep it protected from water damage, grease, and oil stains as well as scrapes and abrasions, preserving the look and longevity of the material while bringing out its rich color. A good seal can help your concrete last for years and years, and it isn’t too difficult to do. You’ll want to start by choosing a type of sealer. Topical sealers like acrylic and epoxy create a protective coating that resists spills and stains but will have to be reapplied every few years. Penetrating sealers like silane and siloxane soak into the porous surface of the concrete to form a protective layer that will protect against spills and stains without getting slippery, but they don’t have any color options and won’t form a shiny coating. Once you’ve selected your sealer, it’s a matter of applying it correctly and allowing it to cure and form a protective coating.
Steps
Choosing a Sealer
-
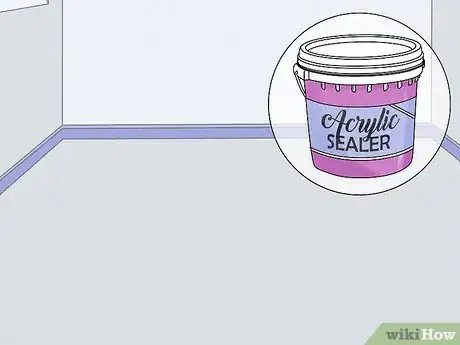
1Go with an acrylic sealer for interior floors. Acrylic sealers are clear and thin, making them easy to apply and form a protective layer over the surface of your concrete. Sunlight can cause acrylic sealers to turn yellow, so use it on interior floors or a covered garage floor. They can be applied with a paint roller or even a sprayer and dry relatively quickly, so if you’re looking for a quick and easy option to seal your concrete, go with an acrylic sealer.[1]
- Because acrylic sealers are thin, you may need to apply 2 coats for better protection.
-
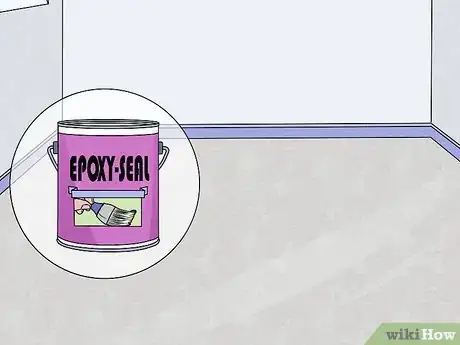
2Select an epoxy sealer for a colorful finish. Epoxy sealers are popular options for indoor and garage floors and form a thicker coating than acrylic. They’re durable and come in a variety of colors and styles so you can alter the look of the concrete. Epoxy sealers are more difficult to apply and take longer to dry and must be applied with a brush or roller.[2]
- Epoxy sealers provide grip and can resist scrapes and abrasions, another reason they’re a popular choice for garage floors.
- You can also choose a clear epoxy sealer as well.
Advertisement -
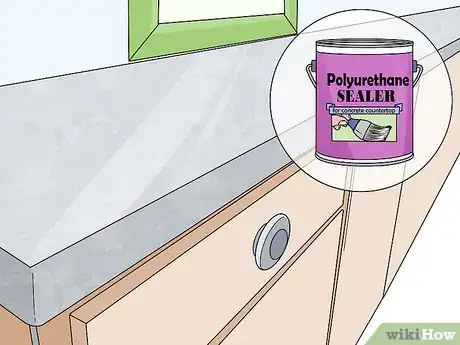
3Use a polyurethane sealer for concrete countertops. Polyurethane sealers are even more durable than epoxy, and although there are a few color options, it’s mostly used as a clear coat sealer that will make your concrete grease and stain-resistant. Polyurethane is also resistant to UV light and lasts longer than other sealers. It’s a great option for concrete countertops as well as concrete floors.[3]
- If you’re sealing a concrete countertop, choose a food-grade polyurethane concrete sealer for the best protection.
- Polyurethane sealers are also the most expensive.
-
4Pick silane or siloxane sealers for the best protection. Silane and siloxane sealers are both penetrating sealers, which means they soak into the porous surface of the concrete to form a protective layer. Because they penetrate the surface and aren’t a topcoat layer, silane and siloxane sealers are thinner and can be applied with a sprayer. They help harden the concrete, making it more durable, and they repel oil and liquids.[4]
- It’s super important that the concrete is clean before you apply silane or siloxane sealers so they’re able to effectively penetrate the surface.
- Penetrating sealers can make the concrete appear a little bit darker after you apply it, and if there are any grease stains on the concrete, it may make them more noticeable.
- You can also use penetrating sealers for concrete countertops, but make sure it’s food-grade.
Cleaning and Repairing the Concrete
-
1Clear everything off of the concrete. Move any vehicles, furniture, or any other items off of the concrete so you have room to work. Make sure the concrete area is completely clear of any obstructions so you’re able to apply the sealer evenly and without having to take breaks to move objects.[5]
- Concrete sealers are full of chemicals that could be potentially harmful, so make sure pets and small children can’t enter the area as well.
- If you’re sealing a concrete wall, take off any items attached to it or hanging from it.
-
2Sweep or brush the concrete to remove dirt and debris. Take a broom or a stiff brush and give the concrete a thorough sweeping to remove large particles from the surface. Be sure to hit the corners and any nooks and crannies as well. If there are any cracks, sweep out any dirt that may be lodged in them.[6]
- Use a dustpan to pick up the dirt and throw it away.
-
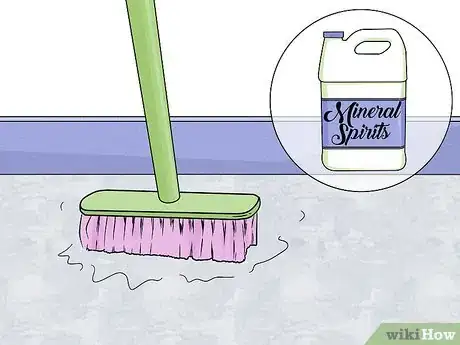
3Scrub away oil or grease stains with mineral spirits and a brush. Oil and grease stains could affect the adhesion of your sealer or may show through the sealer after you apply it, so it’s important that you remove them first. Take some mineral spirits and pour it over the stains. Then, use a stiff-bristled scrubbing brush and scrub away the stains.[7]
- Even though mineral spirits are odorless, they can be harmful if you’re exposed to their fumes for a long time. Work in a well-ventilated area and wear a face mask to avoid breathing them in.
- Mineral spirits won’t stain the concrete, so use as much as you need to get rid of any stains.
-
4Wash concrete floors with a pressure washer. Concrete floors collect dirt and grime and need to be thoroughly cleaned before you apply a sealer. Set up a pressure washer and sweep the stream of water back and forth over the concrete to blast dirt and grime away from the surface. Work in 1 small section at a time and be sure to wash every area.[8]
- If you don’t have a pressure washer, you may be able to rent one for the day from your local hardware or home improvement store.
-
5Fill cracks in the concrete with repair caulk and let it dry. Look for breaks and cracks in the surface of the concrete. Apply concrete repair caulk to fill the cracks and scrape a putty knife over the surface so it’s smooth and even with the concrete around it. Allow the caulk to dry according to the directions on the packaging.[9]
- The concrete surface needs to be uniform for the sealer to form an even coat.
- You can find concrete repair caulk at your local hardware or home improvement store. You can also order it online.
Applying the Sealer
-
1Put on chemical-proof gloves and safety glasses. Sealers are full of chemicals that can burn or damage your skin and potentially damage your vision if it gets splashed into your eyes. Before you start working, put on a pair of gloves that will protect your hands from chemicals as well as a sturdy pair of safety glasses that cover your eyes completely.[10]
- Rubber gloves will protect your hands from chemicals as well.
-
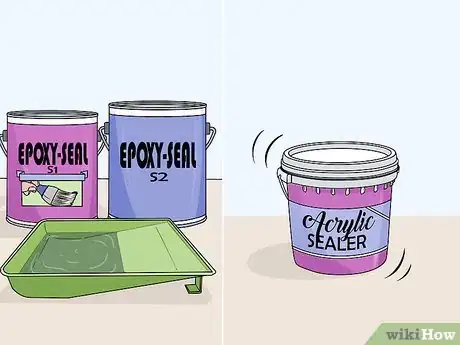
2Prepare the sealer according to the directions on the packaging. Read the instructions about how to prepare the sealer on the packaging. Some sealers, such as epoxy, may require you to mix different parts together just before you apply it. Other sealers, such as acrylic, may require you to shake the container well to thoroughly combine it.[11]
- Different sealers will have different preparation, so be sure to check the packaging before you start.
- Don’t mix epoxy sealers until you’re ready to start applying it or it may harden.
-
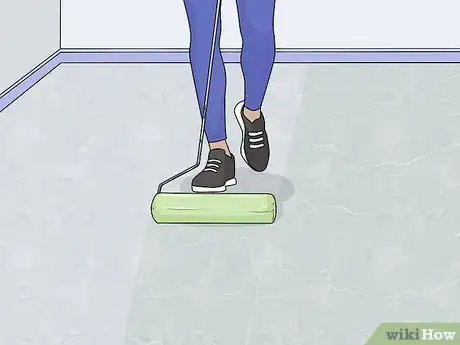
3Spread a layer of the sealer with a roller or garden sprayer. Use a paint roller to apply thicker sealers like epoxy by rolling it over the surface in broad, smooth strokes. Start in a far corner and work in small sections, applying the sealer using up and down strokes so it goes on evenly and the strokes are in the same direction. You can use a garden sprayer for thinner sealers like acrylic. Fill the sprayer and spray it evenly over the surface of the concrete.[12]
- For concrete countertops, you can use a spray bottle instead of a garden sprayer if you’re applying a penetrating sealer.
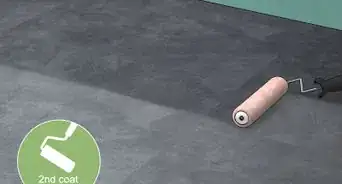
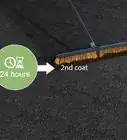
- Check the packaging of the sealer to see if you need to apply more than 1 coat. Some acrylics recommend that you apply 1 coat, wait 10 minutes, and then apply a second coat to properly seal the concrete.
-
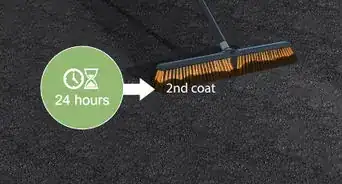
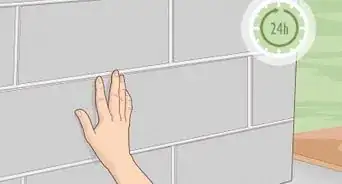
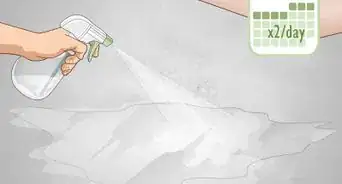
4Allow the sealer to cure completely before you use the concrete. Different sealers will have different drying times, but it’s really important that you allow the sealer to fully cure before you move anything onto the surface of the concrete. Check the packaging for specific drying and curing times. Once it’s cured, you can replace the furniture and other items onto your freshly sealed concrete.[13]
- For example, acrylic and epoxy sealers may take up to 48 hours to fully cure, while a penetrating sealer like siloxane may only take 8 hours to cure.
Expert Q&A
-
QuestionWhat are the benefits of sealing concrete?
 Tony HoangTony Hoang is a Landscaper and the Principal at H&J Landscaping & Concrete Contractor in Newark, CA. With over six years of experience, he specializes in designing the perfect concrete driveways & backyard patios for homes. H&J Landscaping & Concrete Contractor is a 4.5-star business on Yelp.
Landscaping Manager Sealer prevents water from absorbing into the concrete by beading it on the surface—this helps concrete last longer, especially in the winter. A good sealer can also have non-slip additives which are great around a pool. It even helps fight stains by creating a thin layer between the spill and the concrete. As an added bonus, a sealer is great at preventing sun damage and fading.
Warnings
- If you get any sealer on your skin, wash it off immediately to prevent chemical burns.⧼thumbs_response⧽
- Flush your eyes under running water if you splash sealer into them and get to a doctor to make sure there won’t be damage to your vision.⧼thumbs_response⧽
Things You’ll Need
- Sealer
- Broom
- Mineral spirits
- Scrubbing brush
- Pressure washer
- Concrete repair caulk (if needed)
- Chemical-proof gloves
- Safety glasses
- Paint roller or garden sprayer
Expert Interview

Thanks for reading our article! If you'd like to learn more about sealing concrete, check out our in-depth interview with Tony Hoang.
References
- ↑ https://youtu.be/pXGfoRfoYBk?t=373
- ↑ https://allgaragefloors.com/concrete-floor-sealers/
- ↑ https://allgaragefloors.com/concrete-floor-sealers/
- ↑ https://youtu.be/pXGfoRfoYBk?t=168
- ↑ https://todayshomeowner.com/video/sealing-a-garage-floor/
- ↑ https://todayshomeowner.com/video/sealing-a-garage-floor/
- ↑ https://todayshomeowner.com/video/sealing-a-garage-floor/
- ↑ https://youtu.be/-I3n9Tq1Bls?t=28
- ↑ https://todayshomeowner.com/video/sealing-a-garage-floor/
