This article was co-authored by Gerber Ortiz-Vega. Gerber Ortiz-Vega is a Masonry Specialist and the Founder of GO Masonry LLC, a masonry company based in Northern Virginia. Gerber specializes in providing brick and stone laying services, concrete installations, and masonry repairs. Gerber has over four years of experience running GO Masonry and over ten years of general masonry work experience. He earned a BA in Marketing from the University of Mary Washington in 2017.
This article has been viewed 146,032 times.
Cinder block walls may be sturdy, but continual wear over time can cause cracks or holes. In severe cases, you may even need to replace sections of the wall for its stability. But while cinder block walls may seem intimidating to fix, making reparations is simple if you have the right tools. As long as you assess the damage and fill or replace the affected area, your wall will be restored to good condition again.
Steps
Cleaning the Cinder Blocks
-
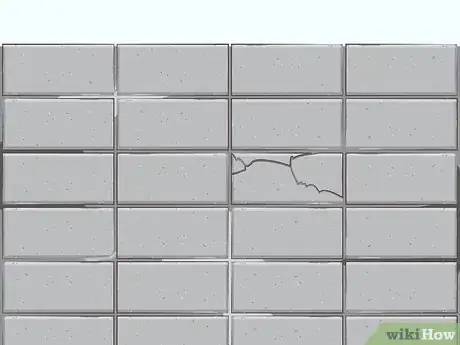
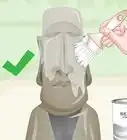
1Clean any parts of the wall that you plan to repair. Before you begin repairing the wall, clean it to make sure any cement or mortar you apply will adhere securely. Survey your wall and make a note of any dirty or cracked areas. You will need to smooth out cracks and hose down dirty sections before the wall is ready to clean.[1]
-
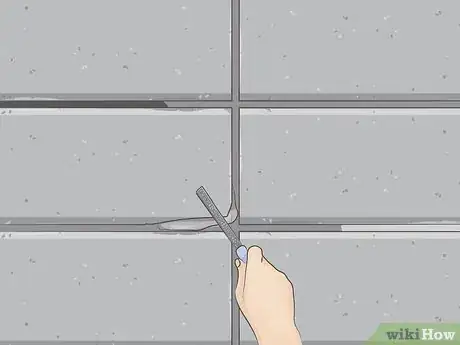
2File away any rough edges. Locate any damaged areas on the cinder blocks and file any rough bits with a metal file. Keep filing until the edges are smooth and level. This will keep your reparations even and more likely to hold over time.
- Depending on the extent and roughness of the cracks or holes, this can take anywhere from several minutes to an hour.
Advertisement -
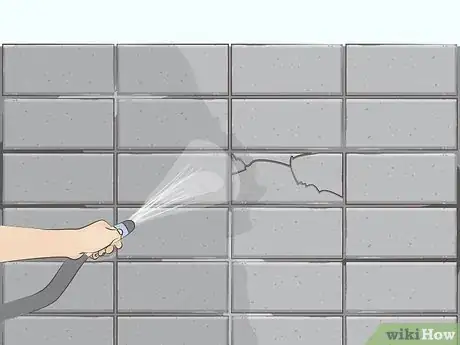
3Hose the wall down to get rid of dust or dirt. Your wall will need to be debris- and dust-free before it's ready for repairs. Take a hose and spray the wall off to get rid of any residual dust or dirt. For more stubborn areas, scrub the dirt away with a washcloth.[2]
- Hosing down the wall primarily works for outdoor cinder block walls. If your wall is indoors, fill a bucket with warm water and clean the wall off with a wet washcloth.
-
4Wait for the wall to dry off before repairing it. Your wall repair materials may not adhere to the wall as well if it is wet. Gather your additional materials while the wall dries. If any patches are stubborn and refuse to dry quickly, try toweling them off.
- Repair your cinder block wall during the hottest time of day so you can work quickly.
Patching Cracks with Concrete
-
1Patch smaller cracks or holes with concrete. Concrete is usually enough to bind together minor wall damage. If the cracks or holes don't take up the majority of the block or extend to more than a few blocks, try using concrete to fill in the damage.[3]
-
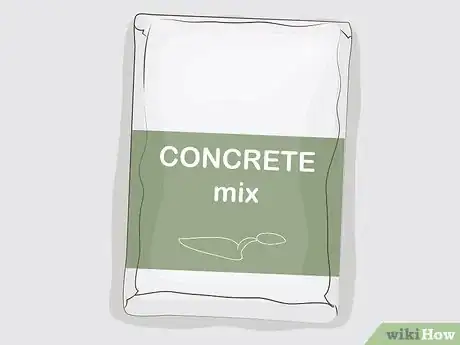
2Mix the concrete. Purchase a bag of pre-mixed concrete and empty the bag into a bucket or concrete tray. Pour the instructed amount of water into the mix and stir it with a hoe or shovel.[4]
- If you prefer, you can make the concrete yourself instead of using a pre-mixed bag.
- Always wear protective glasses, a ventilated mask, gloves, and long pants when mixing concrete.[5]
-
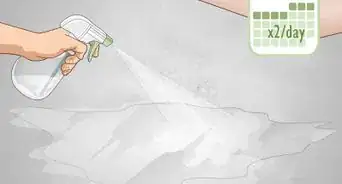
3Mist any cracks or holes with a handheld bottle. Although the wall should not be wet when applying the concrete, lightly misting the cracks or holes so they are damp can help it adhere better. Fill a handheld bottle with water and spritz any gaps before you add the concrete.[6]
-
4Fill in the cracks or holes with concrete. Apply concrete to any gaps in the blocks or mortar using a shovel. Fill the holes and cracks as deeply as you can, then scrape the top over with a trowel so the concrete can patch the wall together evenly.[7]
Replacing Heavily Damaged Bricks
-
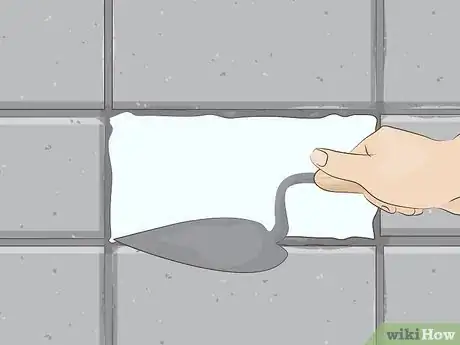
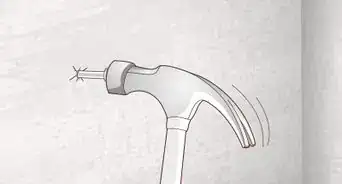
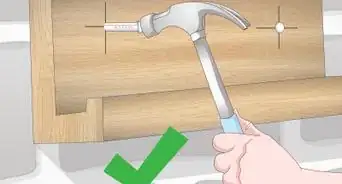
1Chip out the old cinder block and mortar. Using a plugging chisel and sledge, chip the cinder block into pieces. Remove the block in chunks as you free each piece from the surrounding mortar. Chip out the mortar, then brush away any additional dust or debris before putting the new block in place.[8]
- Wear safety goggles while chipping the block out to prevent eye injuries.[9]
-
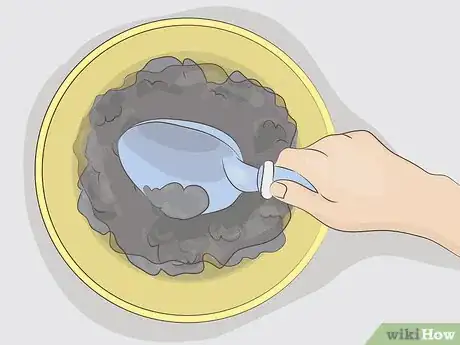
2Mix the mortar. Purchase a bag of pre-mixed mortar and pour it into a bucket or wheelbarrow. Add the required amount of water and stir it with a shovel until it has an even consistency. Let the mix sit for 3-5 minutes before applying it to the wall to let the mortar absorb moisture so it will stick to the cinder blocks better.[10]
-
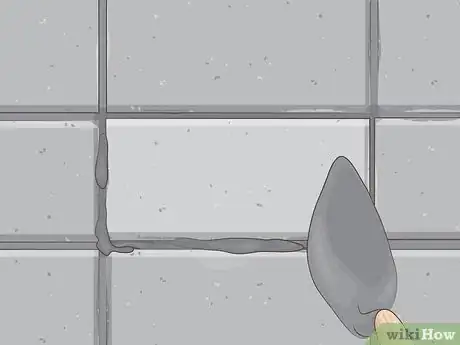
3Apply mortar around the edges of the cavity. Using a trowel, add a 1 inch (2.5 cm) thick layer of mortar around the top, bottom, and sides of the empty space in the wall. Keep the layer as even as possible to avoid creating tight or loose sections in the wall.[11]
-
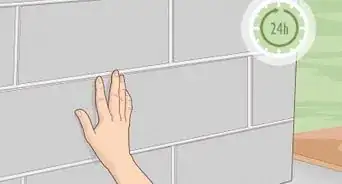
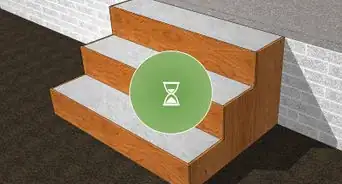
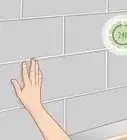
4Set the new block in place. Slip the new cinder block in place with a trowel, then scrape away any excess mortar. Let the mortar dry for 12-24 hours, depending on the mix. When the mortar is dry and stable, it should turn a light gray color.
Expert Q&A
Did you know you can get expert answers for this article?
Unlock expert answers by supporting wikiHow
-
QuestionHow much water should I use when mixing concrete?
 Gerber Ortiz-VegaGerber Ortiz-Vega is a Masonry Specialist and the Founder of GO Masonry LLC, a masonry company based in Northern Virginia. Gerber specializes in providing brick and stone laying services, concrete installations, and masonry repairs. Gerber has over four years of experience running GO Masonry and over ten years of general masonry work experience. He earned a BA in Marketing from the University of Mary Washington in 2017.
Masonry Specialist & Founder, GO Masonry LLC
Things You'll Need
- Metal file
- Hose
- Microfiber cloth
- Concrete mix
- Wheelbarrow
- Bucket or concrete tray
- Handheld mister
- Shovel
- Trowel
- Hoe (optional)
- Mortar (optional)
- Replacement cinder block (optional)
References
- ↑ https://www.askthebuilder.com/how-to-repair-stucco-and-concrete-block/
- ↑ https://www.askthebuilder.com/how-to-repair-stucco-and-concrete-block/
- ↑ https://southernhospitalityblog.com/repair-and-paint-a-block-wall/
- ↑ Gerber Ortiz-Vega. Masonry Specialist & Founder, GO Masonry LLC. Expert Interview. 10 March 2020.
- ↑ Gerber Ortiz-Vega. Masonry Specialist & Founder, GO Masonry LLC. Expert Interview. 10 March 2020.
- ↑ http://www.thekimsixfix.com/2013/08/masonry-101-how-to-repair-concrete.html
- ↑ https://southernhospitalityblog.com/repair-and-paint-a-block-wall/
- ↑ https://www.bhg.com/home-improvement/exteriors/stone-work/how-to-repair-brick-and-block-walls/
- ↑ Gerber Ortiz-Vega. Masonry Specialist & Founder, GO Masonry LLC. Expert Interview. 10 March 2020.
- ↑ http://www.dummies.com/home-garden/exteriors/brick-repair/how-to-repair-brick-and-block-foundations/
- ↑ https://www.bhg.com/home-improvement/exteriors/stone-work/how-to-repair-brick-and-block-walls/
- ↑ Gerber Ortiz-Vega. Masonry Specialist & Founder, GO Masonry LLC. Expert Interview. 10 March 2020.
About This Article
To repair small cracks or holes in cinder block walls, you can use concrete. First, clean any parts of the wall that you plan to repair so the cement or mortar adheres securely. Hose the wall down or scrub it with a washcloth, then use a metal file to smooth out any rough edges. Then, mix your concrete with water, mist the cracks with water until they’re damp, and fill the areas with concrete. To repair heavily damaged areas in cinder block walls, you’ll need to use a plugging chisel and sledge to chip the damaged cinder block out. Then, apply mortar around the edges of the cavity before setting the new block in place. To learn how to best mix your mortar to hold your new cinder block, keep reading!
