X
wikiHow is a “wiki,” similar to Wikipedia, which means that many of our articles are co-written by multiple authors. To create this article, 16 people, some anonymous, worked to edit and improve it over time.
This article has been viewed 70,603 times.
Learn more...
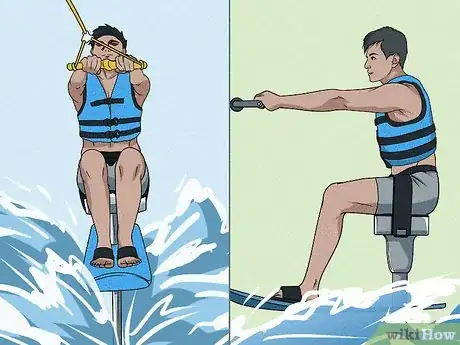
Have you ever been to the lake and seen someone sitting on a ski, flying over the water and wondered what it was? An Air Chair is a relatively new type of water sport device. It is extremely unique, instead of riding on top of the water like with skiing or wakeboarding, you ride over the water. The chair has a hydrofoil attached to a three foot long post which creates the lift to make the chair glide smoothly over the top of the water.
Steps
Method 1
Method 1 of 2:
Setup the Air Chair
-
1Read the Air Chair manual to learn the correct setup and all of the possible options.
-
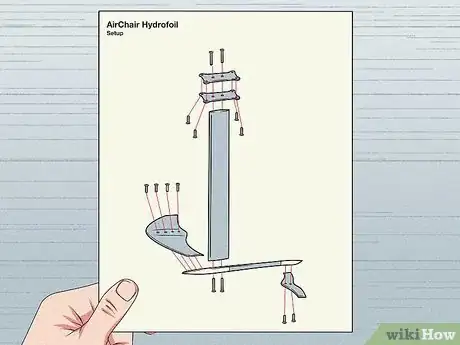
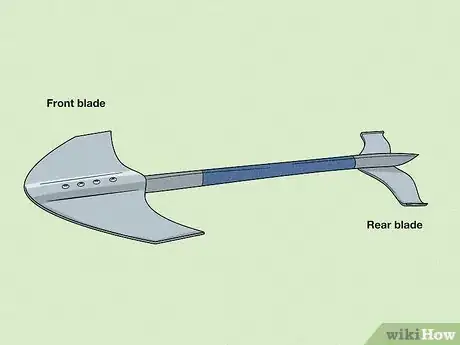
2Setup the "blades". There are two blades which make up the hydrofoil. The front blade is stationary and creates the majority of the lift. For the second blade, there is more than one option.
- The Air Chair is shipped with a "beginners" blade which is very stable and makes learning easier. The blade is somewhat triangle-shaped with two fins on the bottom.
- A secondary rear blade is much more rounded (like a thick boomerang). This blade makes the chair more maneuverable, but also requires more practice to control well. When the ends of the "boomerang" are pointed toward the rear it is the intermediate setting, and when the blade is flipped around, it creates the advanced configuration.
Advertisement -
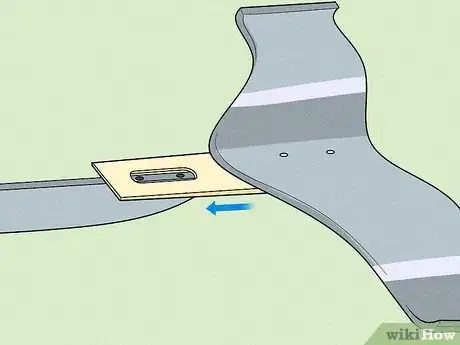
3Insert the wedge. Not only are the blades affecting how the chair rides, but there are wedges which fit between the base and the blades that affect how much lift is created and the general angle-of-attack that the hydrofoil uses.
- There are different sizes of wedges and the placement of the wedge will finely tune the angle.
- It is usually best to start with the medium size wedge, and experiment with the placement, and move to the other wedges if you need the chair to handle differently.
-
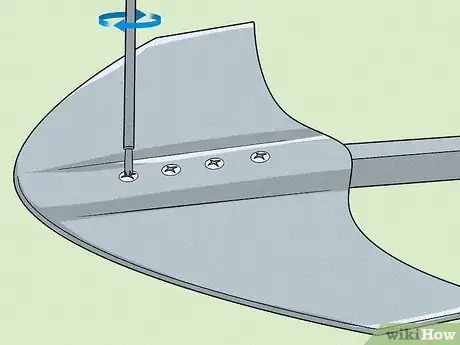
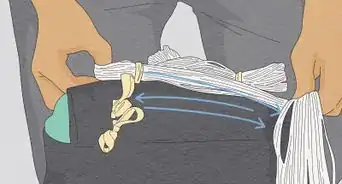
4Tighten all bolts on the base and blades, and insert the post into the bottom of the chair and be sure the bolt is hand-tightened (not too tight) and the pin is placed through the shaft of the chair for extra safety.
Advertisement
Method 2
Method 2 of 2:
Learn to Ride
-
1Hop in the water after you suit up with a life jacket and swim trunks.
-
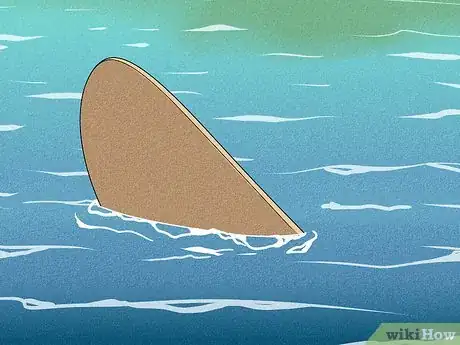
2Place the Air Chair into the water. Though the Air Chair is heavy, if the post and blades are attached to the chair correctly, nothing will sink. Only the last few inches of the nose of the ski will be above the surface.
- As you approach the Air Chair be wary of the post and blades which are below the surface that you can't see.
-
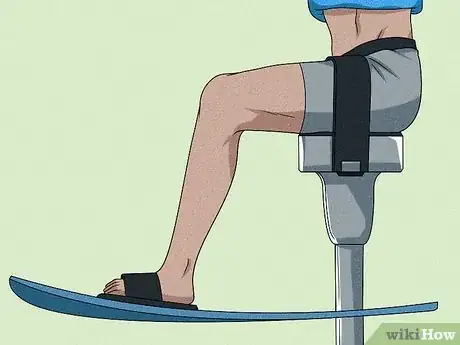
3Slide your legs in through the seatbelt after you loosen it. Strap your feet into the booties by pulling the heel strap below your foot and snugly on your heel.
-
4Move to the edge of the seat, for most people the Air Chair works best if your back is at the back edge of the seat, so you are sitting most of the way off the front of the seat. Once in position, tighten the seatbelt and secure it.
-
5Grab the rope and align it in front of the exposed part of the ski. If you are learning to get up, have the boat drag you very slowly (idle) in a straight line. Try to learn to keep the Air Chair pointed in the correct direction.
-
6Steer with the rope! The Air Chair uses leverage as it's primary means of control. Move the rope to the right and it will pull you to the left, and vice versa. Control the angle of the Air Chair by compensating with the location of the rope. This will take a lot of practice to perfect.
- The driver of the boat will have to be patience (as will you) because you will get turned sideways more than once and you will fall, once up, more than once!
-
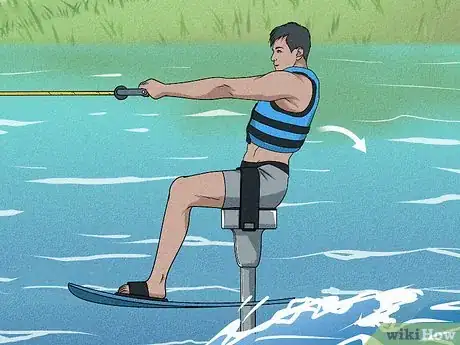
7With the boat pulling you in a straight line, try to the keep the Air Chair straight. As the boat accelerates (after you say, "Hit it!" (or whatever your "go" phrase is) keep your back straight (perpendicular to the ski), your arms outstretched and make and minor adjustments to your direction with the location of the rope (read above). As soon as the ski has planed (no longer being pulled through the water — but on top of it), lean forward to keep the ski down on the water.
-
8Lean forward and keep the rope high to remain on the water. This is the best way to learn the basics of steering and control.
-
9Steering is the same as when in the water with one addition: leaning. Like a bicycle, you must lean and turn at the same time. But unlike skiing or wakeboarding, if you only lean to turn you will likely fall. You must turn (using the rope), then lean into the turn to compensate for the forces put on the rope. This all becomes even more important when riding on the hydrofoil rather than the ski.
-
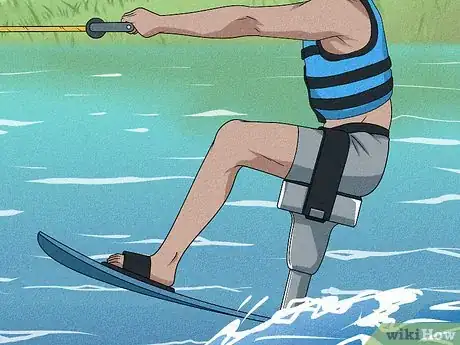
10Attempt to raise the ski off the water. At first it is usually best to try leaning back to bring the ski off the water. As soon as you are off the water, lean forward again to bring it back down. Keep your arms steady for now (don't move them higher or lower). Try leaning back and forth until you get more comfortable with the idea of being above the water.
-
11Straighten your back (so you aren't leaning forward or backward), and keep your arms high (this keeps you on the water). Lower your arms until you start lifting off the water, then bring it back down by raising the rope again. Practice this a few times until you are able to comfortably control your height off the water just by using your arms (remember, if you need to go down in an emergency, you can lean forward).
-
12Practice the basics of controlling your height until you are able to go the full length of the post on command. Be aware that going to high will most likely cause you to crash as air being caught under the hydrofoil will remove all lift and will bring you down to the ski in a hurry. The picture at right is an example of what happens after you go too high.
- Cutting (turning to the extremities of the usable water) is a unique experience among water sports. The Air Chair requires a good deal of balance and control to maneuver over the wake then to keep level as the rope pulls you at more of an angle. The rope has been keeping you level while behind the boat, but as the rope pulls at nearly a perpendicular angle to your motion, the downward leverage is gone. You must compensate by leaning forward or back to keep level.
-
13Jump by leaning back. This is a bit of giant leap from the rest of the article, but it is a natural progression, and learning to jump is very easy, it is the landing that is very difficult. Land by leaning back until your descent is slowed then straighten your back and control your elevation with the rope.
Advertisement
Warnings
- This is a water sport, thus there are all the dangers of anything dealing with water, such as drowning. Be sure the skier is an experienced swimmer and is wearing a coast guard approved life jacket designed for the user's weight and size.⧼thumbs_response⧽
- Be sure the driver is an experience driver who is used to picking up downed skiers.⧼thumbs_response⧽
- Some crashes (especially during a jump) may be painful as water at high speed can become quite rough on the body.⧼thumbs_response⧽
Advertisement
About This Article
Advertisement
