wikiHow is a “wiki,” similar to Wikipedia, which means that many of our articles are co-written by multiple authors. To create this article, 17 people, some anonymous, worked to edit and improve it over time.
There are 7 references cited in this article, which can be found at the bottom of the page.
This article has been viewed 166,805 times.
Learn more...
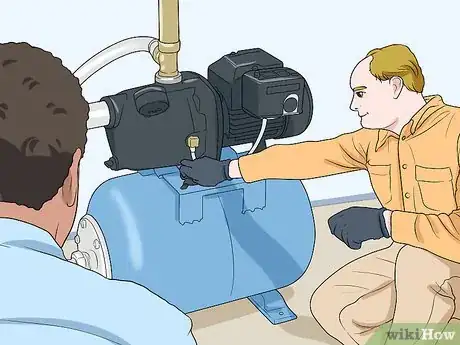
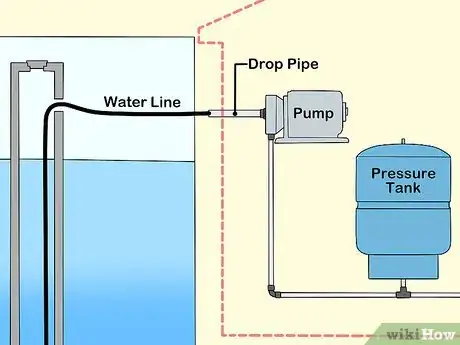
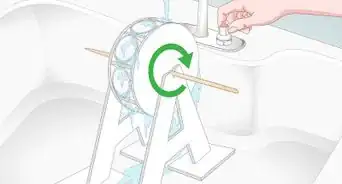
If you live outside city limits, you may get your water supply from a well. The heart of your well system is the well pump. If the water is close to the surface, you may have a shallow well driven by a jet pump, and if your water is over 25 feet (7.63 m) deep, you may have a submersible pump system. If the pump breaks, you may have to install a new pump. Follow these guidelines to replace your well pump.
Steps
Preparation
-
1Make sure you know that the pump is actually your problem. Before embarking on any of the following, ensure you have determined the pump to be at issue, by properly troubleshooting and checking the other components in your well system first, based on the presenting symptoms. No water does not always equal no pump.[1] When in doubt, always consult a professional. Be sure to follow any and all applicable laws and codes.
-
2Obtain a new pump.
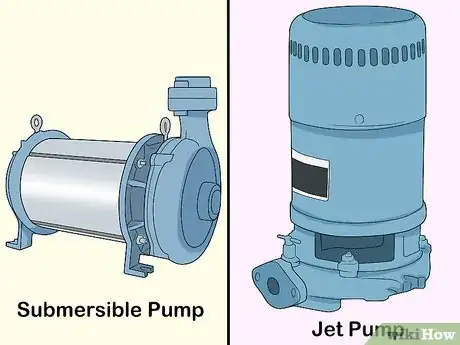
- Determine what type of pump you need. Submersible pumps are used in deeper wells and will be beneath the ground in a well casing, while a jet pump is used in shallow wells that are less than 25 feet (7.63 m) deep and will be above ground.
- Find out the power ratings, the gallons (l) per minute pumped and the well size before you install a new pump.
- Locate well pumps at a water supply retail store, hardware store or online. When replacing well pumps, be sure to purchase the correct type of pump.
Advertisement -
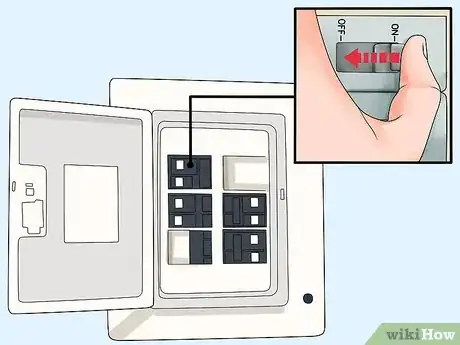
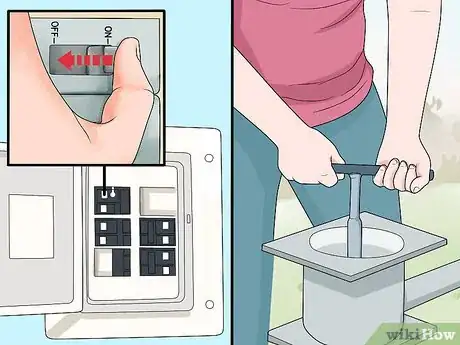
3Turn off the power to your pump at the main circuit breaker. A circuit breaker controls the flow of electricity to your house, and the well should be on a separate switch. Pay attention to the voltage assigned to the breaker (110/120,240v) as you will need this information to troubleshoot your pump issues, and correctly set up your new pump.
-
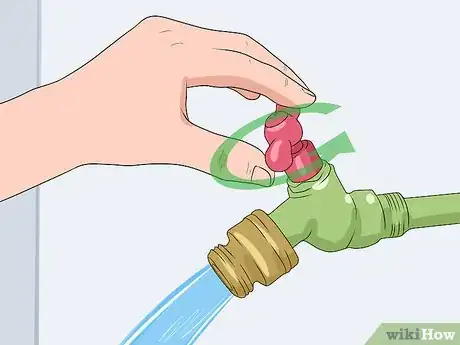
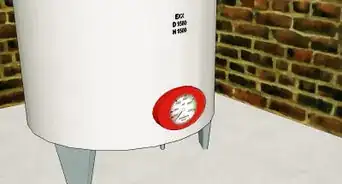
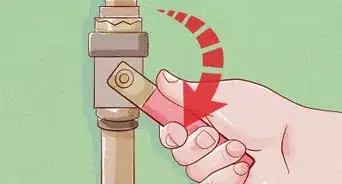
4Turn on a hose or faucet to release all the pressure from holding tanks or pressure tanks by letting the water drain out. When you install a new pump, you need to drain the water from the pumping system.
Replace a Jet Pump
-
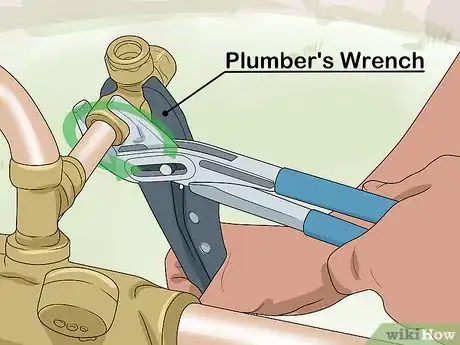
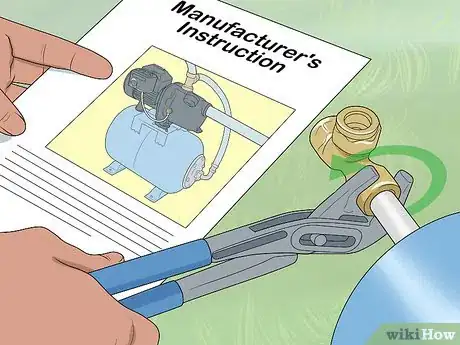
1Use a plumber's wrench to take off the inlet and outlet ports on the old well pump.
-
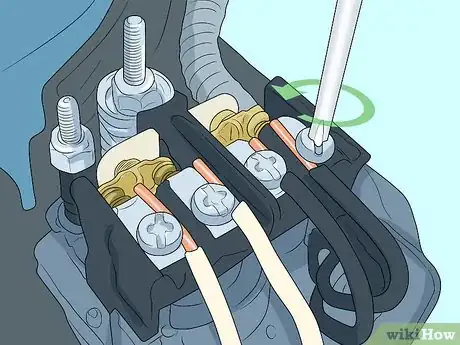
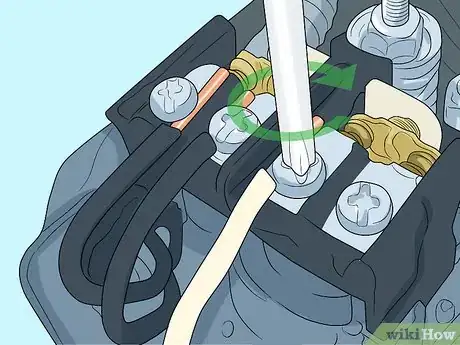
2Unscrew the wires going to the pressure switch on the old jet pump with a screwdriver.
-
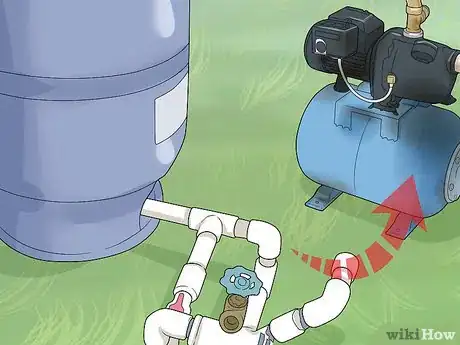
3Remove the old pump.
-
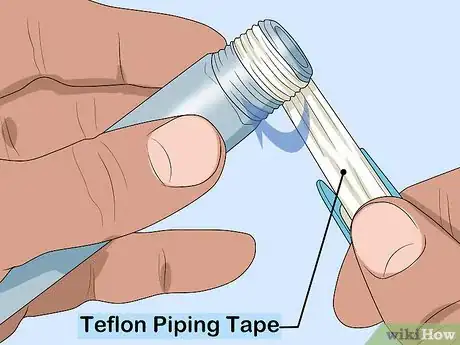
4Apply Teflon piping tape on the threads of the outlet and inlet pipes, wrapping tape around each pipe at least 5 times to get a proper seal. When replacing well pumps, you need a good seal to prevent water leaks.[2]
-
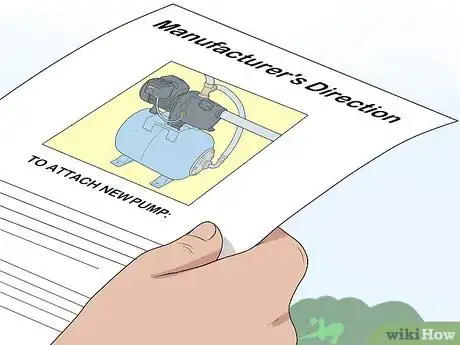
5Install the new pump, following manufacturer's instructions.
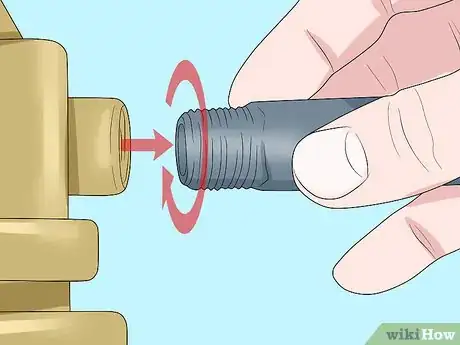
- Screw the pipe from the well, or inlet pipe, to the inlet pipe on the jet pump with a plumber's wrench.
- Screw the pipe that brings water to the house, or outlet pipe, to the outlet pipe on the jet pump with a plumber's wrench.
-
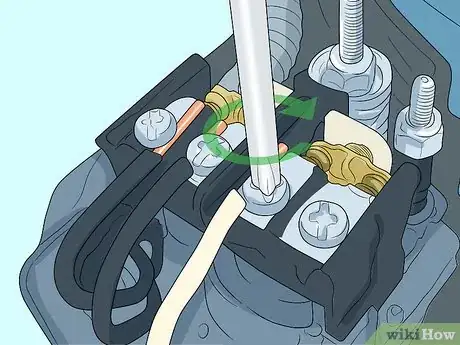
6Connect the wires to the appropriate terminals on the pressure switch of the new pump. Tighten the wires to the electrical terminal with a screwdriver. Check that the pump motor is wired for the same voltage as what is being supplied from the circuit breaker. If the voltage is not the same, rewire the pump motor to the appropriate voltage configuration per the manufacturer included instructions.
-
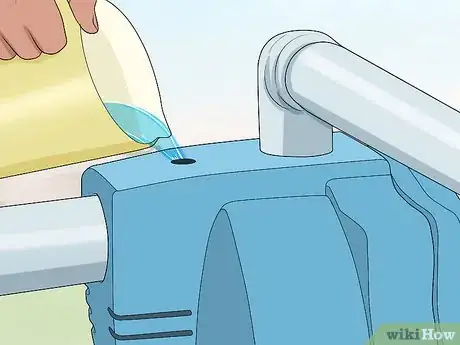
7Prime the pump. Jet pumps need to be primed before use. Do this by filling the pump with water through the outlet pipe coming out of the top of the pump or an available access hole that may be located on the pump. Pour in water until the pump is full. Proceed to the next step. If pump loses prime, doesn't pump at a sufficient rate, or doesn't pump water after being primed and run, it may indicate other problems with the water system (i.e. bad check valve) or the well itself ( i.e. hole in drop pipe, plugged point/jet). A problem of this nature may have been the causation of the old pump failure and may not make itself readily apparent until this point.
-
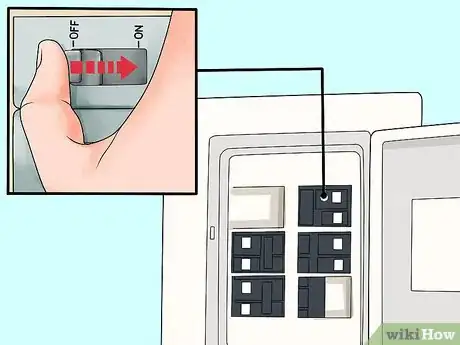
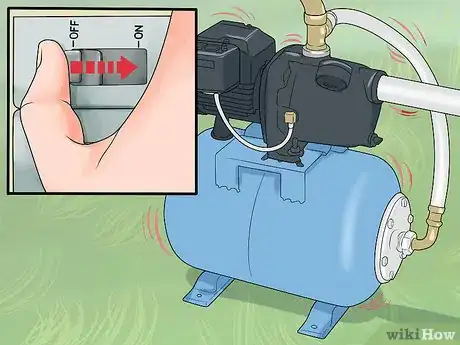
8Turn the circuit breaker back on and test your new pump.
Replace a Submersible Pump
This section will focus mainly on submersible well systems commonly used in residential and semi-commercial (i.e. farms, campgrounds, etc.) settings. So 1/2hp-2hp two-wire pumps, running single-phase 240v power, pumping 10-20GPM in wells 4-8" in diameter, using a pressure tank.
-
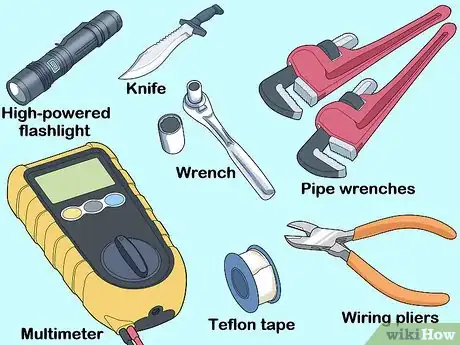
1Assemble your materials. Before starting you will need to have the following materials:
- an assistant
- high-powered flashlight (something on the white light spectrum)
- two pipe wrenches
- multimeter
- wrench/socket set
- knife
- soft-set pipe dope (preferred) or Teflon tape
- submersible pump wire splice kit
- wiring pliers
- wire nuts
- electrical tape
- propane torch
- T-handle (parts to build listed further on)
- 2 pipe dogs/pipe clamps
- short handled sledgehammer
- petroleum jelly
- 3ft. of 2" Sch.40 PVC
- Torque arrestor (6-8" wells)
-
2Determine what type of system is used to connect the pump and its drop pipe to the water line going to the pressure tank. If the drop pipe and wire come up through the well cap, and is piped together above ground it is most probably a well seal or a Morrison head. If this is not the case, it is probably connected using some type of pitless adapter, or in rare instances direct piped through the side of the casing with a galvanized tee.
- One last point of mention: this is not to be embarked upon lightly. While this article tries to be as informative as possible, and cover a variety of situations, there are inherent risks and circumstances beyond control that may lead to the loss of the pump and pipe down the well, and possible serious injury to persons involved in this activity. If you are uncomfortable with any of the aforementioned and aforementioned processes, please consult the appropriate professionals.
-
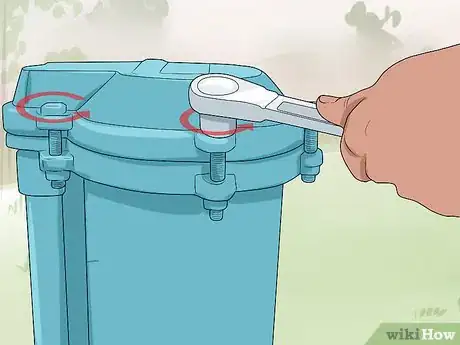
3Open the well cap (not applicable to well seal, Morrison head). The well cap is on the round piece of metal sticking out from the deep well, and will give you access to the submersible pump.[3]
- Take off the hex nuts that hold the cap in place with a socket wrench. 7/16" is a common size for many caps. On some older caps it may use small hex bolts, mounted horizontally (same as the system used with 4" metal vent caps).
- If your jurisdiction requires vermin-proof well caps, and your cap is not, replace with a compliant well cap.
- Lift the well cap off the well housing.
- Pull up the extra wire and wire nuts. Inspect nuts for tightness and wire for damage. If a nut is loose in a way that the wires are no longer connected, or a wire is broken, rectify issue and test for pump function. If not resolved, or no issue found , proceed to undo the wires, paying attention to which wire connects to which. At this point, have oneself or the assistant turn the power back on to the well. If there's a control box, be sure to hit the reset button. After this, use the multimeter to test the wire supplying the well (not the pump wire). If there is not 240v (give or take a few volts) there, it indicates a problem on that end. Diagnose and rectify the problem, before reconnecting and retesting for pump function. If this is not the issue, proceed to the next step. Be sure power is off again.
- Take off the hex nuts that hold the cap in place with a socket wrench. 7/16" is a common size for many caps. On some older caps it may use small hex bolts, mounted horizontally (same as the system used with 4" metal vent caps).
-
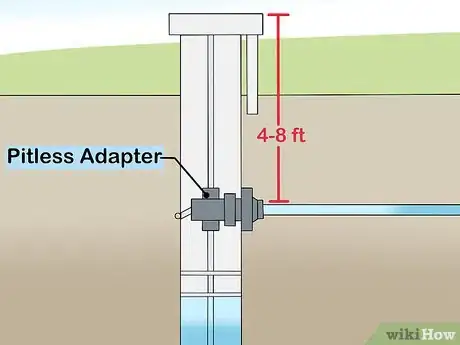
4Determine the type of pitless adapter, the depth and location of it, and what you will need to adapt to it (not applicable to well seal/Morrison head). Use the high-powered flashlight to look inside the well casing.
- In colder regions, where freezing is an issue, the pitless adapter is usually located 4-8 feet below the top of the well. In warmer regions, it may be located nearer to the surface.
- The pitless is the brass fixture on top of the drop pipe. You should be able to see the threads where the T-handle threads into it. Depending on the type of adapter, these may be male or female threads.
- There may be a pipe that extends from the top of the pitless, to the top of the well casing or slightly past, with a bar (for lack of a better description) that spans the top of the casing, or that has a coupling on the end with or without a plug in it. This is called a hold-down. It stops the pitless from unseating during pump operation. Sometimes, the hold-down is tack welded to the side of the well casing. This can be undone with a hammer blow, or a grinder if necessary. Undo the bar, plug, or tack weld, and thread a short T-handle to the end, after the next step.
- Try to ascertain the size of the adapter (either 1” or 1-1/4”). If there is a hold down, the diameter of the hold-down pipe should be sufficient information provided it is at least 1”. This information is critical to the next step.
- If you have a 7” well with a donut shaped pitless that fills the well casing, you have a Whitewater pitless. Due to the notorious difficulty involved in pulling and resetting this type of pitless, it is strongly advised that it is left to professional care.
- If it appears like you may have just a tee, piped through the side of the casing, consult a professional.
-
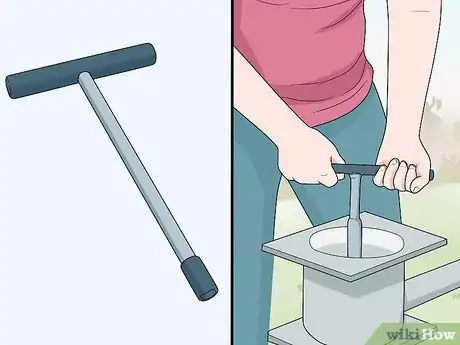
5Construct the T-handle and prepare to pull the pump. Using the information obtained in the previous step, construct a T-handle using galvanized steel pipe and fittings corresponding to the size of your adapter (1” or 1-1/4”).[4] Do not substitute the specified material for PVC (not strong enough) or other metals (more expensive).
- For a short T-handle use:
- 1 tee
- 3 pieces of pipe 12” long, or 6 6” nipples joined together with 3 couplings.
- Construction is simple. One foot of pipe in each side of the tee. Tighten all joints completely. Do not cross-thread.
- For a long T-handle:
- 1 tee
- 2 pieces of pipe 12” long, or 4 6” nipples joined together with two couplings.
- 1 long piece or no more than two pieces of pipe joined together with a coupling, of a length equal to at least the distance from the top of the pitless, to the top of the well casing, plus one foot. Longer is ok, shorter is not. Construct by putting the 12” pieces in the sides of the tee, with the longest section going in the bottom of the tee. Tighten all joints completely, do not cross thread.
- Thread the T-handle into the pitless or the hold-down. If you are unable to determine whether your pitless is male or female threads, keep a coupling of the appropriate diameter handy. Attach to the end of T-handle and attempt to thread, if male threads don't connect. If you are unable to determine the diameter of your adapter, build a 1" T-handle, keep an 1-1/4-1 reducer and a short nipple handy. Try those combinations needed. If your T-handle connects but fails to thread, stop and consult a professional. The threads in the pitless may be damaged or fouled and an insufficient connection will lead to the loss of the pump and pipe. If you have made a successful connection, hand tighten as tight as you can, and give two more turns with a pipe wrench to complete. Do not cross-thread. Proceed to the next step.
- For a short T-handle use:
-
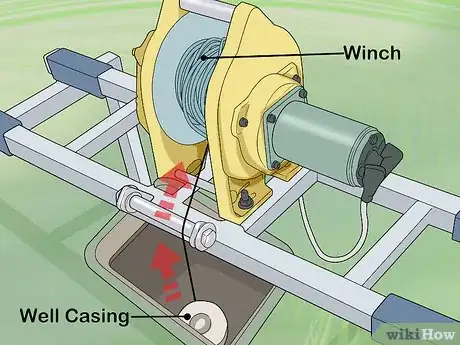
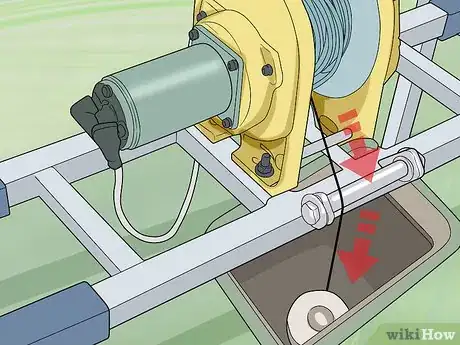
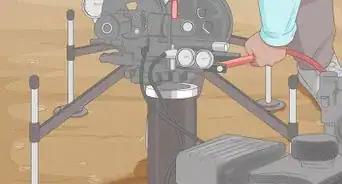
6Pull the pump out of the well casing with a winch or a derrick. A winch or derrick has the strength to pull the submersible pump out without damaging the casing or yourself. The method for pulling the pump that will be described here is a variant of the "double dog" method, and while not the standard method of pulling well pumps, will most likely be the easiest method for the equipment and skills available to the types of persons using this guide.
- If the pump is 3/4hp or less on 100' or less drop pipe, and the drop pipe is Schedule 80 PVC or HDPE (black poly)you may consider pulling it by hand, if you and your assistant are strong enough. If it is HDPE, pulling by hand is the primary option, since it does not have jointed sections, other than possibly a hold-down, or a short section of galvanized steel pipe below the pitless.
- If you have a well seal or Morrison head, undo the connection between the drop pipe and outlet line that is above ground. On a well seal, use a wrench or ratchet to loosen the bolts on the seal. After you do this, pull the drop pipe up through the seal a foot or so, and attach a pipe dog, using the guidelines below to properly set the tightness.
- Preset the tightness of your pipe dogs using the T-handle as a guide. The pipe dog is set correctly when it takes a moderate or slightly more resistance to close it around the pipe. If your drop pipe turns out to be Sch, 80 or HDPE, you will need to adjust a bit more when the moment comes to use it. Be sure to not overtighten with these materials, as they may deform or break. Do not under tighten, as the loss of the well pump and pipe may result.
- Attach the winch or derrick line to the T-handle or around the pipe dog. Do this with a chain, in a way such that the it will not come off the T-handle or pipe dog, and the handle of the pipe dog will not be accidentally released.
- Unseat the pitless by tightening the winch or derrick line and using it to pull the T-handle up. Use a small sledgehammer to tap up on the bottom side of one of the T-handle handles to assist with this. Do not pound on it forcefully. You will know the pitless has unseated by the sudden release of tension, and you will most probably hear water gush out. Guide the pitless out of the side of the well casing and straight up, stopping when the pitless is approximately 18 inches (45.7 cm) above the top of the casing Clamp with a pipe dog, ensuring to set it on the top of the casing, and to not pinch the wire, release the tension from the cable and remove the T-handle. If the pitless will not unseat, stop, and consult a professional.
- Check that the pitless has its O-ring(s), and that it(they) are in good shape. Replace with an exact replacement if necessary. Replacement with anything not an exact replacement may result in the pitless not being able to seat properly, or leaking.
- During this process have the assistant hang on to the wire, guiding it out of the casing, cutting where it is taped onto the pipe(taking care not to nick the wire), and feeling for any defects or bare spots there may be on the wire.
- If you have a well seal, this step is pulling up 18 inches (45.7 cm), unseating the well seal with a prybar or flathead screwdriver, raising the seal so you can clamp the second pipe dog on below the well seal and then taking the well seal off the pipe.
- Proceed to pull the pipe and pump by attaching the chain under the pipe dog in a way such that it cannot come off. If you are using a winch, you will only be able to pull it in small increments. If you are using a derrick, and the boom is long enough, you may be able to pull entire sections of pipe. If not, pull in smaller increments.
- If your drop pipe is galvanized steel, it comes in 21 feet (6.4 m). lengths,typically. If it is Sch. 80 PVC, it is in 20 feet (6.1 m). sections. If it is HDPE, it does not come in sections. As mentioned earlier, pulling HDPE by hand is the most viable option, and should be attempted first.
- In 4-5" casings, rust buildup on the inside may cause the pump to hang up, or not allow a new pump to go down. If this is the case, consult a professional to work out a viable solution to the problem. Do not force the pump and pipe to go anywhere it does not want to, as the consequences can be dire.
- Pull the pipe and pump up out of the casing. With a winch or short boom derrick, pull a couple (5 for the short boom derrick) feet at a time, attach the other pipe dog, at the top of the well casing or slightly above, set down, undo chain, and upper pipe dog. Reattach chain to lower pipe dog, same as before. Repeat until you have reached the first coupling. At this point attach the pipe dog below the coupling. If using a derrick with a long enough boom, this is the first point where you stop and clamp the pipe.
-
7Take the drop pipe apart. Unscrew the pipe out of the top of the coupling. Do not unscrew the coupling off of the pipe below.
- If the pipe is galvanized steel pipe, inspect each section for rust. If the pipe is rusty, and/or covered with blisters of rust, do not reuse the pipe. Replace with new galvanized, or Sch. 80 PVC. Take extreme care with the pipe in the air, as you unscrew it as it is heavy, and serious injury or damage may result to persons or property hit by the pipe as it comes to the ground.
- Take care with Sch. 80 PVC to not over extend the pipe, as it will break. Take care to not damage the threads on the pipe or couplings.
- Use the piece of 2" Sch. 40 PVC as an extension to give yourself leverage if you're having trouble getting the pipe to come unscrewed.
- Repeat the process until you have the pipe and pump out.
-
8Follow manufacturer's directions to attach your new pump.
- Run a continuity test on the wire you just pulled with the old pump, if no obvious defects were found. If there is continuity, reuse. If not, replace the wire.
- The wiring kit should have three butt connectors, and three shrink tubes. Slide the shrink tubes onto the pump wires before connecting the wires. Crimp well, so the wire doesn't pull out of the butt connectors, and seal by centering the shrink tubes over the connections, using the propane torch to shrink
- If you have a 6" or larger well, there will be a torque arrestor(it looks like a rubber football with four pieces missing) Make sure it is in good condition. Replace if needed. If there is not one, put one on, with the bottom about 6 inches (15 cm) above the pump. "Balloon" the torque arrestor out so it is about the same size as the well casing or slightly less. Not having it enough will make the torque arrestor ineffective.
- Run a continuity test on the wire you just pulled with the old pump, if no obvious defects were found. If there is continuity, reuse. If not, replace the wire.
-
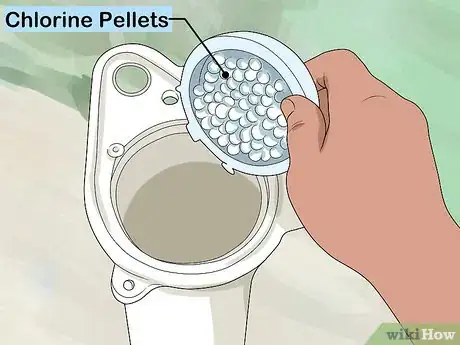
9Chlorinate the well with a few(10 or so) chlorine pellets or a few cups of liquid bleach. When installing well pumps, debris and rust is stirred up in the casing, and bacteria can get in through the top, which can cause problems.[5]
-
10Reverse the process used to pull the pump. Be sure to tape the wire well, and use enough pipe dope on the threads. Lower the submersible pump into the well casing with the winch or derrick line.[6] Stop when the pitless is 18–24 inches (45.7–61.0 cm) above the casing. Clamp with a pipe dog.
-
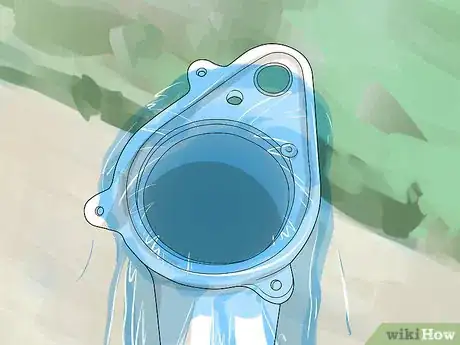
11Run the water in the casing over the top until it is clear, and you can no longer smell chlorine. Do this by wiring the pump wire back up to the other wire, and turning the power back on. The pump will pump the water out and onto the ground.[7]
- After the completion of everything, you may choose to continue to run off more water through an outside garden hose bibb. This will flush the water through the pressure tank.
- If you have any filters, screens, or softeners, beware that they may become plugged up by small flakes of rust stirred up by the pump replacement procedure. Running it over the top a bit longer can go a long way towards prevention, but, is not 100 percent effective.
- After the completion of everything, you may choose to continue to run off more water through an outside garden hose bibb. This will flush the water through the pressure tank.
-
12Turn the power off, unwire, reattach the T-handle and chain, lubricate the O-ring(s) of the pitless with petroleum jelly(do not use pipe dope), lower down the rest of the way, and reset the pitless. Use the high-powered flashlight to see down the casing to help you.
- This step can be very difficult. Make sure to get it right. or get help to get it right.
- If you have a horizontal-seating pitless (i.e. Mass J-Series or similar) tap the top of the T-handle to seat the pitless the rest of the way.
- If you have a vertical-seating pitless(Advance or similar) and it was on galvanized steel pipe, and was replaced with Sch. 80, add a hold down before turning on pump. Due to the difference in the hanging weight, a pitless of this type may unseat otherwise.
-
13Wire the pump back together, carefully stuff the extra wire back in the casing, replace the well cap and tighten the hex nuts to secure it.
-
14Turn the power back on and test your new pump. Normal water service should be restored.
- In spite of chlorination, it is required in many jurisdictions to submit a water sample for bacteria testing. Treat the water as unsafe for drinking purposes, pending the results of the test.
Community Q&A
-
QuestionWhat can cause a pump to click on and off?
 Community AnswerIt could be the pressure tank has no air charge.
 -
QuestionIf the gasket is bad between the pump and the motor, would this cause it to lose suction?
 Community AnswerI hope you meant the gasket that is the part of the pump. If so, it is worn out and needs replaced.
 -
QuestionIs 12-2 wire used on well pumps? And what breaker is needed: 15a or 20a?
 Community AnswerFor a 2-wire pump, 12-2 solid or braided core submersible pump wire is commonly used, with 12-2 underground wire run from the house to the well. This may change on deeper wells or higher output pumps, though. Use a 20 amp breaker with the aforementioned 12-2 wiring setup.
Things You'll Need
- Jet pump or submersible pump
- Plumber's wrench
- Screwdriver
- Teflon tape
- Socket wrench
- Winch
- Sanitation liquid
References
- ↑ https://www.familyhandyman.com/plumbing/plumbing-repair/well-pump-troubleshooting-and-diy-repair/
- ↑ https://www.waynepumps.com/wp-content/uploads/woocommerce_uploads/2018/10/SWS50-8.5FX_670005-001-B_Web.pdf
- ↑ https://www.youtube.com/watch?v=Jxb3Uj1xO2M
- ↑ https://baileylineroad.com/the-right-way-to-install-a-submersible-pump-in-your-water-well/
- ↑ https://www.in.gov/idem/cleanwater/files/gw_wells_disinfection_inst.pdf
- ↑ https://baileylineroad.com/the-right-way-to-install-a-submersible-pump-in-your-water-well/
- ↑ https://www.in.gov/idem/cleanwater/files/gw_wells_disinfection_inst.pdf
- http://thehousingforum.com/how-to-replace-a-well-pump/
- http://www.popularmechanics.com/home/improvement/electrical-plumbing/1275136
About This Article
To replace your well pump, all you’ll need is a plumber’s wrench, Teflon piping tape, and a screwdriver. Make sure you turn off the power before working on your pump to avoid electrocuting yourself. You’ll also need to drain your tank to release all the pressure. Once your tank’s empty, remove the pump’s inlet and outlet ports, unscrew the wires going to the pressure switch, and remove the old pump. You’ll need to apply Teflon piping tape to the outlet and inlet threads to help you get a proper seal and prevent leaks. After you’ve reconnected the wires to your pump, you’ll also need to prime it by filling it with water through the outlet pipe and testing it. For more tips, including how to replace a submersible pump, read on!
