X
wikiHow is a “wiki,” similar to Wikipedia, which means that many of our articles are co-written by multiple authors. To create this article, volunteer authors worked to edit and improve it over time.
This article has been viewed 39,851 times.
Learn more...
Coloring inside the lines with some image programs can be tricky. Coloring just the lines themselves might seem impossible. You'd have to zoom in really far, and use the dot tool to color them pixel by pixel, right? Not anymore! Using a neat little option, you can change all of your selected lines within seconds.
Steps
-
1Decide which area you want to change. Should this section be a little bluer? Maybe having these lines pink would complement the vase better.
-
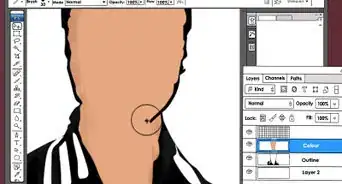
2Choose the layer that has the element you want to change.Advertisement
-
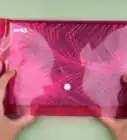
3Click "Protect Alpha". It is the first of three checkboxes above the layers. If you've activated it, you should see a little x in the square. Protect Alpha will make it so that you can only draw on areas that you have already drawn on in that layer, and so you can't draw on any other layer.
-
4Adjust your brush size. Make it bigger or smaller depending on what you want to achieve. If you're trying to change a larger area or trace over all of the lines in one drawing, make your brush size bigger. The biggest it can be is 1000. If you're trying to make more precise details, or there is a lot of clutter in a specific part you want to focus on, make the brush smaller. The smallest it can be is 1.
-
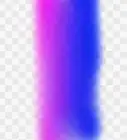
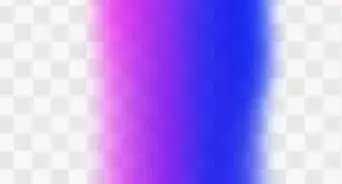
5Change the brush color. Make it the color that you want your lines to be. Try experimenting with different levels of saturation.
- The brush preview window will not show you the color of your brush. It will show you the size, transparency, and type, but not color. You could try experimenting with a new layer to see how your new color will look before you actually apply it. Once you've found the right one, simply delete this layer.
-
6Click and drag using your brush over the whole canvas. Only the elements in the selected layer will change color, leaving you with transformed (yet clean) lines.


Advertisement


About This Article
Advertisement