X
wikiHow is a “wiki,” similar to Wikipedia, which means that many of our articles are co-written by multiple authors. To create this article, volunteer authors worked to edit and improve it over time.
This article has been viewed 20,139 times.
Learn more...
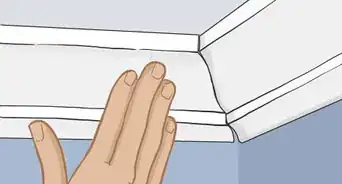
Removing molding can wreak havoc on your drywall. To avoid damaging the surface of the wall, you should tear trim out slowly and use several tools to protect the wall from the force of a pry bar.
Steps
Part 1
Part 1 of 3:
Preparing the Wall
-
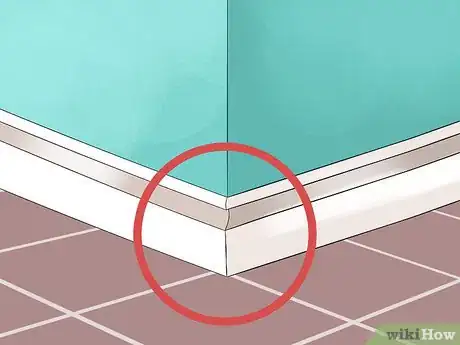
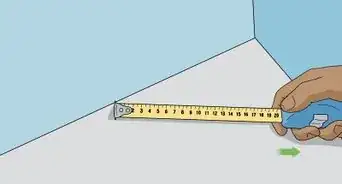
1Remove all furniture in front of the trim. Do some research and find the start of all your trim pieces. It is better to start at an edge and work your way in.
-
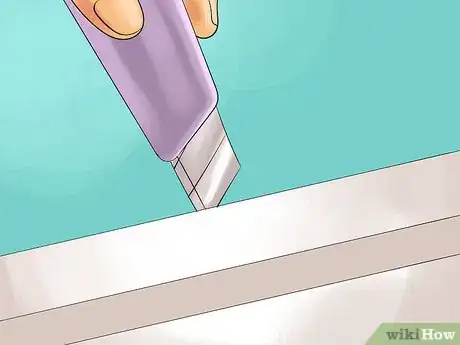
2Cut through the caulk and paint at the top or side of the trim with a utility knife. Slit it directly where the wall meets the trim. You will be less likely to tear up strips of drywall as you pull up the trim.[1]Advertisement
-
3Ready your tools. Wear safety glasses in case wood breaks. Wear gloves in case of splinters.
Advertisement
Part 2
Part 2 of 3:
Prying the Trim
-
1Start with the edge section that seems the easiest to access.
-
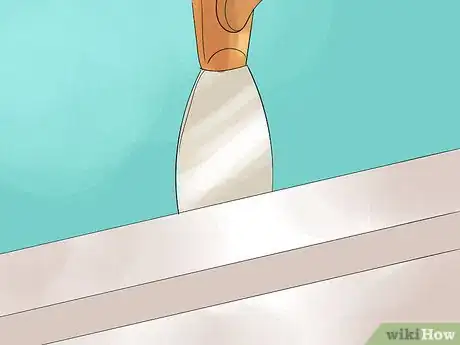
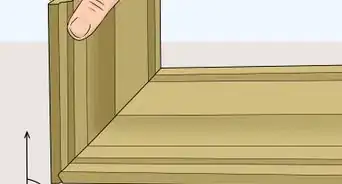
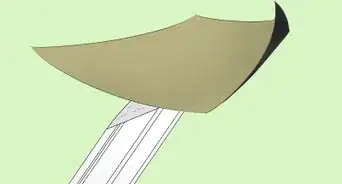
2Insert a metal putty knife between one and three inches (2.5 to 7.5cm) into the top of the baseboard or side of the wall trim. Insert it so that it is parallel to the wall, where the wall meets the trim.
-
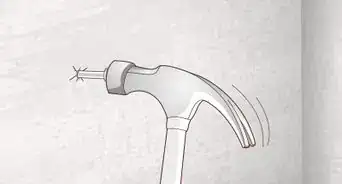
3Use a small hammer to tap the top of the putty knife and drive it further underneath the trim. The putty knife will protect the wall from your pry bar.
-
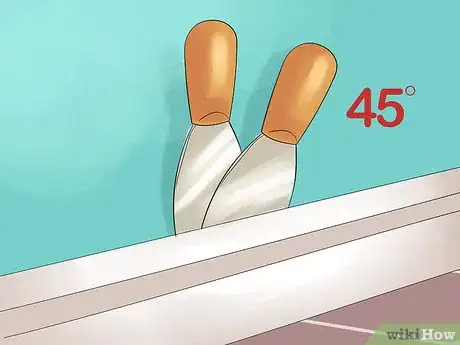
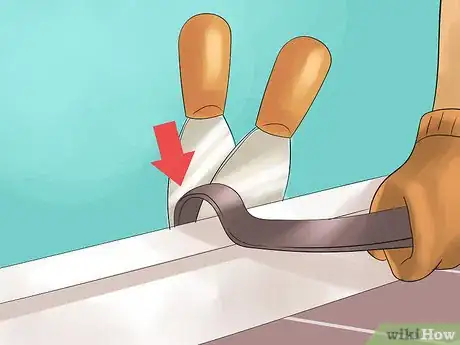
4Insert a second putty knife parallel to the wall. Twist the second putty knife to a 45 degree angle.[2]
-
5Find a very small pry bar for this project. If the end has a protective rubber piece, it will be even more effective and less likely to damage the wall. Dig the pry bar behind the trim and in front of the putty knives.
-
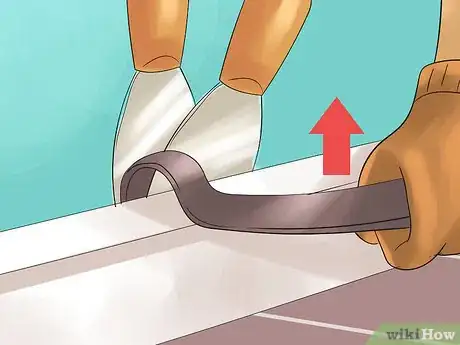
6Pull forward with gentle but firm force. The finish nails should come forward and stay in the wall or the back of the trim. Leave them there for now.
-
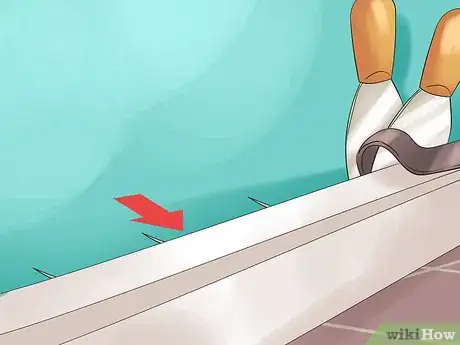
7Work your way down the entire length of the trim, wedging the putty knife and inserting the pry bar to loosen fixed sections. Continue until the entire piece of trim comes away from the wall.
Advertisement
Part 3
Part 3 of 3:
Removing Nails
-
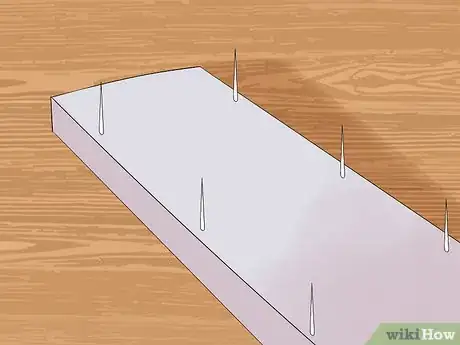
1Lay the trim piece face down on your floor or worktable.
-
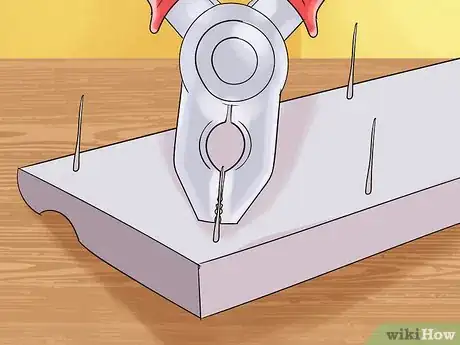
2Use pliers to remove the finish nails from the back of the trim piece. It should leave the front of your trim clean and free of nail holes.[3]
Advertisement
Things You'll Need
- Utility knife
- Gloves
- Safety glasses
- Small pry bar
- Putty knives
- Small hammer
- Pliers
References
About This Article
Advertisement

