This article was co-authored by Art Fricke. Art Fricke is a home renovation and repair specialist and the owner of Art Tile & Renovation based in Austin, Texas. With over 10 years of experience, he specializes in bathroom and kitchen renovations. Art focuses on a single contractor approach to customized renovation work, and performs projects such as installing custom tile showers, fixing tiled shower leaks, replacing cracked tiles, and installing floor and wall tile.
There are 9 references cited in this article, which can be found at the bottom of the page.
This article has been viewed 36,716 times.
Reglazing your tile technically requires removing each tile and sending it back to the kiln. Luckily, refinishing your tile with epoxy paint gives you that finished look with a do-it-yourself approach. Start by getting a quality tile refinishing kit and following the enclosed directions. Get the area ready for painting by replacing any damaged tiles and cleaning it well. Then, apply primer and a double-coat of the epoxy paint. Wait a few days for it to cure and you can enjoy your new looking tile![1]
Things You Should Know
- Choose a refinishing kit and read all instructions before replacing any chipped tiles, cleaning them, and wiping them down with sandpaper.
- Mark off the area with painter’s tape, cover surrounding areas with a tarp, open up windows for ventilation, and put on any safety gear from the kit.
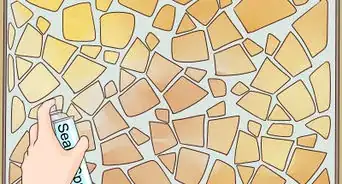
- Apply a primer before mixing the epoxy and applying at least 2 coats of paint or reglazing compound, spending extra time on decorative areas.
Steps
Repairing and Cleaning the Tiles
-
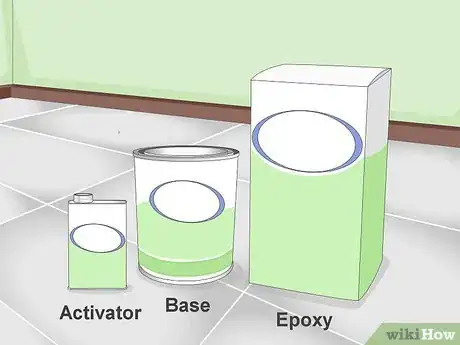
1Choose a refinishing kit. These kits are sold at hardware and home repair stores as well as online. Some just come with the epoxy paint, while others include rollers and sprayers for application. Read over what each kit contains and compare prices to determine the best choice for you. Expect to spend around $80-$100 for a kit with everything included.[2]
-
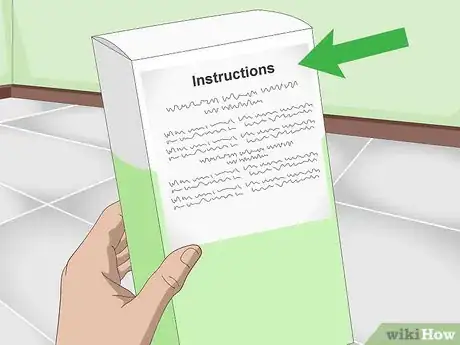
2Read all of the kit instructions carefully. Before you start the glazing process, unpack your kit and spend some time going over the step-by-step instructions. If you are unclear about the directions, look for a customer service number or helpline that you can call. The instruction booklet will also tell you what kind of safety gear you’ll need.[3]
- Pay close attention to any of the kit’s warning labels or notices. For example, it might advise you that certain types of tile, such as laminate, are not good candidates for refinishing. In this case, you may need to replace the tiles or talk with a professional installer.[4]
Advertisement -
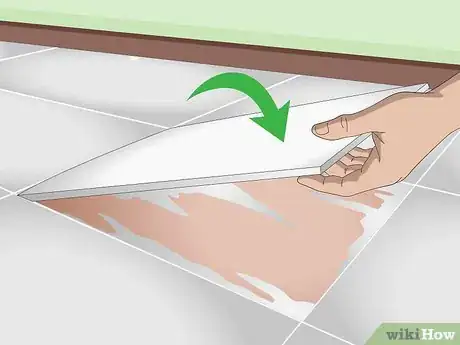
3Replace any chipped or broken tiles. A new finish will probably make any imperfections even more obvious. Remove all caulking with a scraper and then follow up with a caulk remover liquid. [5]
- If the refinishing glaze that you are using is opaque, don’t worry too much about matching the replacement tile’s color exactly with the old ones. After all, they will all look the same after the paint coating.
- Repair small cracks or minor chips by applying a polyester putty to the area and then smoothing it out. This will make the tile waterproof once more and the repairs will be covered up by the refinishing process.[6]
- Scrape out enough grout and adhesive so the new tiles sit slightly below the existing tile. This makes it less noticeable if you reglaze it.
- To remove a ceramic tile, drill into the center of the tile with an abrasive diamond drill bit. Work slowly, keeping your drill set to the lowest speed, and dip the drill bit in water frequently to prevent it from getting too hot.[7]
-
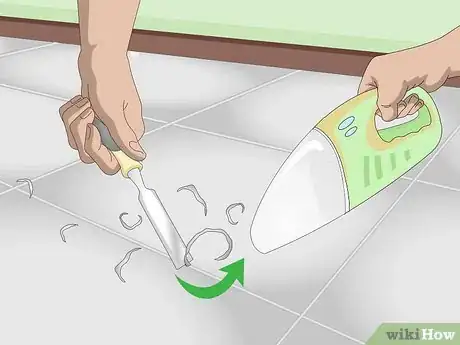
4Remove the grout, if desired. If your grout is cracking, falling apart, or extremely moldy, then go ahead and chisel it out before moving forward. Use a flat head screwdriver, small hammer, and utility knife to apply pressure to the caulk beads. They may peel right up or you may need to gradually chip them away with the knife. Always keep your hands away from the knife’s path and go slowly.
- This step can get pretty messy, so keep a vacuum close by to suck up the dust and debris.
- Use a mix of muriatic acid and water to loosen the grout. Only use the acid if you are working in a well-ventilated area and wear a mask and gloves while handling it.
- You’ll want to replace the grout either before painting or after the epoxy paint has cured. It is really your choice. Grout covered with epoxy paint will be uniform and easier to clean. But, some people like the look of grout lines.
-
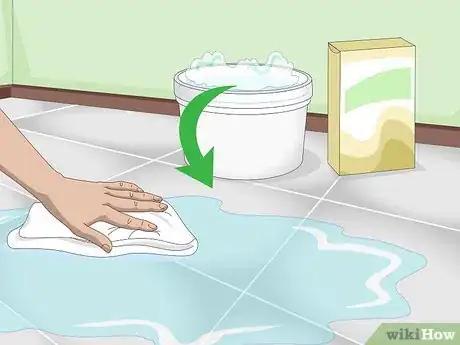
5Clean the tiles thoroughly. Your kit will likely come with specific cleaning instructions. It might ask you to mix together an enclosed powder with water and then scrub it on the tile. If instructions are not provided, clean the tiles with bleach, a powdered cleaner (such as Comet), and a rust and lime remover. After each cleaner application, do a full rinse with water.[8]
- For instance, try making a paste by mixing a little water with an oxygen bleach powder like OxiClean. Scrub the paste into the tile and grout with a stiff nylon scrub brush, let it sit for 10 minutes, then rinse or wipe it away completely with water.[9]
- If you are working with kitchen tiles, use a degreaser cleaner or rubbing alcohol to remove any oily residue.[10]
-
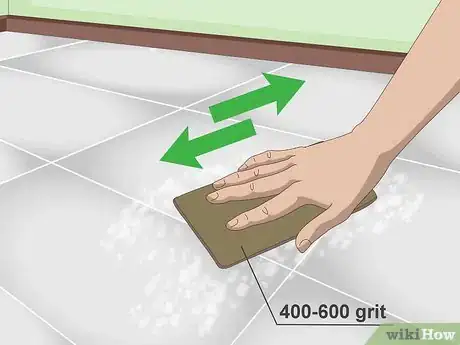
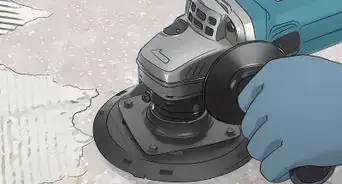
6Wipe them down with sandpaper. Go over each tile with 400/600 grit sandpaper. Choose the wet/dry type of paper, so that you can move on to sanding directly after cleaning. Move your hand in small circles or back and forth motions and try to cover all tiles evenly. Rinse off the tiles with water when you are finished.[11]
- Remember that your goal is to remove any surface bumps and imperfections, not to sand it down to its base.
- Porcelain tiles need to be prepared with an etching liquid or a pumice block so the glaze will adhere to it.
- Sanding increases the lifespan of your refinishing job by allowing the epoxy paint to more fully adhered to the surface of your tiles.
- Don’t get too discouraged if you can’t see clear results from your sanding. Just keep going and rub your hands over the tile’s surface to feel the change in texture.[12]
-
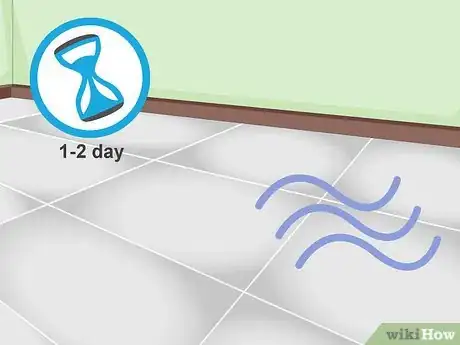
7Let the tiles dry. Wait at least a day or two for the grout and tiles to fully dry before moving forward. If you apply a refinishing paint to a wet surface, it will not stick as well and may even leave air bubbles behind.[13]
Protecting Yourself and the Surrounding Area
-
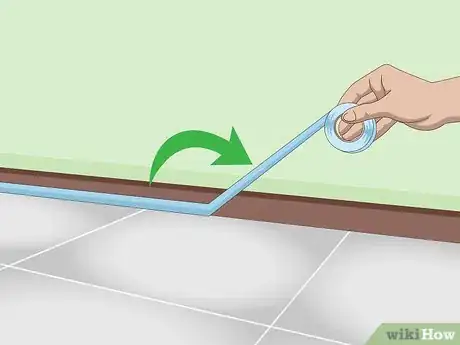
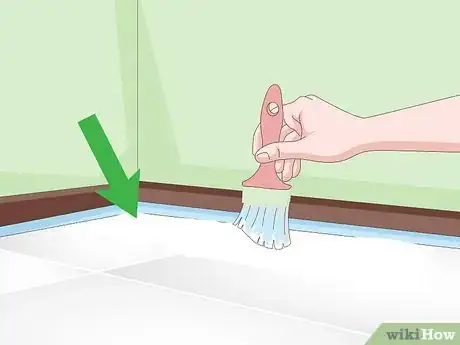
1Mark off the area with painter’s tape. When the area is completely dry, apply a strip of tape to any wood trim or other surfaces that connect to the tile. This will keep the epoxy paint from spreading beyond the tile. Keep this tape on until a few minutes after you finish your final paint application.[14]
-
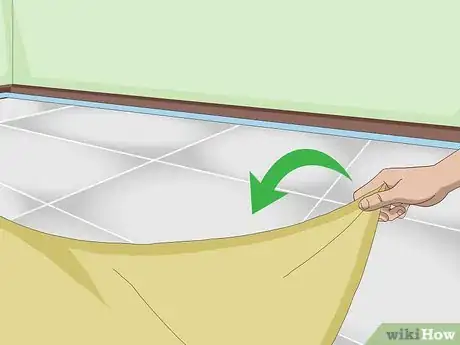
2Cover the surrounding areas. Before you start the application, make sure to put a tarp or even a sheet over the floors in the room where the tile is located. This will keep them clean in the event that you accidentally splatter or spill any epoxy paint. When you are finished with your project simply gather this sheet up and toss it or clean it off elsewhere.
-
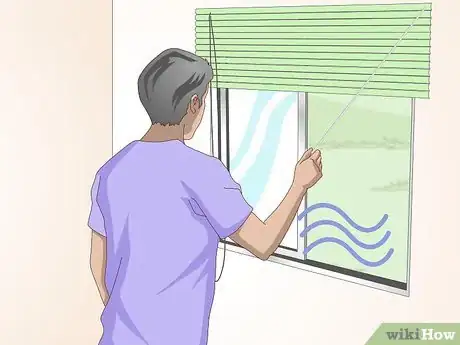
3Open up windows for ventilation. Most people suggest opening as many windows as you can to let out some of the fumes from the painting process. To get rid of the smell, try to keep them open for as long as you can, usually the entire day of application.[15]
- If the day is warm or hot, opening the windows may shorten the drying time.
-
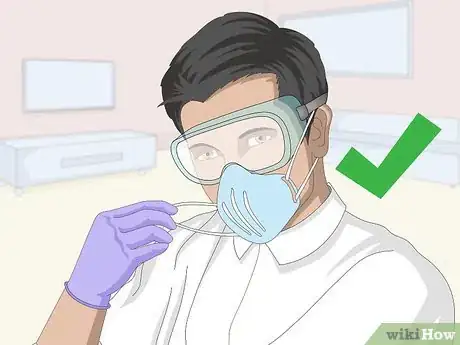
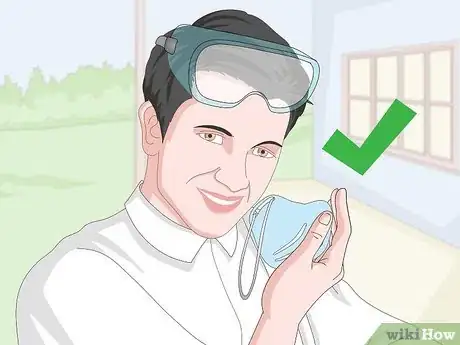
4Put on any safety gear. Some kits come with respirators or masks, high-quality rubber gloves, and protective glasses. If this is the case, go ahead and put these on before continuing. If your kit does not provide these items, make sure to go out and purchase them in advance. A respirator, in particular, is a great way to minimize your contact with the nasty fumes.
- Check that the gloves that you plan on using fit you well. If your gloves are loose or baggy they may hurt your ability to apply the paint cleanly.
Applying the Epoxy Coating
-
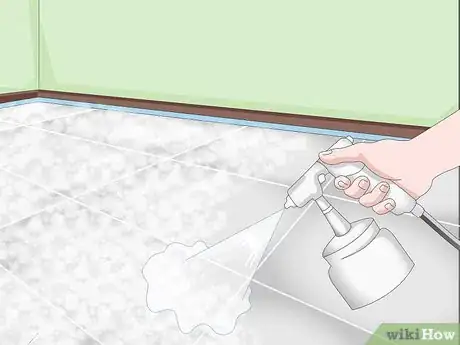
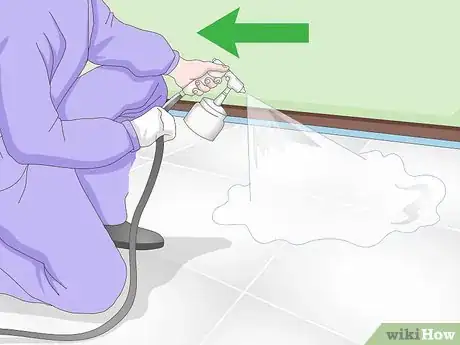
1Apply a primer. Depending on what your kit suggests, either use a primer meant for glossy ceramics or an acid-based deglosser. These products make it easier for the epoxy paint to adhere to the surface of the tile. Some kits come with the necessary primer, but in many cases you’ll have to purchase it separately. Follow the primer directions carefully to make sure that you apply it correctly.[16]
- Some suggest using a sprayer to apply the primer, instead of rolling or brushing it on. This may prevent some stickiness, but you’ll likely want to practice with the sprayer beforehand, as they can sometimes be difficult to use.[17]
-
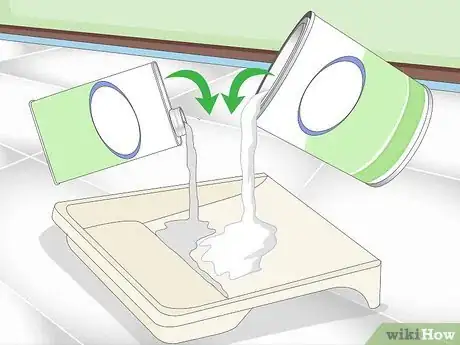
2Mix the epoxy together. Most kits come with two separate paint cans: the activator and the base. Grab each can and give it a good shake. Then, slowly pour them together in your paint tray. If the final mixture looks a little transparent or milky, that is okay. It will handle a bit like glue and will dry solid, too.
-
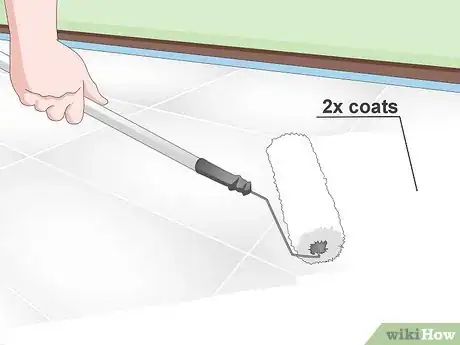
3Apply at least two coats of paint or reglazing compound. Pour the mixed paint into a sprayer or dip a brush into your paint pan. If you are working with a brush, start with the edges first and work your way in. You could even brush out the edges and then use a roller for the middle. After your first coat is finished, give it at least two hour to dry. Then, apply the next one.[18]
- It’s generally best to use a foam roller, as it will leave less of a pattern on the tile. And, if you use a paint pan, make sure to change out the liner and refresh the paint before applying a second coat. Otherwise, you may end up with dried paint lumps on your tile.[19]
-
4Spend extra time with any decorative areas. If your tile has a special border or extra embellishments, expect to go a little bit more slowly on these areas. You may want to switch to a brush, so that you can get deeper into any indentions or prints.[20]
-
5Take breaks, if needed. In between various steps, go outside of the room for a few minutes, take off your respirator, and breathe in the fresh air. If you had to hunch over or lean down while painting, take a quick stretch before going back in.[21]
-
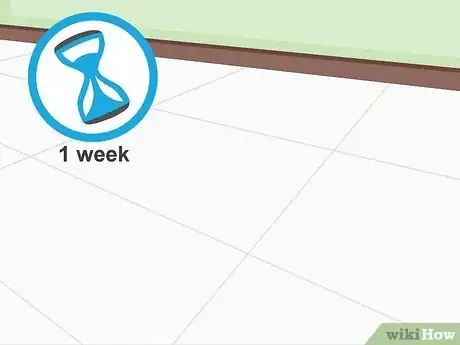
6Give it ample time to dry. After applying your epoxy paint, you now have to wait for it to cure. This is the time when the paint hardens to the point where you can get the tile wet without damaging the surface. Epoxy coatings can dry in 2-3 days, but it is probably safer to leave it alone for a full week.[22]
-
7Hire a professional. An experienced tile worker or kitchen/bathroom remodeler can offer you some additional options beyond standard refinishing. For example, some of them can spray on a primer followed by a urethane coating that mimics a glaze when buffed. Make sure to go with a contractor that you trust and guarantee a competitive price by getting at least two bids.[23]
- Tile reglazing fumes are strong and could cause sensitivity if you have allergies or asthma.
Warnings
- Pay attention to the temperature in the tiled area. If the temperature is too low, then the tile may not warm up enough to dry properly.[26]⧼thumbs_response⧽
Things You’ll Need
- Epoxy paint kit
- Cleaning supplies
- Sandpaper
- Respirator or mask
- Safety glasses
- Gloves
- Paint sprayer
- Foam rollers
- Paintbrushes
- Paint tray with liners
- Dropcloth
- Utility knife
- Flat head screwdriver
- Replacement grout
References
- ↑ https://www.miraclemethod.com/ceramic-tile-refinishing.htm
- ↑ http://www.curbly.com/best-bathtub-refinishing-kit
- ↑ http://www.livelovediy.com/2013/02/how-to-paint-tile-and-update-your.html
- ↑ http://www.improvenet.com/r/costs-and-prices/reglazing-bathroom-tiles
- ↑ http://www.improvenet.com/r/costs-and-prices/reglazing-bathroom-tiles
- ↑ http://www.improvenet.com/r/costs-and-prices/reglazing-bathroom-tiles
- ↑ Art Fricke. Home Renovation & Repair Specialist. Expert Interview. 1 July 2020.
- ↑ http://www.domesticimperfection.com/2013/11/how-to-refinish-outdated-tile/
- ↑ Art Fricke. Home Renovation & Repair Specialist. Expert Interview. 1 July 2020.
- ↑ http://www.11magnolialane.com/2013/03/12/painted-tile-backsplash-in-my-kitchen-a-year-later/
- ↑ http://www.domesticimperfection.com/2013/11/how-to-refinish-outdated-tile/
- ↑ http://www.11magnolialane.com/2013/03/12/painted-tile-backsplash-in-my-kitchen-a-year-later/
- ↑ http://www.11magnolialane.com/2013/03/12/painted-tile-backsplash-in-my-kitchen-a-year-later/
- ↑ http://www.livelovediy.com/2013/02/how-to-paint-tile-and-update-your.html
- ↑ http://www.livelovediy.com/2013/02/how-to-paint-tile-and-update-your.html
- ↑ http://www.11magnolialane.com/2013/03/12/painted-tile-backsplash-in-my-kitchen-a-year-later/
- ↑ https://www.thisoldhouse.com/ideas/changing-color-tile
- ↑ http://www.domesticimperfection.com/2013/11/how-to-refinish-outdated-tile/
- ↑ http://www.domesticimperfection.com/2013/11/how-to-refinish-outdated-tile/
- ↑ http://www.11magnolialane.com/2013/03/12/painted-tile-backsplash-in-my-kitchen-a-year-later/
- ↑ http://www.remodelaholic.com/update-tile-shower-tub-weekend/
- ↑ http://www.livelovediy.com/2013/02/how-to-paint-tile-and-update-your.html
- ↑ https://www.thisoldhouse.com/ideas/changing-color-tile
- ↑ http://www.11magnolialane.com/2013/03/12/painted-tile-backsplash-in-my-kitchen-a-year-later/
- ↑ http://www.11magnolialane.com/2013/03/12/painted-tile-backsplash-in-my-kitchen-a-year-later/
- ↑ http://www.improvenet.com/r/costs-and-prices/reglazing-bathroom-tiles
