This article was co-authored by wikiHow Staff. Our trained team of editors and researchers validate articles for accuracy and comprehensiveness. wikiHow's Content Management Team carefully monitors the work from our editorial staff to ensure that each article is backed by trusted research and meets our high quality standards.
wikiHow marks an article as reader-approved once it receives enough positive feedback. In this case, 96% of readers who voted found the article helpful, earning it our reader-approved status.
This article has been viewed 21,809 times.
Learn more...
Prewashing your fabric is essential for quilting, clothes making, and many other sewing projects. This process will pre-shrink your fabric so you can cut and sew accurately, give various fabrics a more uniform texture, and stop colors from bleeding later on.[1] The process isn’t much different than washing clothing, as long as you carefully sort fabrics, and use gentle wash and dry cycles. Taking the time to prewash your fabrics is an easy way to help make your next project successful.
Steps
Prepping Your Fabric
-
1Check the fabric type. Some fabrics can be prewashed at home using a regular washer and dryer. These include cotton, nylon, polyester, acrylic, and micro-fiber. Others should be taken to a dry cleaner for prewashing, including wool, silk, rayon, and acetate.
-
2Separate your fabrics by color. Lights and darks should be washed separately. If you have several colors, it’s best to divide them and do a load for each. Sort these before you begin.[2]Advertisement
-
3Color test your fabric. This is helpful if you want to see if your fabrics will bleed or run when washed. Take a piece of the fabric you want to test and let it sit for 30 minutes in a bowl of cool soapy water. If the water is colored after 30 minutes then the fabric will need to be washed by itself or not used.[3]
- You can also use a fabric color fixative to keep colors from running. Follow package instructions for use.
-
4Place cut pieces in a bag before washing. If you have strips or other cut pieces, you should place them into a lingerie bag before washing. This will help keep them from unraveling in the washer.[4]
- You can also serge or zig zag stitch any cut pieces before washing, but this can be time consuming.
Washing
-
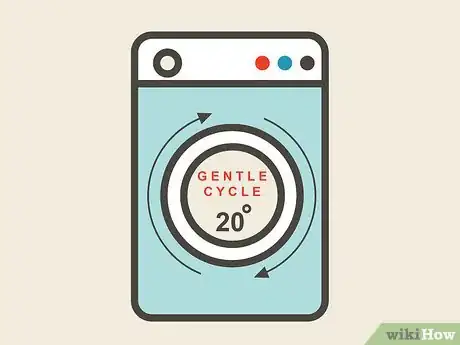
1Set your washer to a cool, gentle cycle. Set your machine’s temperature to “cool” or "cold" and use the delicate cycle. If your washer has a “hand wash” setting, this is even better.[5]
-
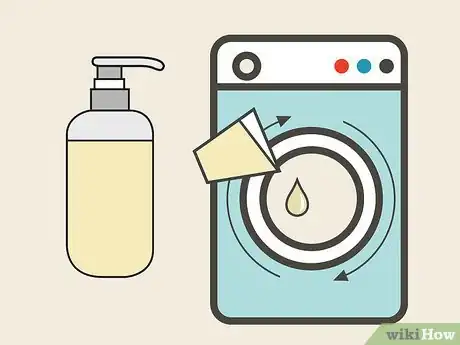
2Add one-fourth the normal amount of a mild soap. You can use mild laundry detergent, or a special quilt soap like Quiltwash or Orvus. Don’t use much detergent, however. One-fourth the amount you would normally use will be sufficient.[6]
-
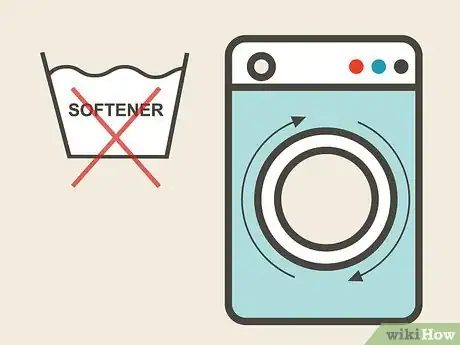
3Do not use fabric softener. Prewashing fabric prepares it for your projects. Fabric softeners, however, will change the texture of the cloth, making it harder to work with when you begin sewing.[7]
-
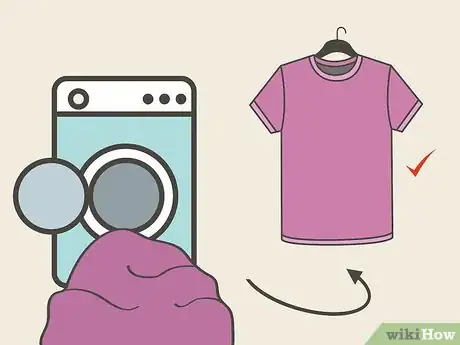
4Shake the fabric when the load is done. Once the washer is done, immediately take the fabric out. While it’s still damp, vigorously shake the fabric flat to remove wrinkles. This will be prevent creasing as the fabric dries.[8]
Drying
-
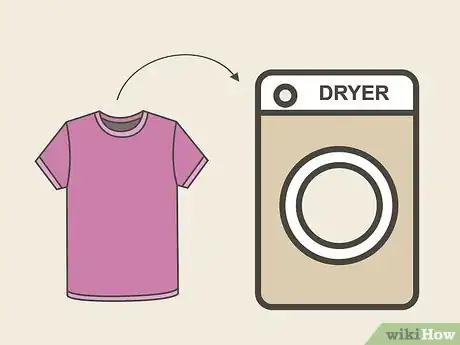
1Tumble dry the fabric. Place the damp fabric in the dryer. Use low heat and a gentle or delicate cycle, if available.[9]
-
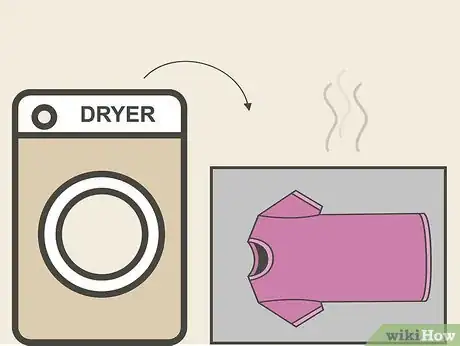
2Remove the fabric from the dryer. Do this just after the dryer cycle ends. Lay the fabric flat and let it cool. If you leave the fabric wrinkled in the dryer after the cycle is over, it will form creases.[10]
- You can also take the fabric out before the dryer cycle ends and let it hang dry to finish, if you prefer.
-
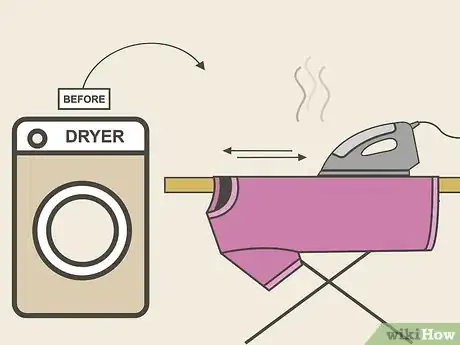
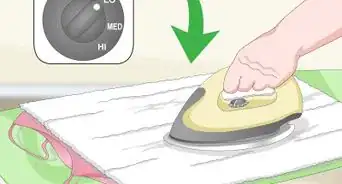
3Take the fabric out just before the cycle is done, alternatively. This is another way to ensure that the fabric does not wrinkle or form creases. Take the fabric out of the dryer while it is still slightly damp. Then use an iron to press the fabric and finish drying it.[11]
- Don't bother ironing the fabric if you're not going to use it right away, however, since storing it will cause creases.
Things You'll Need
- Bowl of water (for color testing fabric)
- Color fixative (optional)
- Lingerie bag (if you have small cut pieces)
- Mild laundry detergent or quilt soap
- Iron
References
- ↑ https://www.connectingthreads.com/tutorials/To_Prewash_or_Not_to_Prewash__D85.html
- ↑ https://www.connectingthreads.com/tutorials/To_Prewash_or_Not_to_Prewash__D85.html
- ↑ http://www.mccallsquilting.com/mccallsquilting/articles/fabric_preparation
- ↑ http://www.mccallsquilting.com/mccallsquilting/articles/fabric_preparation
- ↑ https://www.connectingthreads.com/tutorials/To_Prewash_or_Not_to_Prewash__D85.html
- ↑ http://www.mccallsquilting.com/mccallsquilting/articles/fabric_preparation
- ↑ https://leahday.com/pages/how-to-prewash-fabric
- ↑ https://www.connectingthreads.com/tutorials/To_Prewash_or_Not_to_Prewash__D85.html
- ↑ https://www.connectingthreads.com/tutorials/To_Prewash_or_Not_to_Prewash__D85.html
About This Article
Before you prewash fabric, make sure to read the label to determine whether the fabric can go in your washer or if it needs to be dry-cleaned. For example, cotton and polyester can be washed at home, while silk and wool cannot. If the fabric is safe for machine washing, sort it by color to avoid running or bleeding. Then, put the clothes in the washer with 1/4 your usual amount of detergent and run the machine using cold water on the delicate cycle. To learn how to dry your fabric to reduce creases, keep reading!
