This article was co-authored by Alberto DeJesus. Alberto DeJesus is a Construction Specialist and the CEO of DeJesus Industries. With more than four years of experience, he specializes in high-end real estate development and construction. Alberto and DeJesus Industries have been featured on NBC News and have worked with numerous well-known companies, including Mazda, Amazon, and CVS. Alberto holds a Bachelor’s degree from Boston University.
There are 7 references cited in this article, which can be found at the bottom of the page.
wikiHow marks an article as reader-approved once it receives enough positive feedback. In this case, 97% of readers who voted found the article helpful, earning it our reader-approved status.
This article has been viewed 457,526 times.
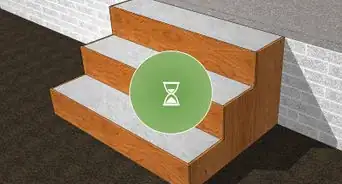
Patios can be wonderful additions to any home, but homeowners generally have to weigh the benefits of having a patio with the expense of having someone do the construction. To save on this expense, however, consider making a concrete patio one of your next do-it-yourself projects.
Steps
Preparing the Patio Site
-
1Determine where you want to construct a concrete patio, how large it will be, and its exact dimensions. The size of the patio determines the amount of concrete required and whether you will need a mixer. If the patio is too large in area, it might not be an easy DIY job. The location is also important. You want to choose a mostly even area so you don't have to level the uneven ground before you lay the concrete.
- Check local building codes to find out if a permit is required, how far the patio has to be from property and house lines, or any other county or city regulations.
- Before you dig anywhere in your yard, find out where septic tanks, underground lines, or other utilities are located.
-
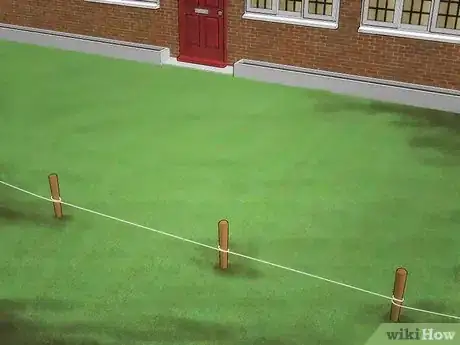
2Drive stakes into the corners of the patio area. Tie string between the stakes and use a line level to determine the slope. The stakes and string will give you a good picture of how the patio will fit in your back yard. Adjust the area if needed.Advertisement
-
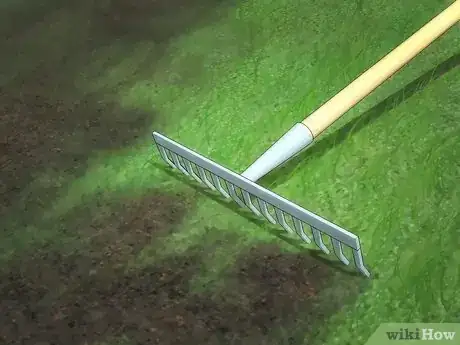
3Remove all weeds, grass, roots, and topsoil from the roped off area. This can be done with a hoe, a shovel, or other common gardening tools.
Preparing the Base
-
1Decide if you want your patio to be level with the ground or raised. Dig 4 inches (about 10 cm) deep for raised and 8 inches (20.3 cm) deep for level.
- Compact the earth if necessary.
- If you're planning on having something extremely heavy such as a brick barbecue on your patio, your first step will be to pour a concrete foundation for added stability.
-
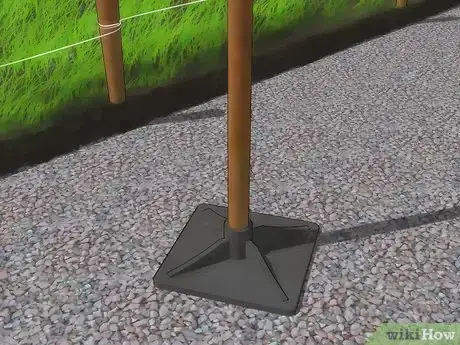
2Add a layer of gravel or crushed rock to the compacted earth. Typically, this base will be 4 inches (about 10 cm) deep.[3]
- Ensure the gravel or crushed rock is compacted and laid evenly. Fluctuation in the height of the base can cause shifting or cracking in the patio over time.
-
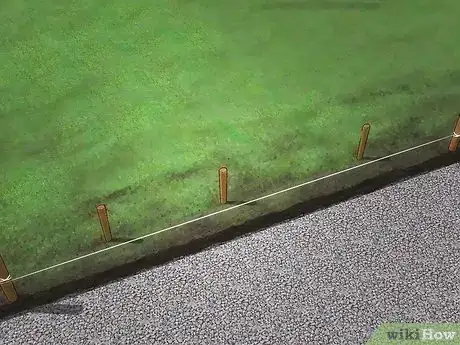
3Drive stakes around the new perimeter of your patio, spaced at least 2 feet (.6 m) apart. These stakes should be slightly outside your original stakes.[4] They will be used in a later step to help support the outer edge of your patio.
- Make sure the stakes are firmly embedded in the ground.
- Patios need to slope to allow for water runoff. The standard slope is 1/8" per foot. Check your local building codes for the exact slope dimensions.[5]
- Don't underestimate the heaviness of wet concrete. Use very sturdy wood or it could bend or even break under the weight. Consider using steel concrete forms to avoid this problem.
Installing the Forms
-
1Cut 2x4s to make the frame. The frame (also called the form) holds the concrete. Cut the 2x4 to the length so that the inside dimensions are equal to the patio area.[6] The form will be removed after the patio is finished, so you want to make sure you don't count the edge of the frame into your dimensions; if you do this, the patio will be smaller than you originally intended.
-
2Line the 2x4s with the string border of the patio. When you insert the board into your patio site, they should be aligned directly underneath the string. Remember, the 2x4s are acting as the outer walls of your patio, so make sure you place them in the correct space.
-
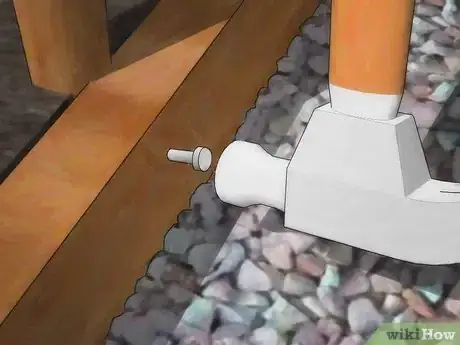
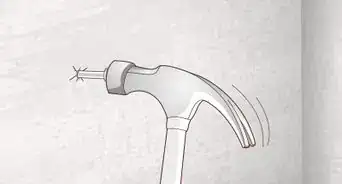
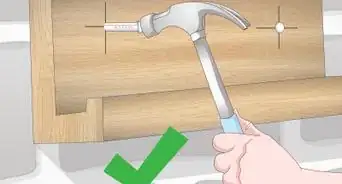
3Nail the 2x4 to the stakes. The stakes are the form's support so it doesn't bend against the concrete. Make sure the stakes, nails, and forms are sturdy. Use nails that are long and strong enough.
- You can also use screws instead of nails. This requires a screwdriver.
- While you are nailing each four forms to the stakes, make sure the forms are level. Use the string or a level to ensure the forms are level. If the forms are not level, you might end up with uneven concrete.
-
4Saw off tops of the stakes. The stakes should be just below the edge of the forms. They should not be visible above the concrete.
- If pouring concrete next to a house, other slab of concrete, or other structure, place an isolation joint between the concrete and the existing surface.[7] An isolation joint allows the concrete to move and minimizes cracking. Isolation joints are usually made by adhering asphalt-impregnated fiber sheeting or Iso-strip-off to the wall or surface your concrete will touch. The adhering asphalt-impregnated fiber sheeting and Iso-strip-off can be found at most home improvement stores.[8]
-
5Coat the form boards with vegetable oil or a commercial releasing agent. This assures that the concrete won't adhere to your boards so they can be removed after the concrete has finished setting.
Laying the Concrete
-
1Mix the concrete. This can be done by hand or with a mixer. Always follow the directions on the bags of concrete. They will list how much water you need and how you should mix it.[9]
- You can calculate the number of bags you will need by determining the cubic yards of the patio site. Multiply the thickness, the width, and the height of the area to determine how many bags you will need. You can also use a concrete calculator like this.
- If mixing by hand, you can put the concrete mix into a mortar tub or a wheelbarrow. Mix with a shovel or a hoe. Make sure that when mixing concrete by hand you wear gloves and protective eye wear.
- If using a mixer, make sure you can move the mixer into the area where you are building the patio. Do this before you begin the project.
- The amount of concrete needed for the project should determine whether you can mix by hand or with a mixer.
-
2Pour the concrete. Do this all at once to avoid independent shifting and settling of slabs.
- If using a wheelbarrow, make a ramp so you can pour the concrete into the area. Make sure the ramp does not move or disturb the forms. Ramps can be made with 2x4s or other long pieces of wood.
- Getting help from others will help with this step. Have someone shovel out the concrete as you hold the wheelbarrow.
-
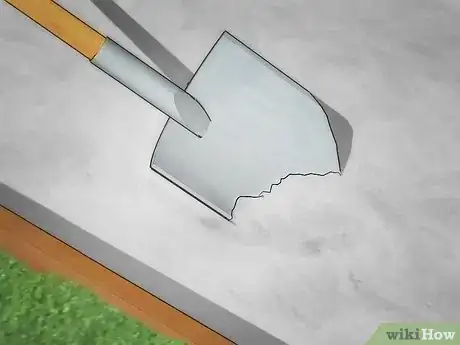
3Push the concrete into all corners with a shovel. Concrete is heavy, so make sure to dump it close to where you want it. If the area is large, you might want to use a longer tool to spread hard to reach inside areas, or wear rubber boots to walk in the concrete as you spread.
-
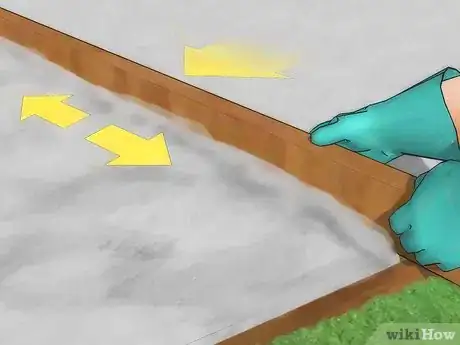
4Use a flat piece of wood or aluminum screed (a long 2x4) to level the top of the concrete. Work from one end of the patio to the other in a sawing motion. It is important to do the sawing motion over the entire patio because it will lower the gravel and make the next steps easier. Do not drag the 2x4 over the patio because it will not lower the gravel.[10]
- This is easiest done with another person.
-
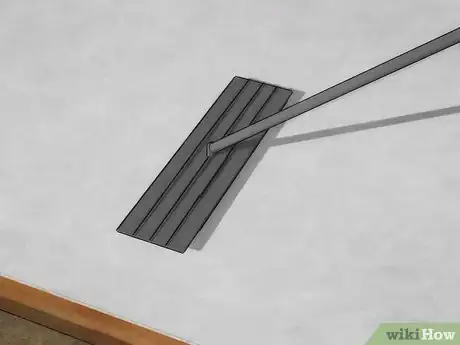
5Use a bull float to smooth the concrete surface. Move the float back and forth to smooth the patio and to fill in low spots.
- Water will float to the surface during this process. Wait until the water disappears to finish the patio.
-
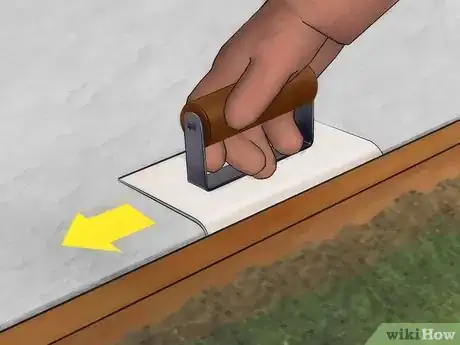
6Put on the finishing touches. Using an edger, slide it between the forms and the concrete to create a rounded edge. When the concrete can support your weight, cut grooves in the concrete every 8 feet. These are control joints that help if the concrete shifts or changes over time. The final step is to hand float the concrete with a steel or magnesium float to finish smoothing the surface out.
-
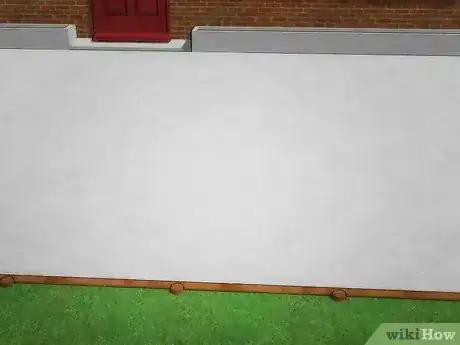
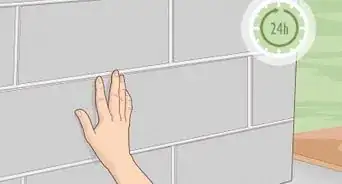
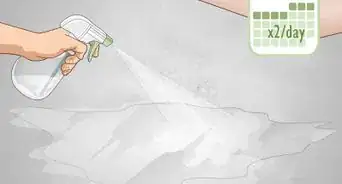
7Let the concrete cure for at least two days. Cover the concrete with plastic or a curing compound to ensure it stays moist. After the concrete cures, remove the form boards. Be careful during this process; you don't want to chip your newly laid concrete.
Expert Q&A
-
QuestionHow do you prepare the ground for a concrete patio?
 Alberto DeJesusAlberto DeJesus is a Construction Specialist and the CEO of DeJesus Industries. With more than four years of experience, he specializes in high-end real estate development and construction. Alberto and DeJesus Industries have been featured on NBC News and have worked with numerous well-known companies, including Mazda, Amazon, and CVS. Alberto holds a Bachelor’s degree from Boston University.
Construction Specialist Check that the ground is leveled and pitched after you've excavated the area for your patio. Also, keep in mind what direction the water is going in relation to your patio, and think about which direction you'd like the water to go.
 -
QuestionWhen cutting the concrete, how deep do I cut the pieces?
 Dan McVeyCommunity AnswerJoints should be 1/4 the thickness of the slab. For example, a 4 inch (10 cm) deep slab would use joints that are 1 inch (2.5 cm) deep.
 -
QuestionCan I pour concrete directly on the ground after removing grass, without putting stone down?
 Community AnswerYes. Just use an extra 2 inches of concrete so you have a total thickness of at least 6 inches.
Warnings
- Don't forget to add joints to your slab if it exceeds 12 feet (3.6 m) in any dimension. Joints should be 1/4 the thickness of the slab and placed 2 or 3 times the thickness of the slab. For example, a 4 inch (10 cm) deep slab would use joints that are 1 inch (2.5 cm) deep. Those joints should be spaced every 8 to 12 feet (2.4 to 3.6 m).⧼thumbs_response⧽
- Working with concrete can be very dangerous. Make sure to wear appropriate attire when installing the patio. Long sleeves and pants are best. Wear protective eyewear and gloves.⧼thumbs_response⧽
- Cement has a PH that is basic and burns the lungs. If you are buying cement bags, or opening cement bags and mixing them, buy a respirator mask in the paint section because it filters out cement dust. Using a respirator will prevent you from getting a sinus or lung infection.⧼thumbs_response⧽
Things You'll Need
- String
- Shovel
- Hammer or drill
- Tape measure
- Gravel or crushed rock
- Sturdy wood stakes
- 2x4s
- Steel concrete form (optional)
- Concrete mix
- Water
- Bull float
- Steel or magnesium float
- Edger
- Wheelbarrow
- Joints (optional)
- Aluminum screed (optional)
References
- ↑ http://www.quikrete.com/patio/
- ↑ http://www.familyhandyman.com/masonry/pouring-concrete/form-and-pour-a-concrete-slab/view-all
- ↑ Alberto DeJesus. Construction Specialist. Expert Interview. 15 December 2021.
- ↑ http://www.homedepot.ca/know-how/projects/building-a-concrete-patio
- ↑ http://www.homedepot.ca/know-how/projects/building-a-concrete-patio
- ↑ http://www.quikrete.com/patio/
- ↑ http://www.concretenetwork.com/concrete-joints/isolation-joints.html
- ↑ http://www.everything-about-concrete.com/concrete-expansion-joints.html
- ↑ Alberto DeJesus. Construction Specialist. Expert Interview. 15 December 2021.
- ↑ Alberto DeJesus. Construction Specialist. Expert Interview. 15 December 2021.
- ↑ http://www.cement.org/cement-concrete-basics/working-with-concrete/air-entrained-concrete
About This Article
To pour a concrete patio, start by roping off the patio area. Then, dig out the top layer of ground, and replace it with a layer of gravel. Next, make a form around your patio out of 2x4s to hold the concrete in place. Once the form is ready, mix the concrete and pour it all at once to avoid it splitting into slabs. Make sure the concrete gets into the corners by spreading it with a shovel or float. Additionally, flatten out the surface using a float. Finish by letting the concrete cure for 2 days. For tips on how to build a form and how to calculate the amount of concrete you'll need, read on!

