This article was co-authored by wikiHow staff writer, Hunter Rising. Hunter Rising is a wikiHow Staff Writer based in Los Angeles. He has more than three years of experience writing for and working with wikiHow. Hunter holds a BFA in Entertainment Design from the University of Wisconsin - Stout and a Minor in English Writing.
There are 12 references cited in this article, which can be found at the bottom of the page.
This article has been viewed 383,841 times.
Learn more...
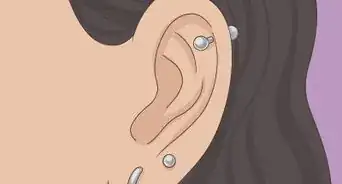
While it’s safer and more sterile to have a professional pierce your ears, this isn't always attainable. Using a piercing needle is recommended if you pierce it at home, however, if you're very certain that you want to pierce your ears with a safety pin, this article will help you know how to make it the safest experience possible! A safety pin has a similar thickness to most earrings, so using one to pierce your ears can be a cheap alternative. After making sure everything is sterile and numbing the area, push the pin through your ear to pierce it. As your ears heal, be sure to take care of the piercing to avoid getting any infections.
Steps
Sterilizing the Materials
-
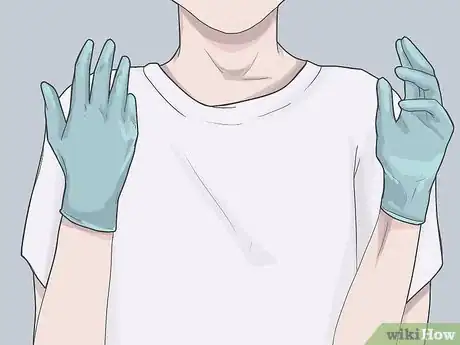
1Wear disposable gloves so you don’t spread bacteria. Bacteria can transfer from your hands to your new piercing, which could lead to an infection. Make sure your disposable gloves are labeled “sterile” to ensure that they don’t have any contaminants on them. Put on a pair before you start working so you don’t spread any bacteria to the pin or your ear.[1]
- You can buy disposable gloves from your local drugstore.
-
2Boil your safety pin for 5-10 minutes to sterilize it. Fill a small pot with water and put it over high heat on your stove. Once the water starts boiling, submerge the safety pin so it’s completely underwater. Let the water boil for 5-10 minutes to kill most of the bacteria from the pin before taking it out with a pair of tongs or spoon and setting it on a dry piece of paper towel.[2]
- Never use a pin or needle that someone else used to pierce their ears since boiling the pin can’t remove every contaminant and you could spread bacteria.
- Don’t use a pin or needle that hasn’t been sterilized since it’s more likely to cause infections.
Variation: You can also hold the pin in a flame of a candle or lighter until it’s red hot. Let the pin cool down completely before using it to pierce your ear or else you may get burned.[3]
Advertisement -
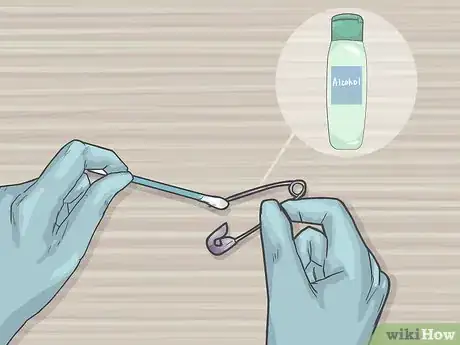
3Apply rubbing alcohol to the safety pin for additional protection. Wet a cotton swab or a small piece of paper towel with rubbing alcohol, and use it to wipe the pin. Be sure to apply the alcohol to the entire side of the pin that has a point to help kill any bacteria that may still be on it. Dry the pin on a piece of paper towel to remove any of the excess alcohol.[4]
- You can also use hydrogen peroxide if you don’t have any rubbing alcohol.
-
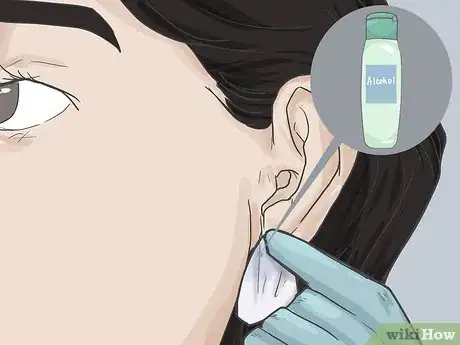
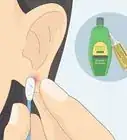
4Clean your earlobe with rubbing alcohol. Wet a piece of paper towel or a cotton swab with rubbing alcohol and wipe it on your ear where you plan on piercing it. Coat the front and backside of your ear with the disinfectant to kill any germs and prevent infection when you pierce yourself.[5]
- You can also use hydrogen peroxide or a disinfectant wipe if you don’t have any rubbing alcohol available.
Piercing Your Ear
-
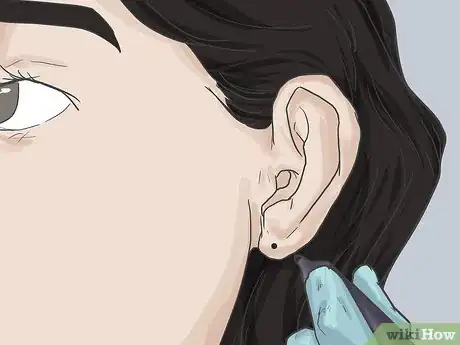
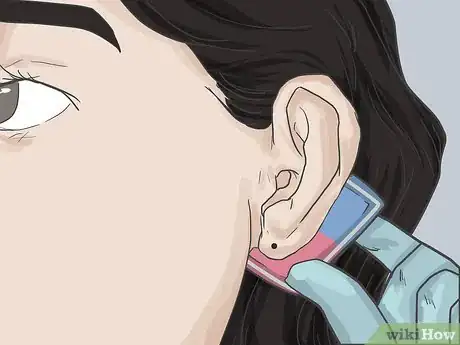
1Place a dot on your ear where you want the piercing with a marker. Look in a mirror and find the spot on your earlobe that you want to pierce. Use a fine-tipped marker to make a dot on your ear so you know where to put the safety pin later on. If you plan on piercing both of your ears, check that your marks are in the same spot on both sides so they don’t look crooked.[6]
- Avoid piercing any other places on your ear beside the lobe since the cartilage is thicker and it could be more difficult to pierce without causing an infection.
-
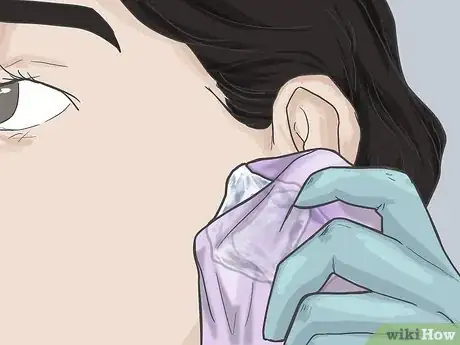
2Hold ice against your ear to help numb the pain. Wrap a towel around 1-2 pieces of ice and hold it against the front of your ear. Keep the ice there for 5-10 minutes or as long as you can handle to help numb your ear so it doesn’t hurt as much when you pierce it. Use another piece of ice to numb the back of your ear as well.[7]
- Keep the ice in a plastic bag if you don’t want it to melt and get things wet.
Variation: If you don’t have any ice, then you can also buy numbing gel from your local drugstore. Apply a thin layer of gel on the front and back of your ear with a cotton swab.[8]
-
3Hold an eraser behind your ear to protect yourself. Use a clean, new eraser or a cork so you transfer any contamination or bacteria when you pierce your ears. Hold the eraser in your non-dominant hand and keep it behind the ear you’re piercing so you don’t accidentally stab into your neck with the pin. Check in a mirror to see if the eraser/cork is directly behind the mark you drew.[9]
- If you don’t have an eraser, you can also use a potato or an apple. Be wary of this due to the fact that potatoes and apples carry bacteria. Be sure to wash them before using them, and throw them away when you’re finished since you may get blood on them.
- You could try piercing your ear without holding anything behind it, but be cautious of the pin so you don’t accidentally stab yourself with it.
-
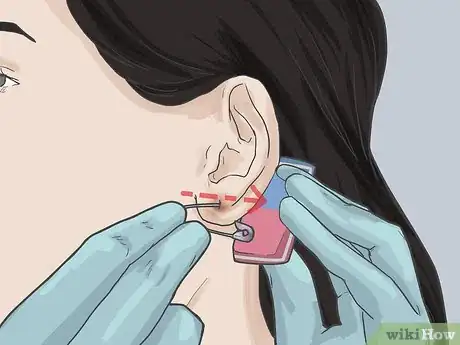
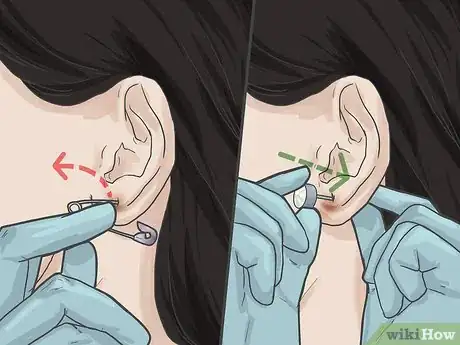
4Push the pin through the mark until it pokes out of the other side. Hold the pin in your dominant hand and watch yourself in a mirror so you can see what you’re doing. When you’re ready, take a deep breath and exhale. As you exhale, carefully push the point of the safety pin straight back through your earlobe. Continue slowly pushing the pin through your ear until the point sticks into the eraser. Clasp the safety pin as soon as it’s through your ear so it doesn’t fall out.[10]
- You may bleed a little when you’re piercing your ear so either work above a sink or protect the floor under where you’re working so you don’t leave any stains.
- If you can’t easily hold onto the eraser and the pin, ask a friend to help hold one of them for you.
-
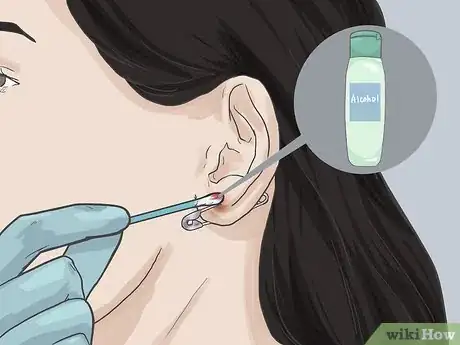
5Clean around the pin with a cotton swab and rubbing alcohol. After you’ve put the safety pin through your ear, wet a cotton swab in rubbing alcohol and slowly apply it around the new piercing. Put the alcohol on the front and backside of your ear to disinfect it and clean off any blood around it. If the cotton swab gets dirty, throw it away and use a clean one to finish wiping the piercing.[11]
- The rubbing alcohol may sting when you apply it since your piercing is still fresh.
-
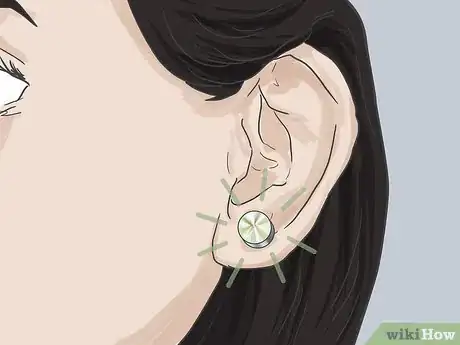
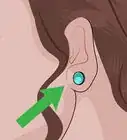
6Remove the pin and put in an earring after 15-20 minutes. Let the piercing heal for at least 15 minutes after you put the pin through your ear. After 15 minutes, unclasp it and carefully pull it back out of the hole. Take a clean earring and place it straight through the hole and place the clasp on the other side to keep it in place.[12]
- Leave the safety pin in your ear for up to 1 week to help your piercing heal better.
- It may hurt and you might bleed when you put in the earring.
Caring for Your Piercing
-
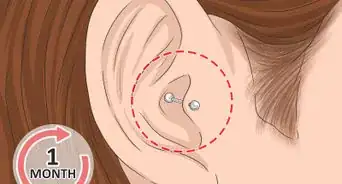
1Leave your piercing in at all times so the hole doesn’t close. Don’t take your new piercing out while it’s healing since the hole could close within a few hours. Leave the earring alone as much as you can so you don’t cause any irritation or infections. After about 6-8 weeks, you can remove or change the earring whenever you want.
- Piercing holes can close even when they’re fully healed, but they seal faster after a fresh piercing.
-
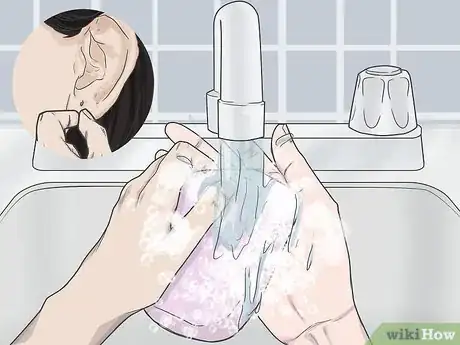
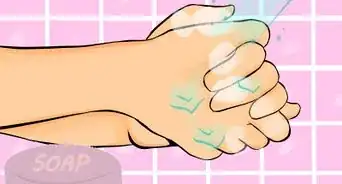
2Wash your hands any time you handle your piercing. Avoid touching your piercing with your bare hands since you can easily spread bacteria. Rinse your hands under warm water and use antibacterial soap for at least 30 seconds to clean them. Be sure to dry your hands thoroughly with a towel before you handle your piercing.[13]
- Don’t touch your piercing unless you have to. Leaving your piercing alone will help it heal faster.
-
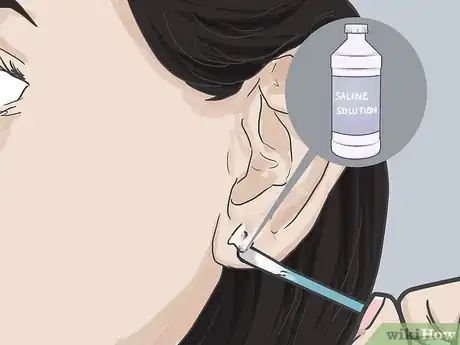
3Clean your piercing with a saline solution twice daily. Find times in the morning and evening to clean your piercing each day. Wet a cotton swab or a piece of gauze with the saline solution and use it to wipe your piercings. Work all the way around your earring to disinfect it and prevent any infections from forming. Continue cleaning your piercing for the first 4-6 weeks or until it’s fully healed.
- You can buy saline solution from your local drugstore.
- Don’t use any rubbing alcohol to clean your piercing since it could kill new skin cells that are forming and dry out your skin.
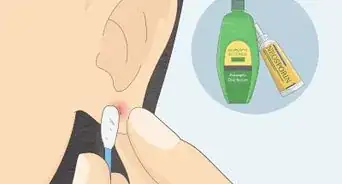
Warning: Avoid using any healing ointments since they could restrict air around your piercing and make it more likely to develop an infection.
-
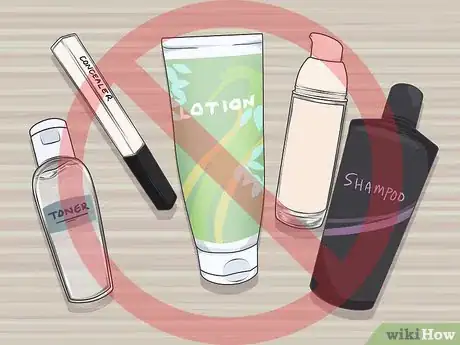
4Avoid using any beauty products near or on your piercing. Beauty products, such as cosmetics, lotions, shampoo, and topical creams, can all prevent your piercing from healing fully. Keep the products away from your piercing during the first 4-6 weeks so it has a chance to heal on its own and stay clean. After any irritation goes away, you can start applying the product near the piercing.
- Keep your hair up when you can so it doesn’t touch your piercing or cause any irritation throughout the day.
-
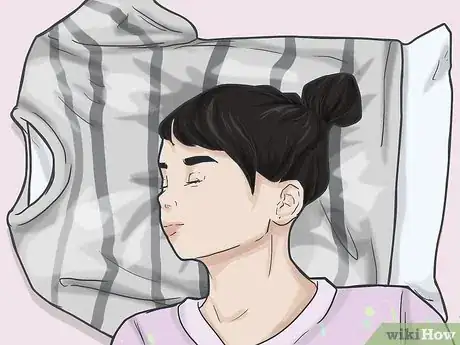
5Cover your pillow with a T-shirt so your piercing stays clean at night. Slide a soft T-shirt over your pillow before you go to bed to protect your piercing from bacteria on your sheets. The next day, flip the pillow to the opposite side so the T-shirt is clean again. Turn the T-shirt inside out and put it back on your pillow so you can use it for the next 2 nights as well.
- If you don’t want to use a T-shirt over your pillow, then change your pillowcases every other day to keep them clean and contaminant-free.
- It may be painful to lie down on the side where you pierced your ear for a few days or weeks.
Community Q&A
-
QuestionIf I'm 11, how much will it hurt to pierce my ear?
 Community AnswerIt doesn't really matter how old you are. It depends on how sensitive your skin is and how high your tolerance for pain is. You can use ice to numb the area, but it's still going to be a little painful.
 -
QuestionCan I use an earring to pierce my ear?
 Community AnswerNo, earrings are generally not sharp enough to pierce your ear.
 -
QuestionCan I do all these same steps, but with a thumb tack?
 Community AnswerYes, but the thumb tack may not be long enough to pierce through your ear completely.
Warnings
- Take extreme caution when piercing your own ear, as it could resolve in infection.⧼thumbs_response⧽
- Don’t try to pierce any other part of your body since you could cause nerve damage or hurt yourself.⧼thumbs_response⧽
- If you don’t feel confident piercing your ears yourself, then visit a professional piercer so they can pierce your ear for you.⧼thumbs_response⧽
- This shouldn't the priority method for piercing, so if possible, have a professional do it for you or buy some professional-grade needles and equipment.⧼thumbs_response⧽
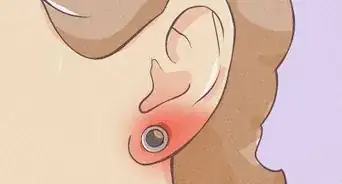
- Piercing your ear at home can lead to an increased risk of infections. If you notice a yellow or green discharge, visit your primary care provider to have them check it for you.[14]⧼thumbs_response⧽
Things You’ll Need
- Disposable gloves
- Pot
- Stove
- Safety pin
- Rubbing alcohol or disinfectant wipes
- Mirror
- Marker
- Ice
- Towel
- Eraser
- Cotton swab
- Earring
- Saline solution
- Soft T-shirt
- Cork
References
- ↑ https://thoughtfultattoos.com/how-to-sterilize-piercing-needles
- ↑ https://thoughtfultattoos.com/how-to-sterilize-piercing-needles
- ↑ https://youtu.be/7ETeFrmvS5s?t=57
- ↑ https://thoughtfultattoos.com/how-to-sterilize-piercing-needles
- ↑ https://youtu.be/iM1U6iLHj2w?t=30
- ↑ https://youtu.be/6gv8bcGXBQQ?t=163
- ↑ https://youtu.be/iM1U6iLHj2w?t=38
- ↑ https://youtu.be/6gv8bcGXBQQ?t=75
- ↑ https://youtu.be/iM1U6iLHj2w?t=67
About This Article
It’s always safest to let a professional pierce your ear with a hollow piercing needle. But with the right precautions, you can pierce your ear with a safety pin in a pinch. Put on a pair of sterile disposable gloves and boil the safety pin for 5-10 minutes to sterilize it. Once the pin has cooled down, wipe it down with a cotton swab soaked in rubbing alcohol to kill any lingering bacteria. Clean your earlobe with rubbing alcohol, too. When you’re ready to pierce your ear, use a fine-tipped marker to draw a dot on your earlobe where you want the piercing to go. Wrap an ice cube in a clean towel and hold it to your ear for 5-10 minutes to numb your skin. Hold a clean eraser or cork behind your ear so you don’t accidentally poke yourself when the pin goes through your ear. Take a deep breath and push the point of the pin through your earlobe and into the eraser or cork in one quick, fluid motion. Remove the eraser and close the pin while it’s still in your ear, then clean around the piercing with a cotton swab dipped in rubbing alcohol. After 15-20 minutes, remove the pin and replace it with a sterile stud earring. For tips on how to care for your new piercing, read on!













Medical Disclaimer
The content of this article is not intended to be a substitute for professional medical advice, examination, diagnosis, or treatment. You should always contact your doctor or other qualified healthcare professional before starting, changing, or stopping any kind of health treatment.
Read More...